
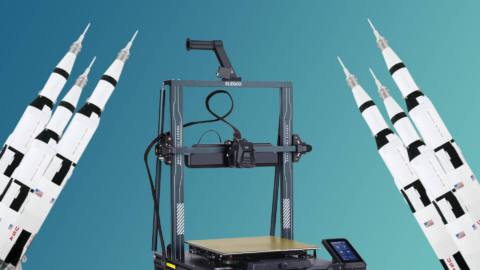
I’ve always been fascinated by 3D printers but I’ve never known what I would do with one. When Shenzhen-based firm Elegoo offered to send their $350/£300 Neptune 4 Plus for review, I figured I’d better take them up on their offer and find out just what’s possible with a modern 3D printer – and what challenges awaited me as a complete beginner. Here’s what I’ve discovered – from the gauntlet of the initial setup process to the successes and failures that have defined the first few weeks of 3D printing.
First, the setup process. The Neptune 4 Plus comes in pieces, so you need to follow an IKEA-style assembly process to join the major components, mount the included control pod and connect a bunch of wires. There’s a printed manual provided, but there’s also a digital version on a USB stick. That stick also contains a video tutorial for the setup process, which I followed carefully. The build itself is quite straightforward and ought to take around an hour, with no real challenges – each step’s smaller components like screws are neatly labelled in separate bags and all of the tools are provided which is nice.
The real challenge comes when you’ve screwed everything together, plugged everything in and turned the machine on for the first time – as now it’s time for levelling. This process requires you to raise or lower the nozzle, hundredths of a millimetre at a time, until a piece of paper between the nozzle and the print bed can be pulled out but not pushed back in. This process is repeated on six points around the bed, with the adjustment coming this time from springs below that you can tighten or loosen by rotating a dial. Again, you’re looking for a decent amount of friction between nozzle, paper and bed; judging how much friction takes some patience.


