The Warden Vault is one of Dragon Age: The Veilguard's treasure-hunting quests, as you scour a ruined castle in the Rivain Coast region, looking for seals to unlock some loot. It's quite easy to miss if you haven't explored the region thoroughly, and in particular, the castle that dominates much of its centre.
Still, it's well worth doing if you want armour, weapons, and even a unique ring that Rook can equip, strengthening one of your class-based abilities. All that said, here's where to pick up the Warden Vault quest and find the vault itself, plus how to open the three locks preventing you from pilfering what's contained within.
Warden Vault location
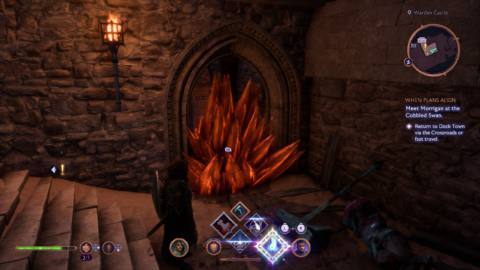
You can find the Warden Vault in the Rivain Coast region, specifically, once you arrive in the main hall of the castle. Head down the right side stairs from the main entrance with the portcullis and melt the Blistering Drakestone with Taash (or the knife) to find the vault and get The Warden Vault quest.
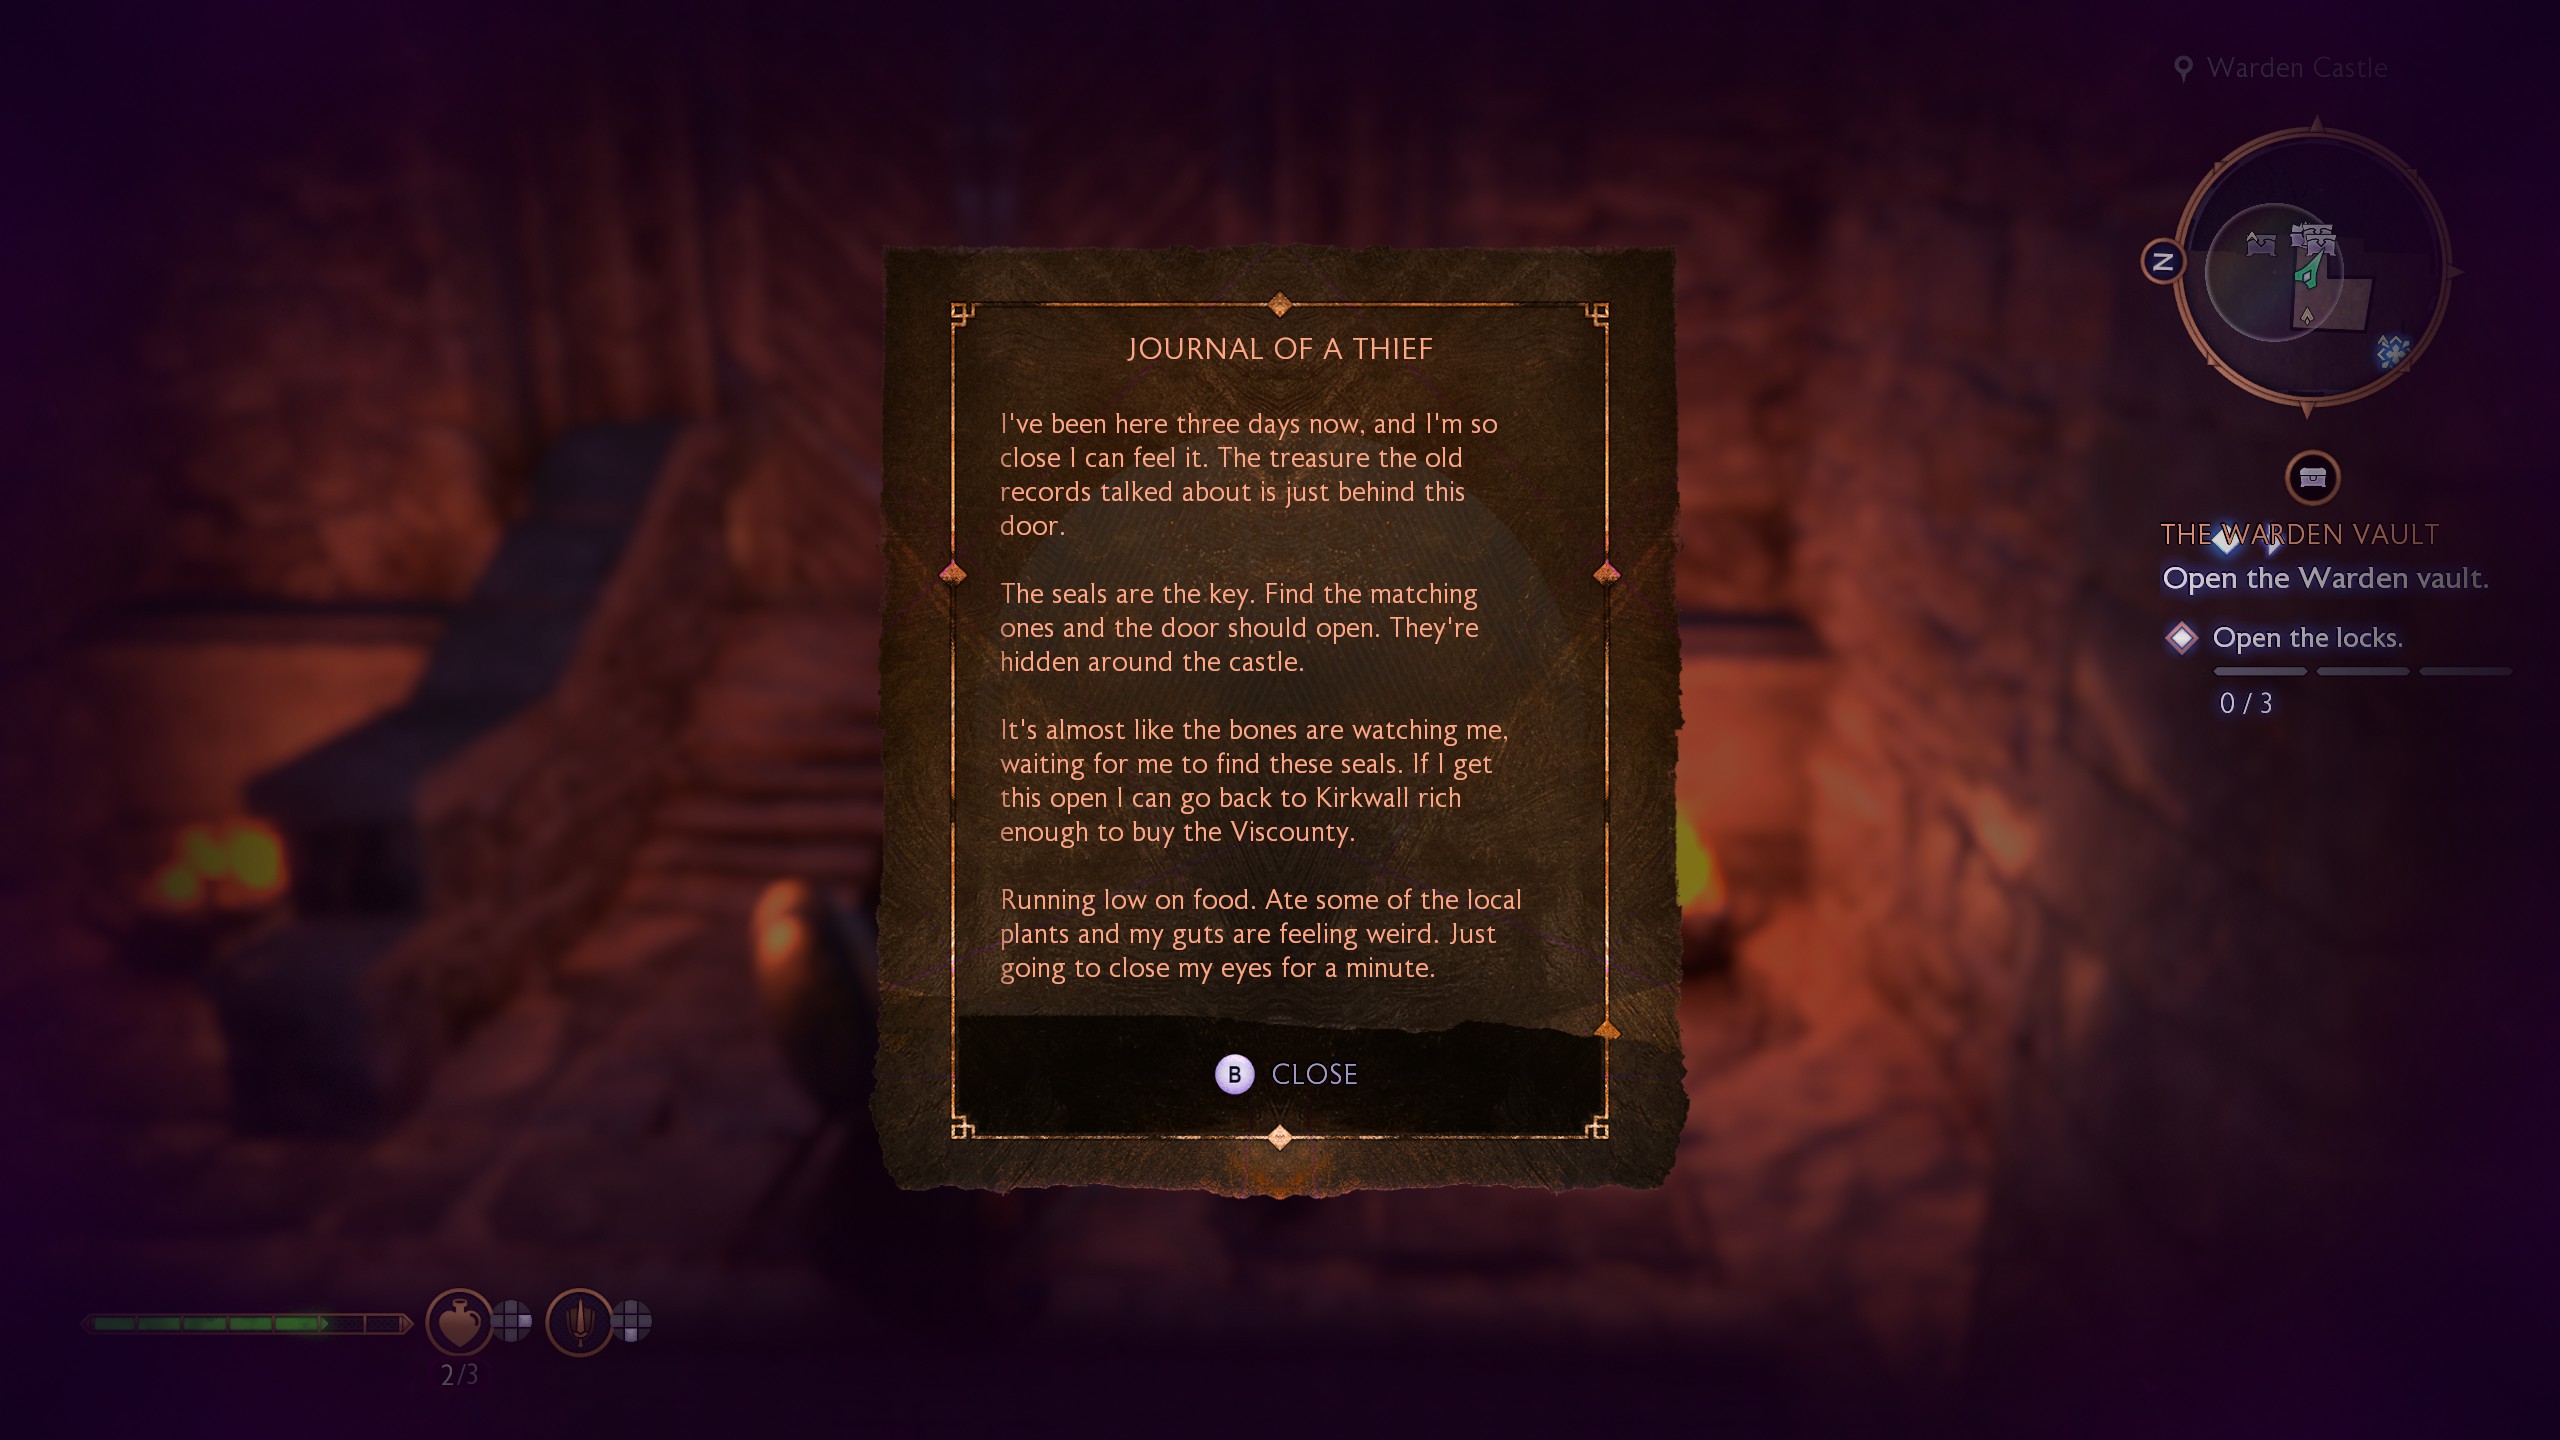
On the body in front of the door, you'll find the “Journal of a thief”, which explains that you need to find the three seals located around the castle and unlock them to open the vault and get at the treasure inside. You'll get approximate map markers for each of the three puzzles, though the quest won't describe exactly what to do.
Warden Vault first lock
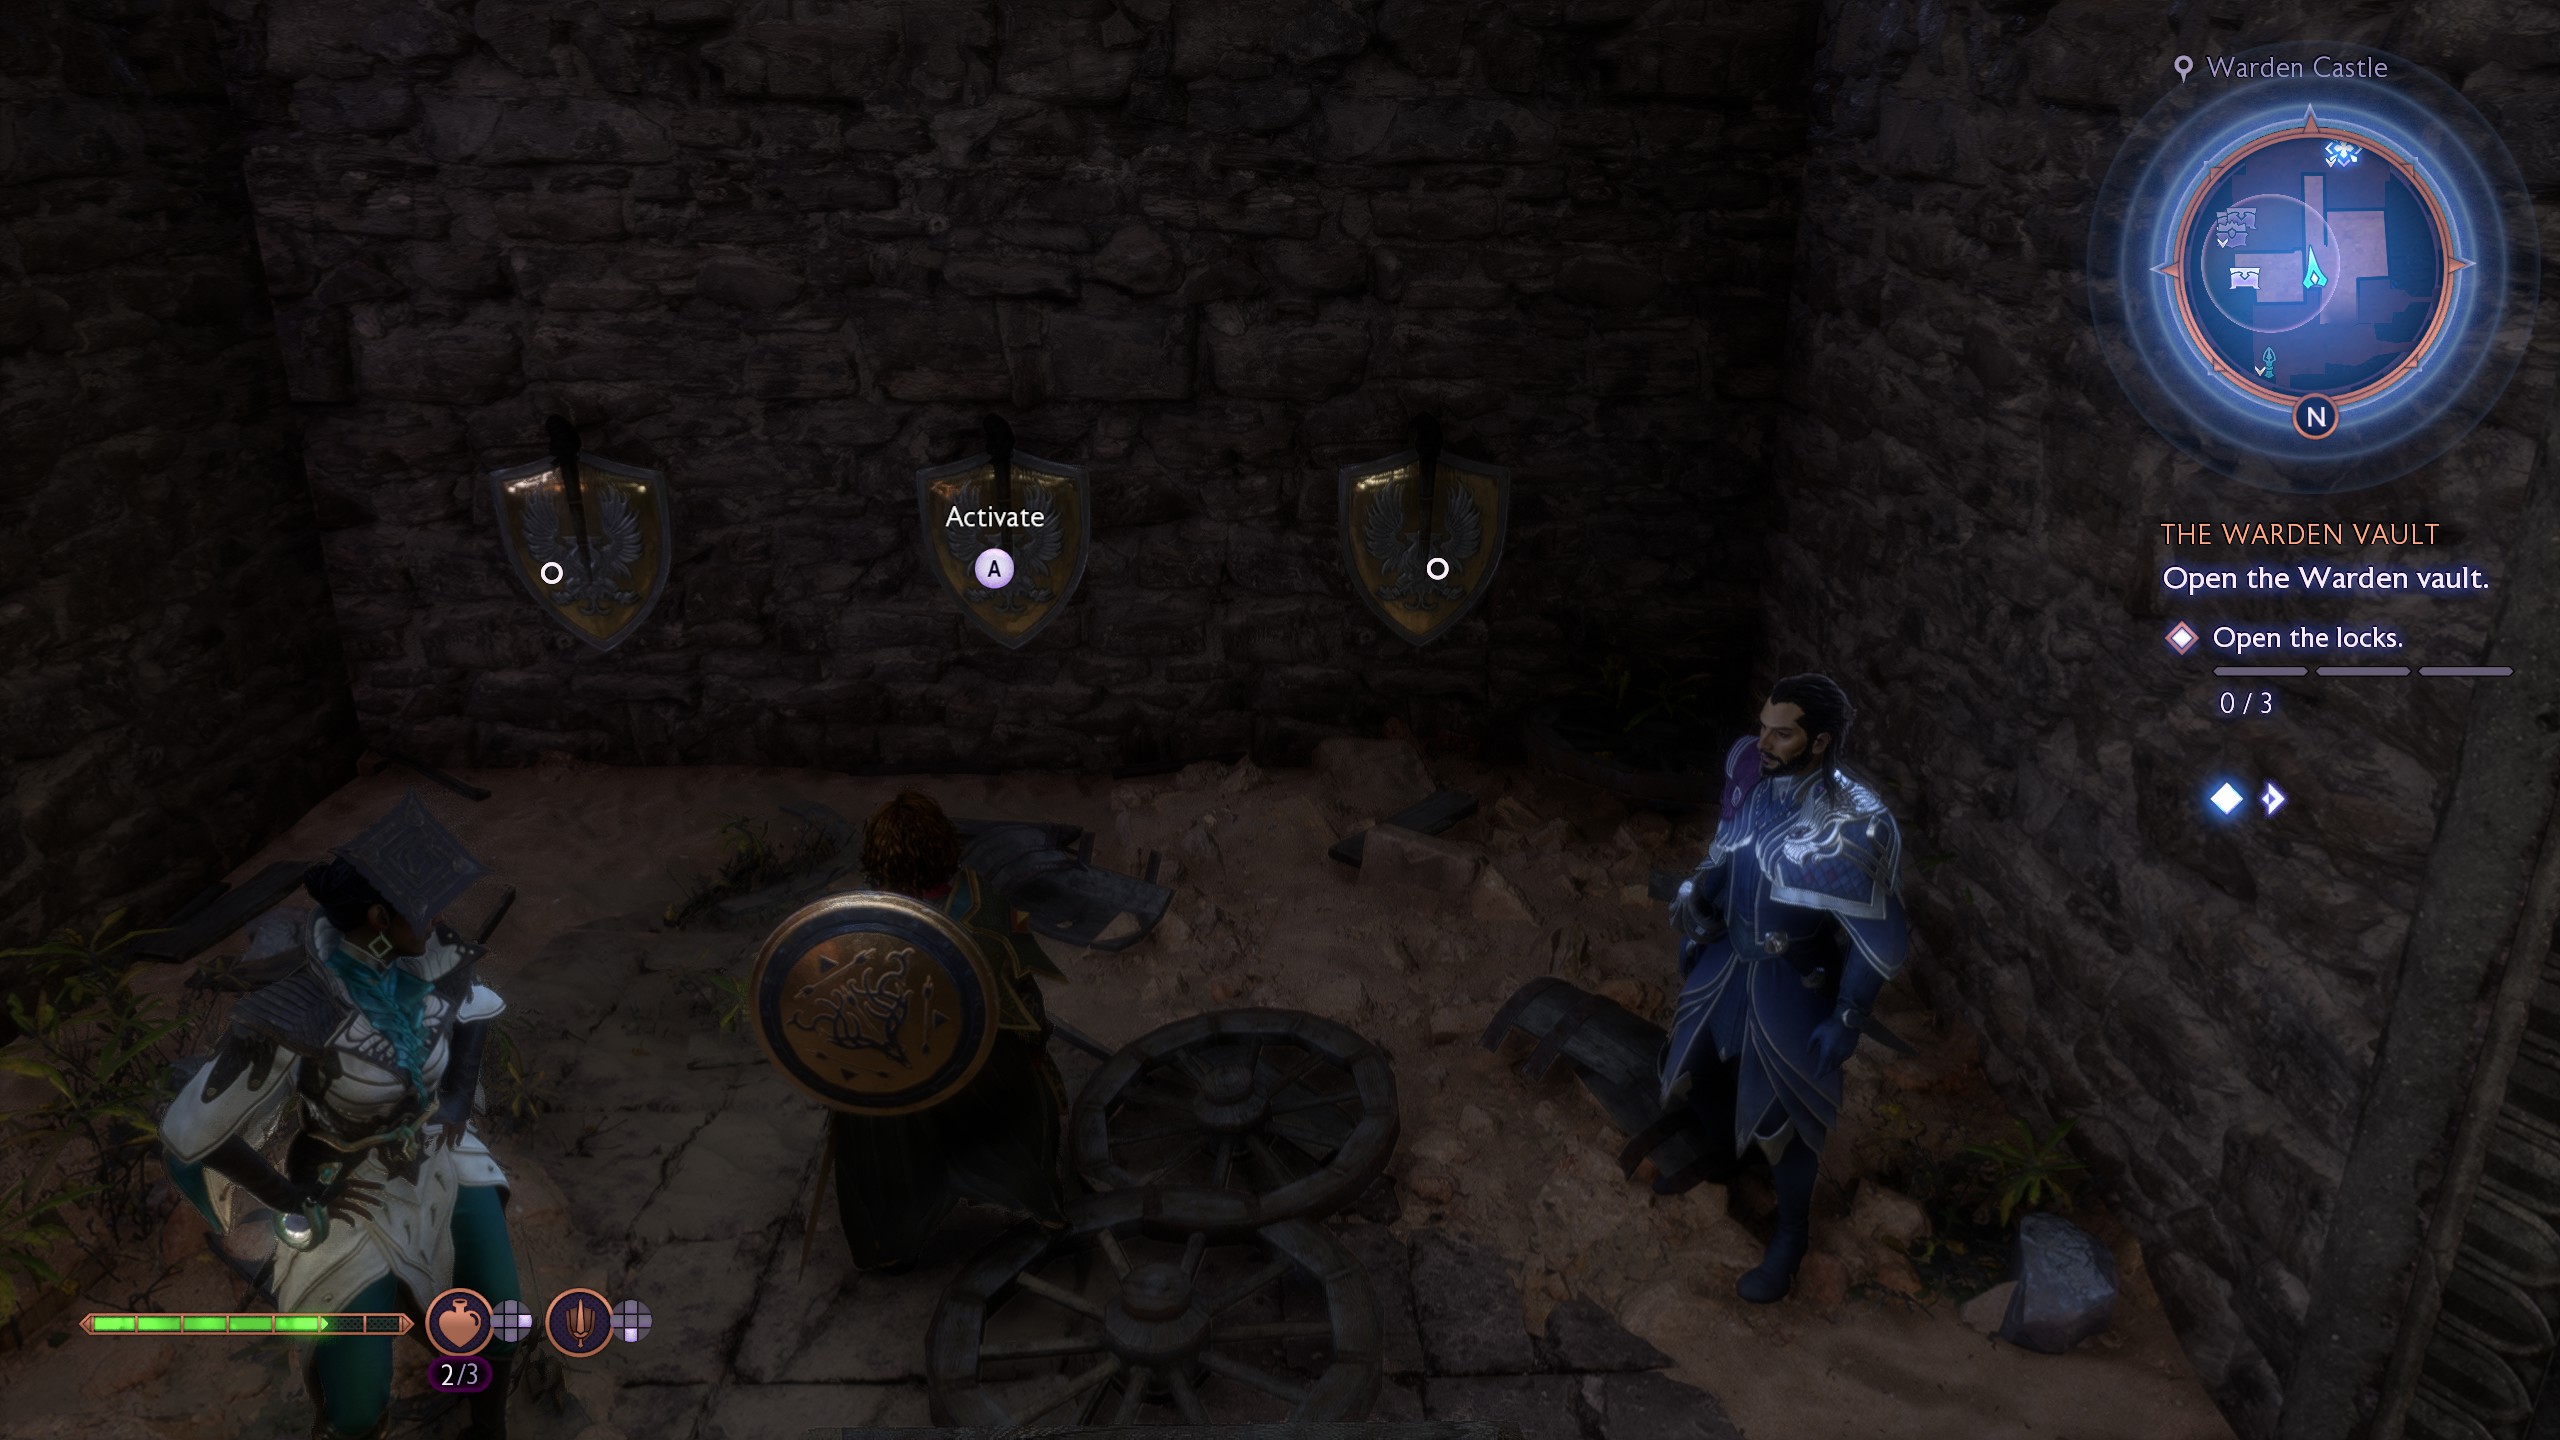
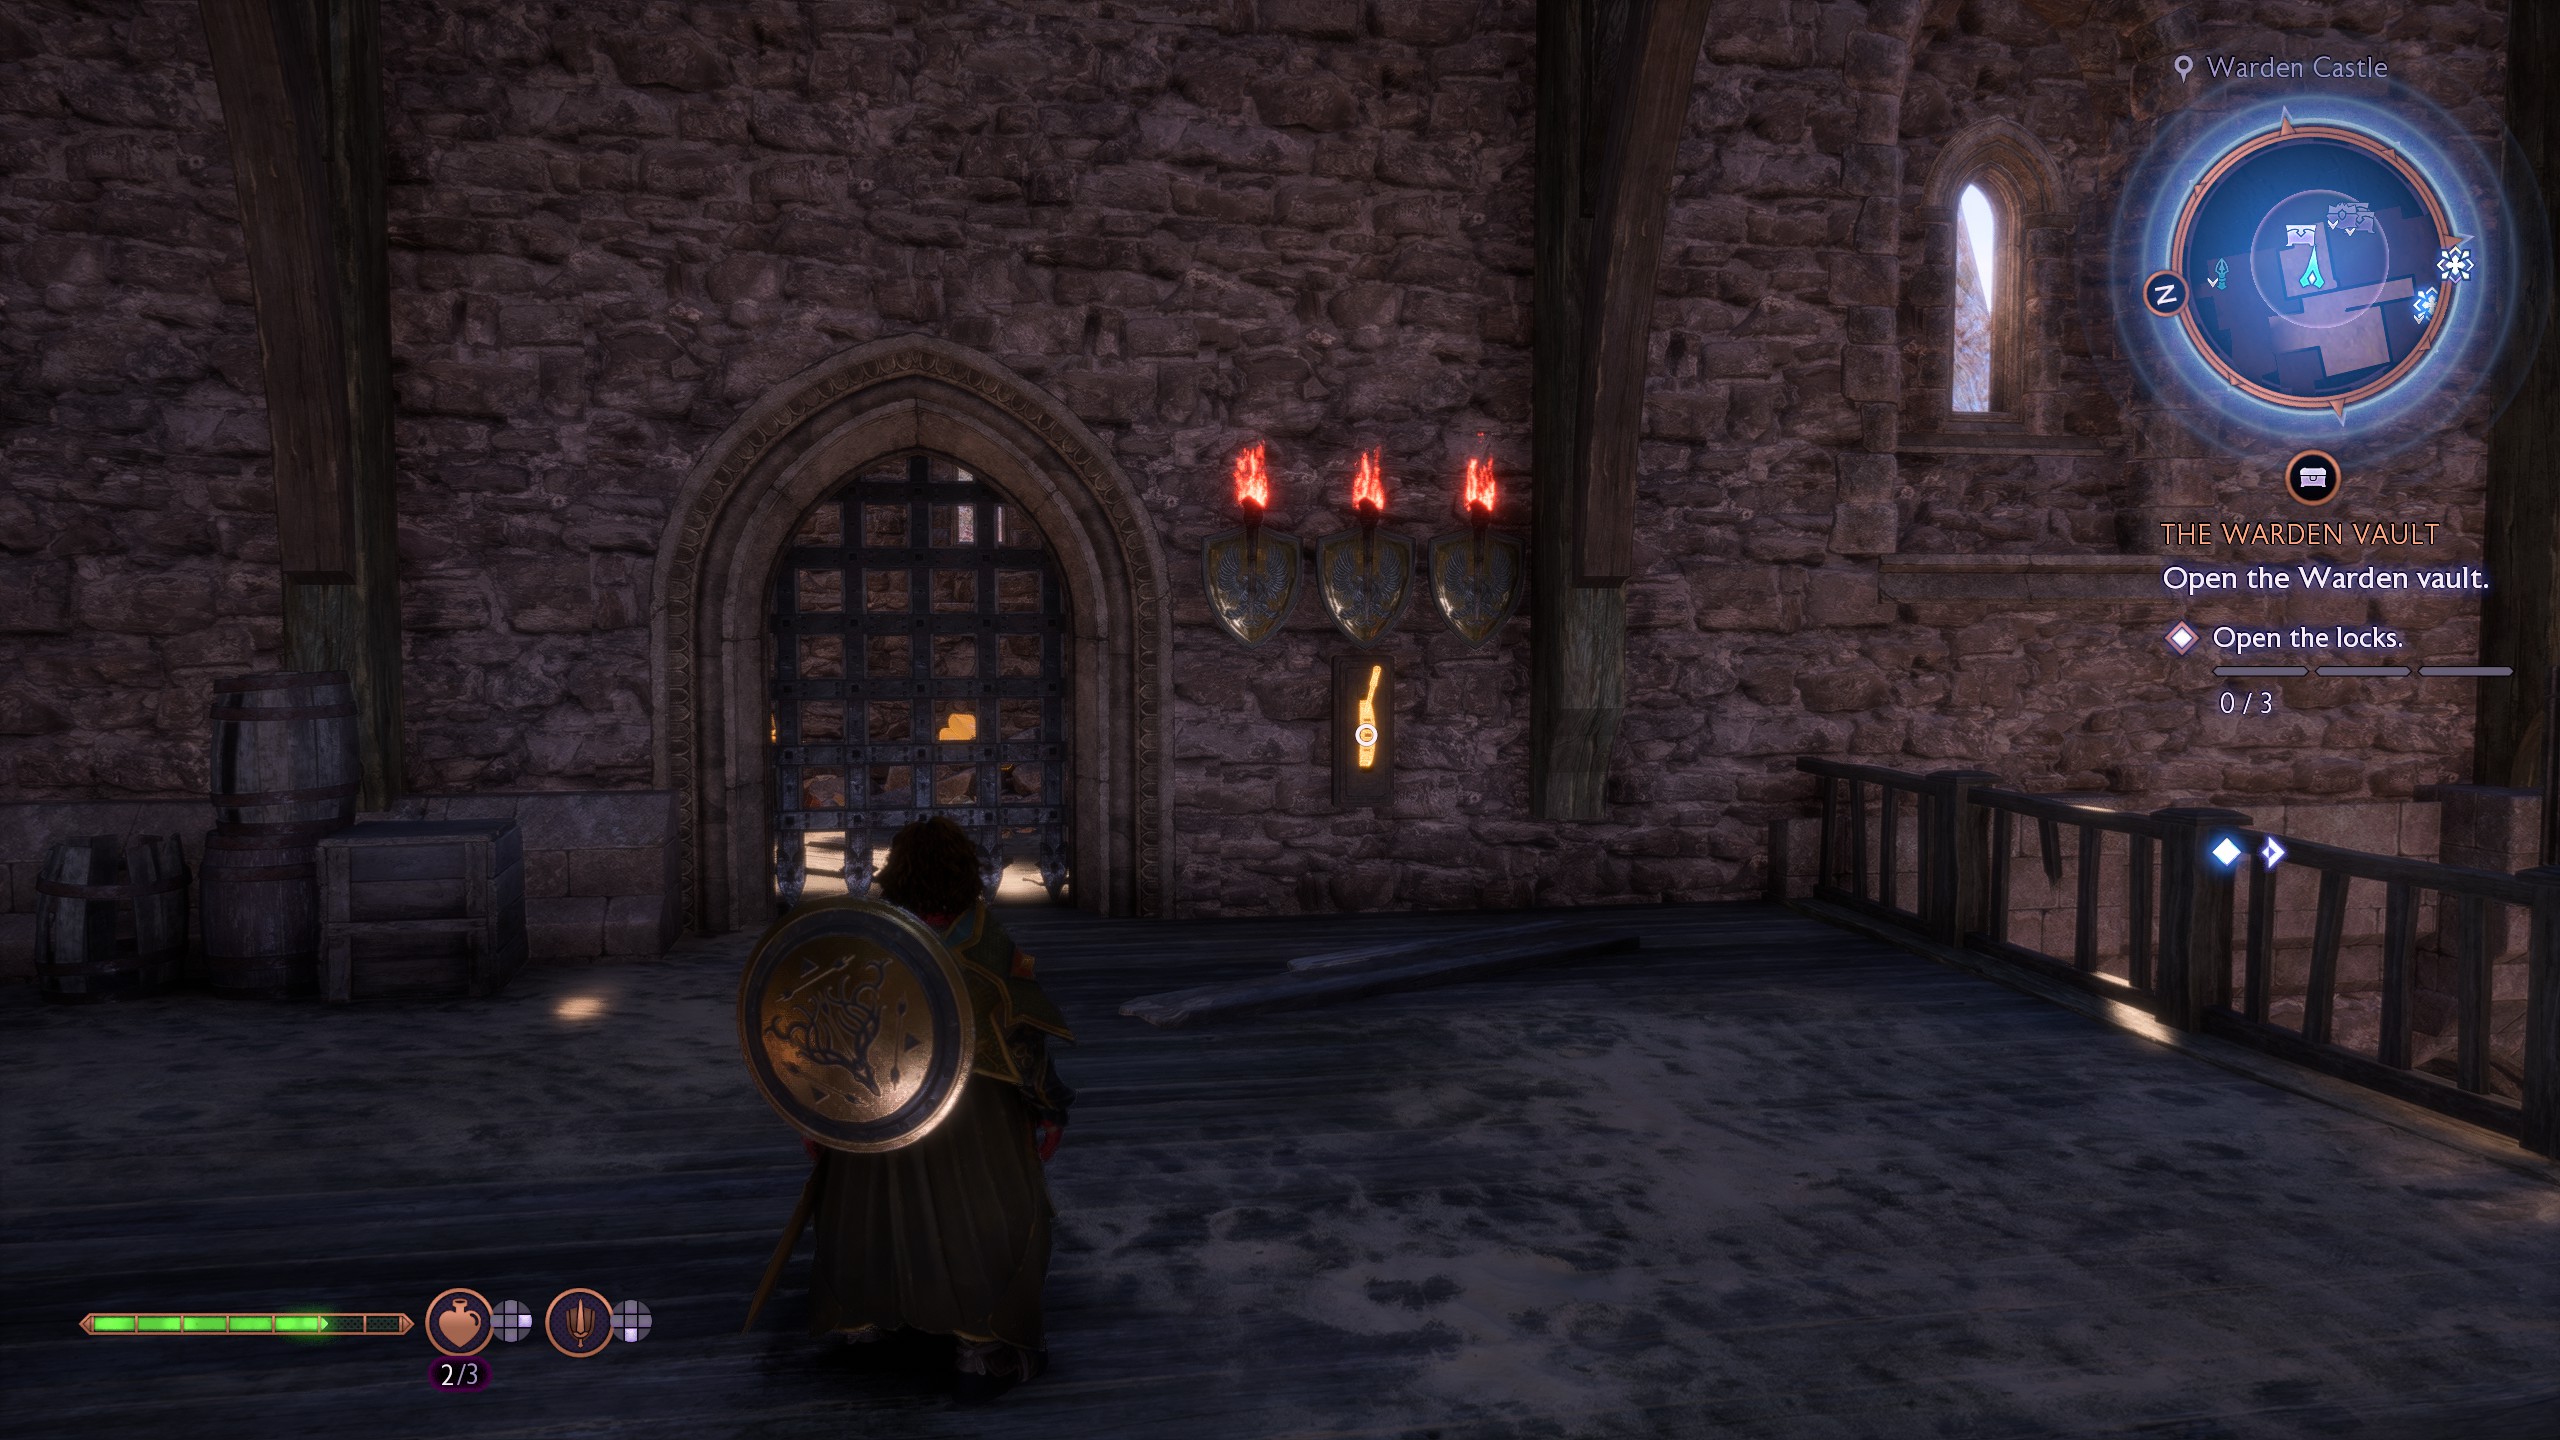
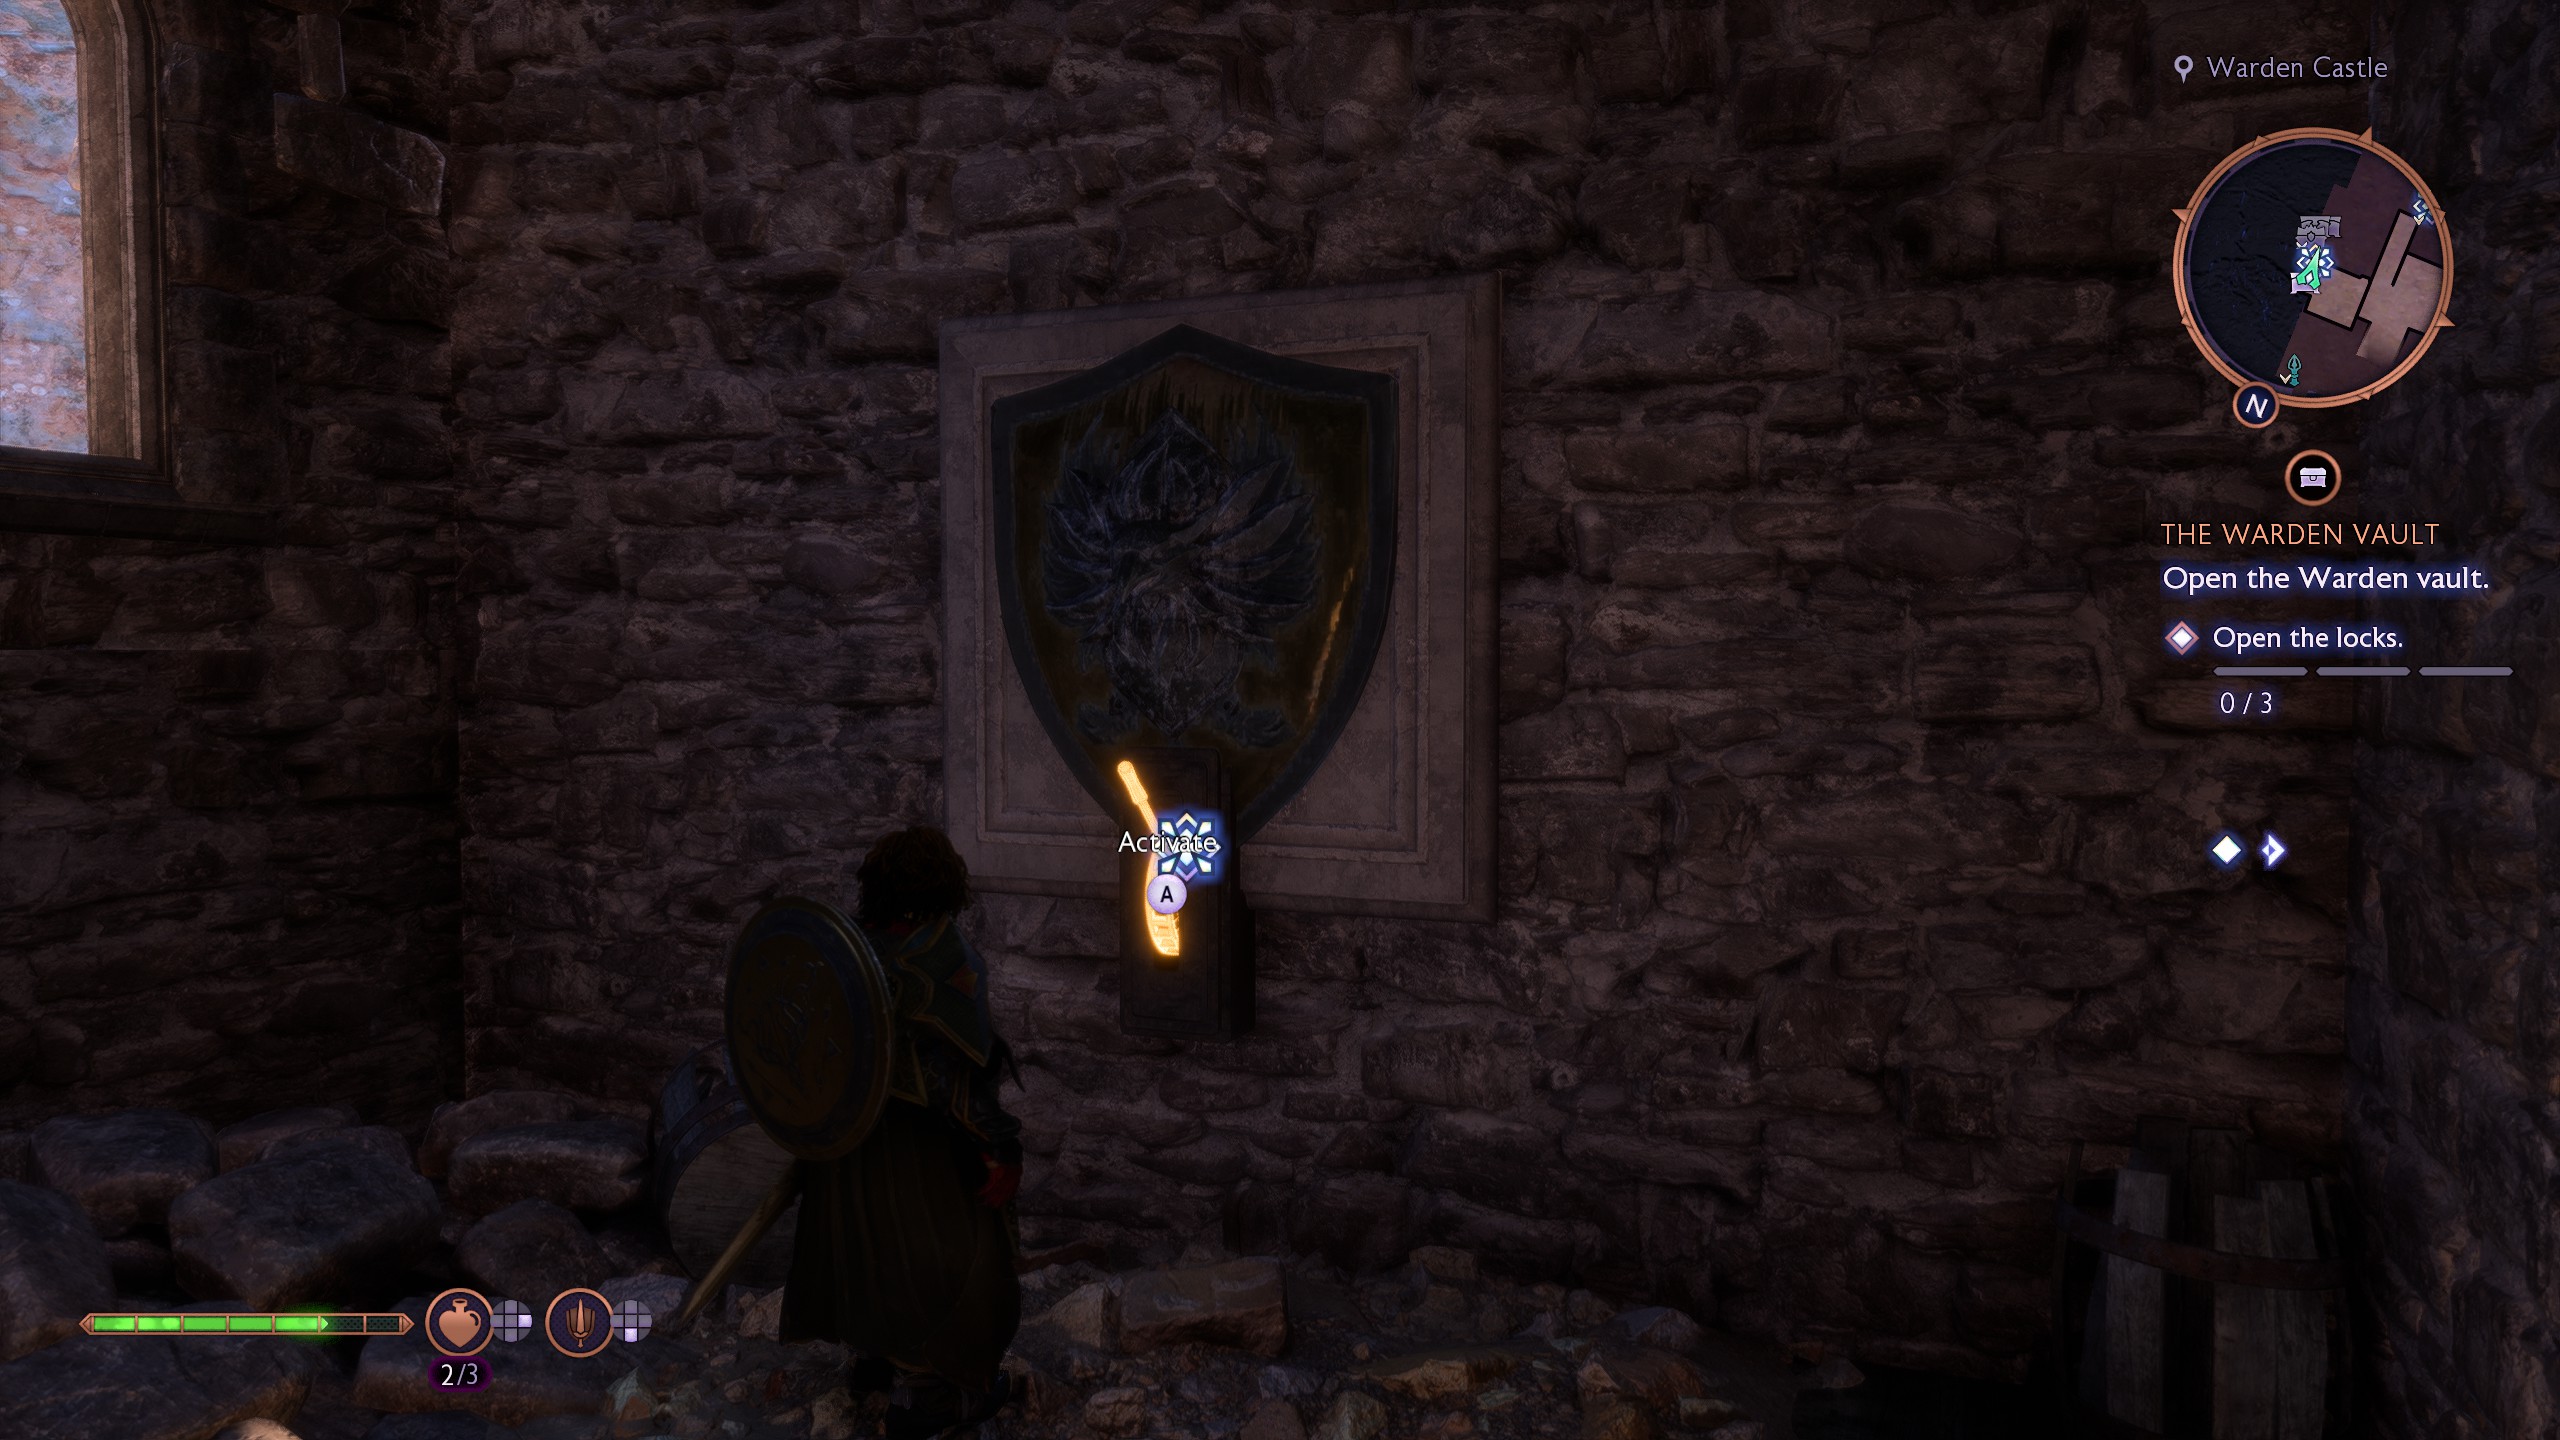
Head out of the vault, up the stairs, and back out of the entrance to the main hall. Turn left through two small archways, then get Taash—or use the Lyrium Dagger—to destroy the Gaatlok Barrel against the wall.
Go left again towards the wagon and the space filled with wooden boxes. Smash all of these to reveal three torches you need to light in a certain order. When facing them, the sequence is:
- Left
- Middle
- Right
This will light up all three. Head back out of the room, up the stairs ahead, and climb the pile of planks to your left. Continue along the stone walkway above and through the doorway on your right.
You'll now find yourself on a platform above the entrance to the main hall—make sure to kick down the ladder on your right. Now simply pull the lever straight ahead underneath another set of lit torches to open the locked door. Pull the lever below the seal inside the room to deal with that first lock.
Warden Vault second lock
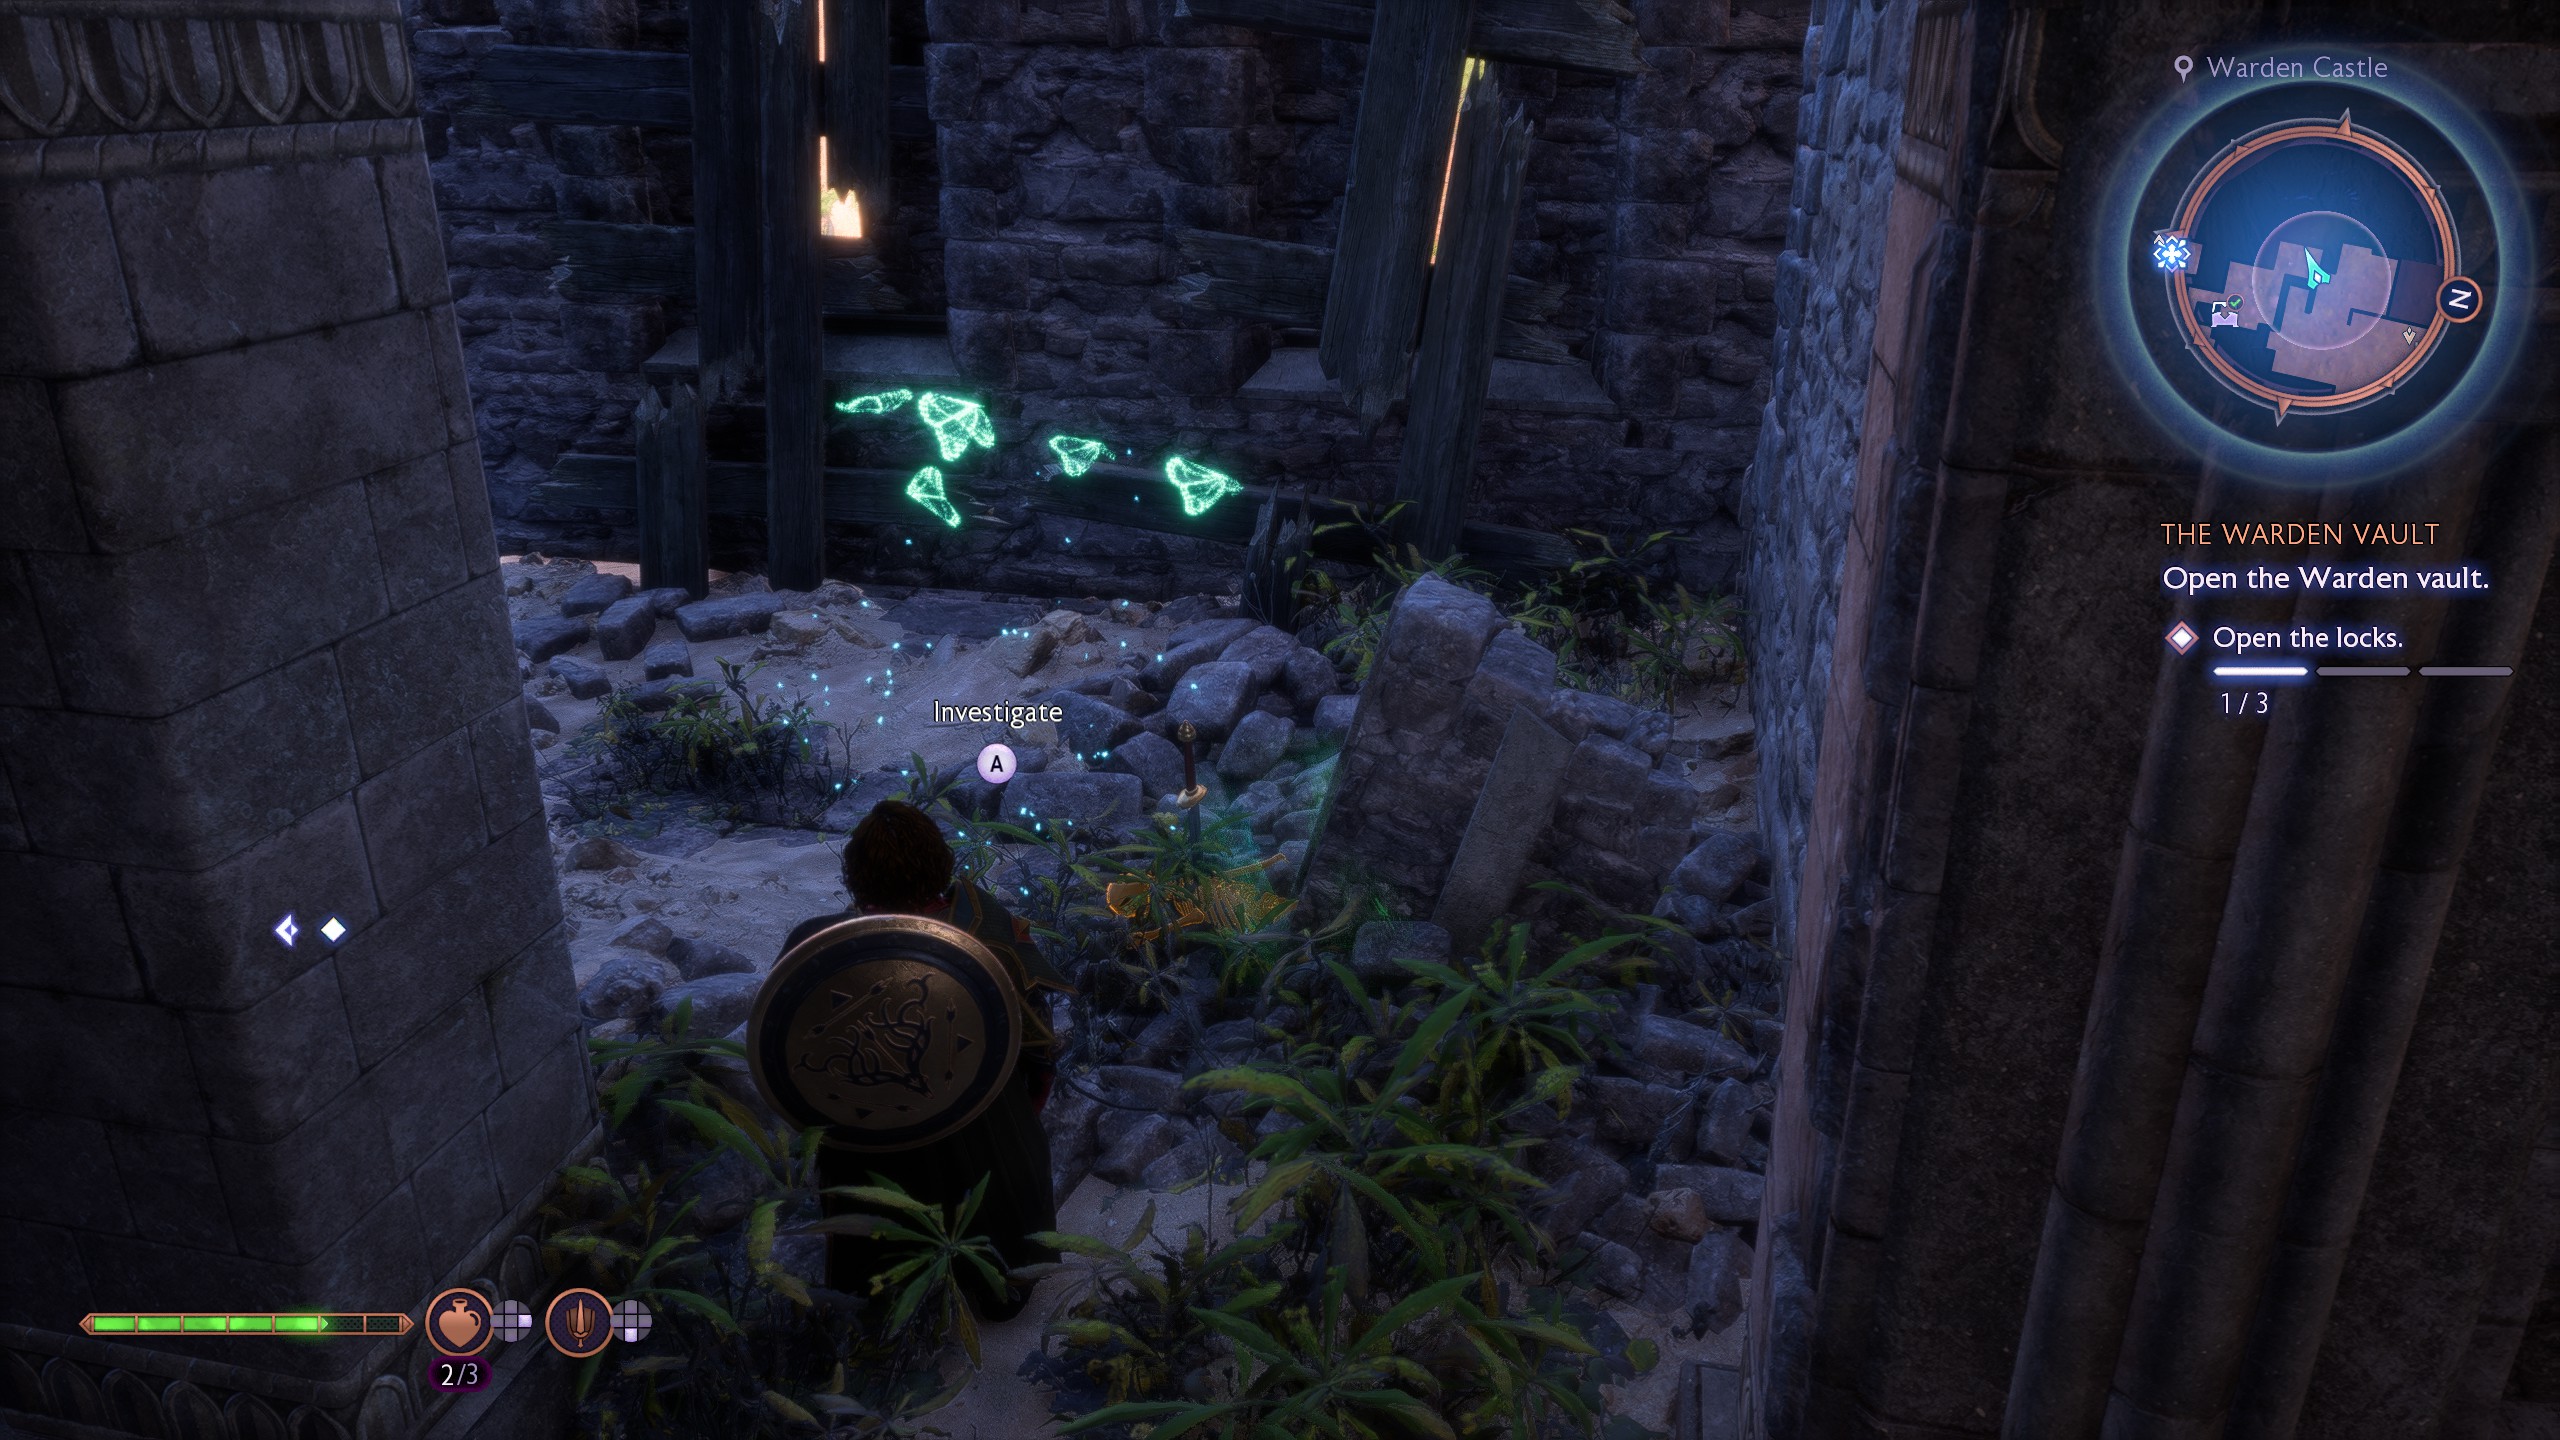
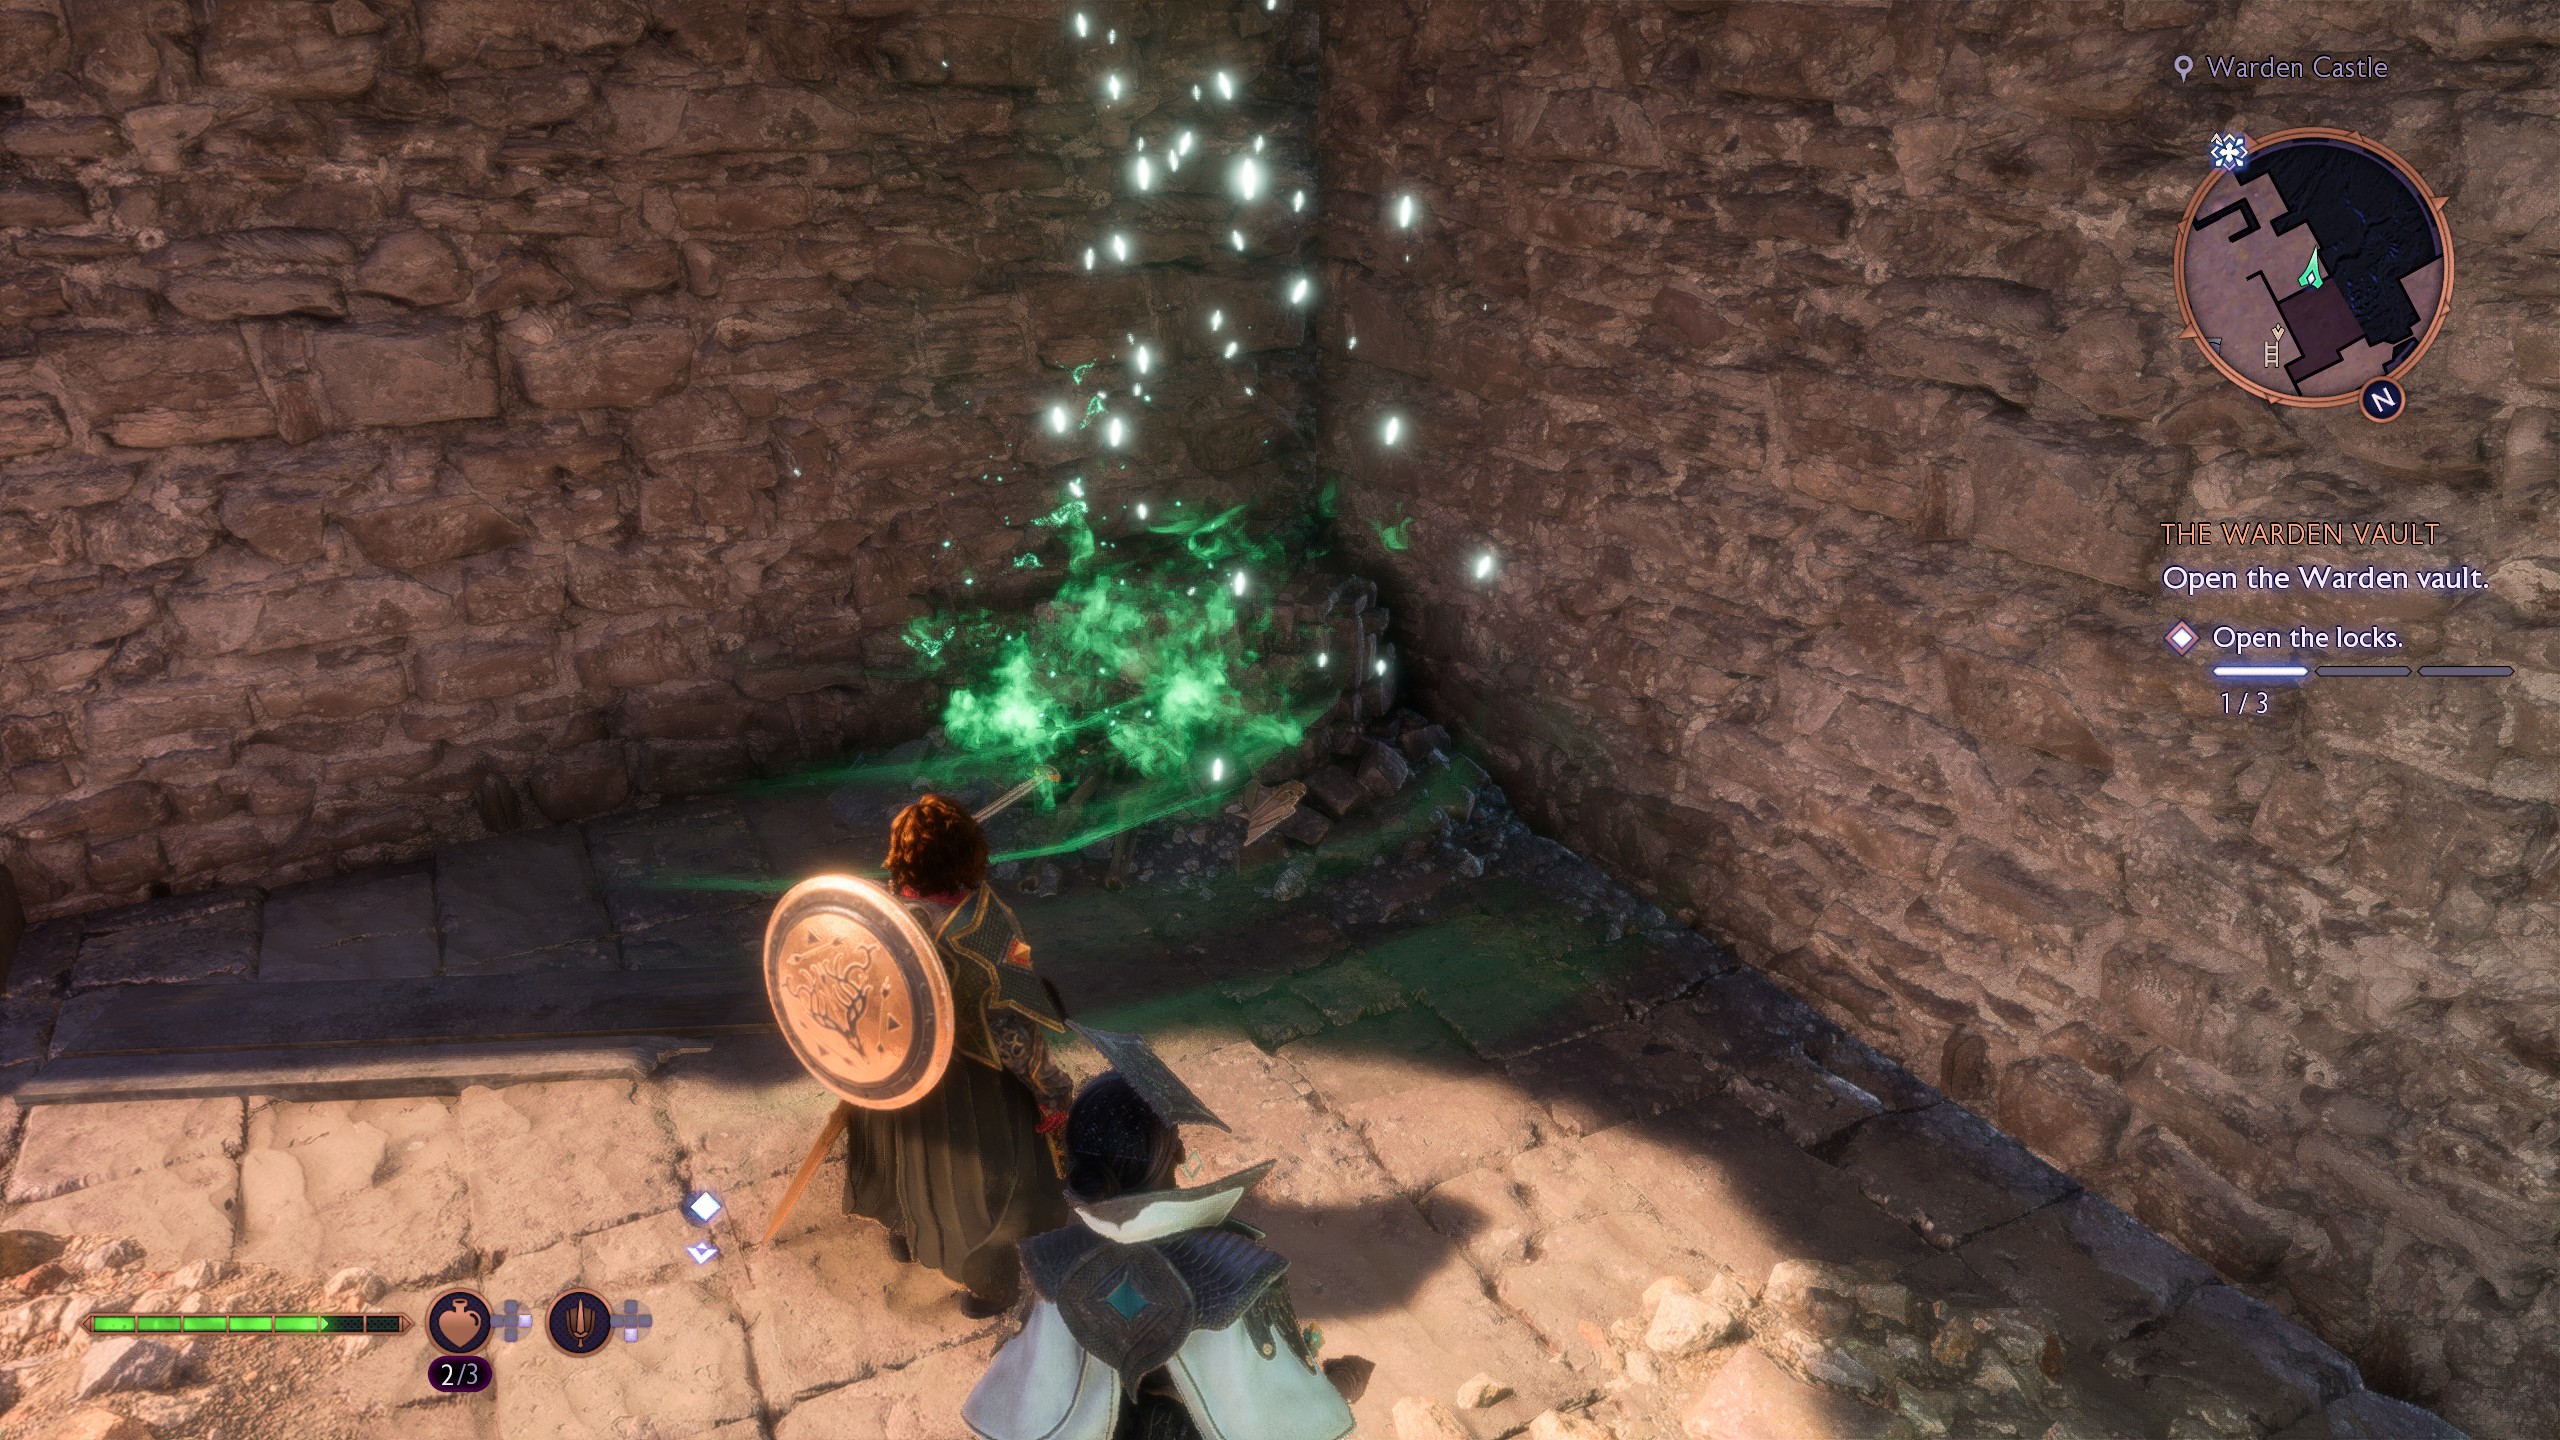
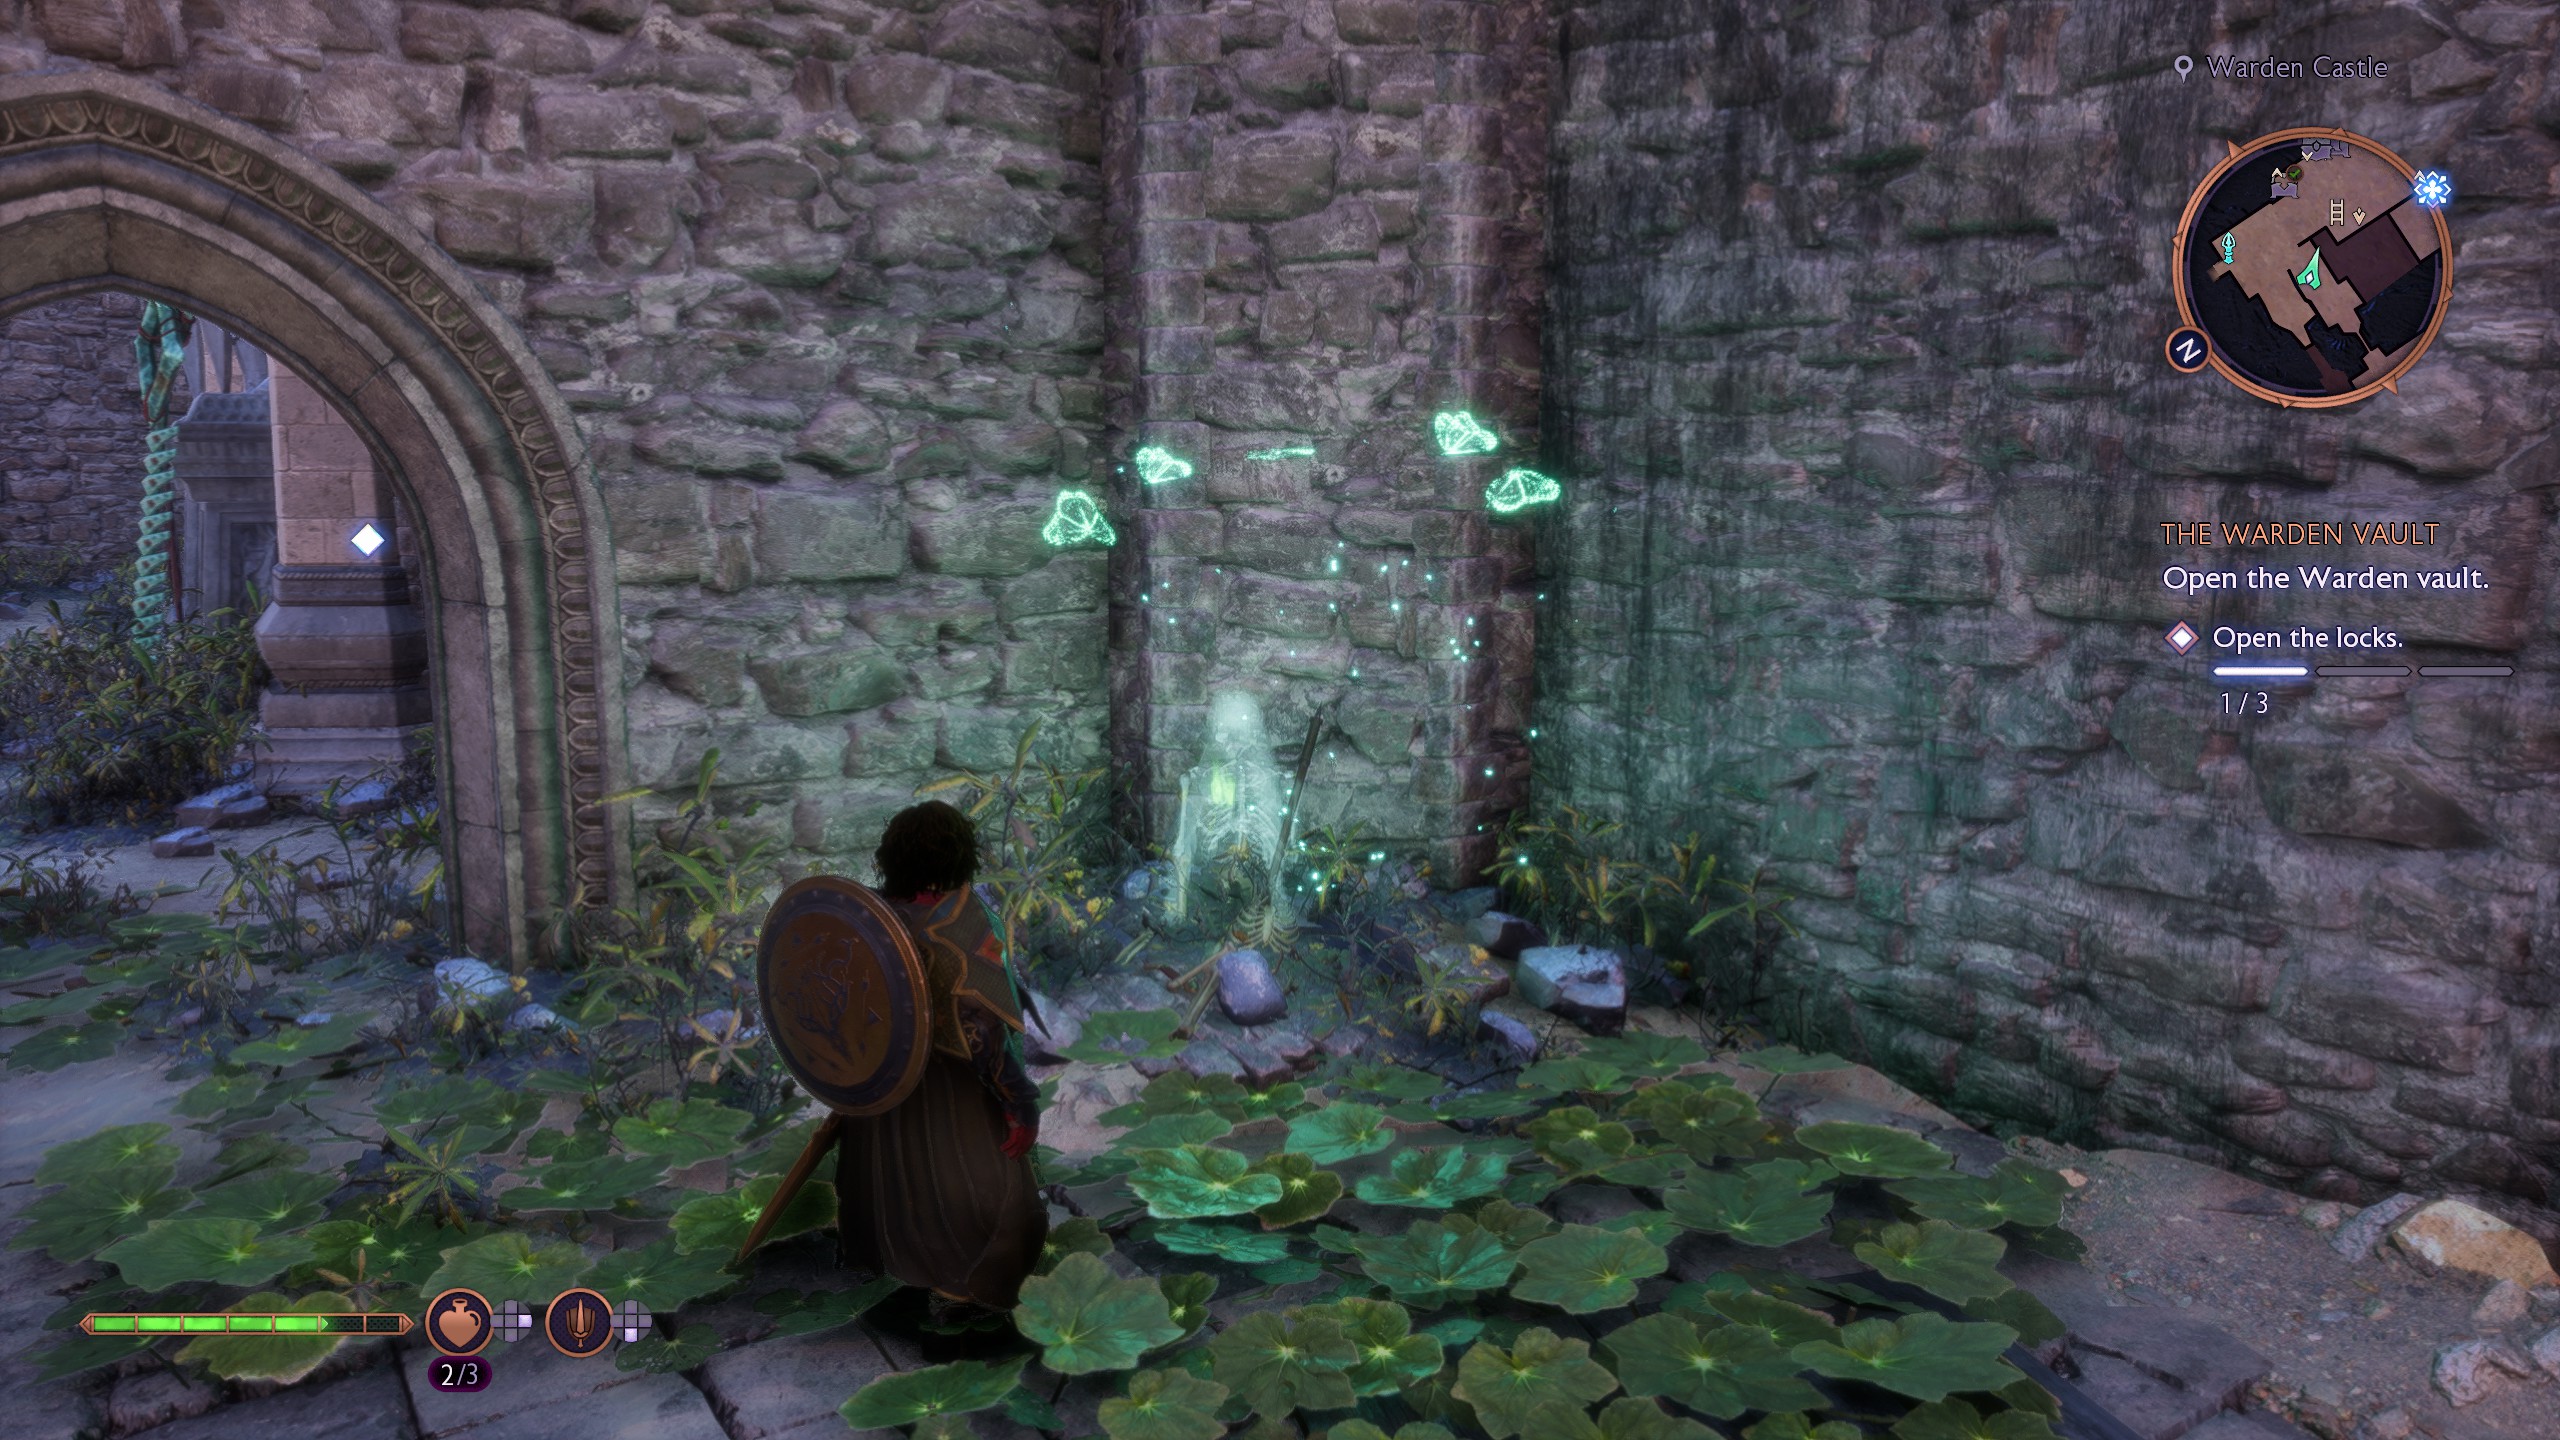
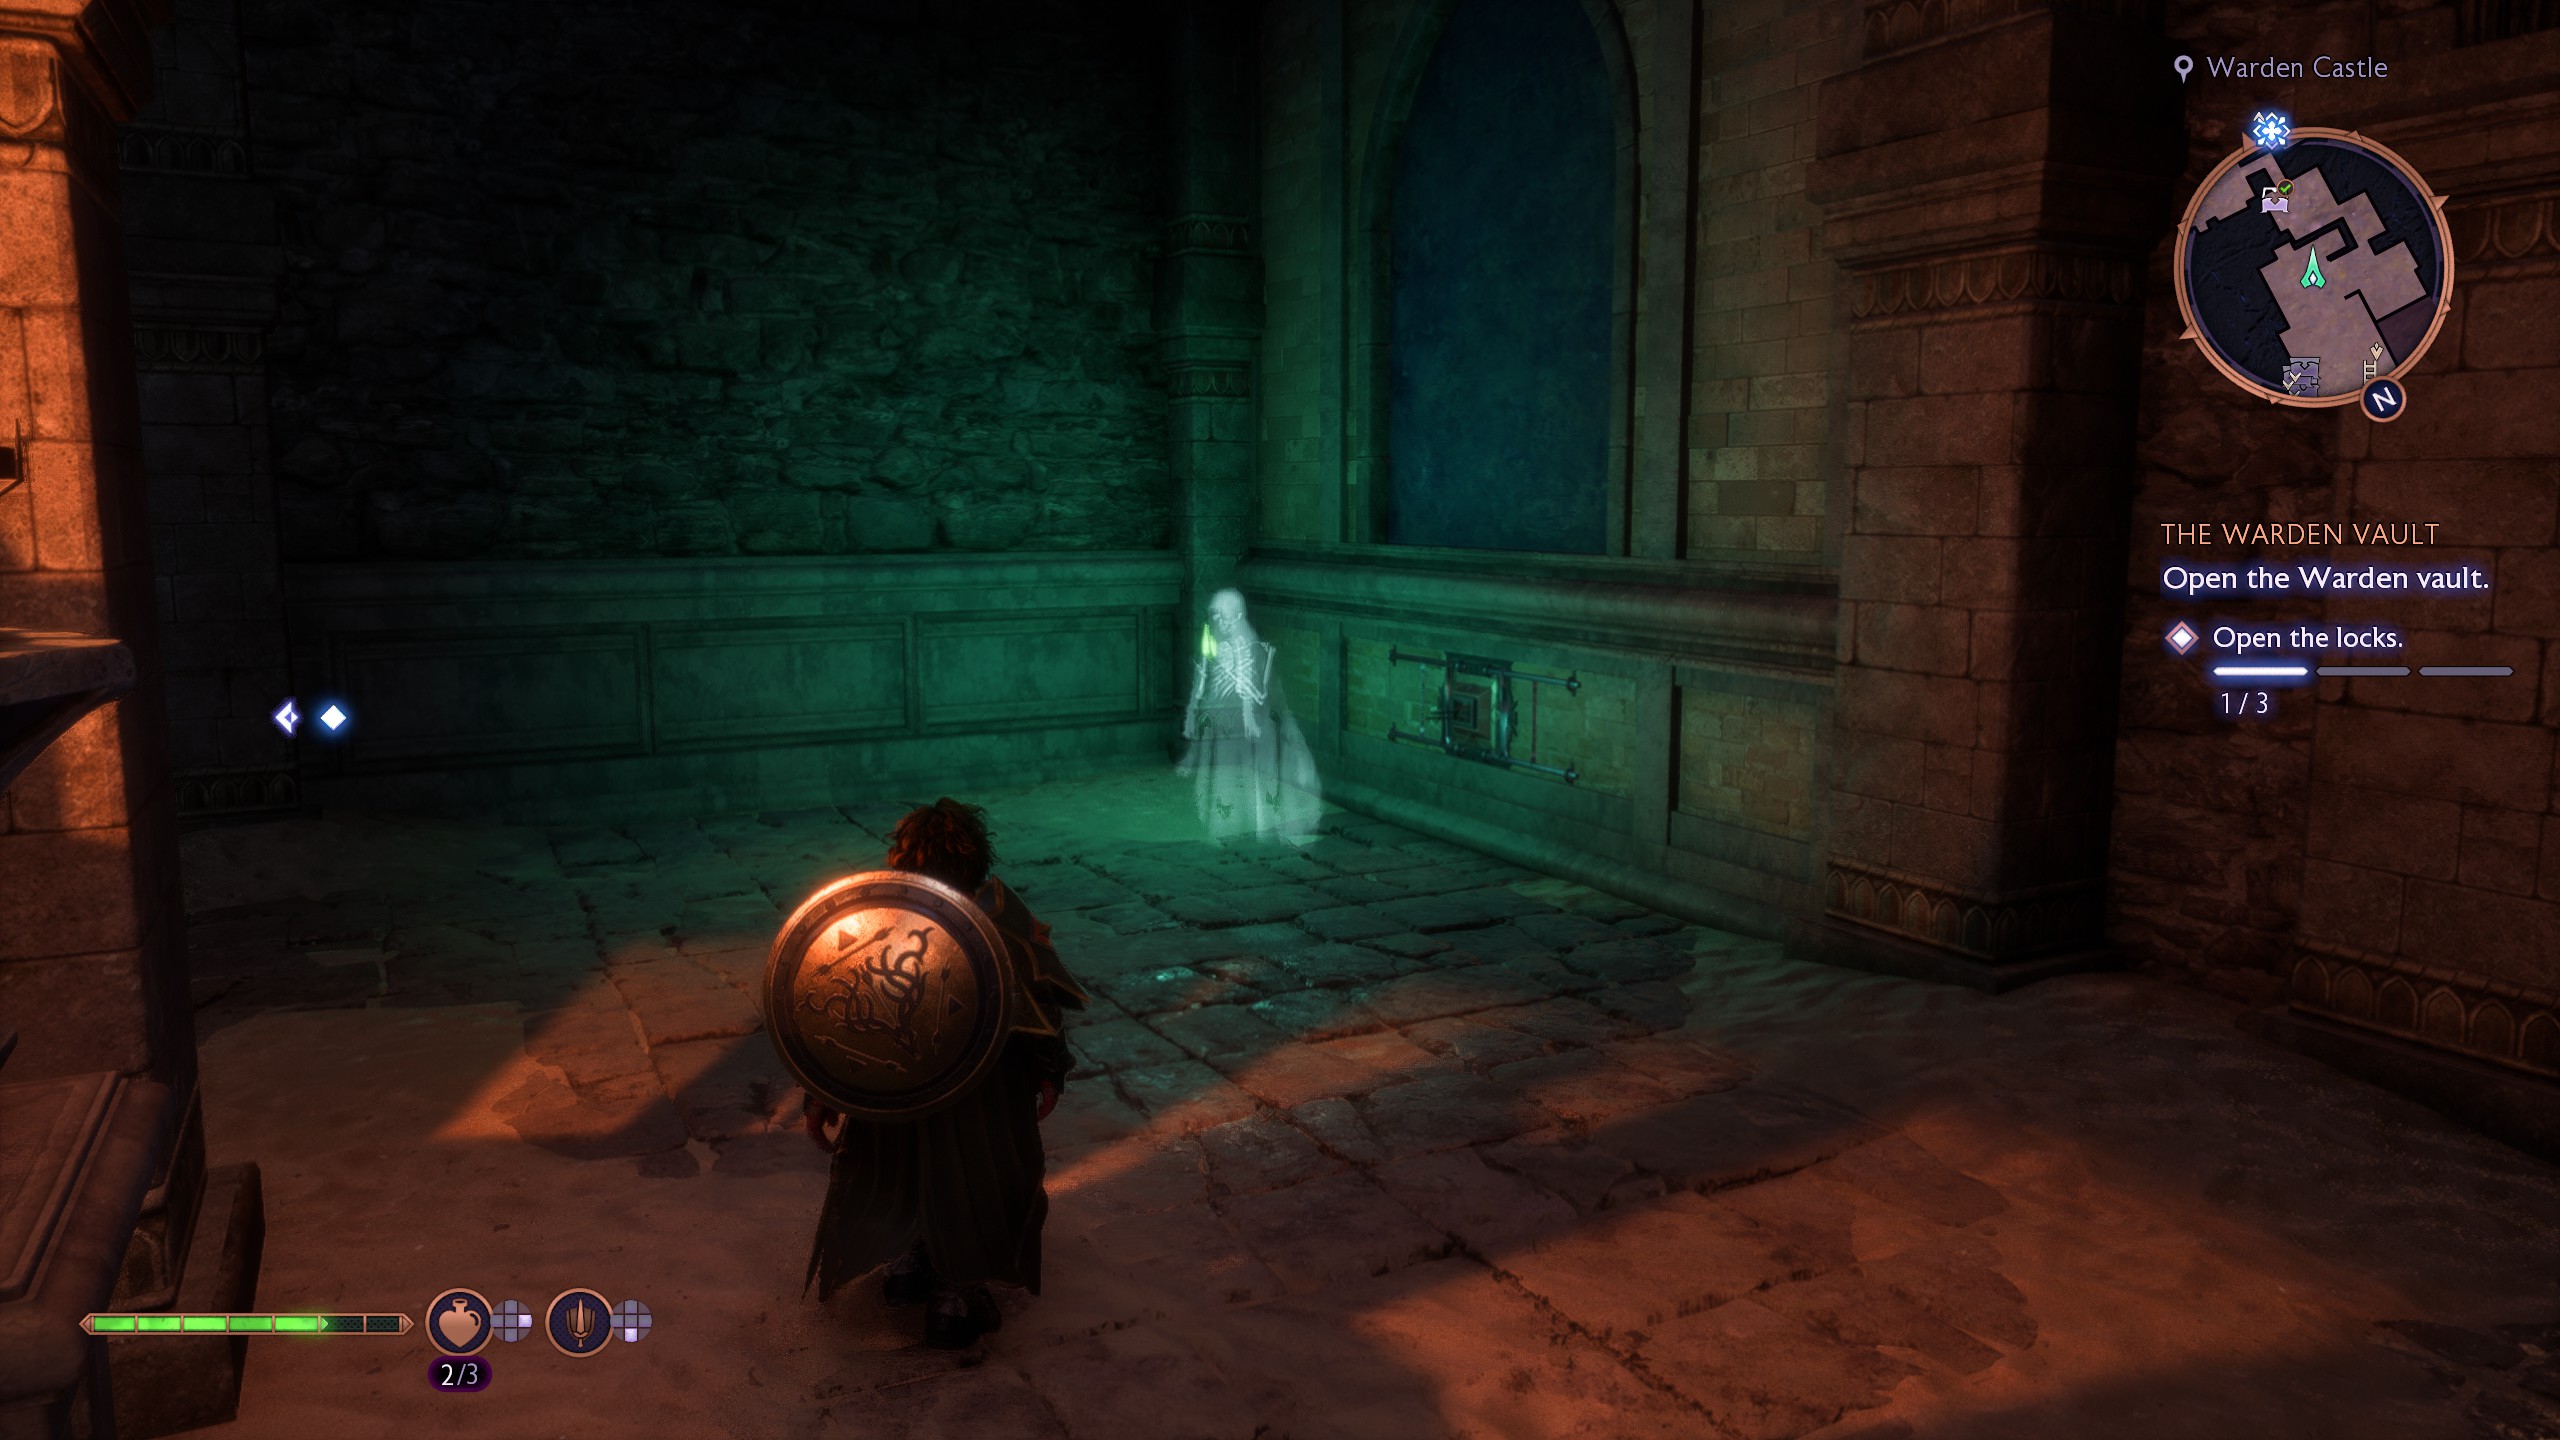
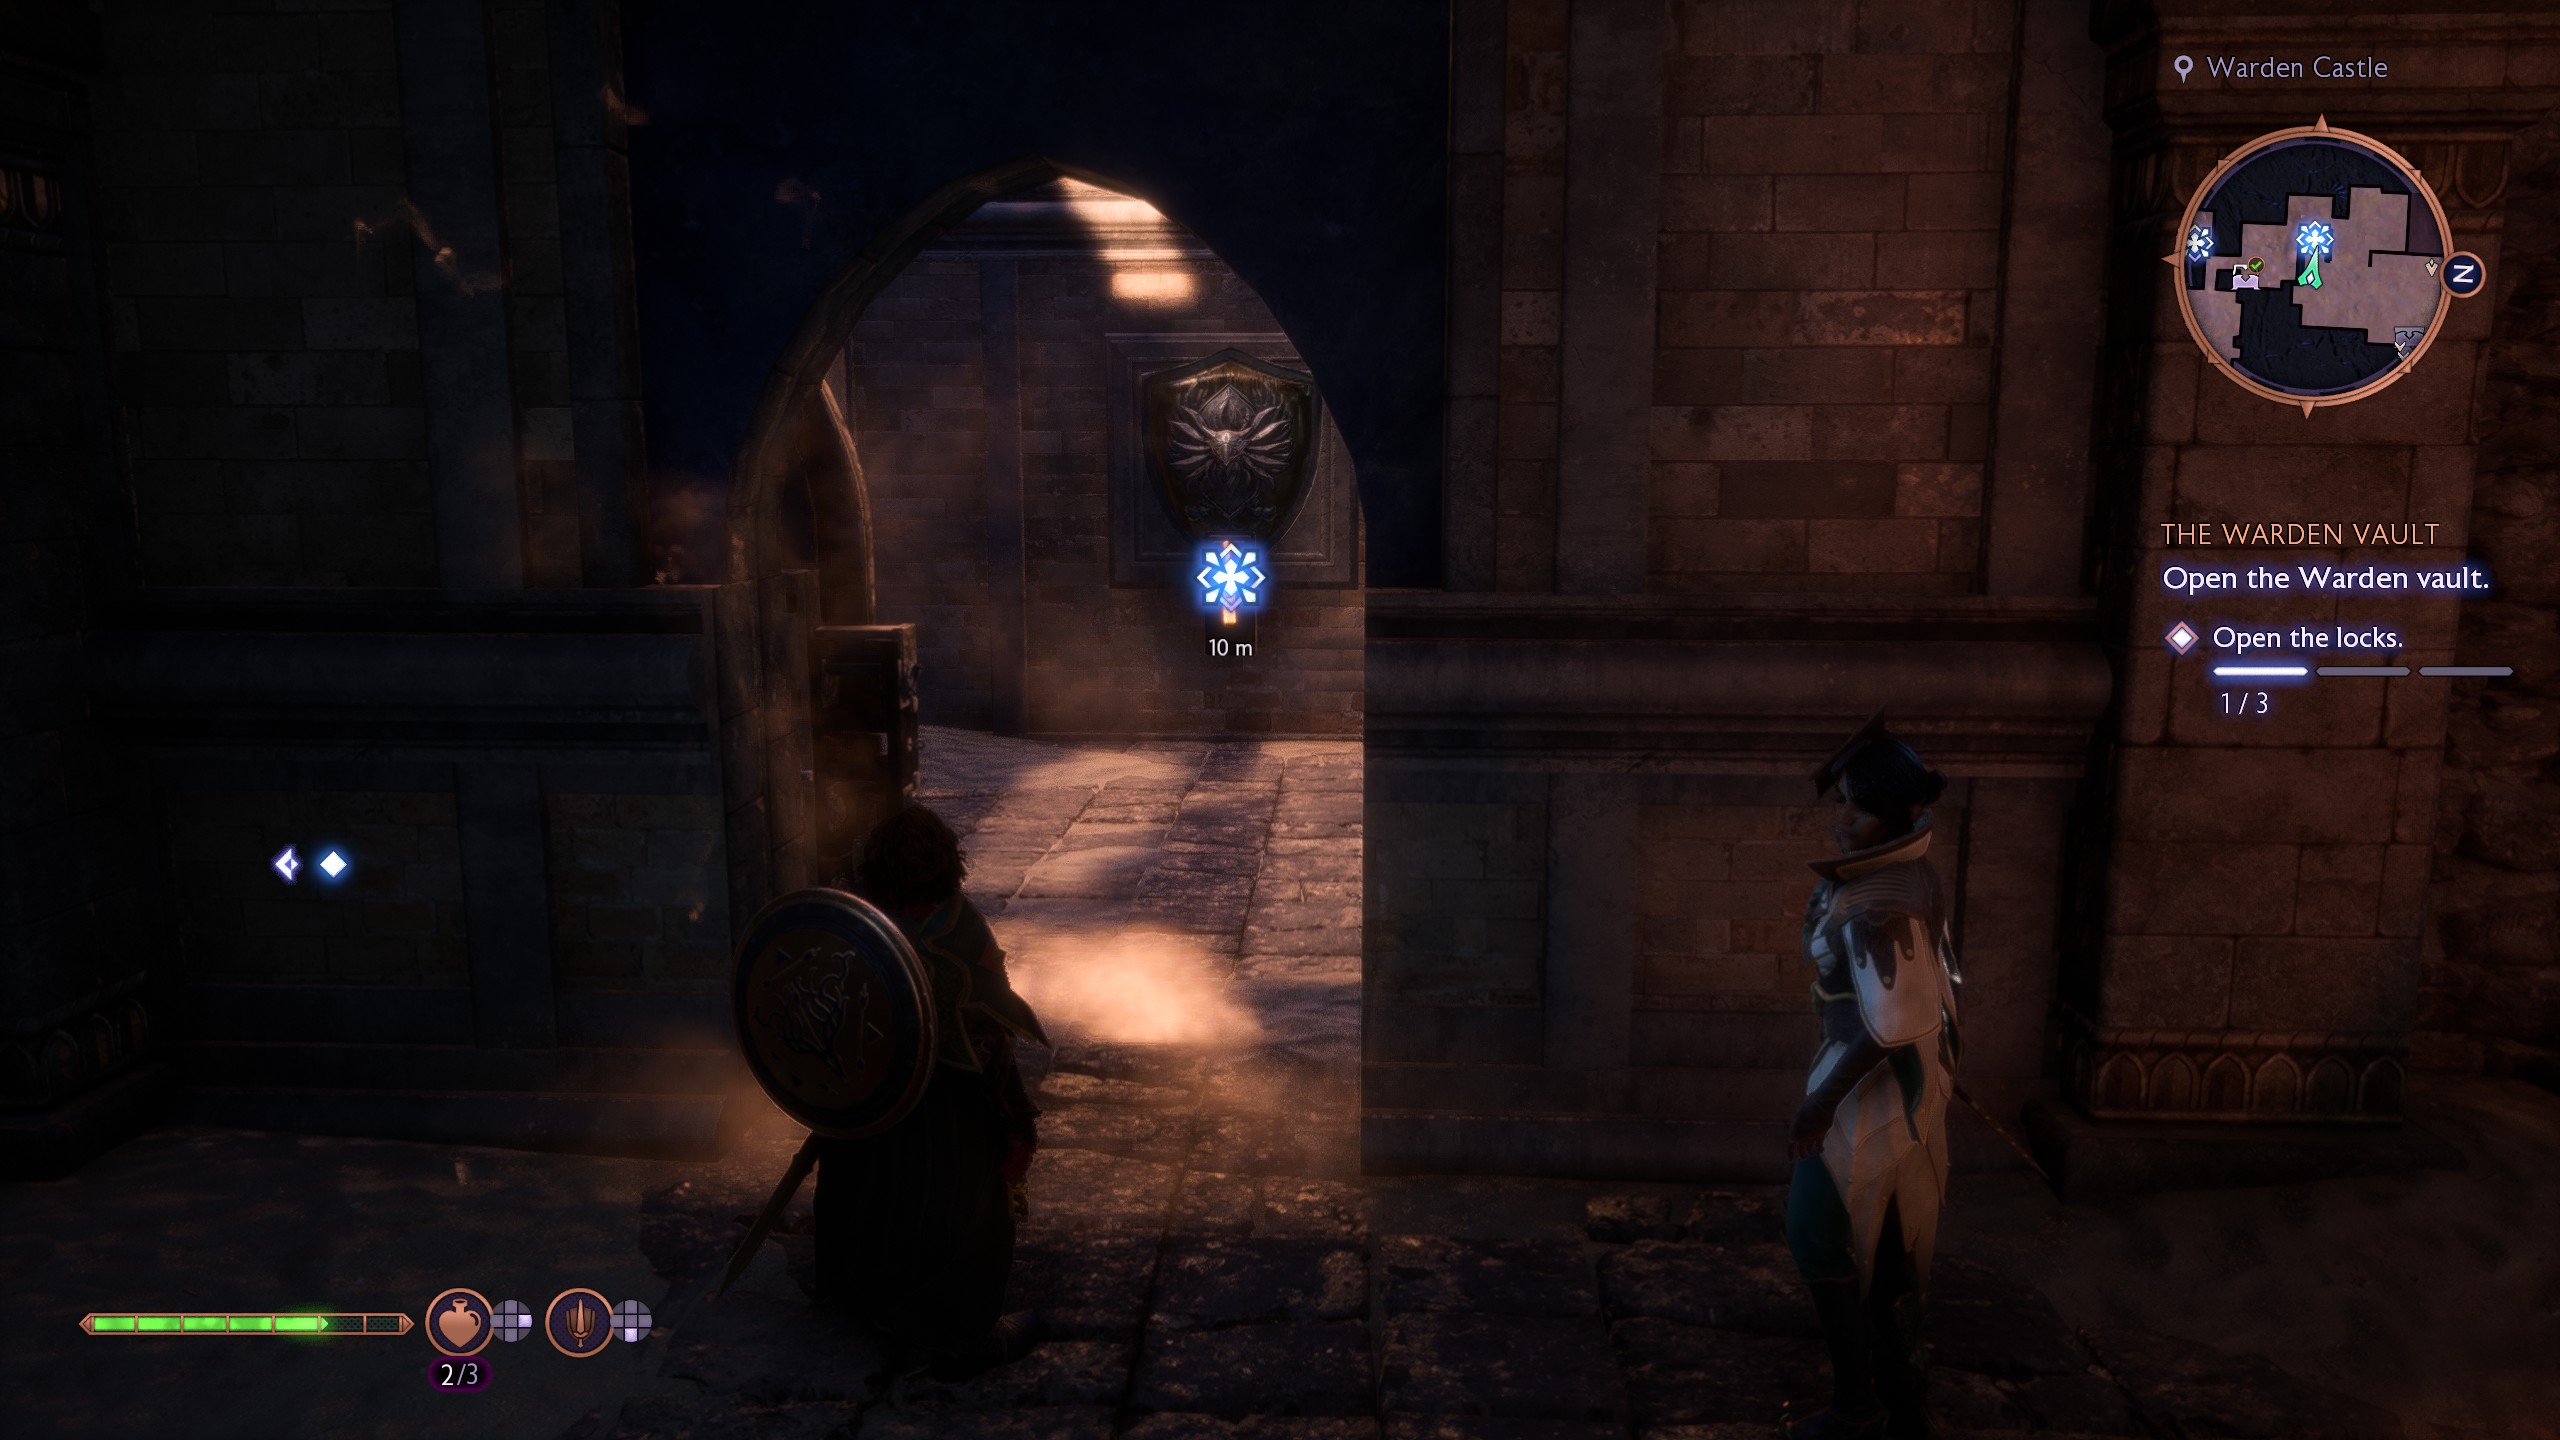
Now, head to the second map marker at the far side of the main hall and continue down the corridor to find a skeleton surrounded by green light with a sword stabbed through it—you'll hear a ghostly wailing sound when you get close.
Investigate the remains, and you'll summon a slow-moving ghost who tracks to the location of other skeletons you need to find. This is slightly tricky, though, since the ghost moves through walls, and as you find each subsequent skeleton, the ghost will move again.
Either try to follow the ghost or use these instructions:
- The first skeleton: Remember where you lit those torches earlier? Head up the stairs from there, but instead of climbing the pile of planks on your left, look to your right to spot a skeleton through an archway.
- The second skeleton: You might have spotted this in the room next to where you blew up the wall earlier. Head through the small archway just to the right of the entrance to the main hall and you’ll find the remains immediately on your left.
- The third skeleton: This one is at the far end of the main hall, on the right, and is very easy to spot.
When you get close it'll open a door in the wall, letting you pull a lever below the second seal to open the next lock.
Warden Vault third lock
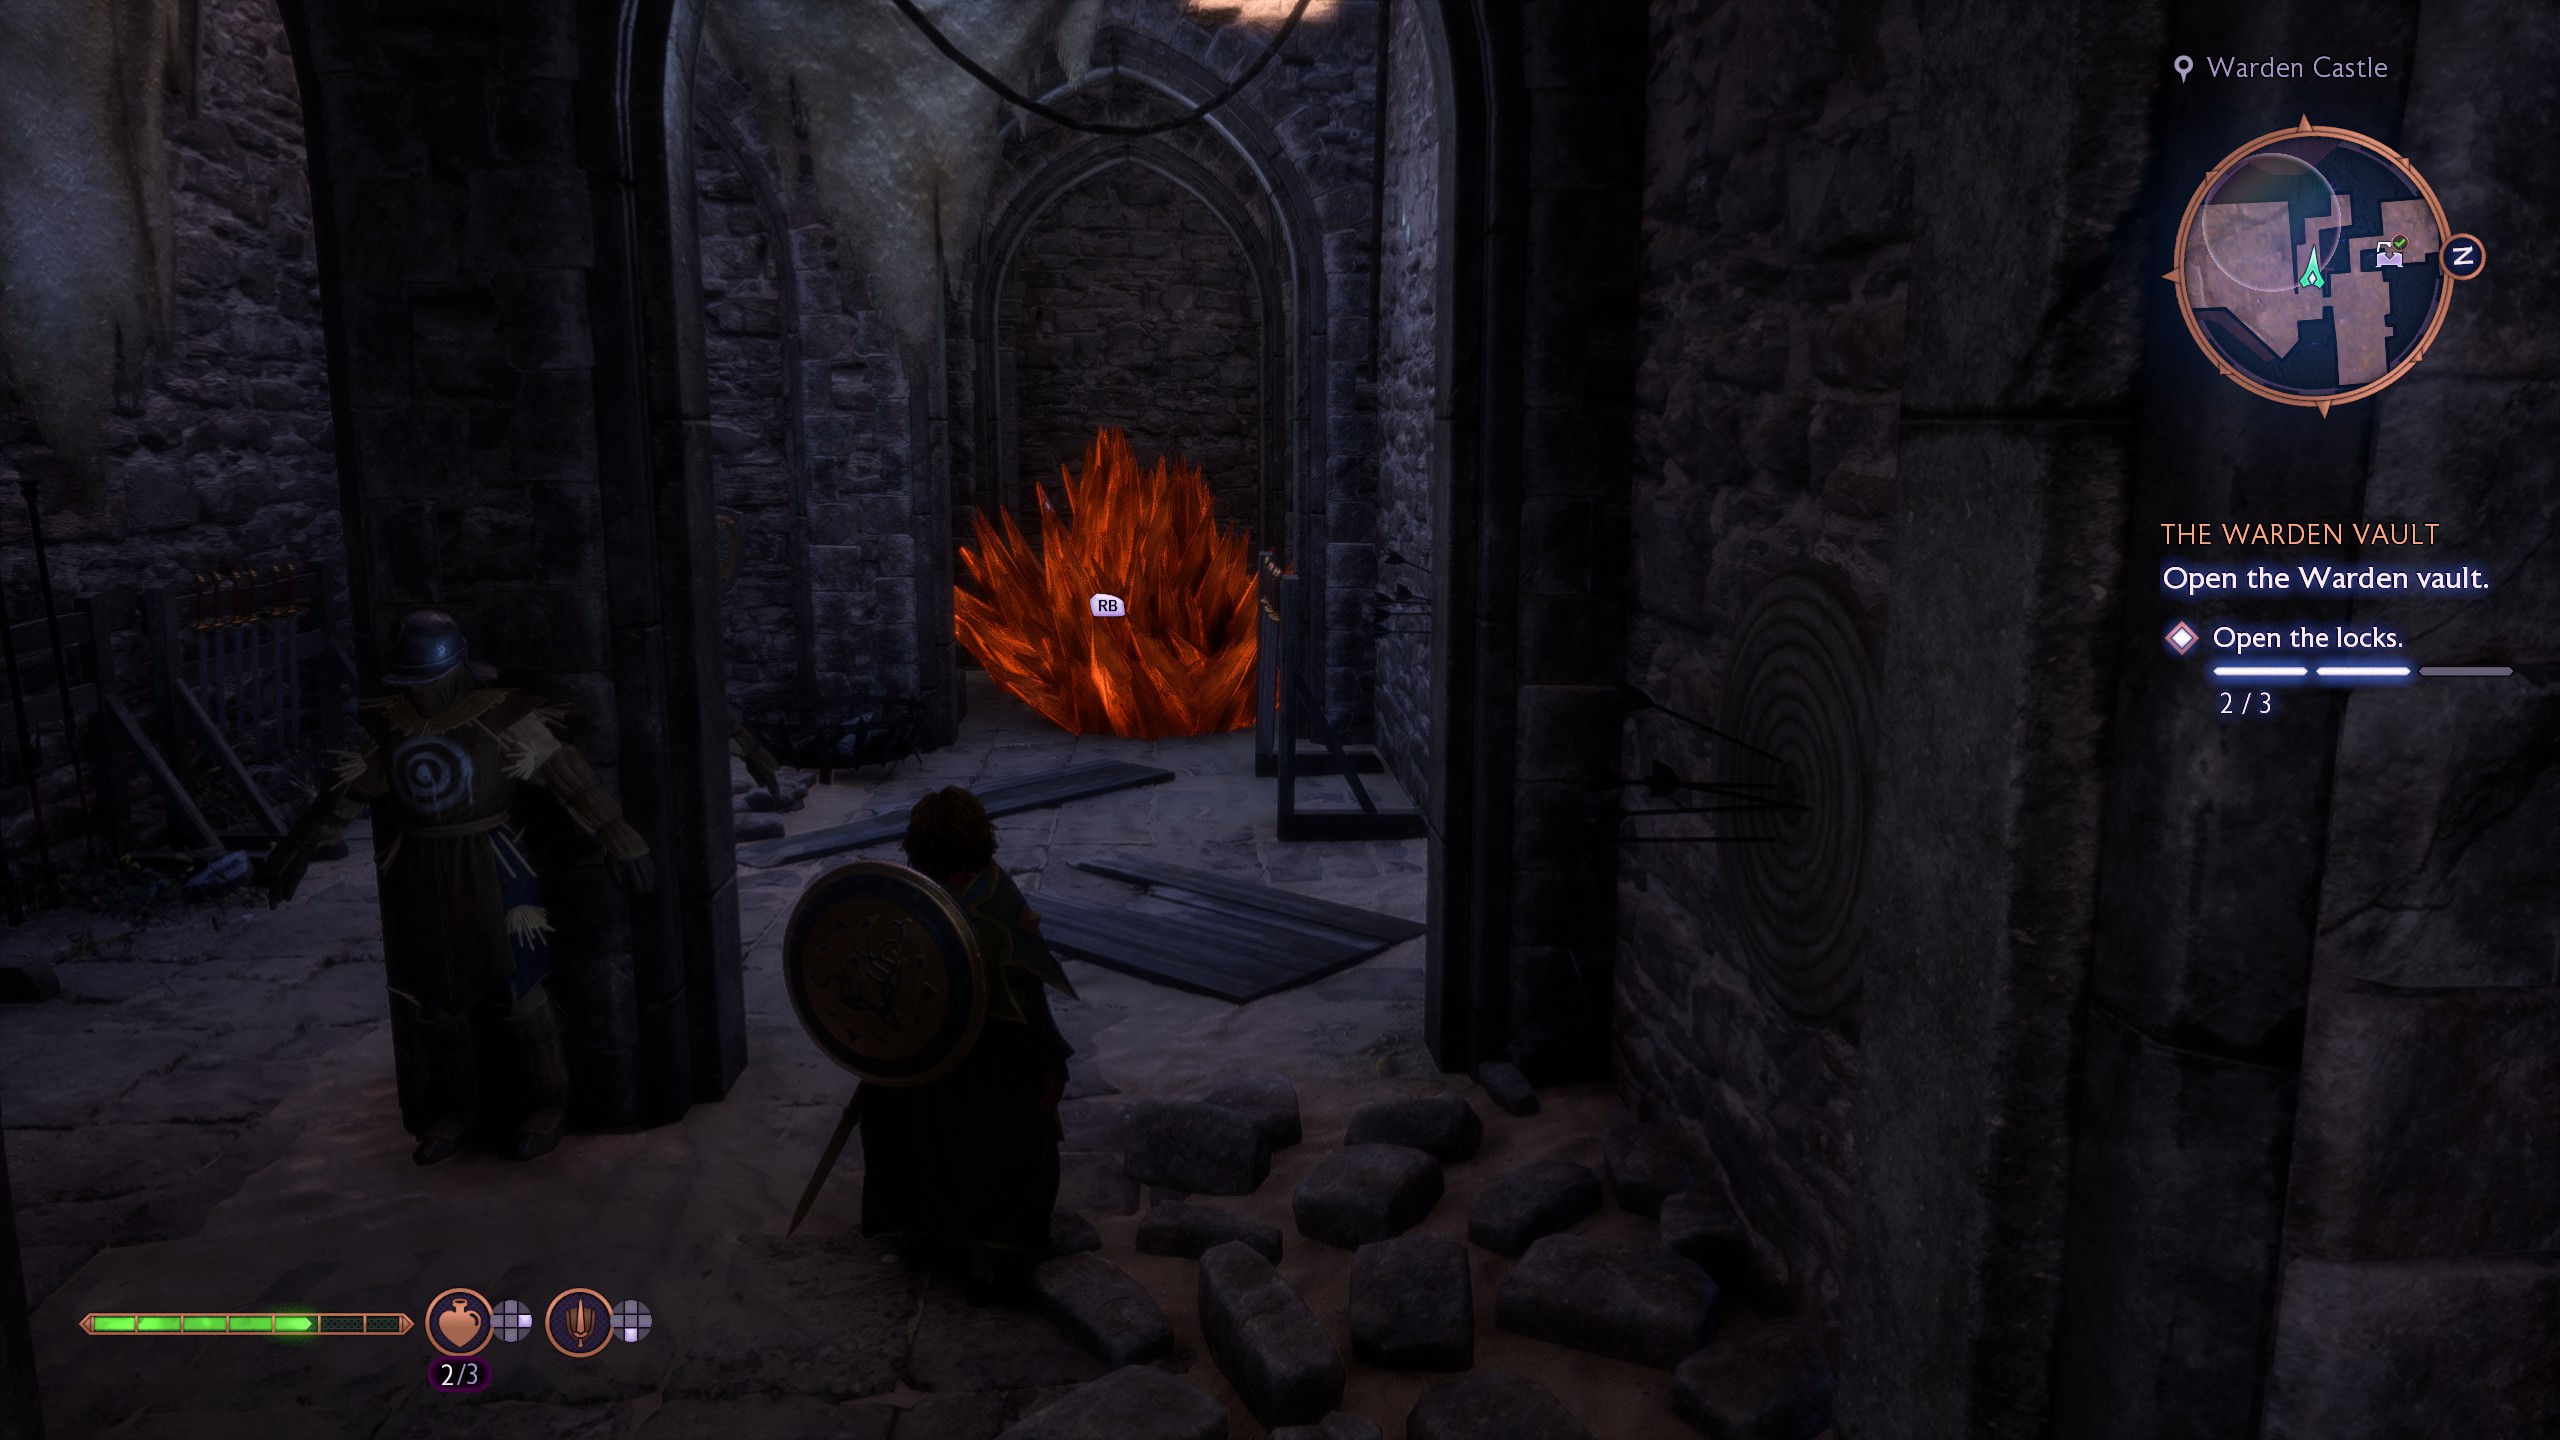
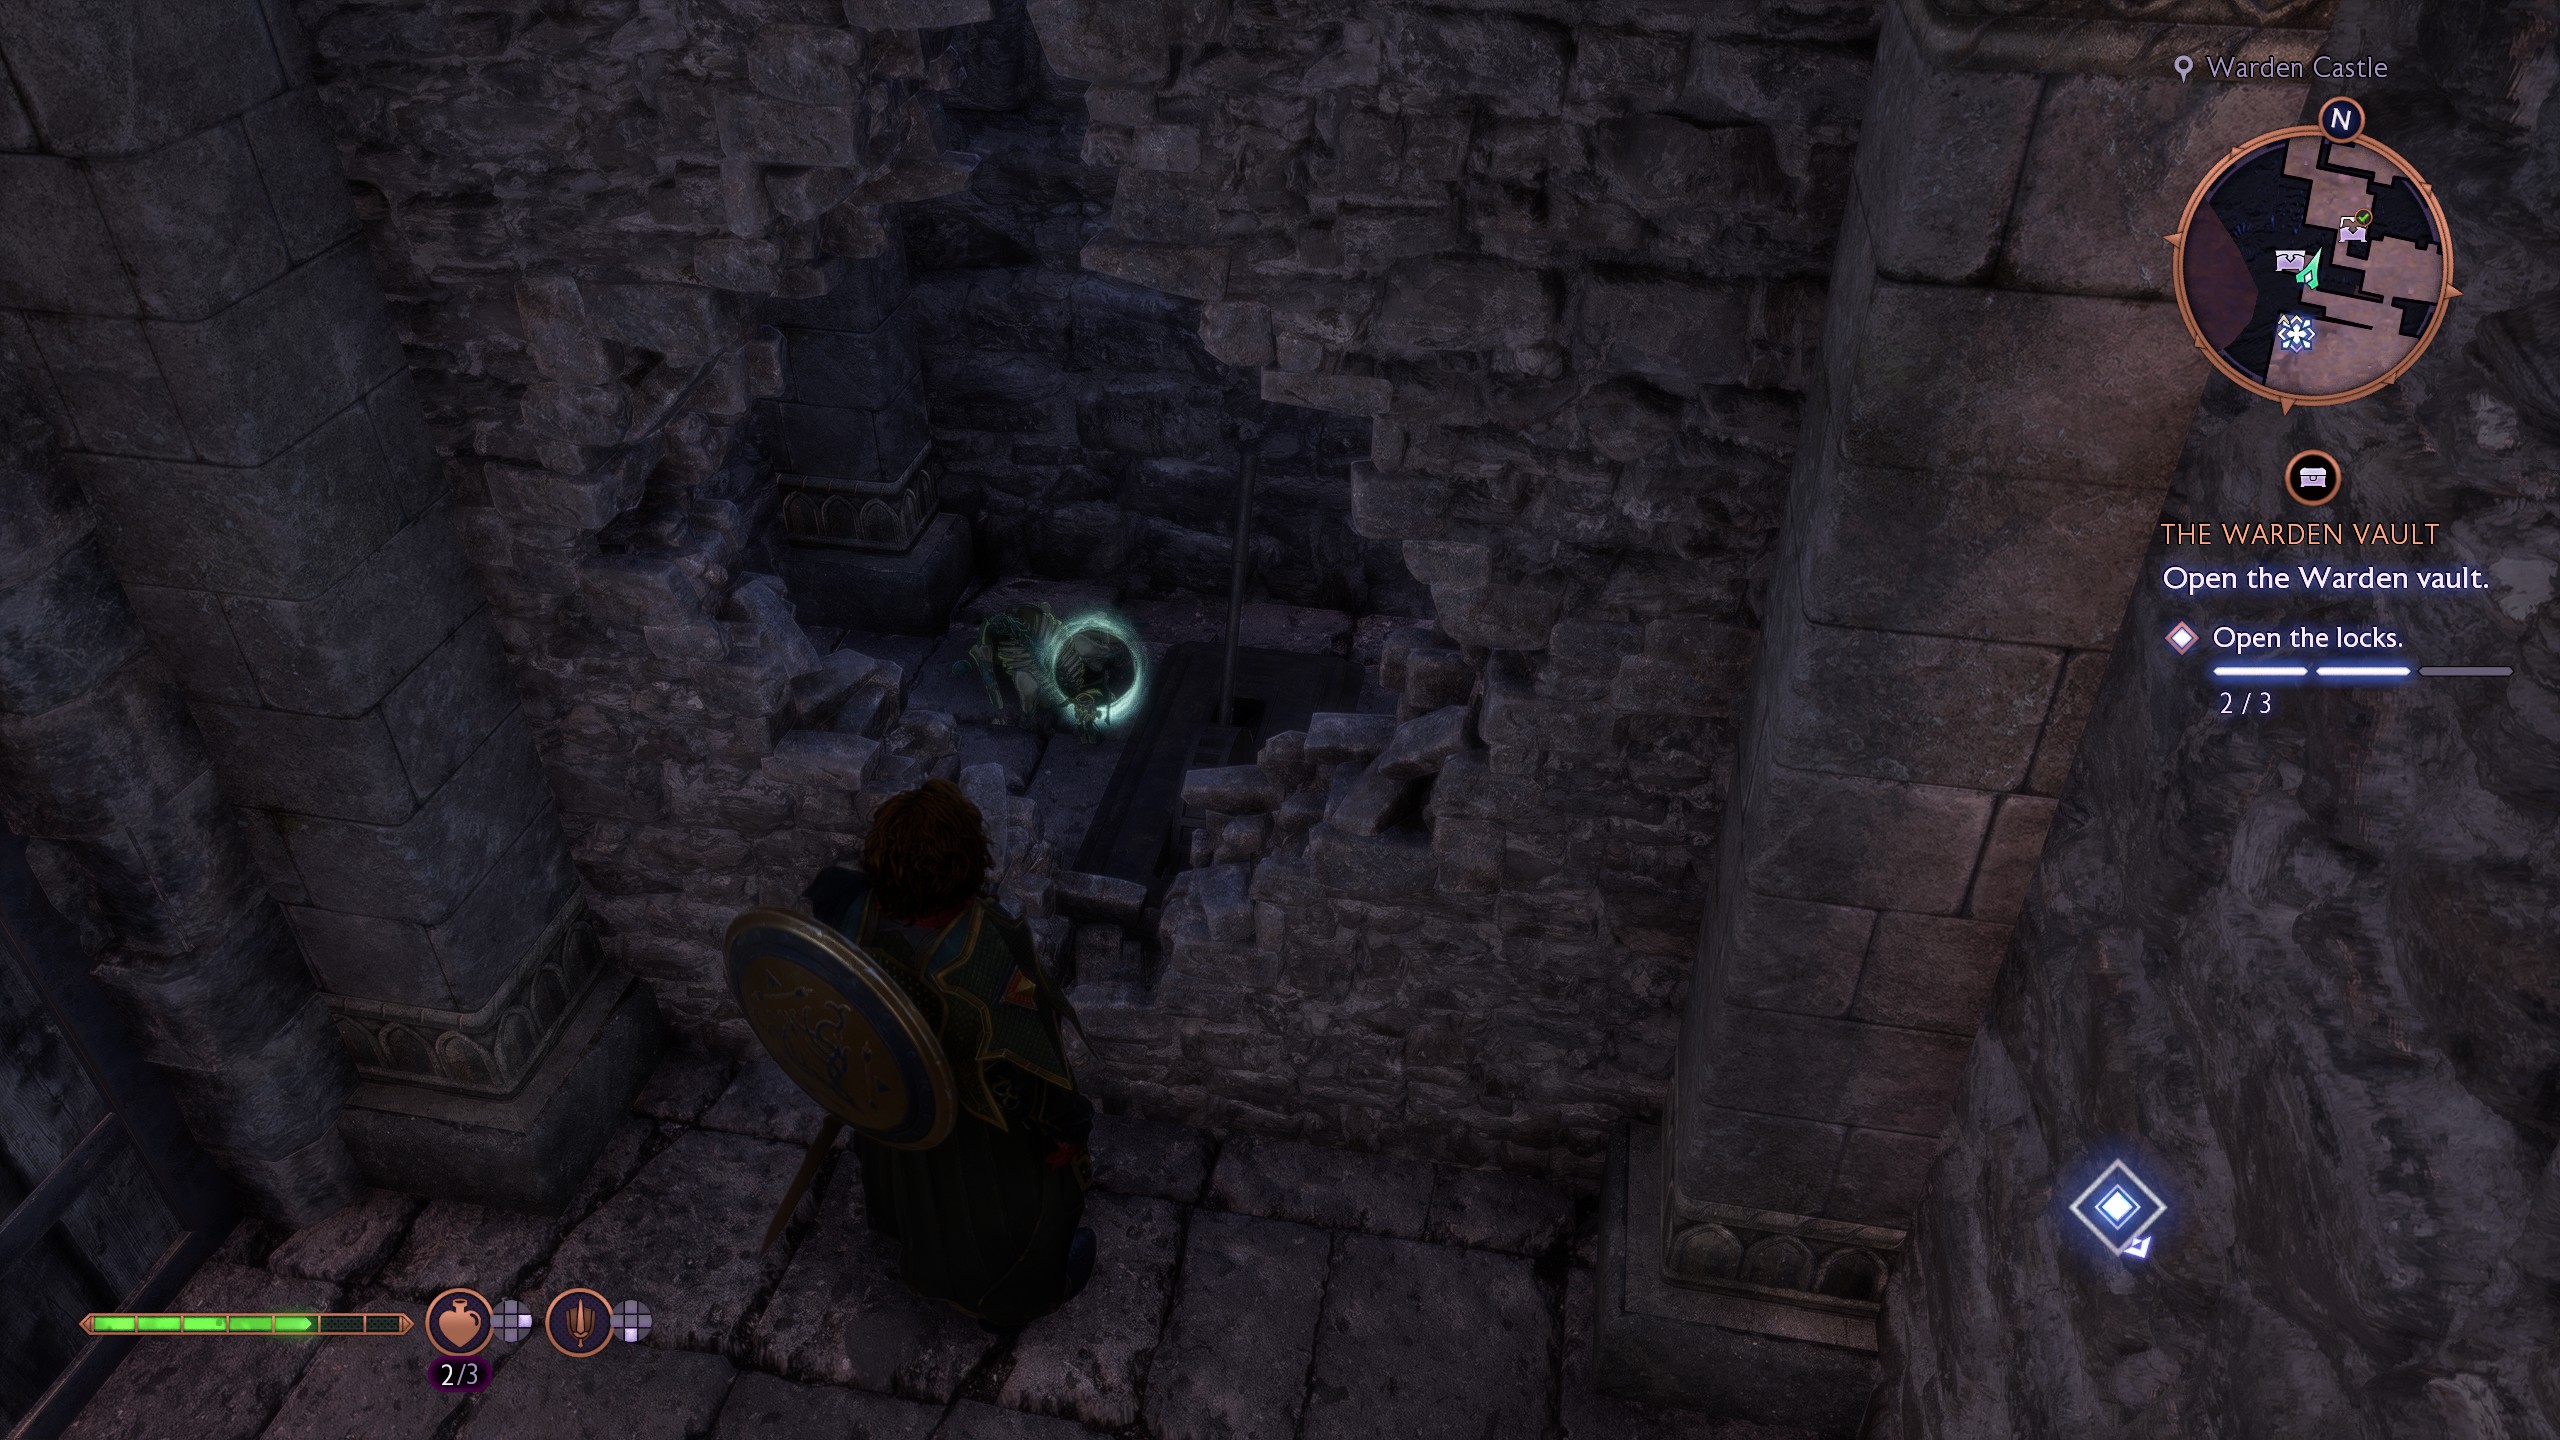
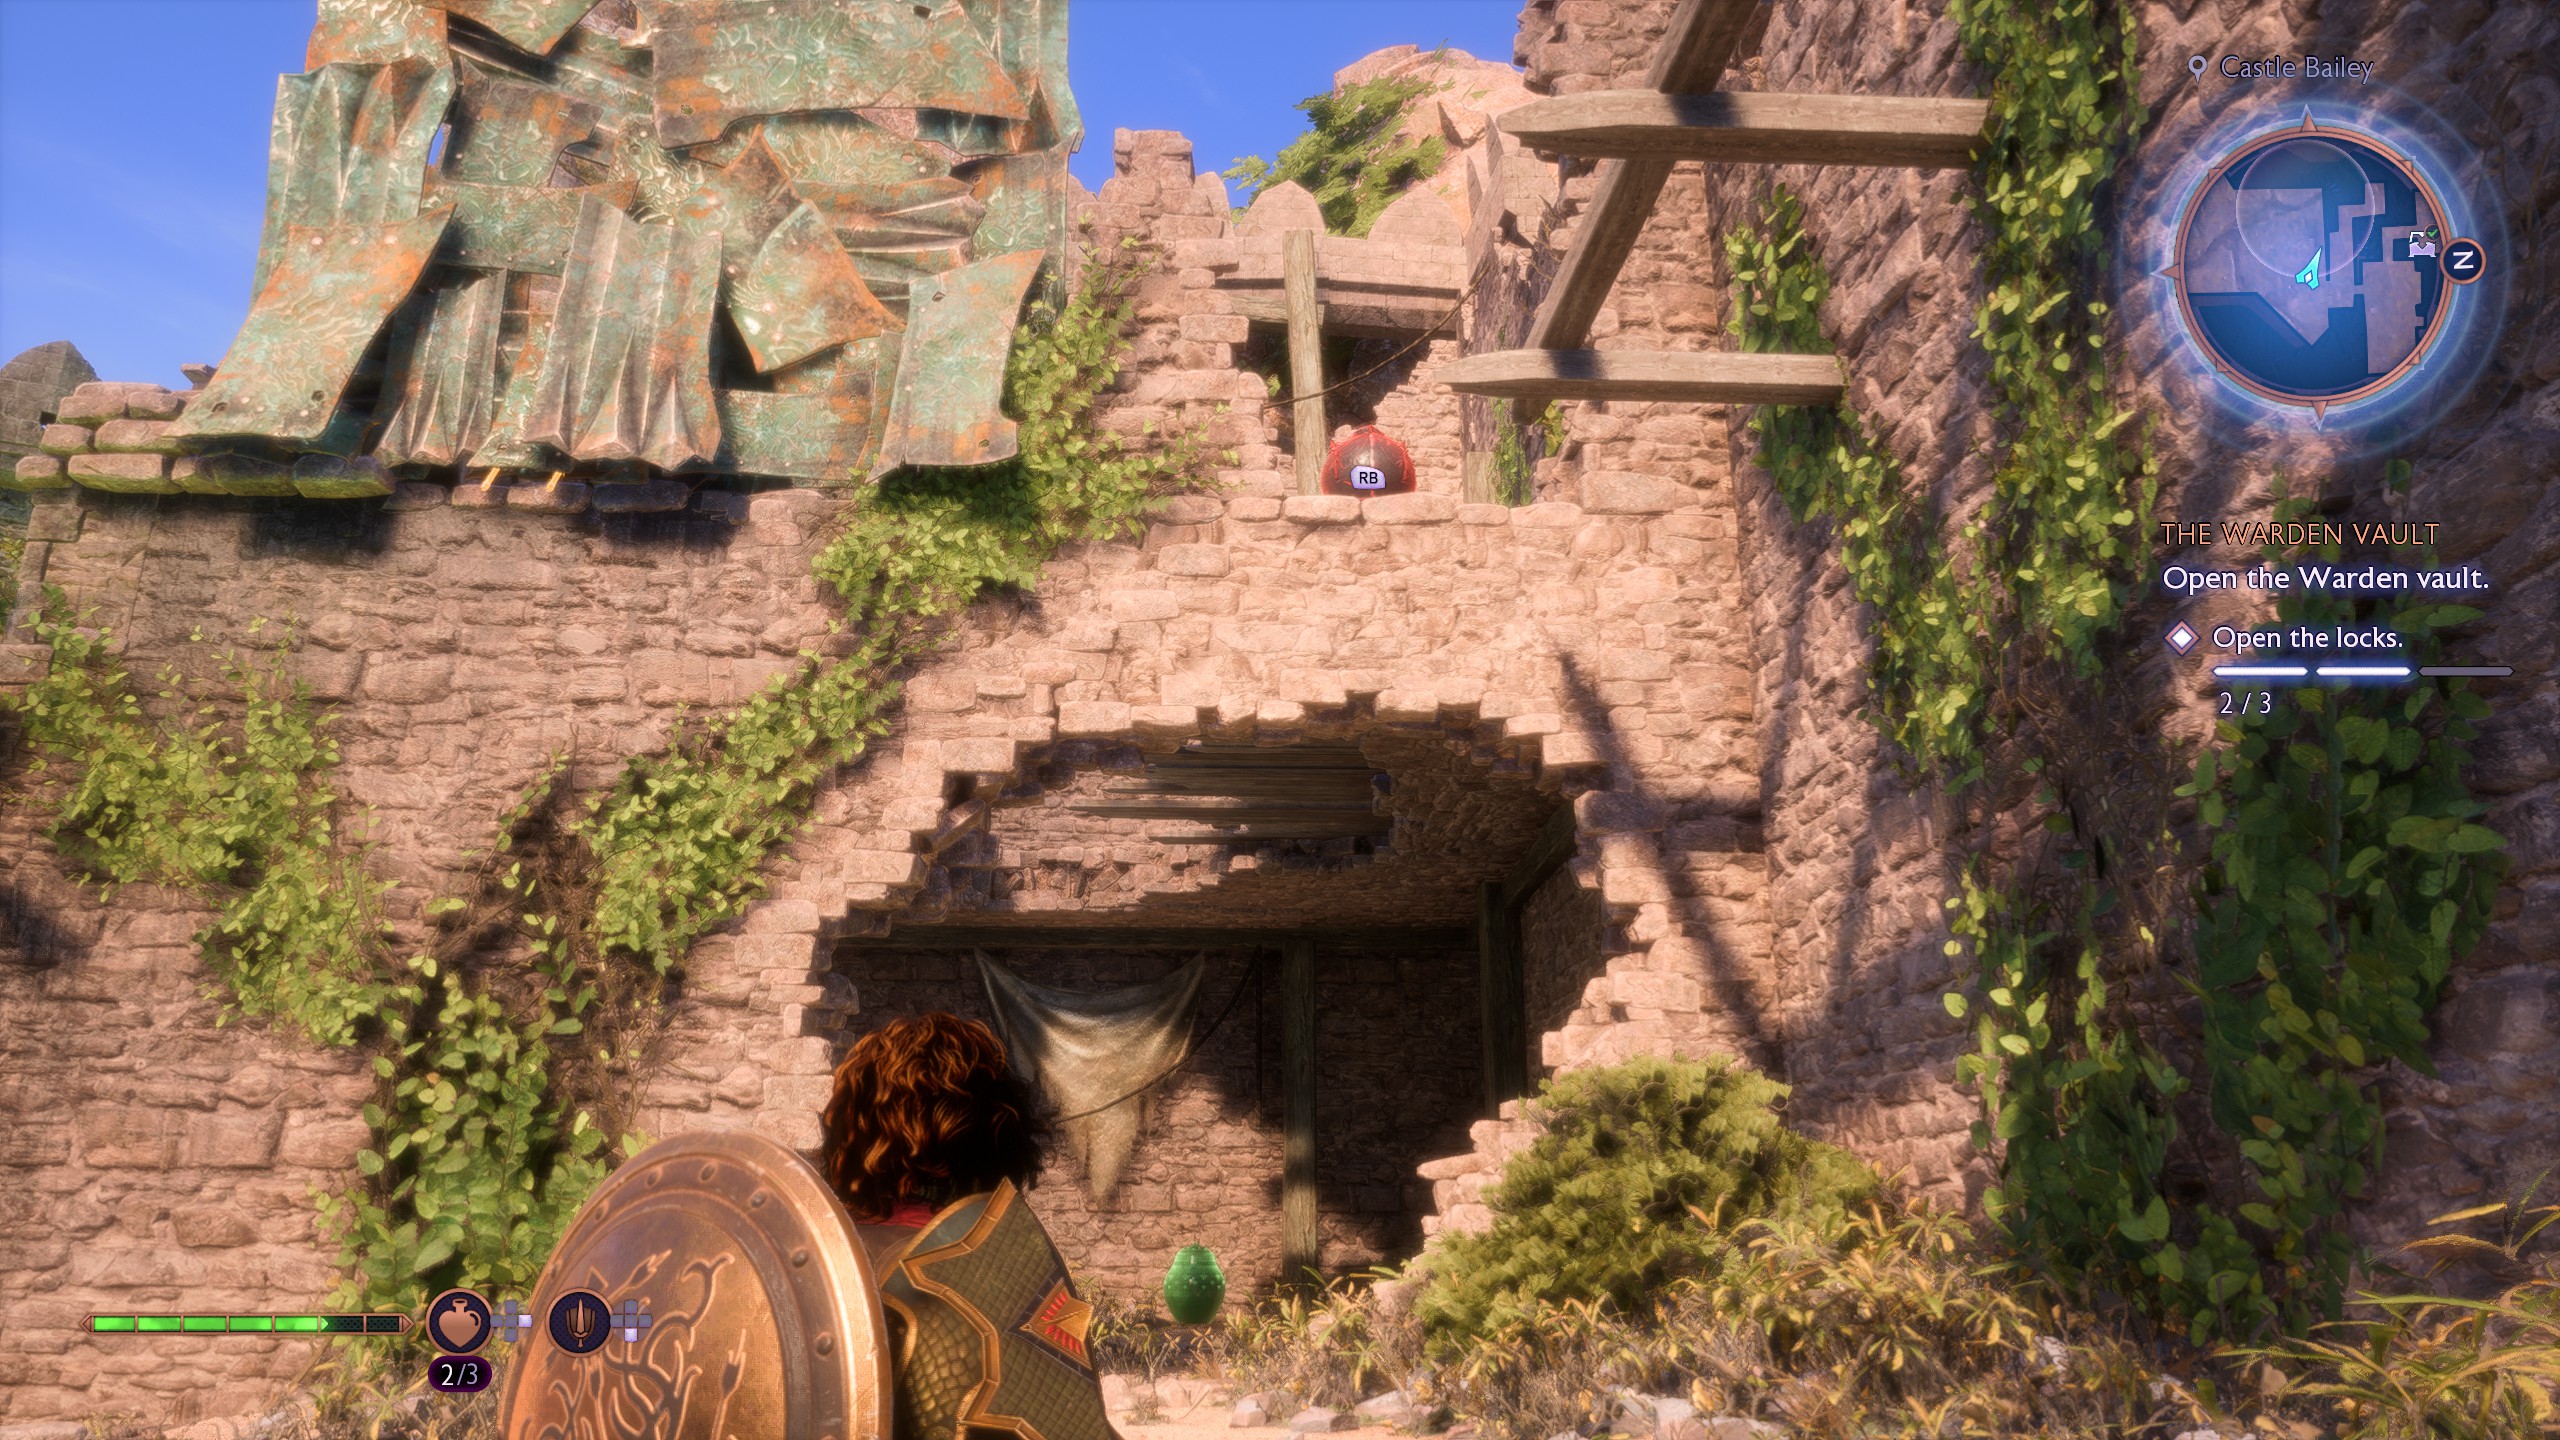
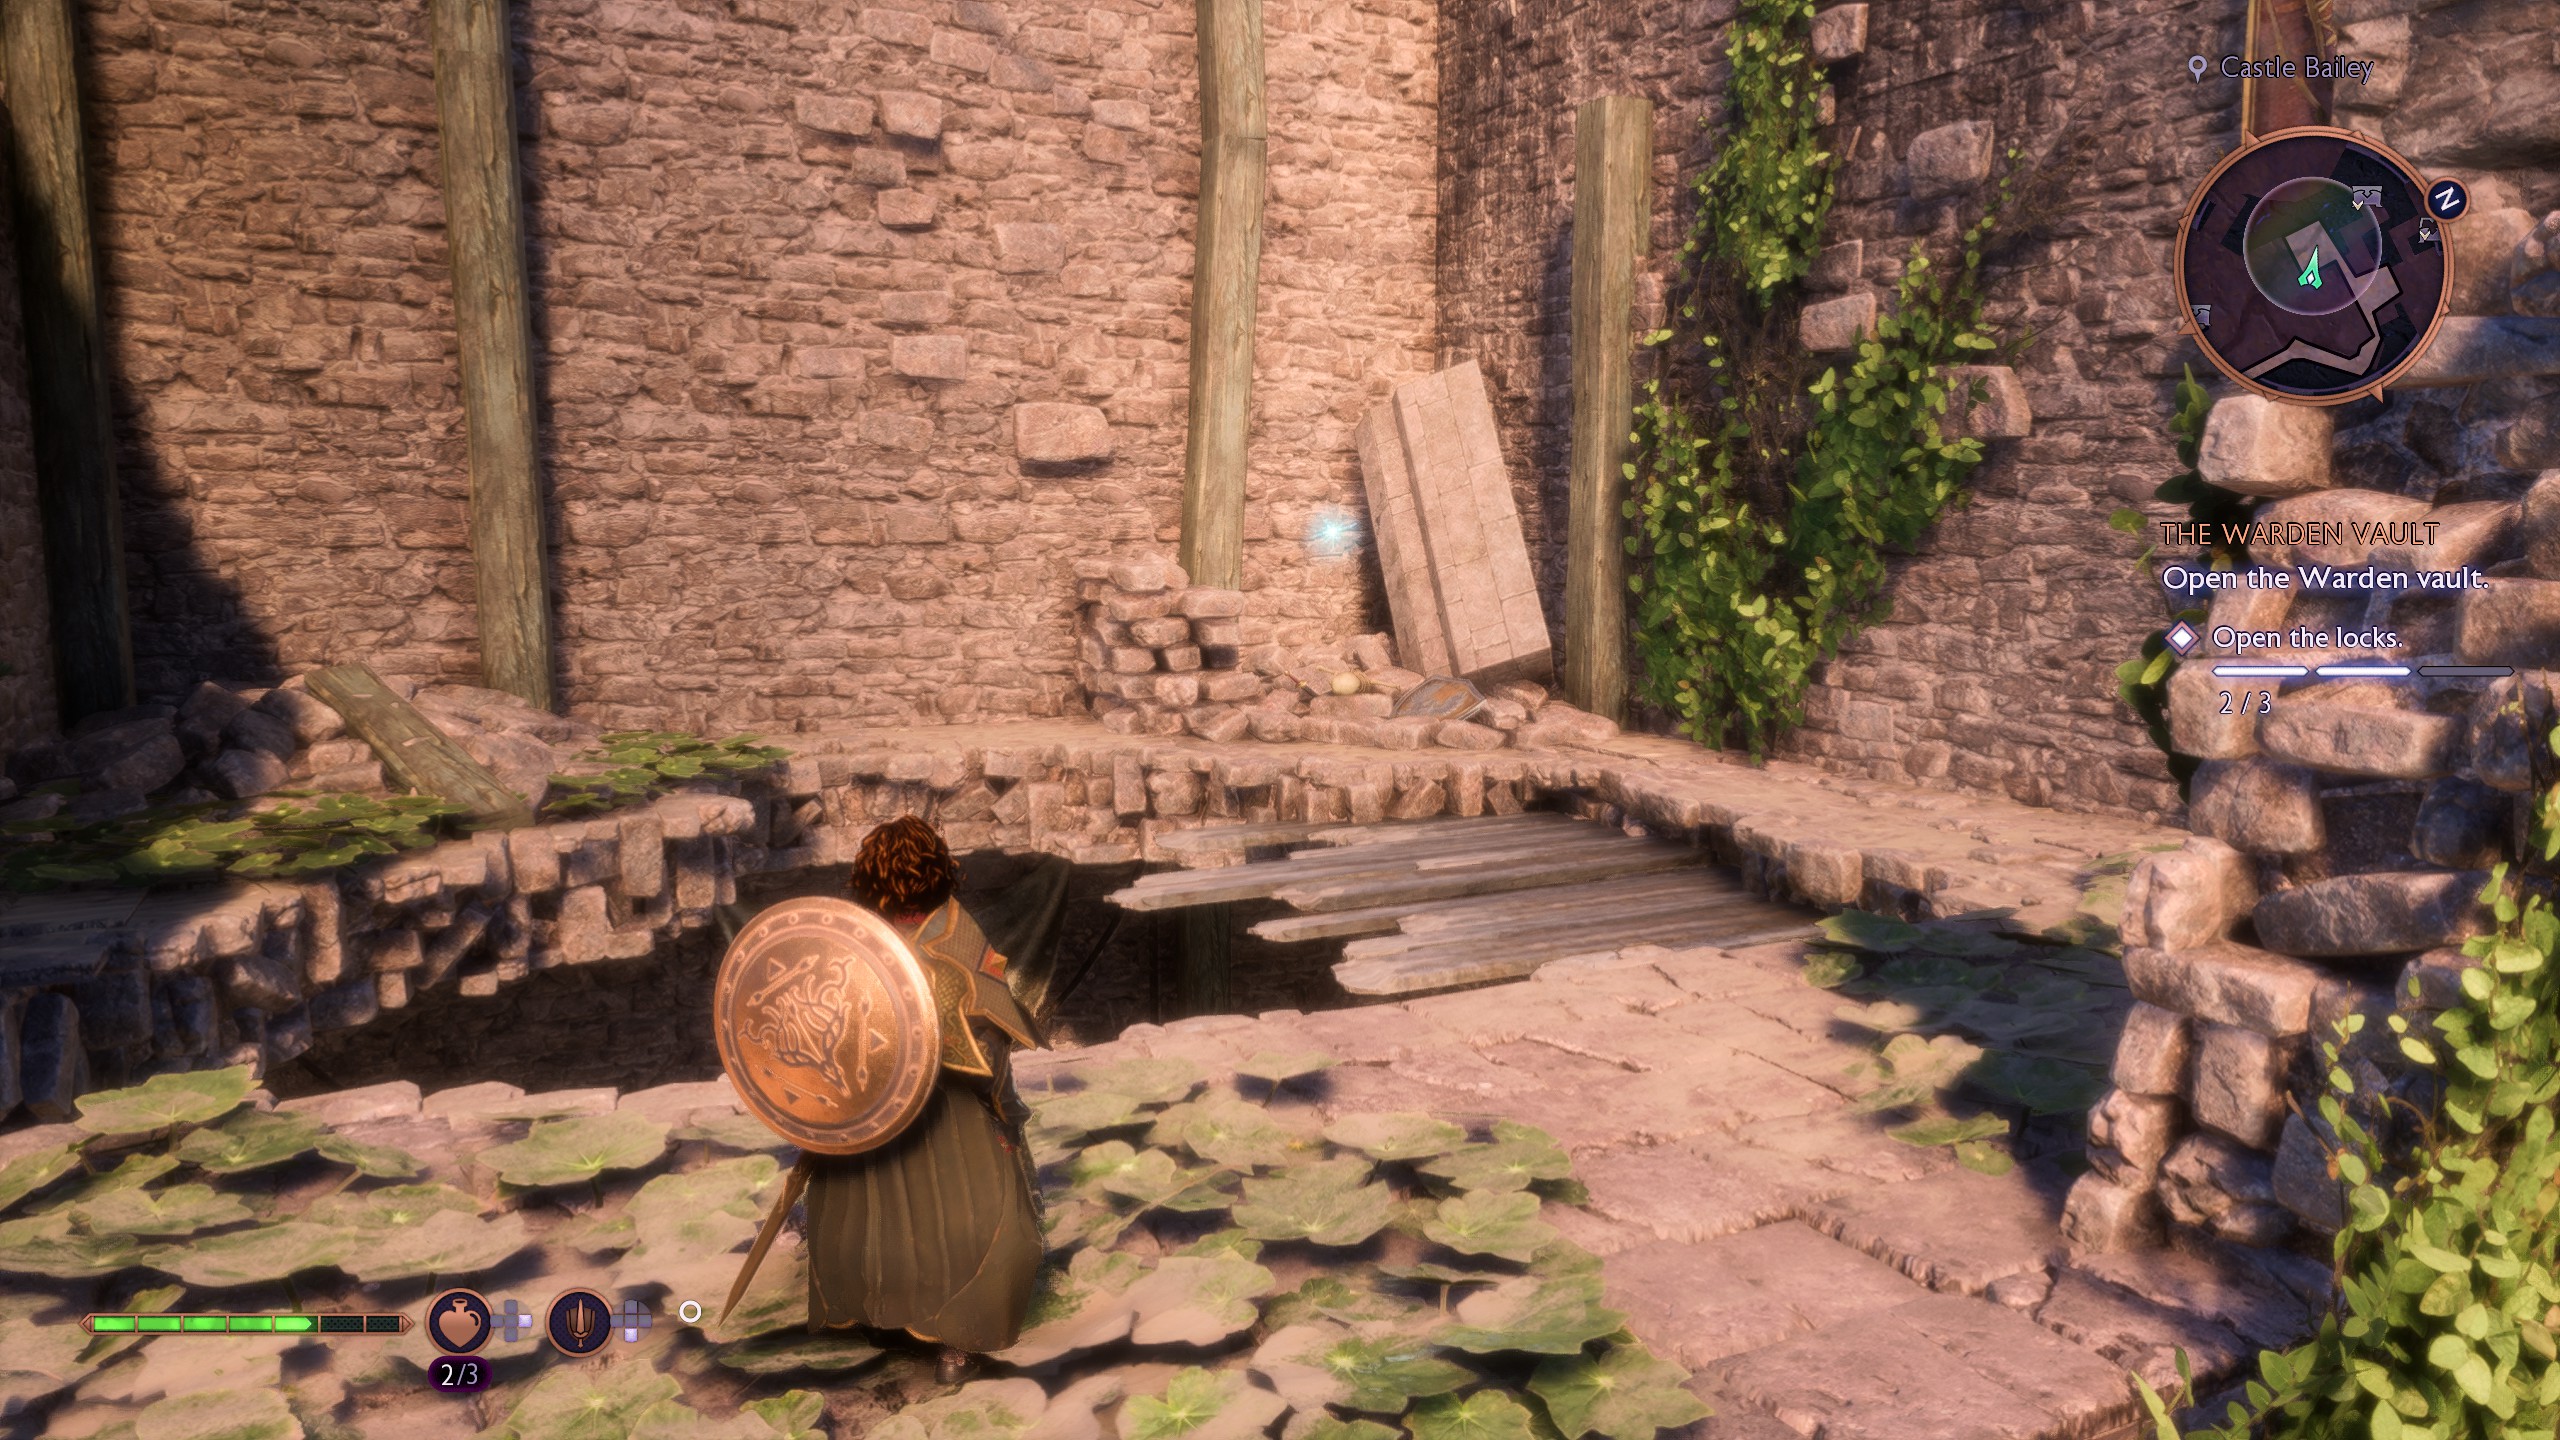
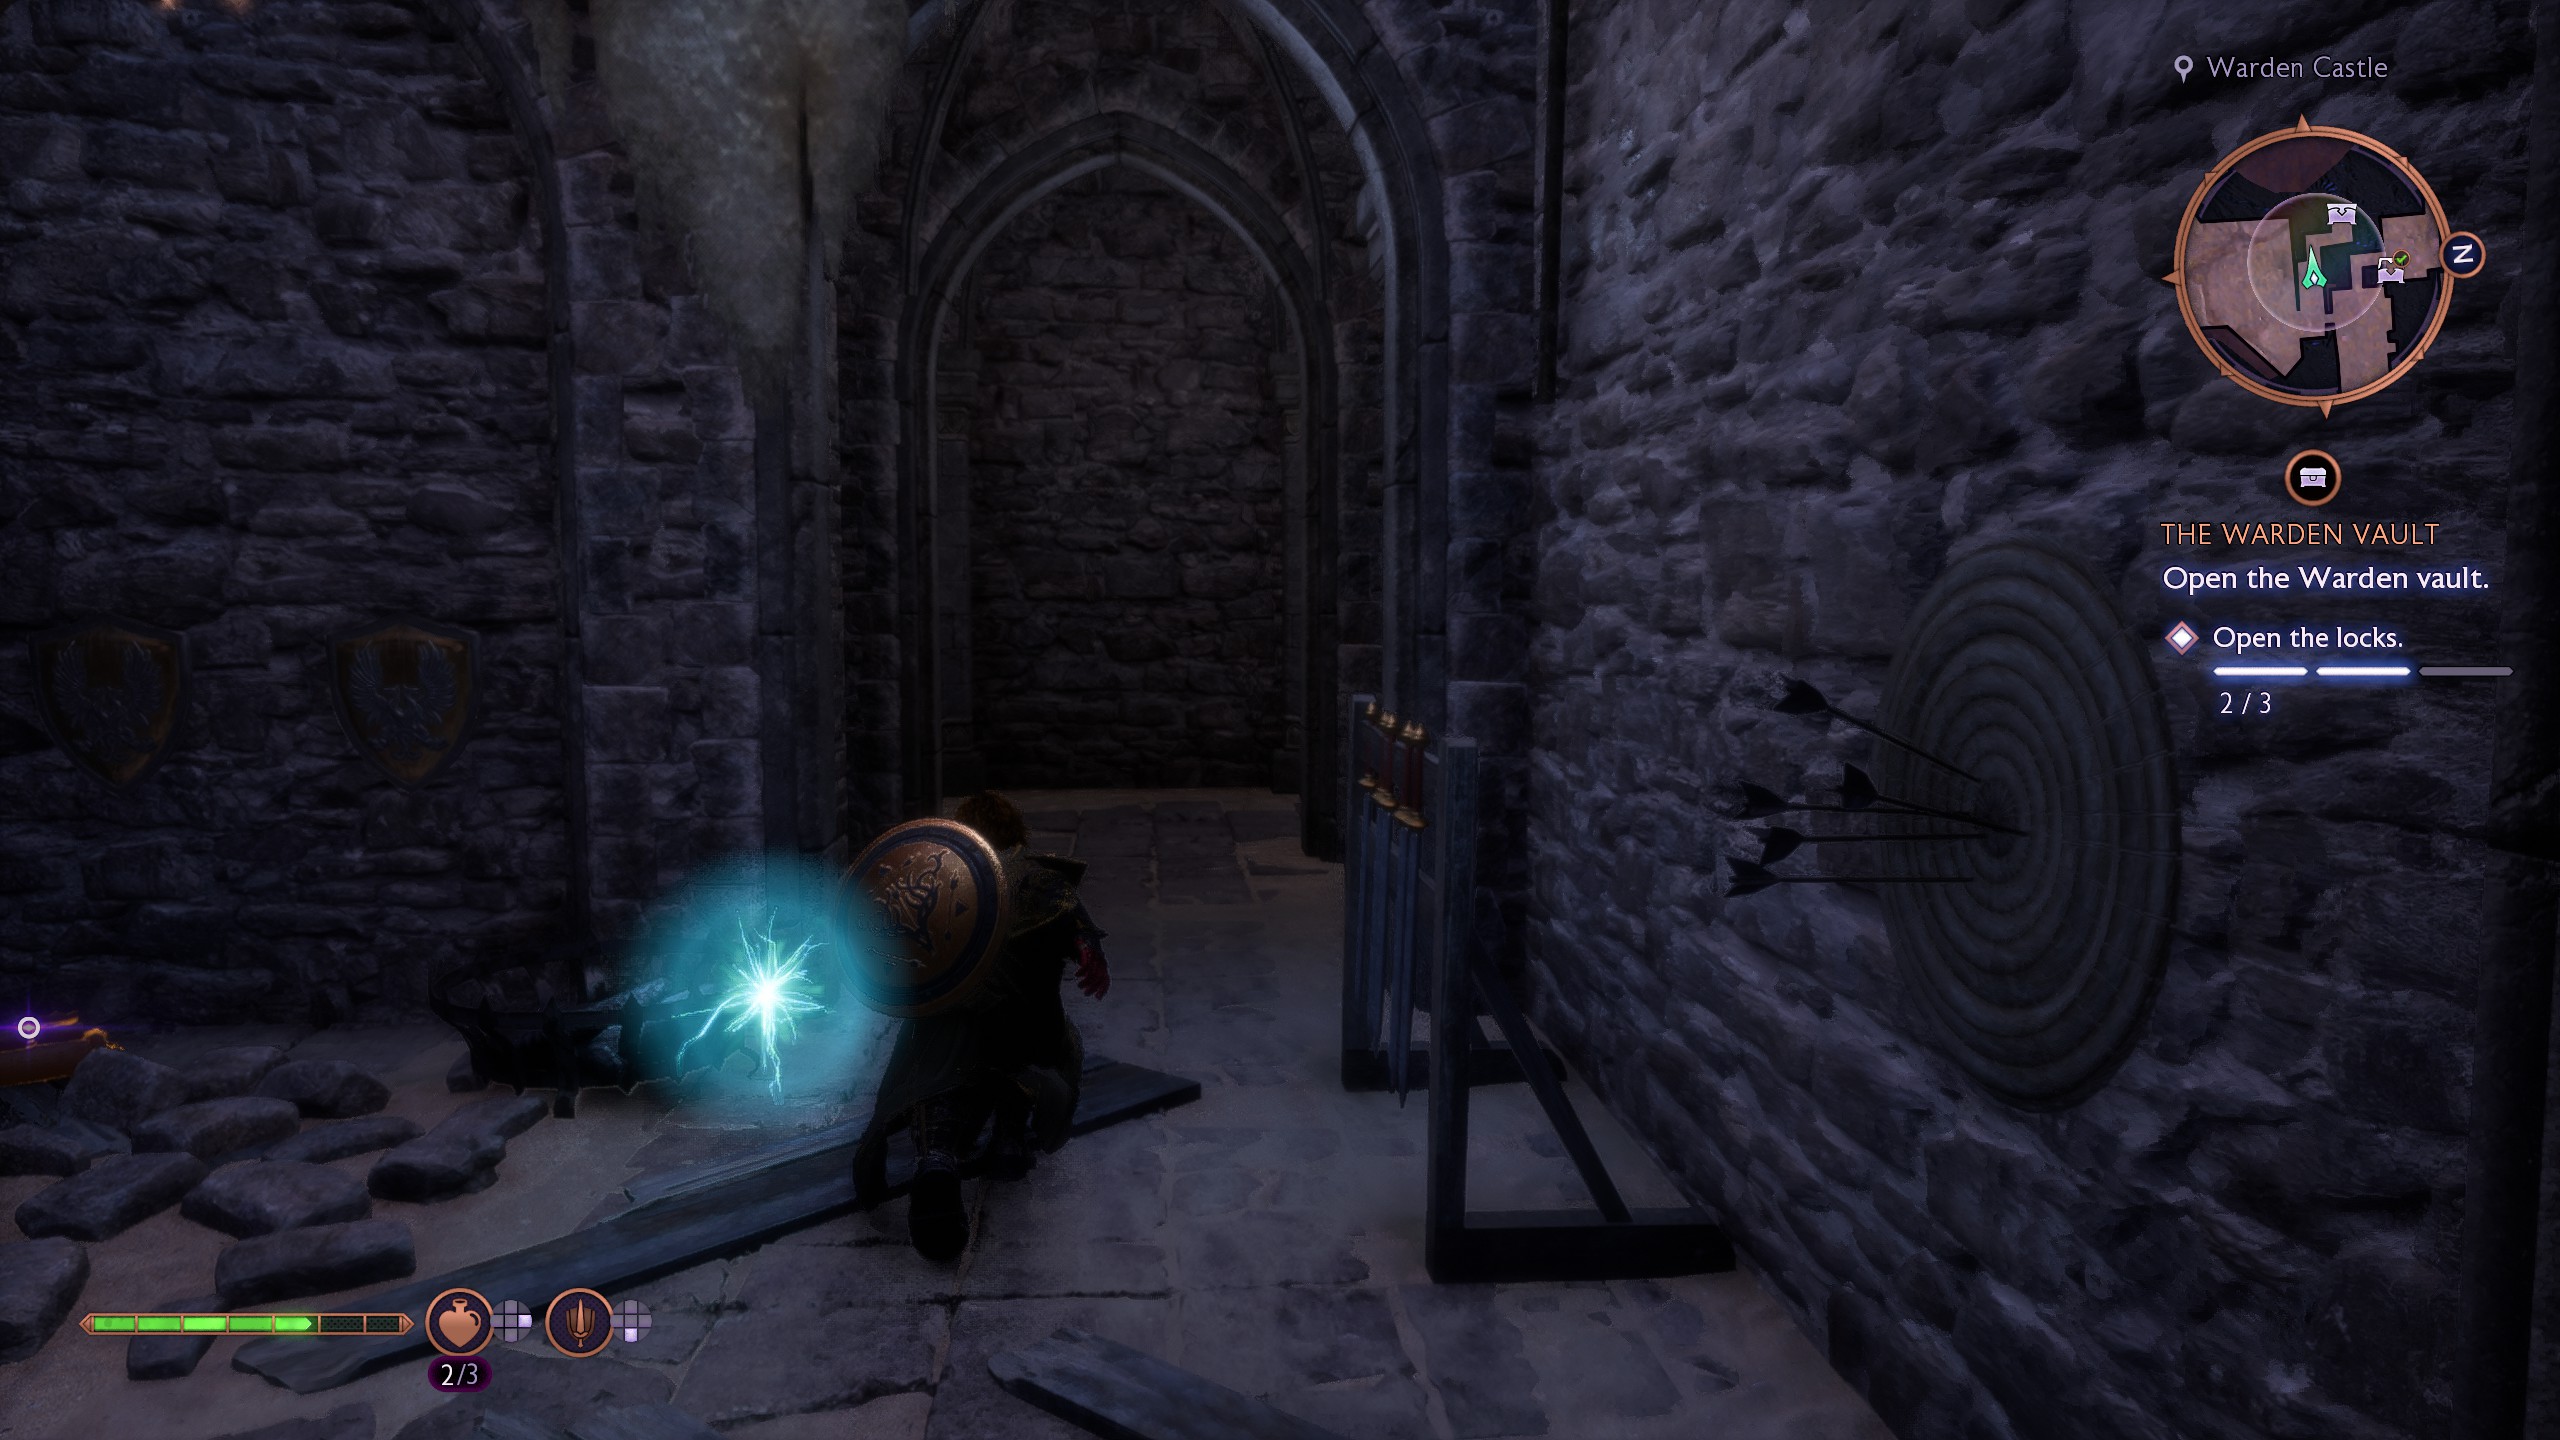
Follow the final map marker through the castle, but just before you head outside into the Castle Bailey and the courtyard with the statue:
- Turn right into the room with the Blistering Drakestone that Taash or the knife can melt. Follow the path you’ve opened to spot a lever and a skeleton through a wall where Rook will comment: “I need a wisp”.
- To find said wisp, head into the Castle Bailey courtyard where the map marker is sending you, and look to your right to spot a building with a ruined wall, and a Gaatlok Barrel on top of it.
- Explode this barrel with Taash or the knife to drop a ladder, then climb up to find your wisp.
Have the wisp follow you back to the lever and the skeleton. It'll revive and open the door, revealing the third seal you need to activate to open the lock.
So what’s the reward?
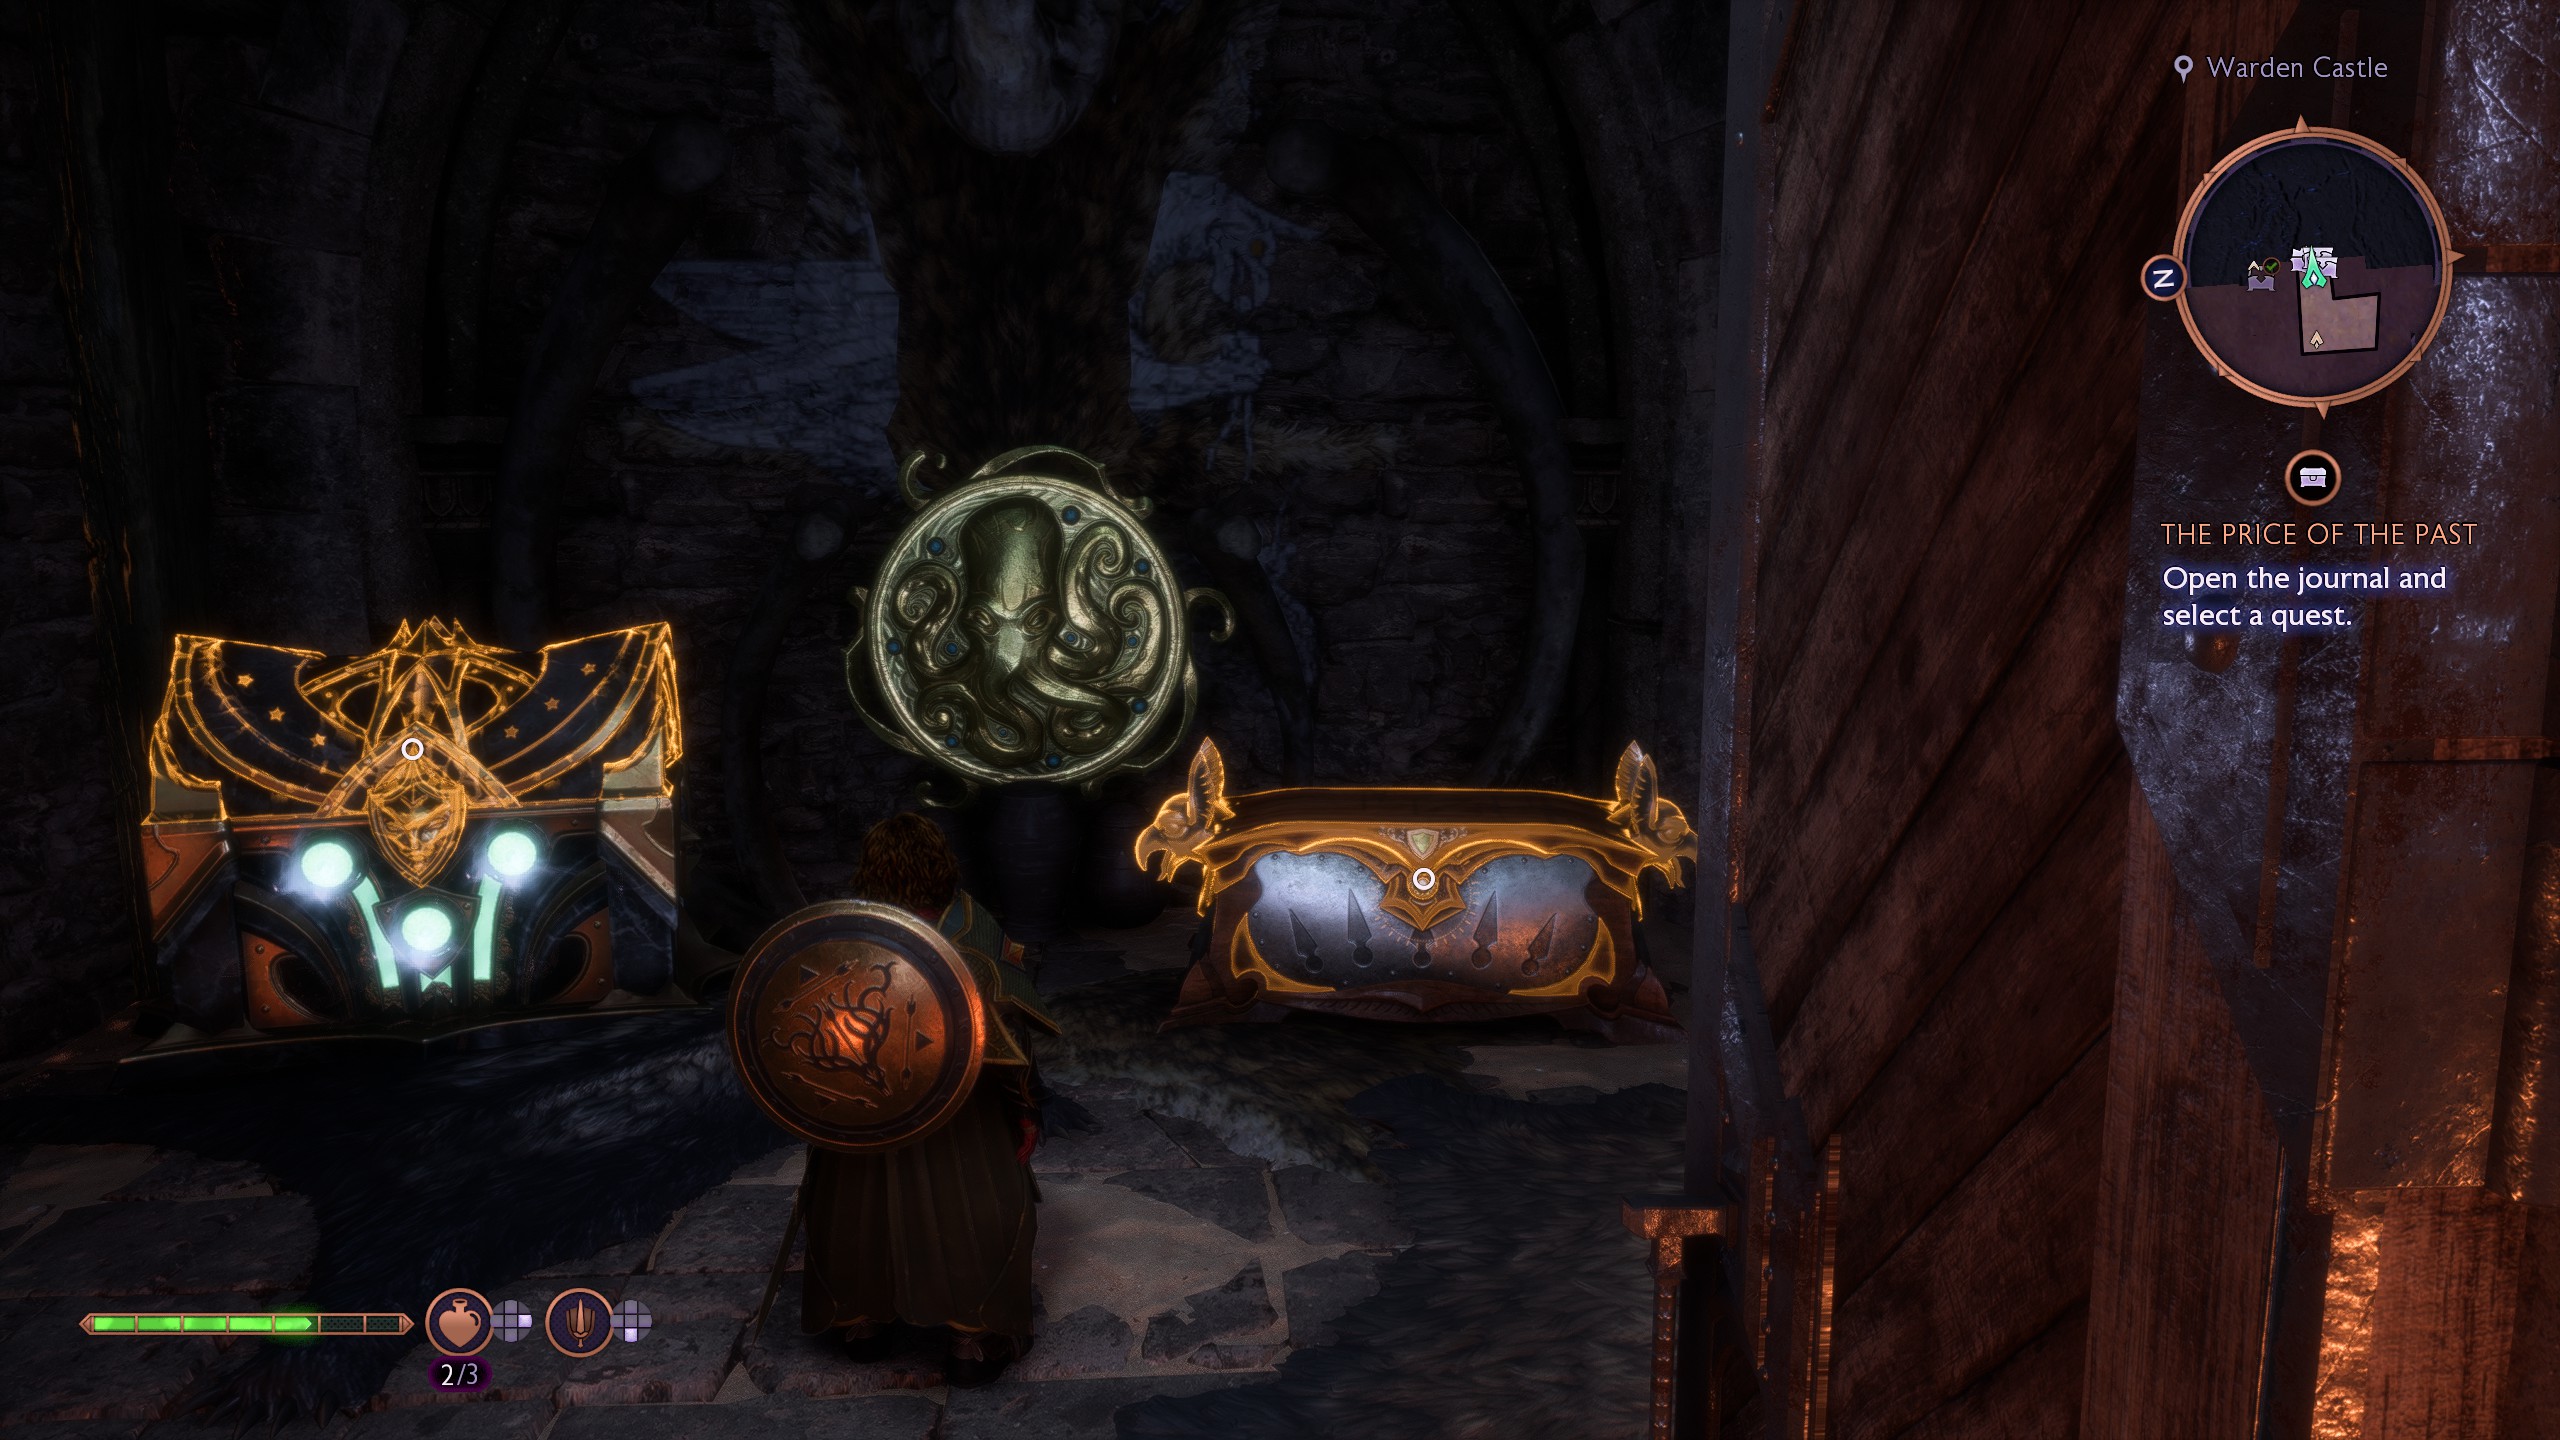
Now for the easy part; return to the vault and open the door. Opening the vault gives you increased bond with the two companions present, and gives you +100 strength with the Lords of Fortune. You'll also get:
- Crookytail’s Crest unique ring that buffs flaming attacks (this might depend on your class)
- A weapon or armour for Rook
- Trussed Finery armour for Taash
- An assortment of other valuables

Veilguard romance options: Your newest Dragon Age dates
How long is The Veilguard?: What’s the time to beat?
Change appearance in The Veilguard: Free the face edits
Revive in combat in The Veilguard: Don’t stay downed
Veilguard best class: How to choose your role

