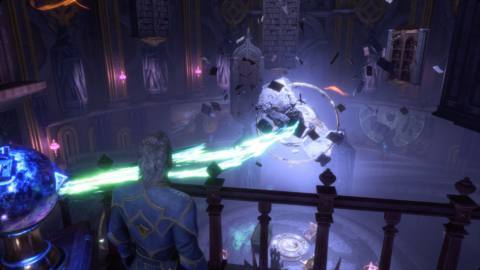
The Lighthouse statues puzzle is available once you finish Dragon Age: The Veilguard’s prologue and reach the Lighthouse, your base of operations. You’ll find a door in the library with a mysterious note that says, “Three meetings, face-to-face, under the sky.”
This note refers to a multi-pronged puzzle that takes place in and around the Lighthouse. At first, you’ll need to make three pairs of statues face each other, but you’ll also need to track down some wisps as well.
Our Dragon Age: The Veilguard guide will show you the full Lighthouse puzzle solution, including where to find (and how to orient) all three pairs of statues.
How to start the Lighthouse statues puzzle in Dragon Age: The Veilguard
.As soon as you have access to the Lighthouse, you’ll be able to find the magically locked door. Over in the library — the main room where you have all your meetings — you’ll find the door on the north wall.
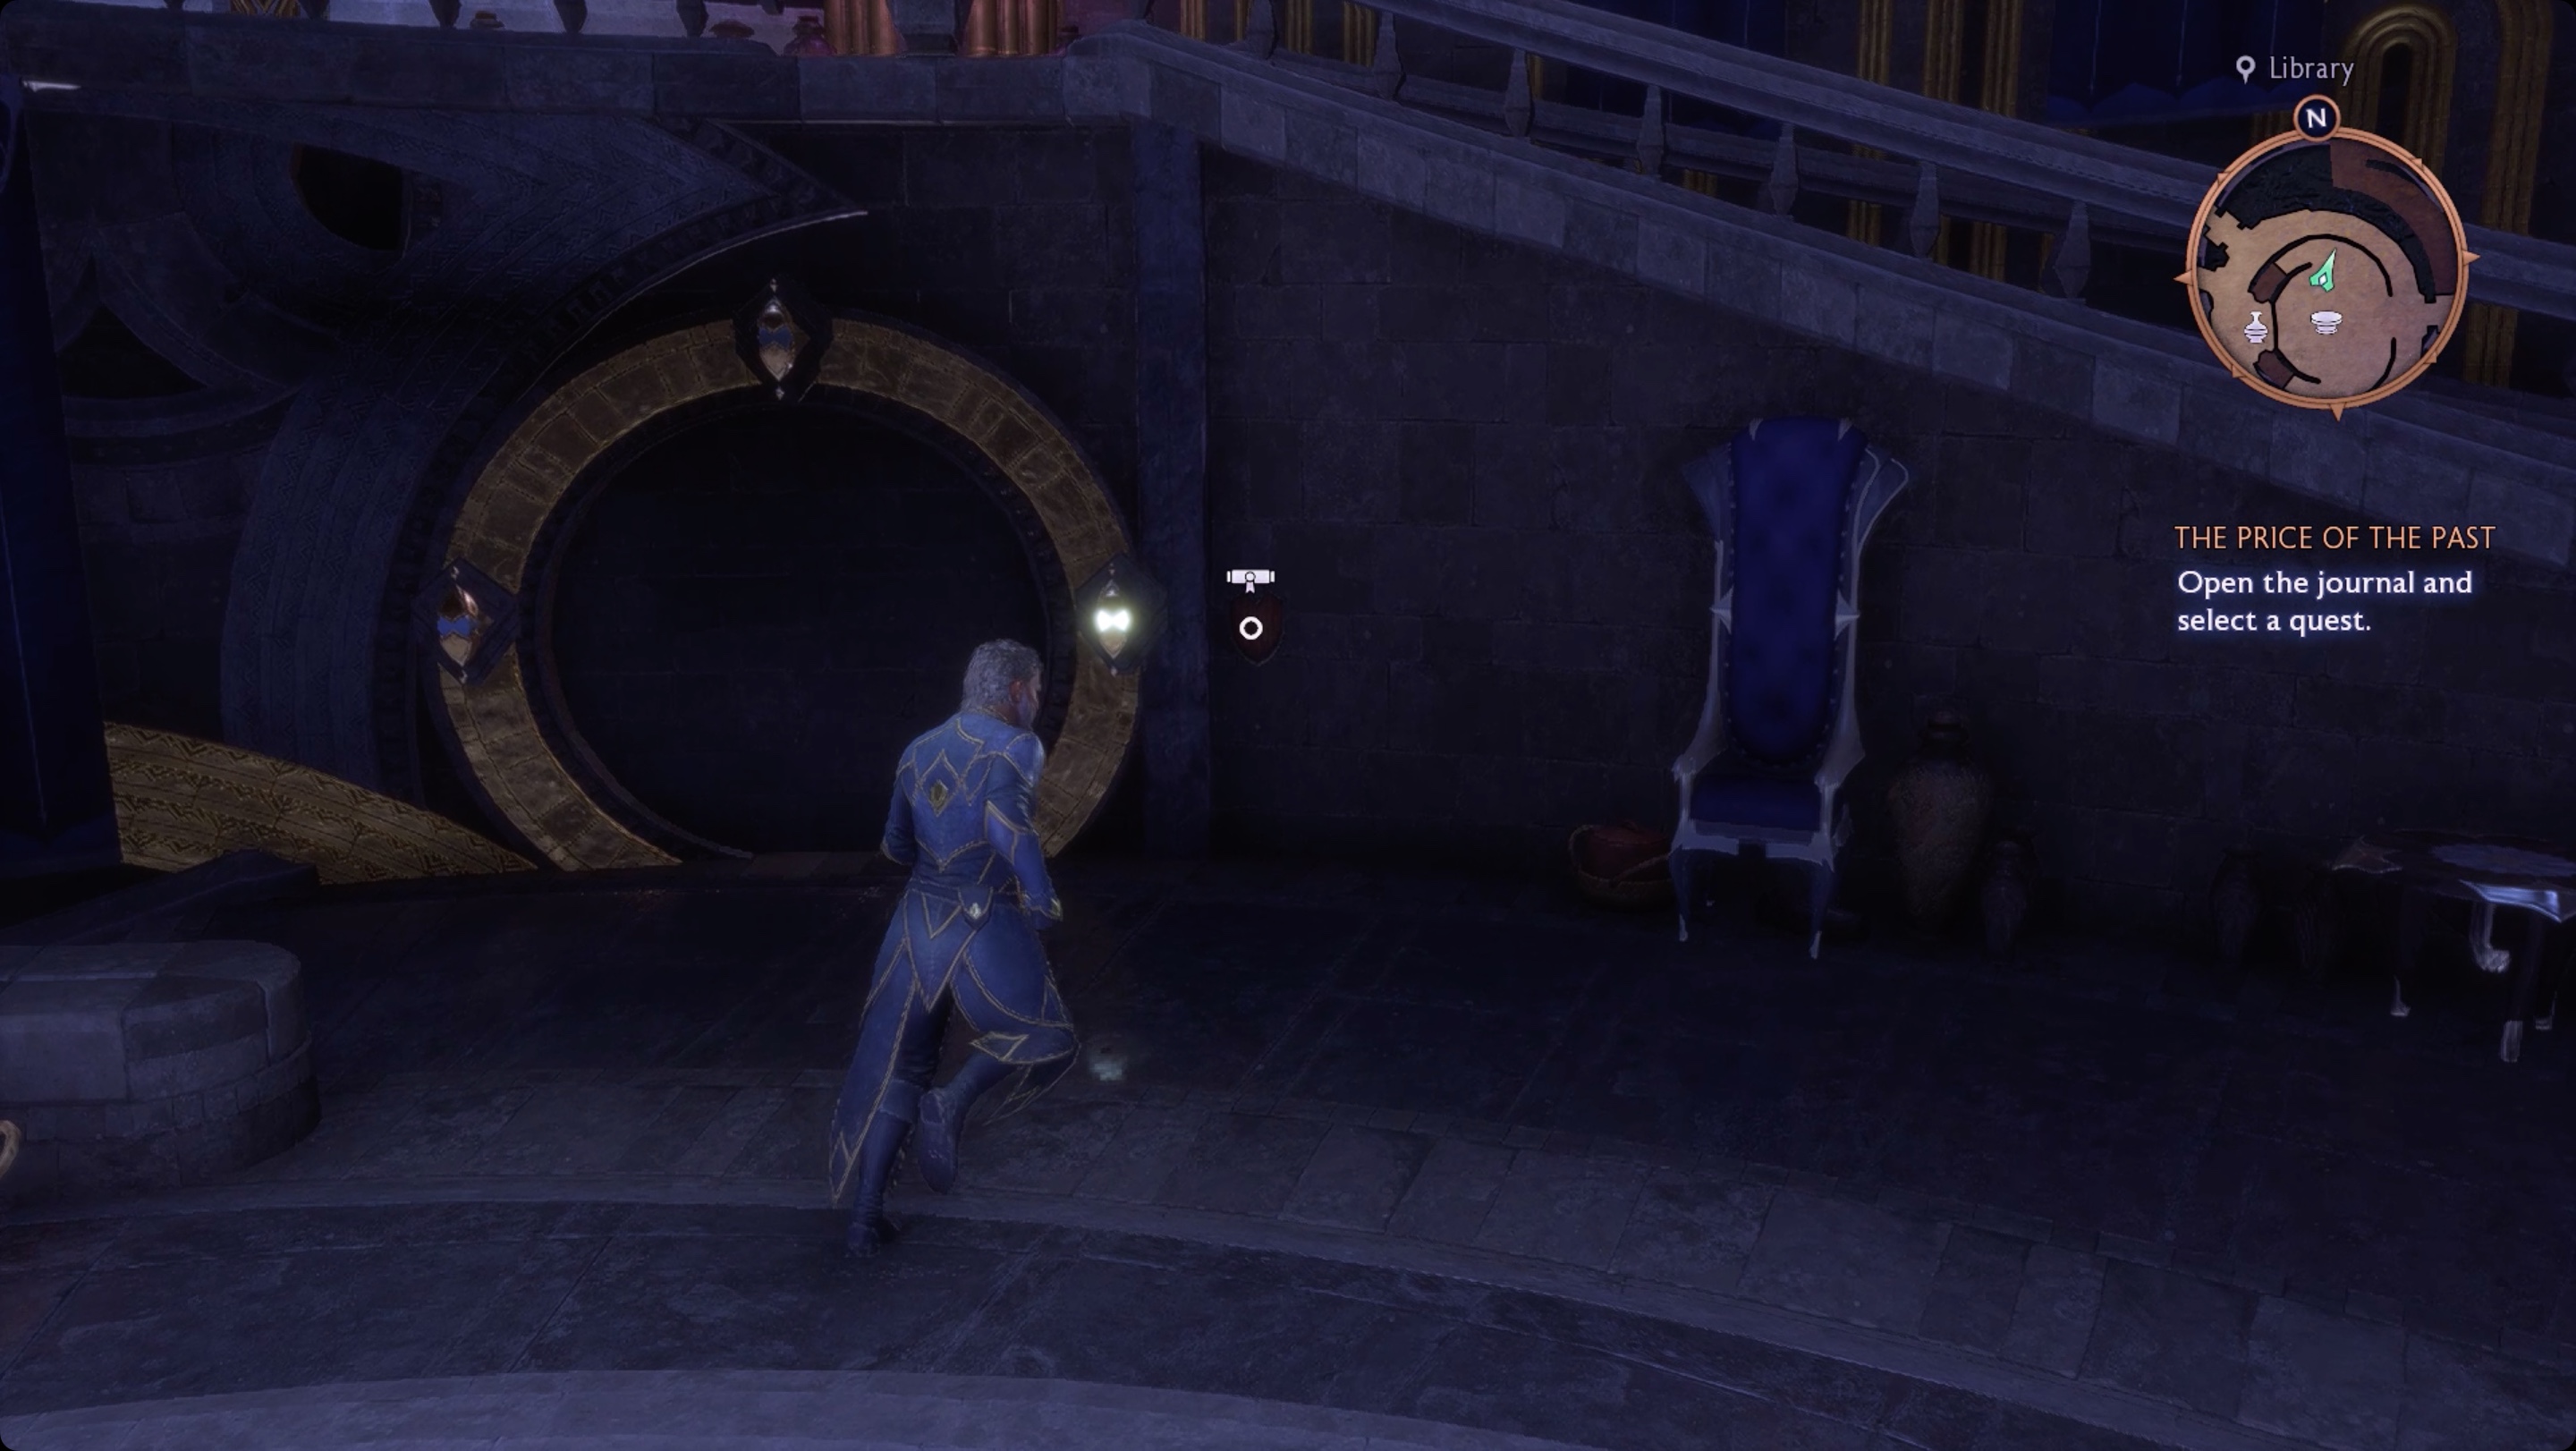
The note next to it reads, “Three meetings, face-to-face, under the sky.” What this means for you is that there are three steps to the puzzle, each step will have to do with faces (or facing), and all the steps are outside in the courtyard.
Lighthouse statue puzzle solution
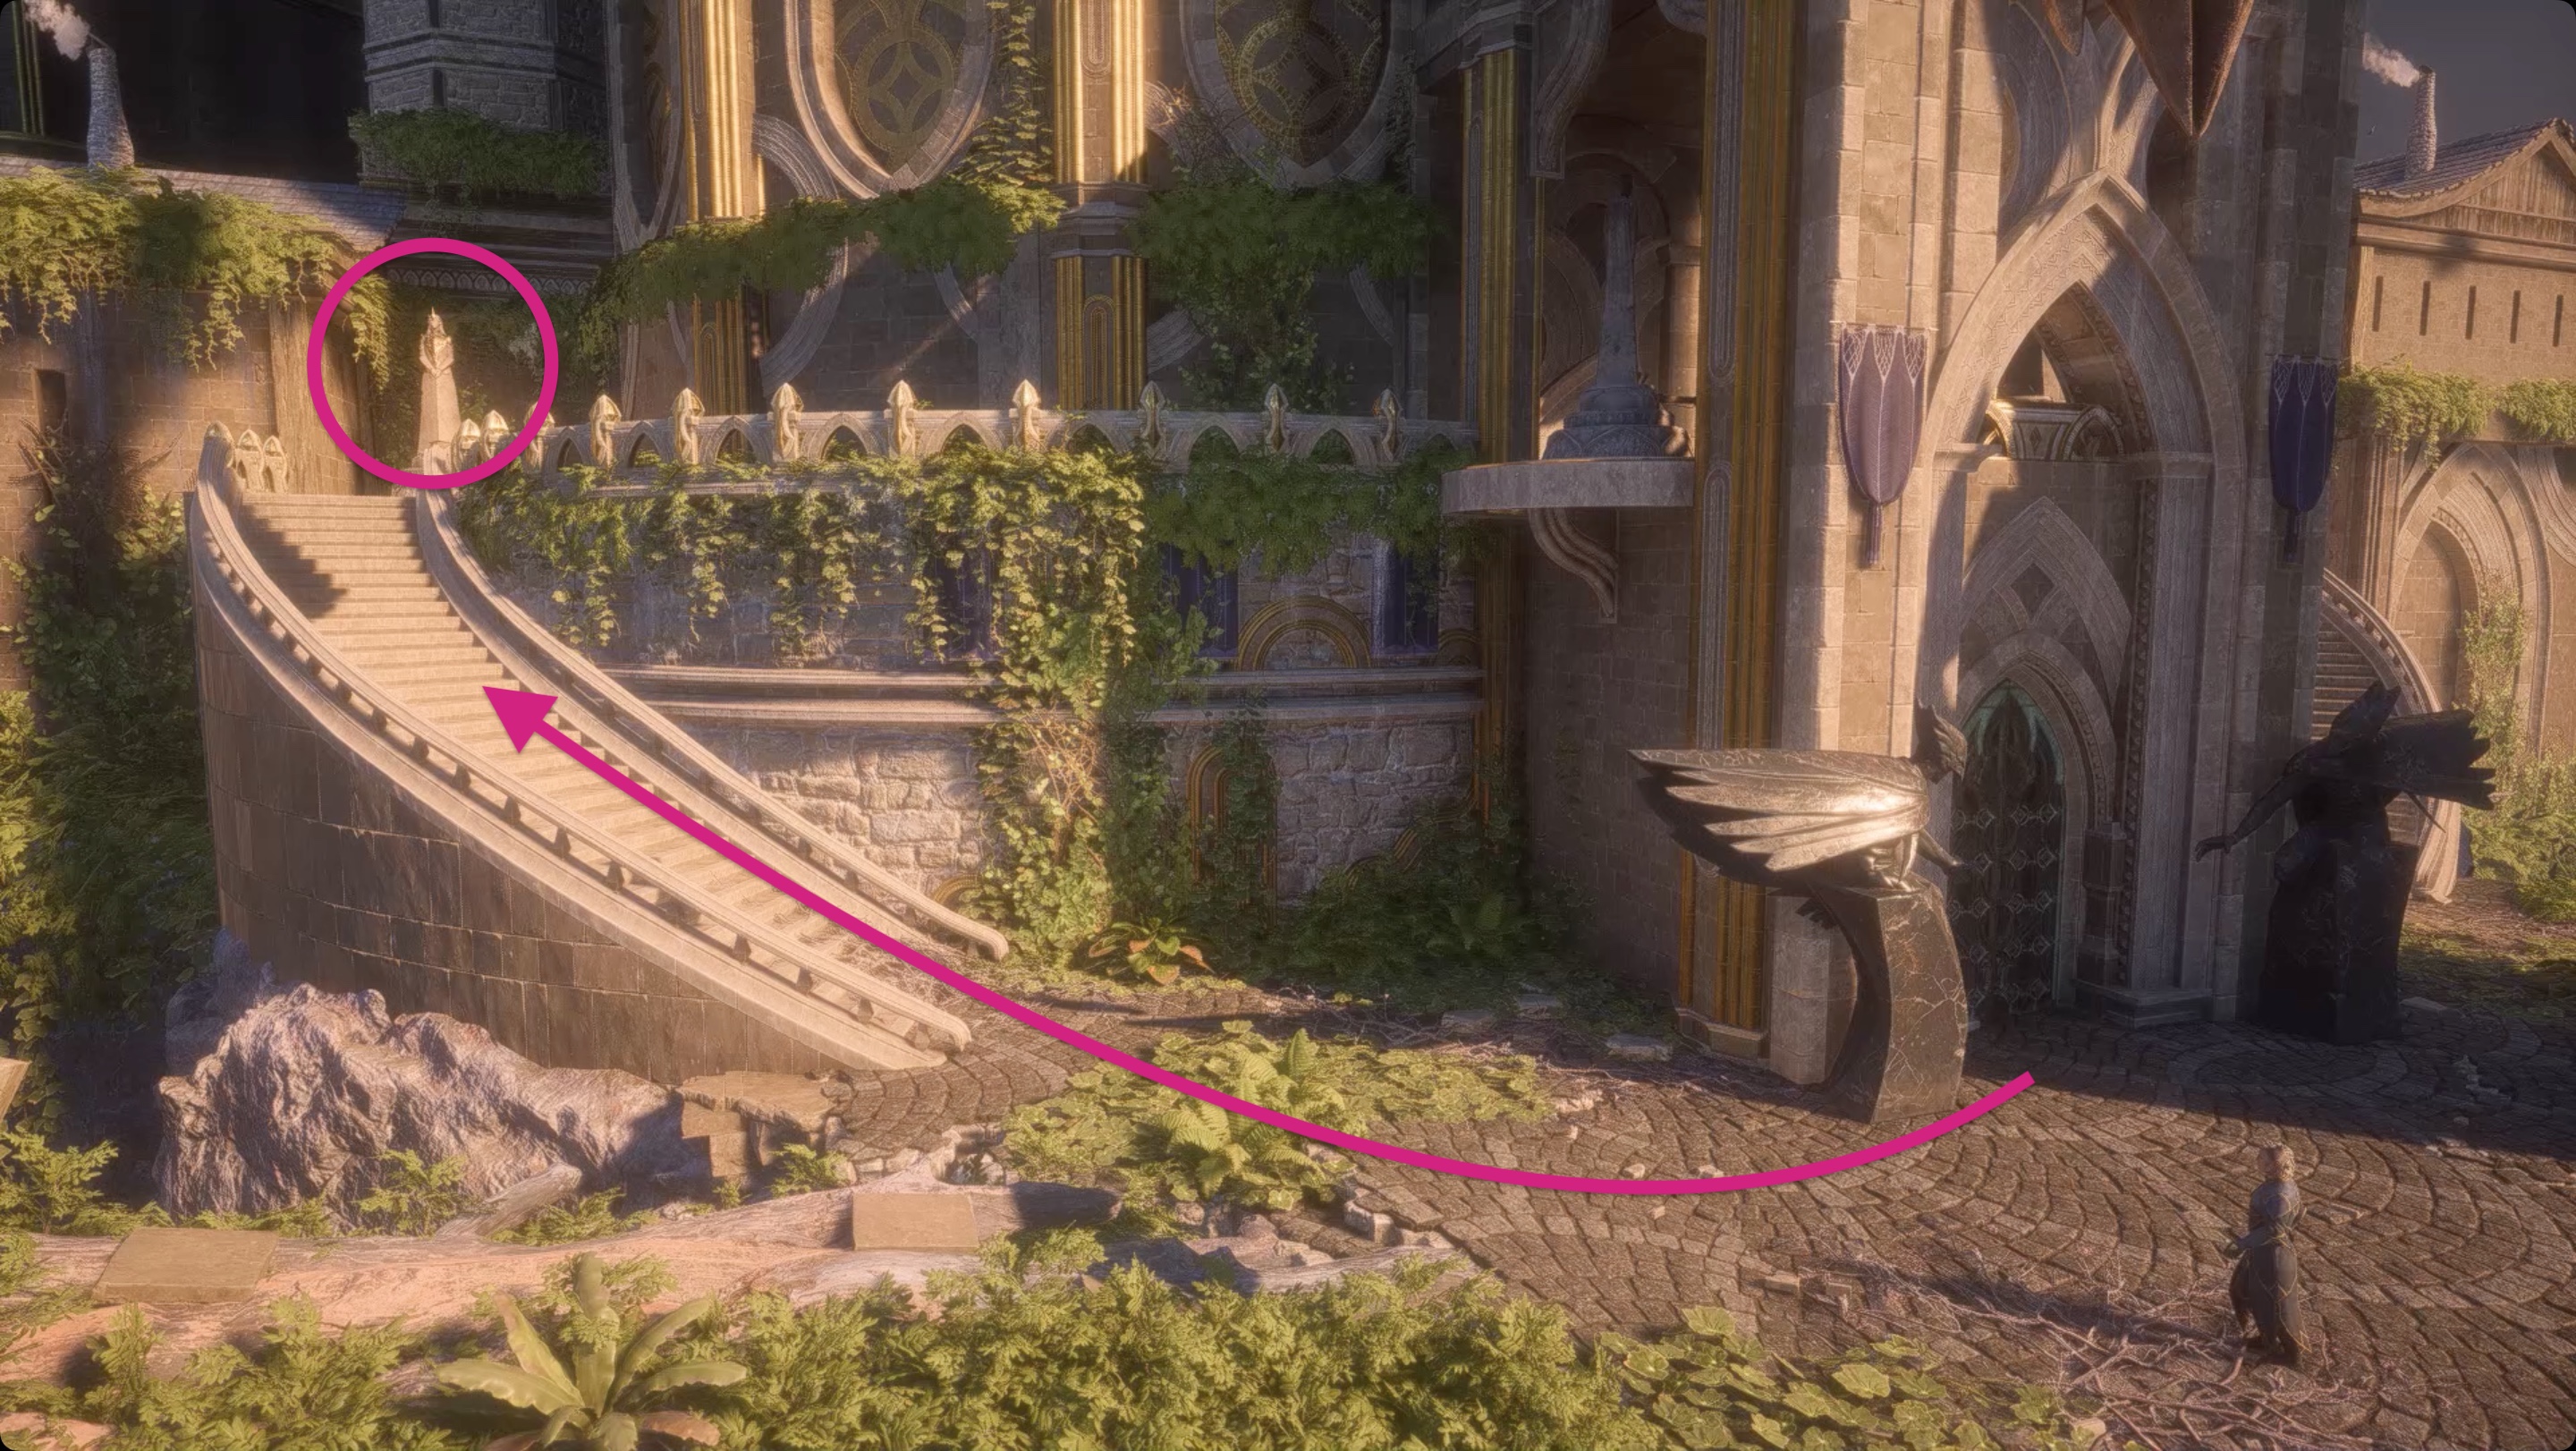
Head out of the library toward the workshop outside. Take a right and loop around to the curving stairs. Up at the top, you’ll find a statue that you can rotate. (Later, you’ll be able to — and should, often — play rock-paper-scissors against Manfred here.)
There’s another note here that says “To enter the library passage, three pairings must meet face-to-face.” So you have to find three pairs of statues and make them point at each other.
Statues #1 location and position
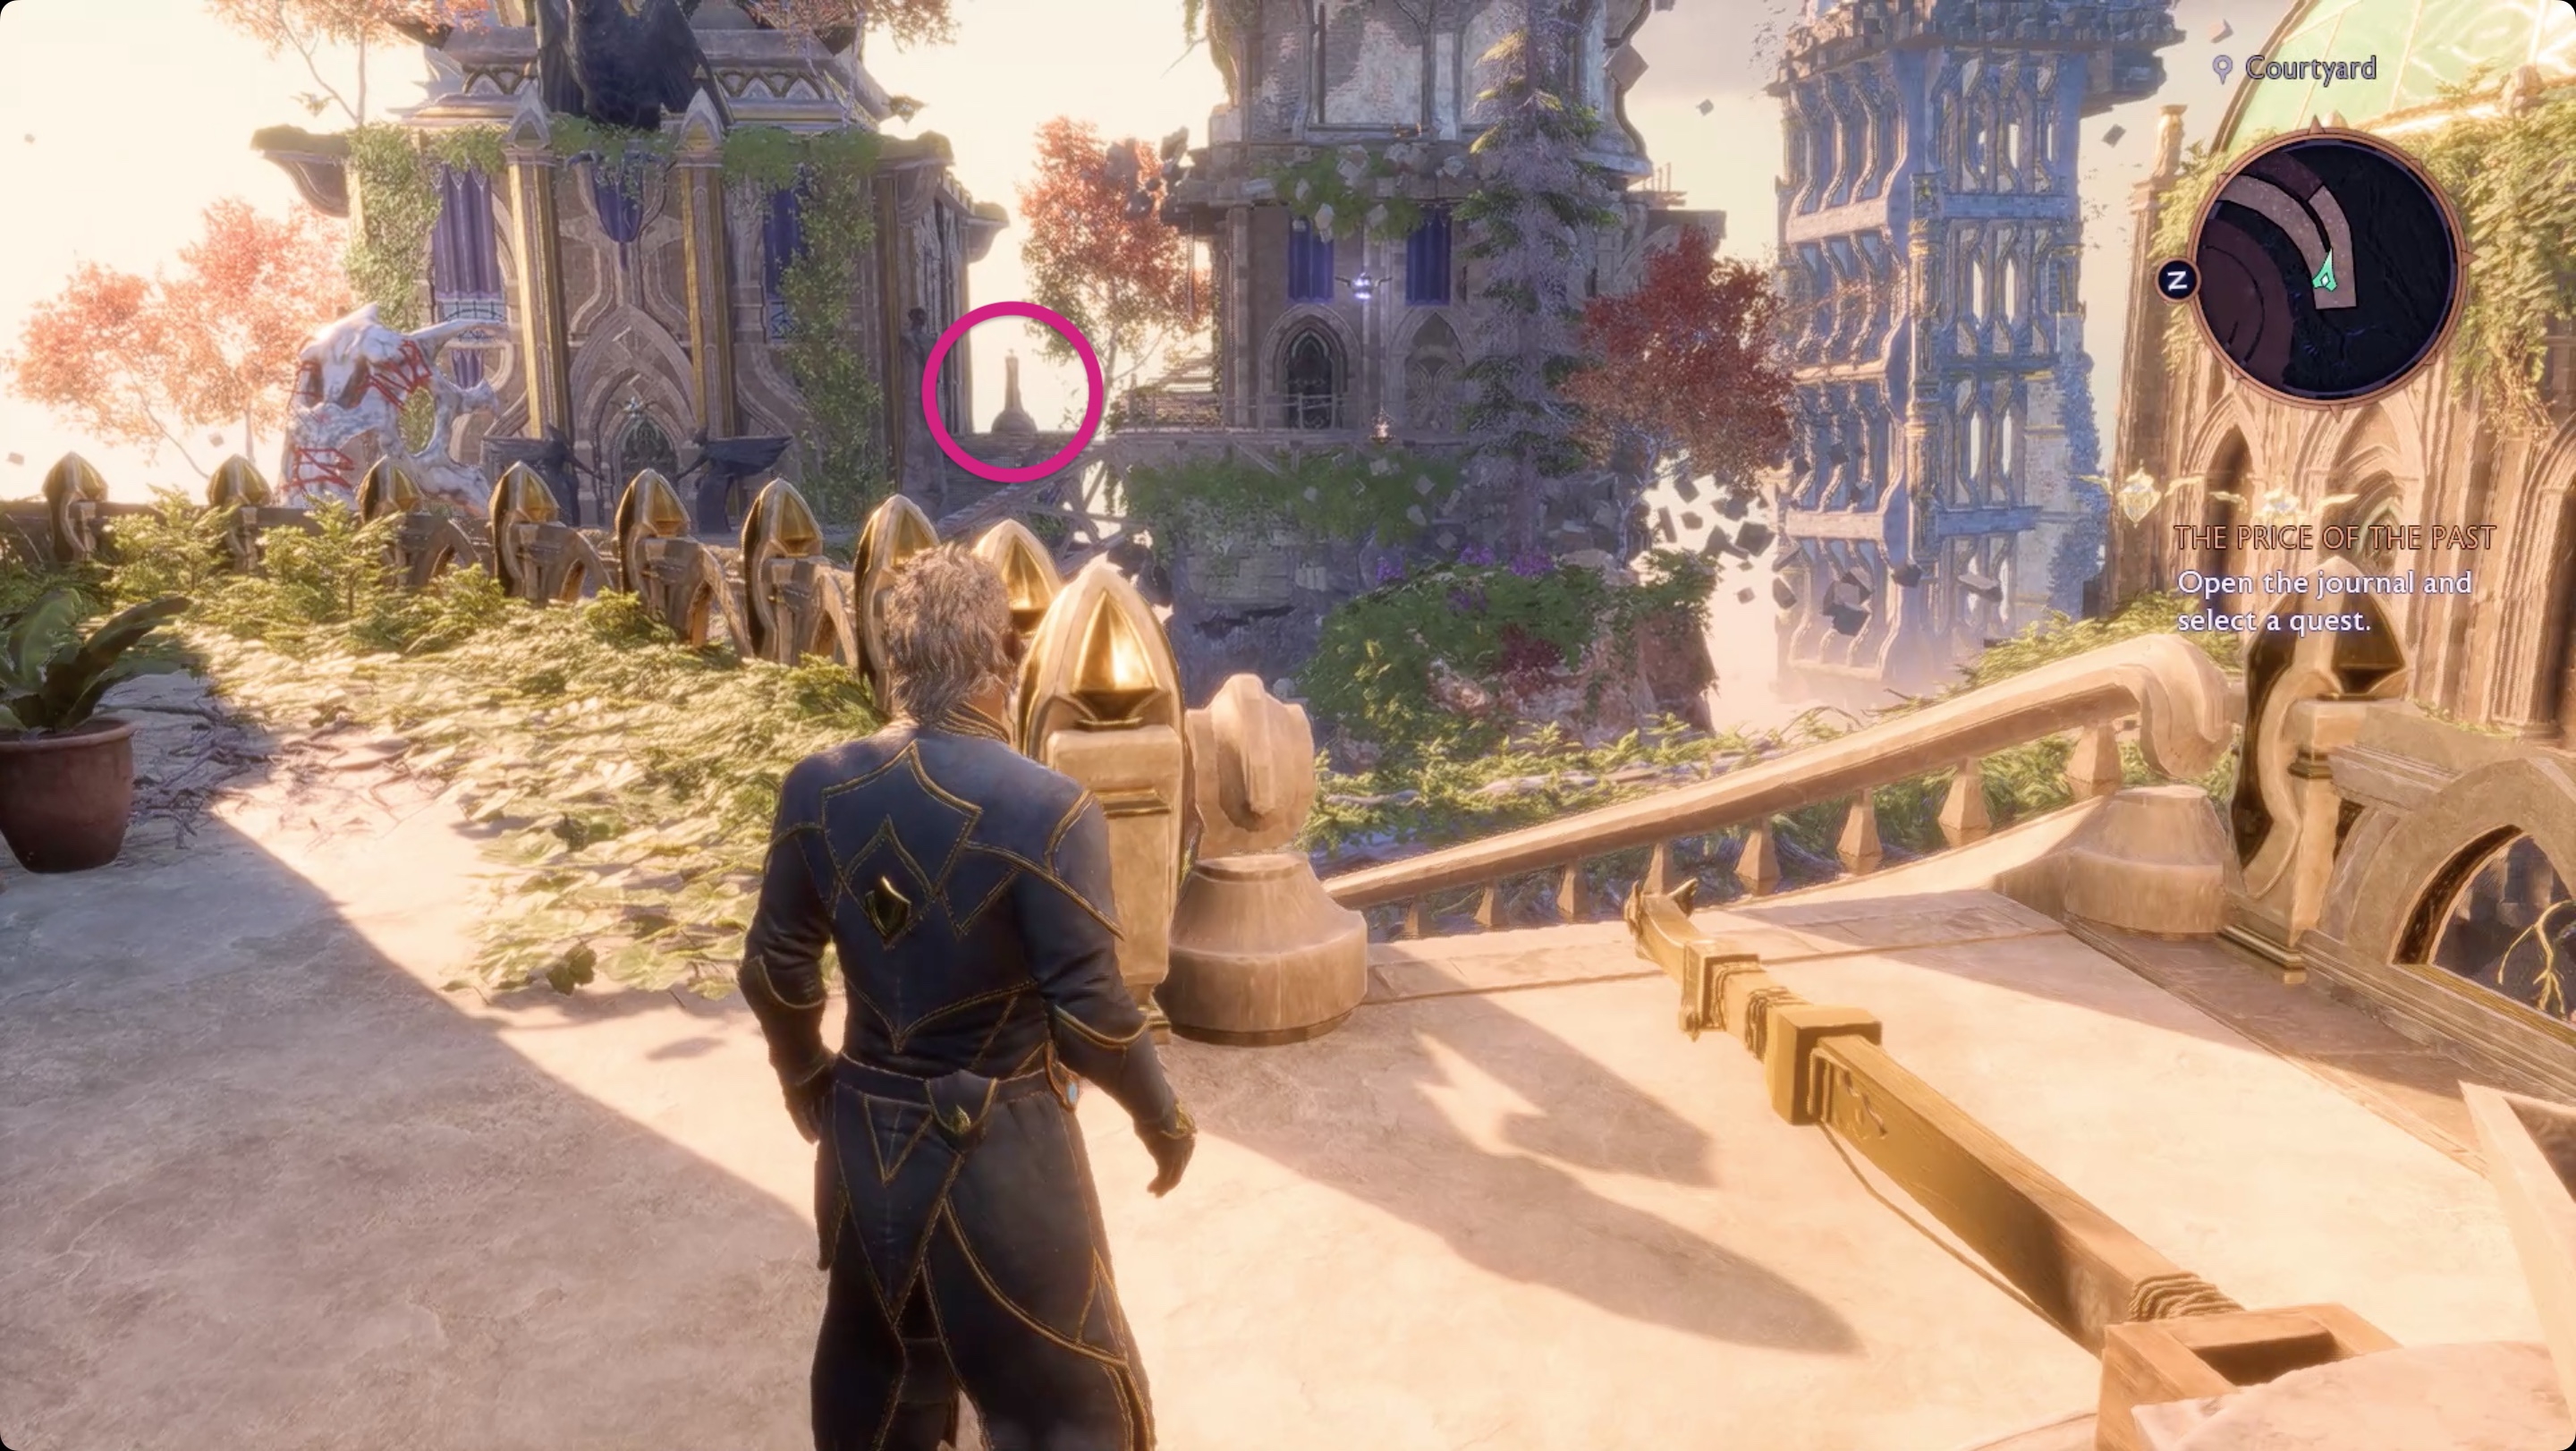
Use the lever arm sticking out of the statue’s base to rotate it around so that it faces east toward the dining hall. If you look that way, you can see the statue that you need to point back at this one.
Head to the dining hall and around to the right (south) side. Rotate the statue there so it points back at the library to the west.
Statues #2 location and position
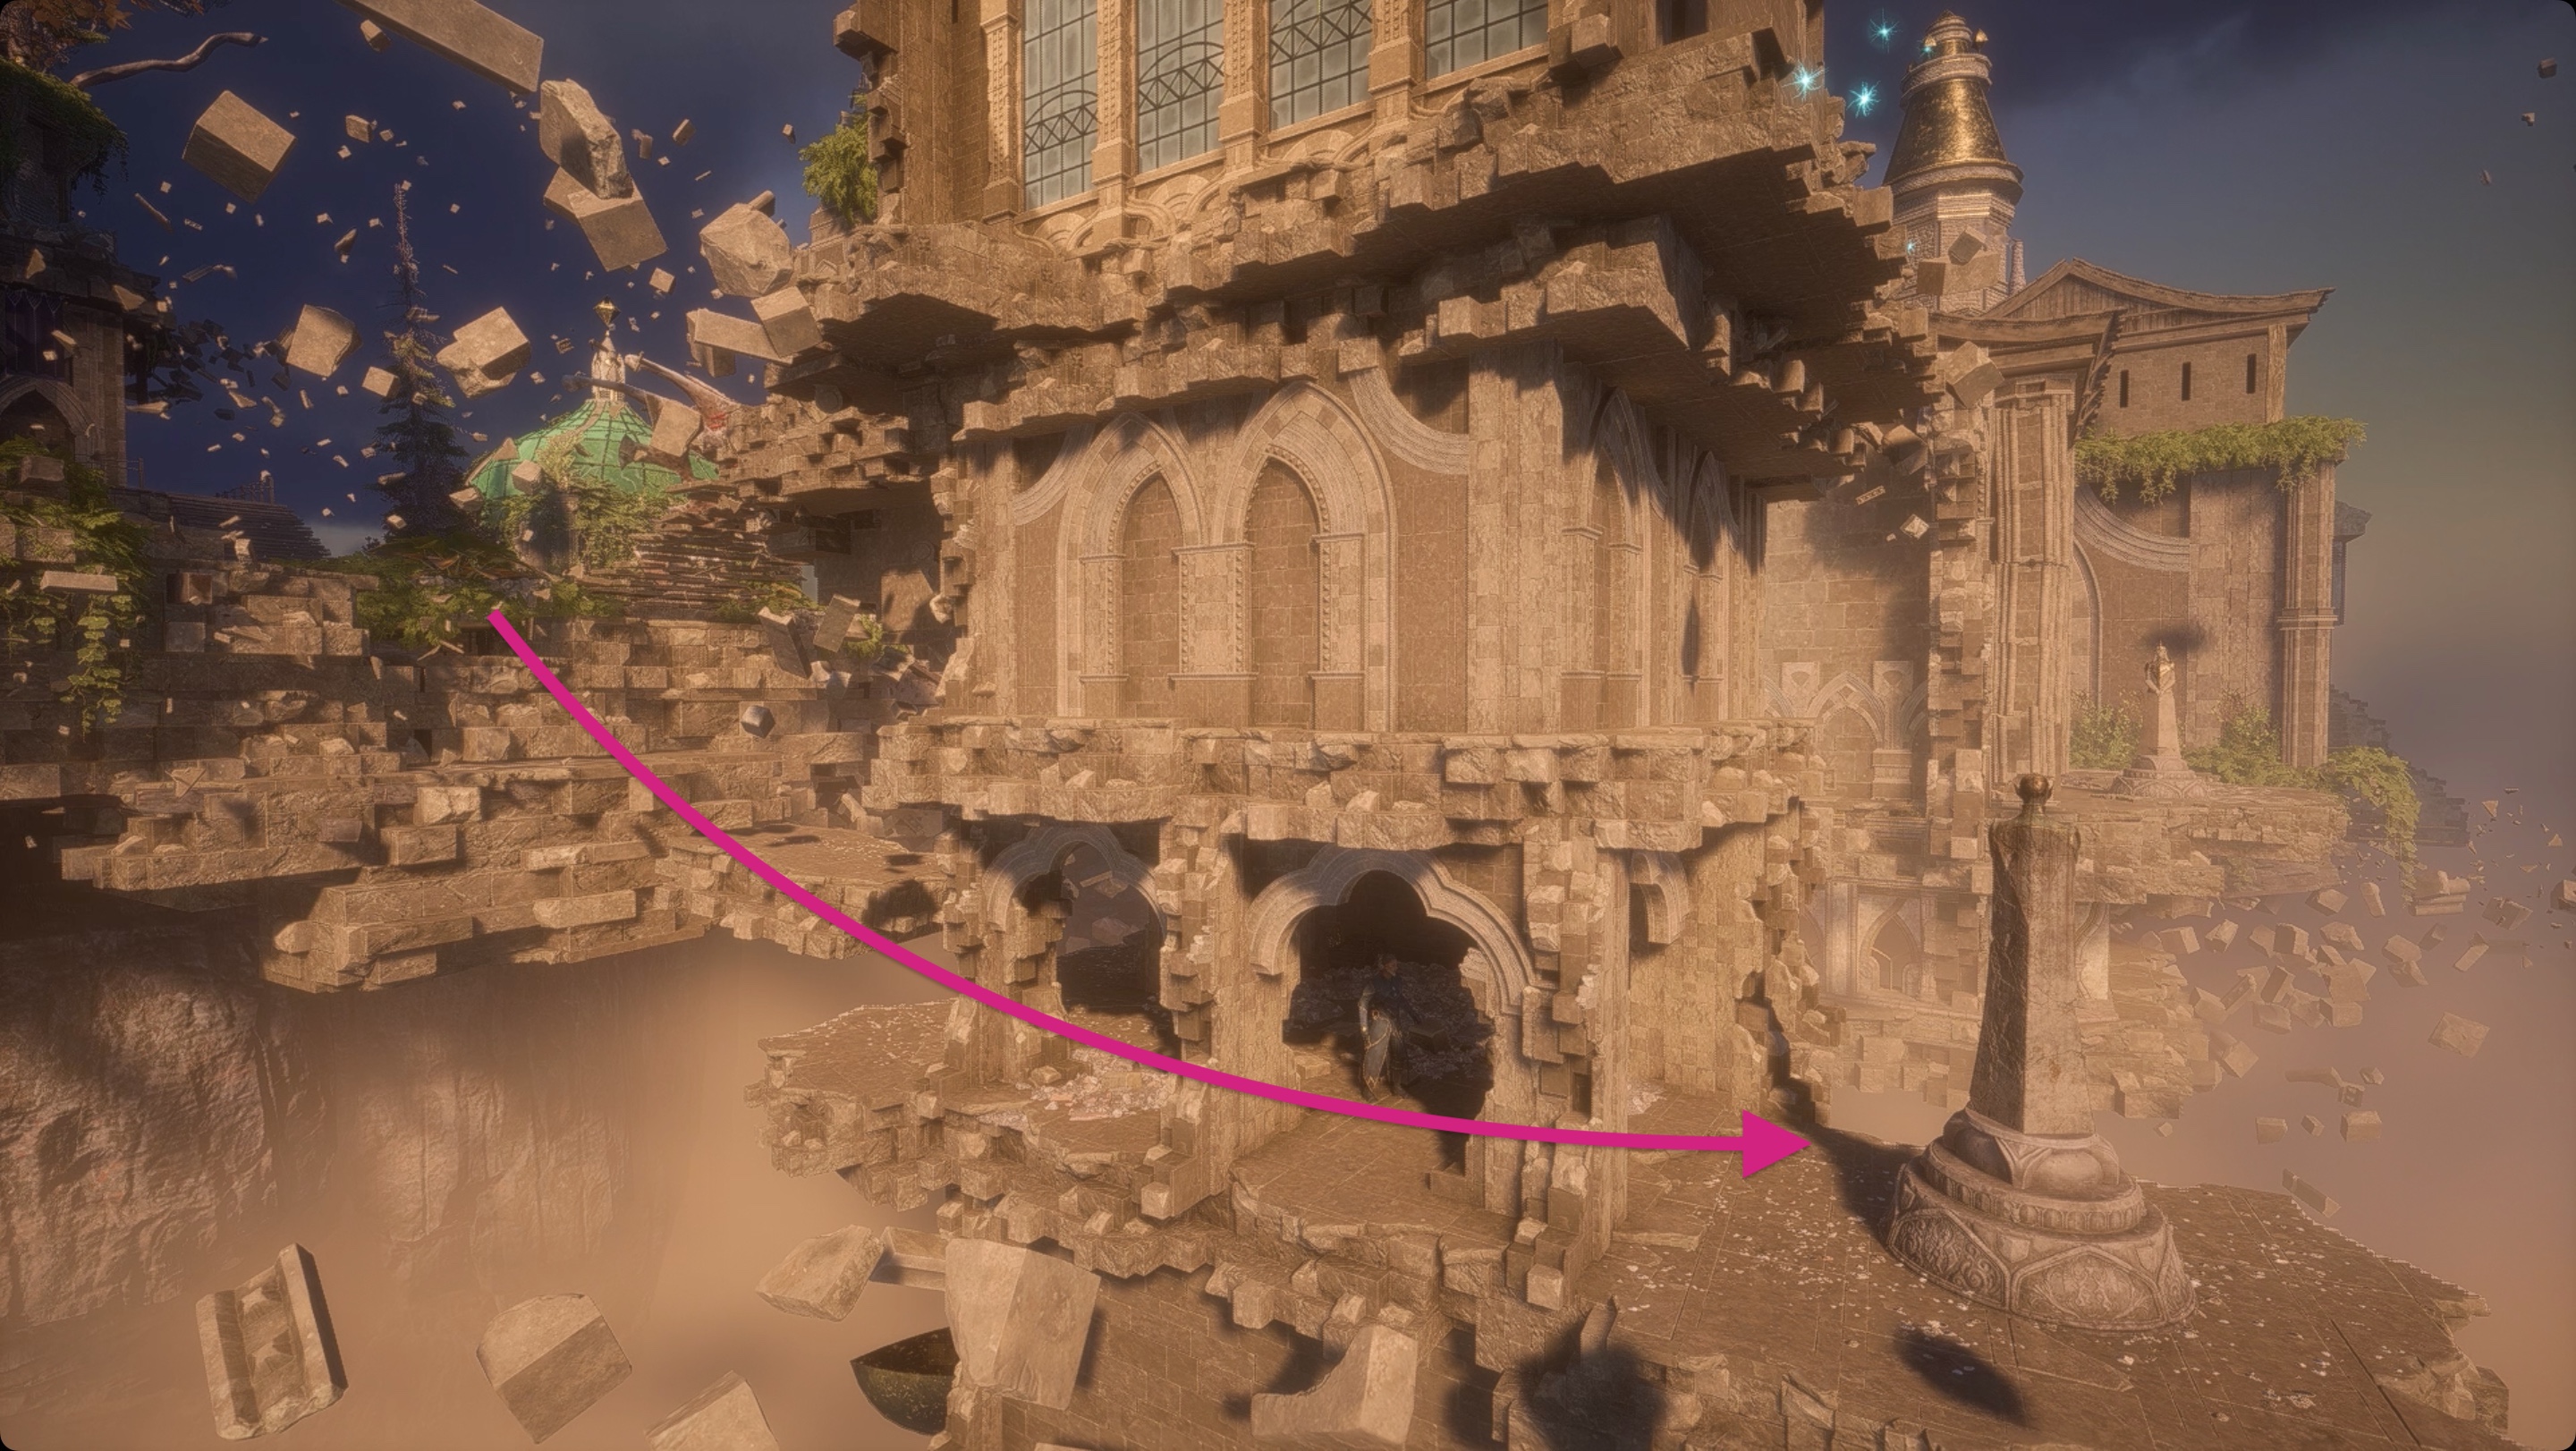
On your way back, head to the north and face Neve’s study, but don’t go inside. Just to the right of the stairs up to her room, there’s a place you can drop down and pass underneath. Do so, and you’ll find another statue to the north.
Rotate this one so it faces west (back toward the library). Look off that way to spot another statue that’s behind Belara’s workshop. That one’s much easier to get to — just go around the left side of the building. Point that one to the east.
Statues #3 location and position
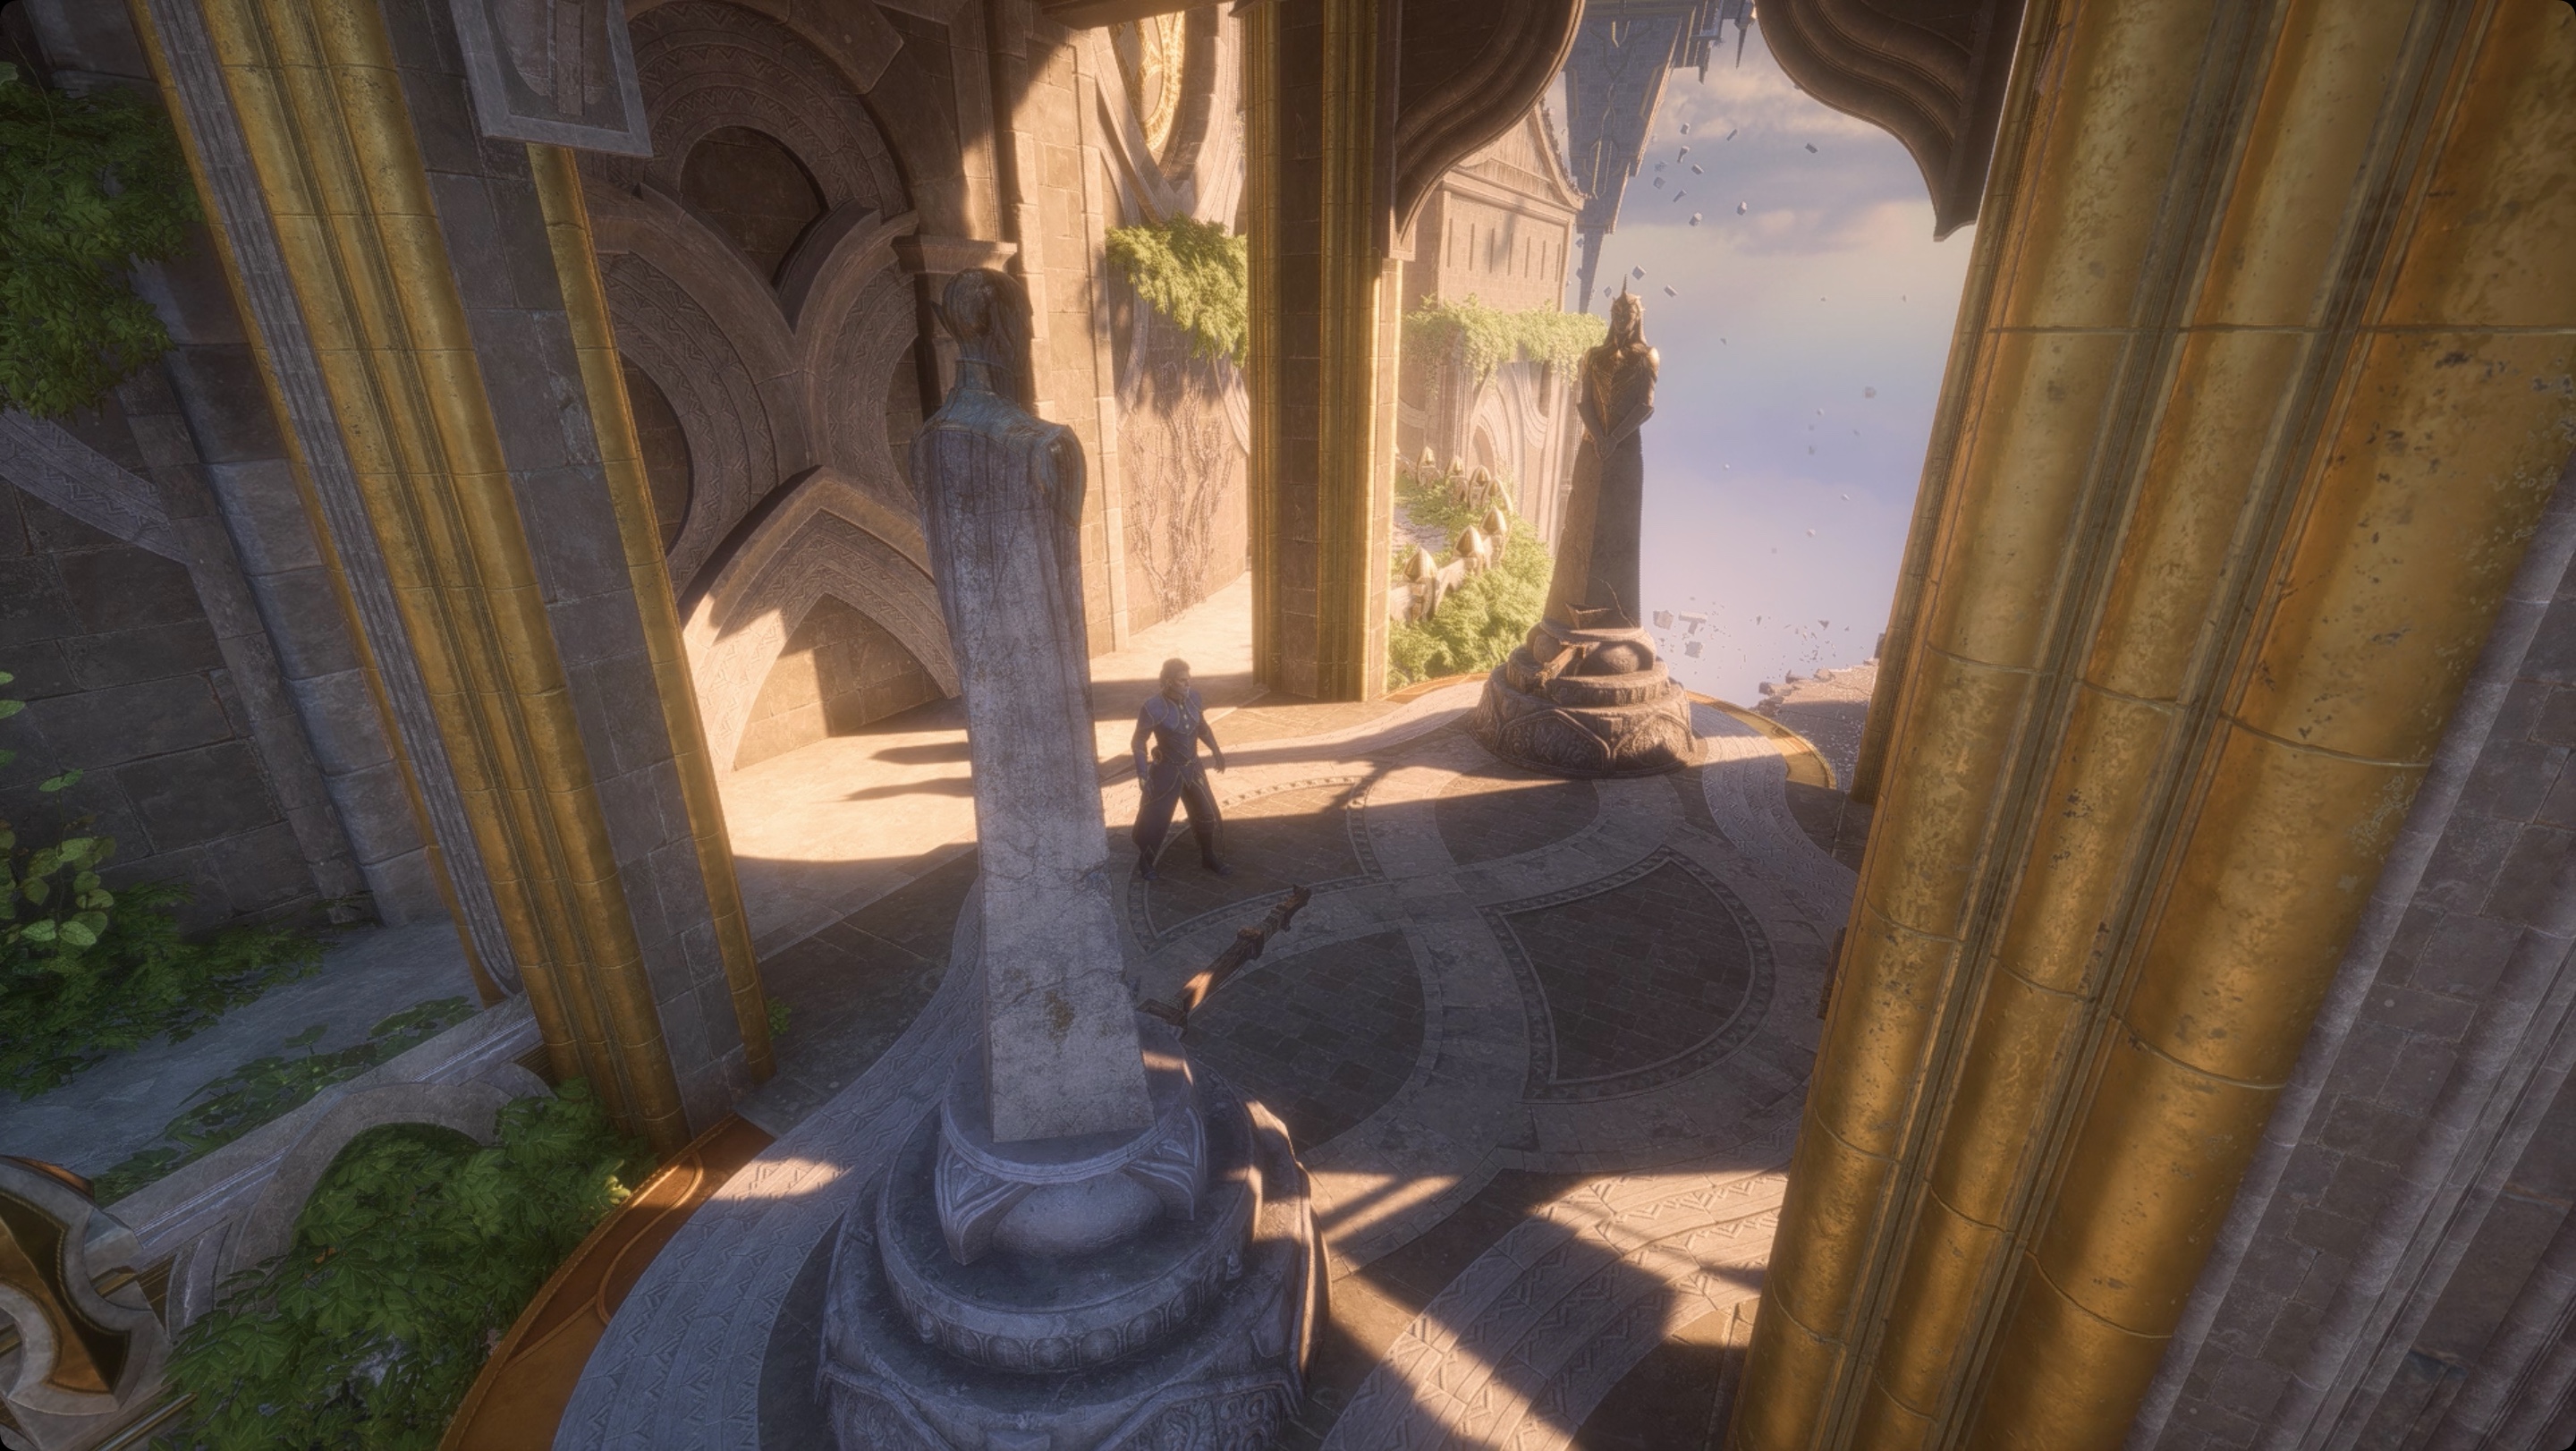
The final pair of statues is back where you started. Head back toward the library and go up the stairs to the first statue. This time, continue past until you’re on the landing directly above the door into the library. There’s a pair of statues there. Turn them so they’re facing each other.
Go through the Music Room
When you head back into the library, the door on the north wall will open (more on the matching door on the south wall in a minute). Head through to find the music room.
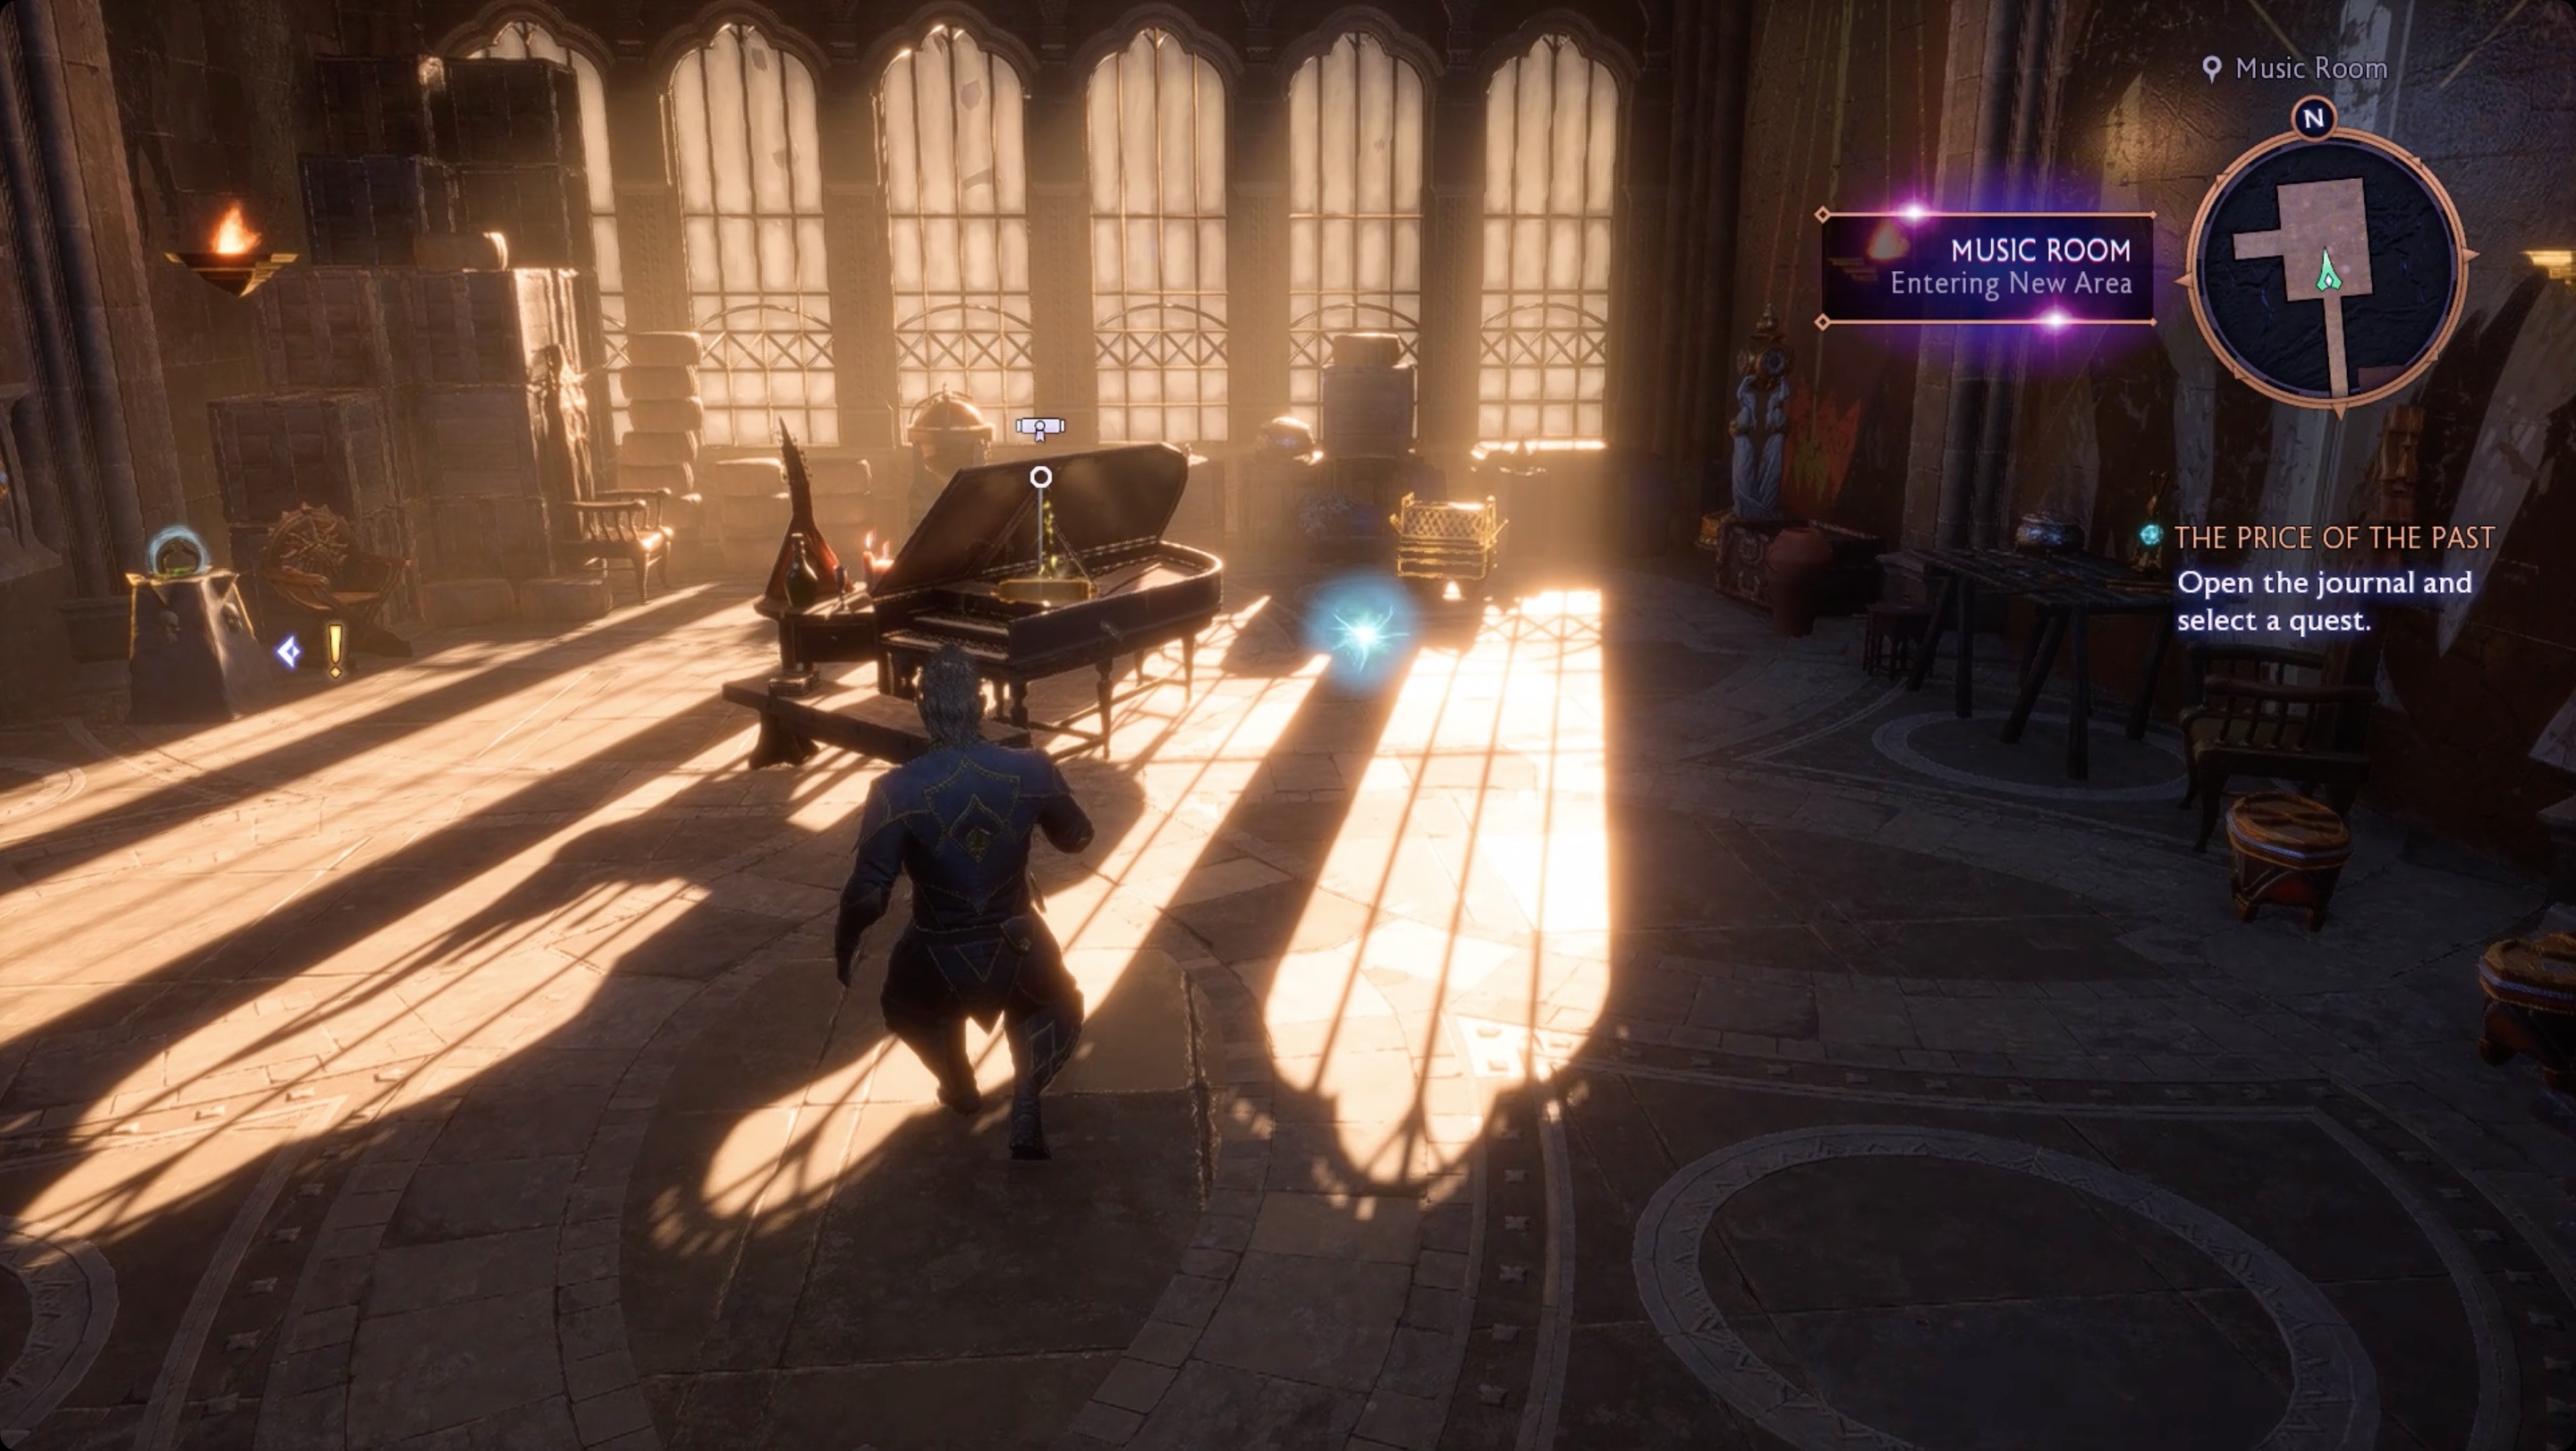
Pick up everything you can inside, and then turn your attention to the door on the left (west) side. It needs two wisps to open. One is floating right there by the piano. Get it installed in one of the pedestals by the door.
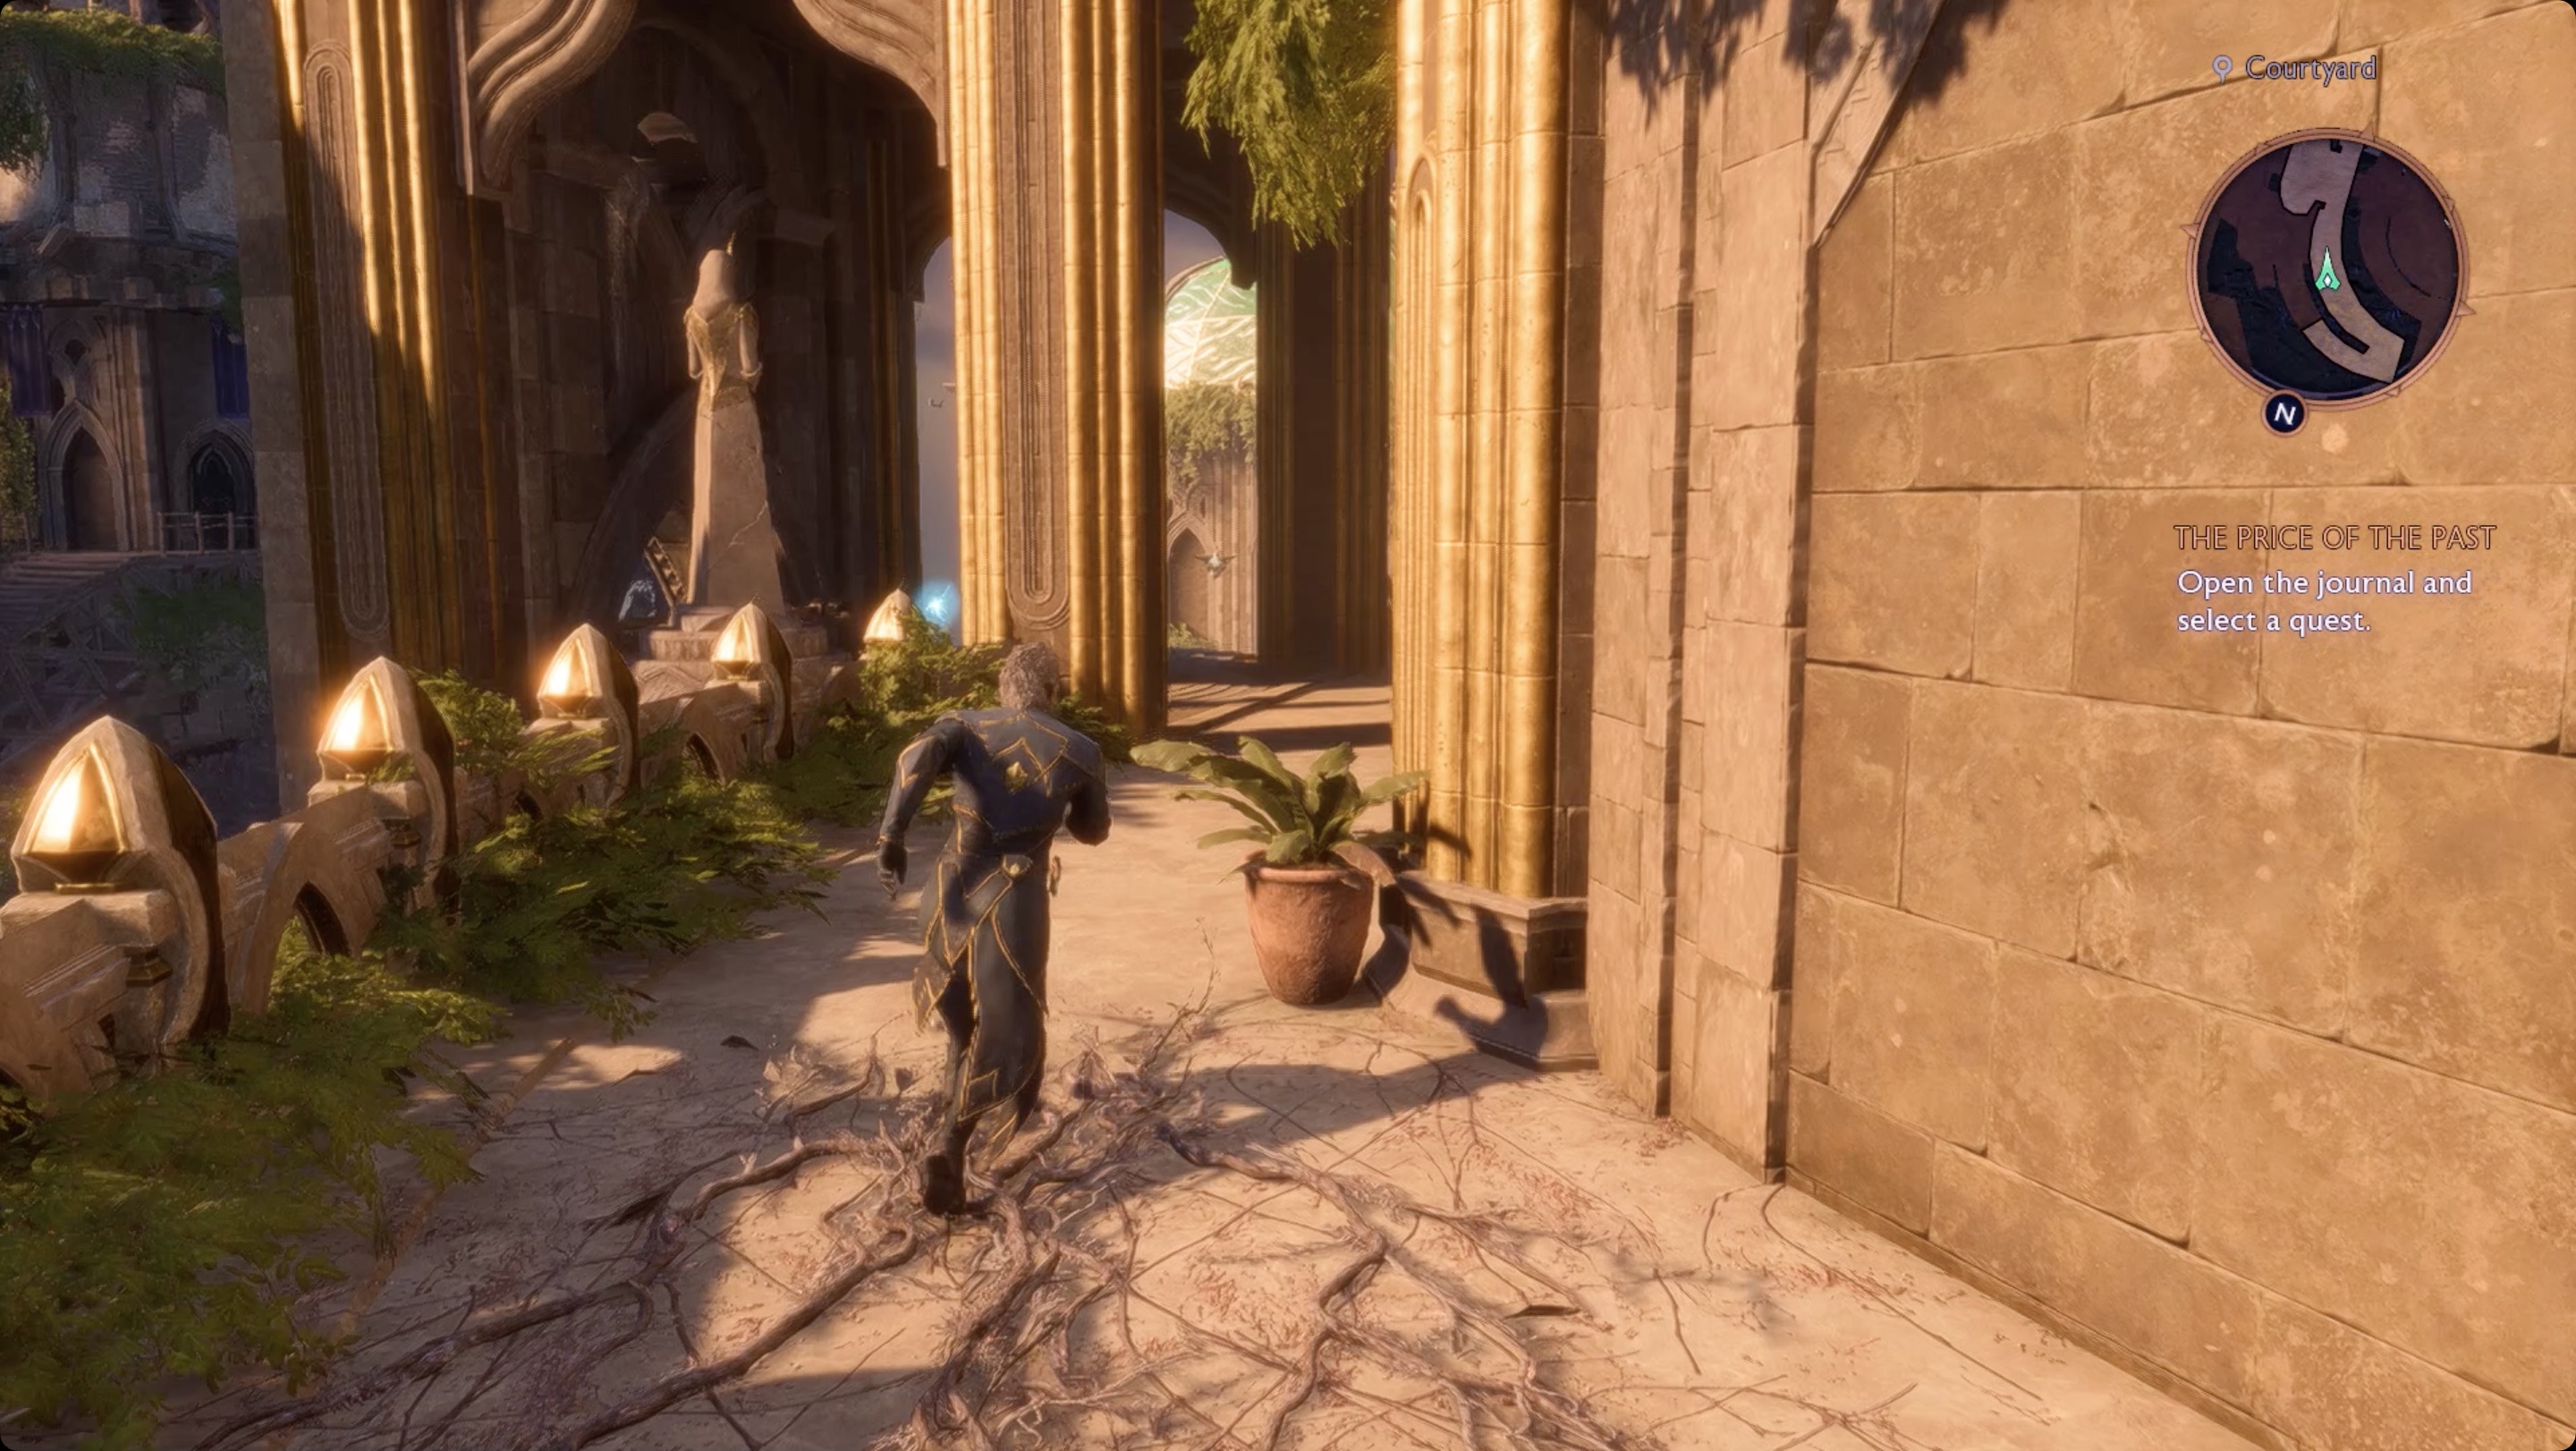
The Caretaker will appear and tell you that, “Another helper waits, between the facing gods.” (They’ll leave behind a note saying the same.) While cryptic, all this means is that the next wisp is at the last pair of statues — the ones above the door into the library.
Head outside and retrieve it.
Bring the wisp back to the music room and the next door will open, revealing a portal.
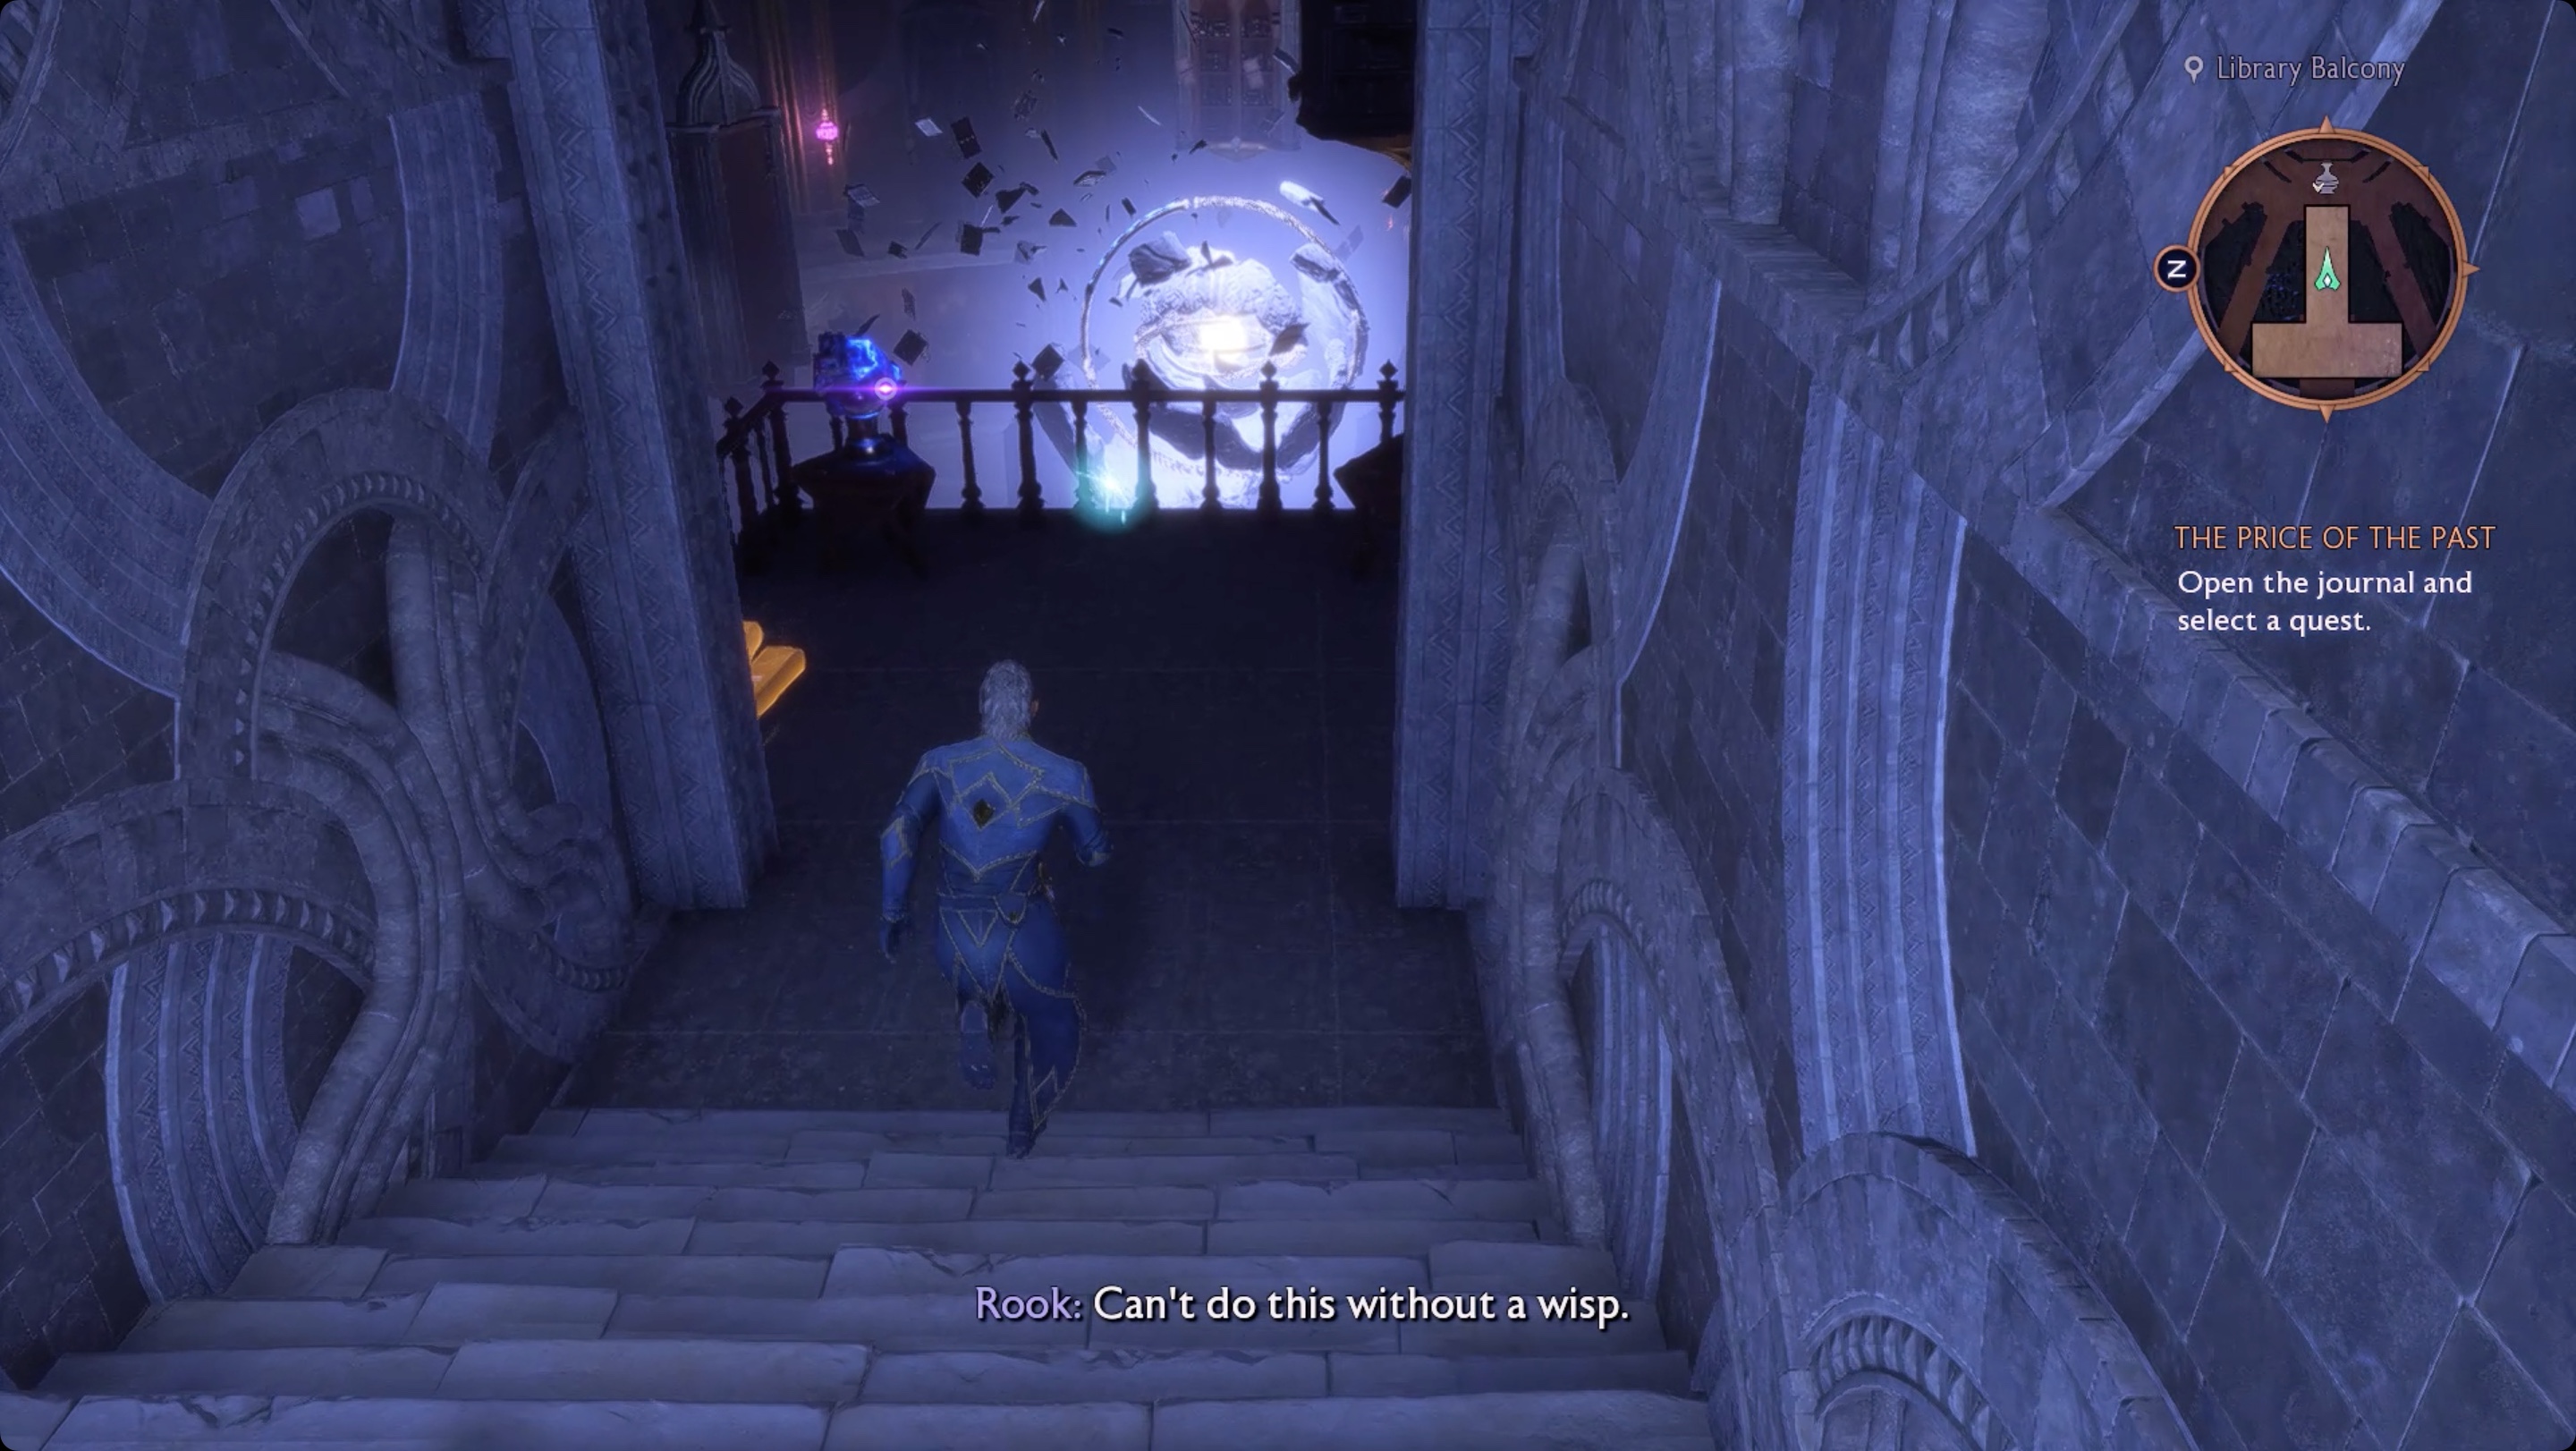
Step through, and you’ll find yourself on a high balcony above the library — part of the Lighthouse you couldn’t reach otherwise.
Before you do anything else, grab the wisp from the balcony and put it in the new pedestal across from the portal. This opens another portal that we’ll step through in a second.
On the balcony, activate the device in the left corner. This repairs and restores the library’s astrolabe and, more importantly, discounts the upgrades for the Caretaker’s workshop.
Head back up the stairs and step through the second portal.
How to open the second locked Lighthouse door
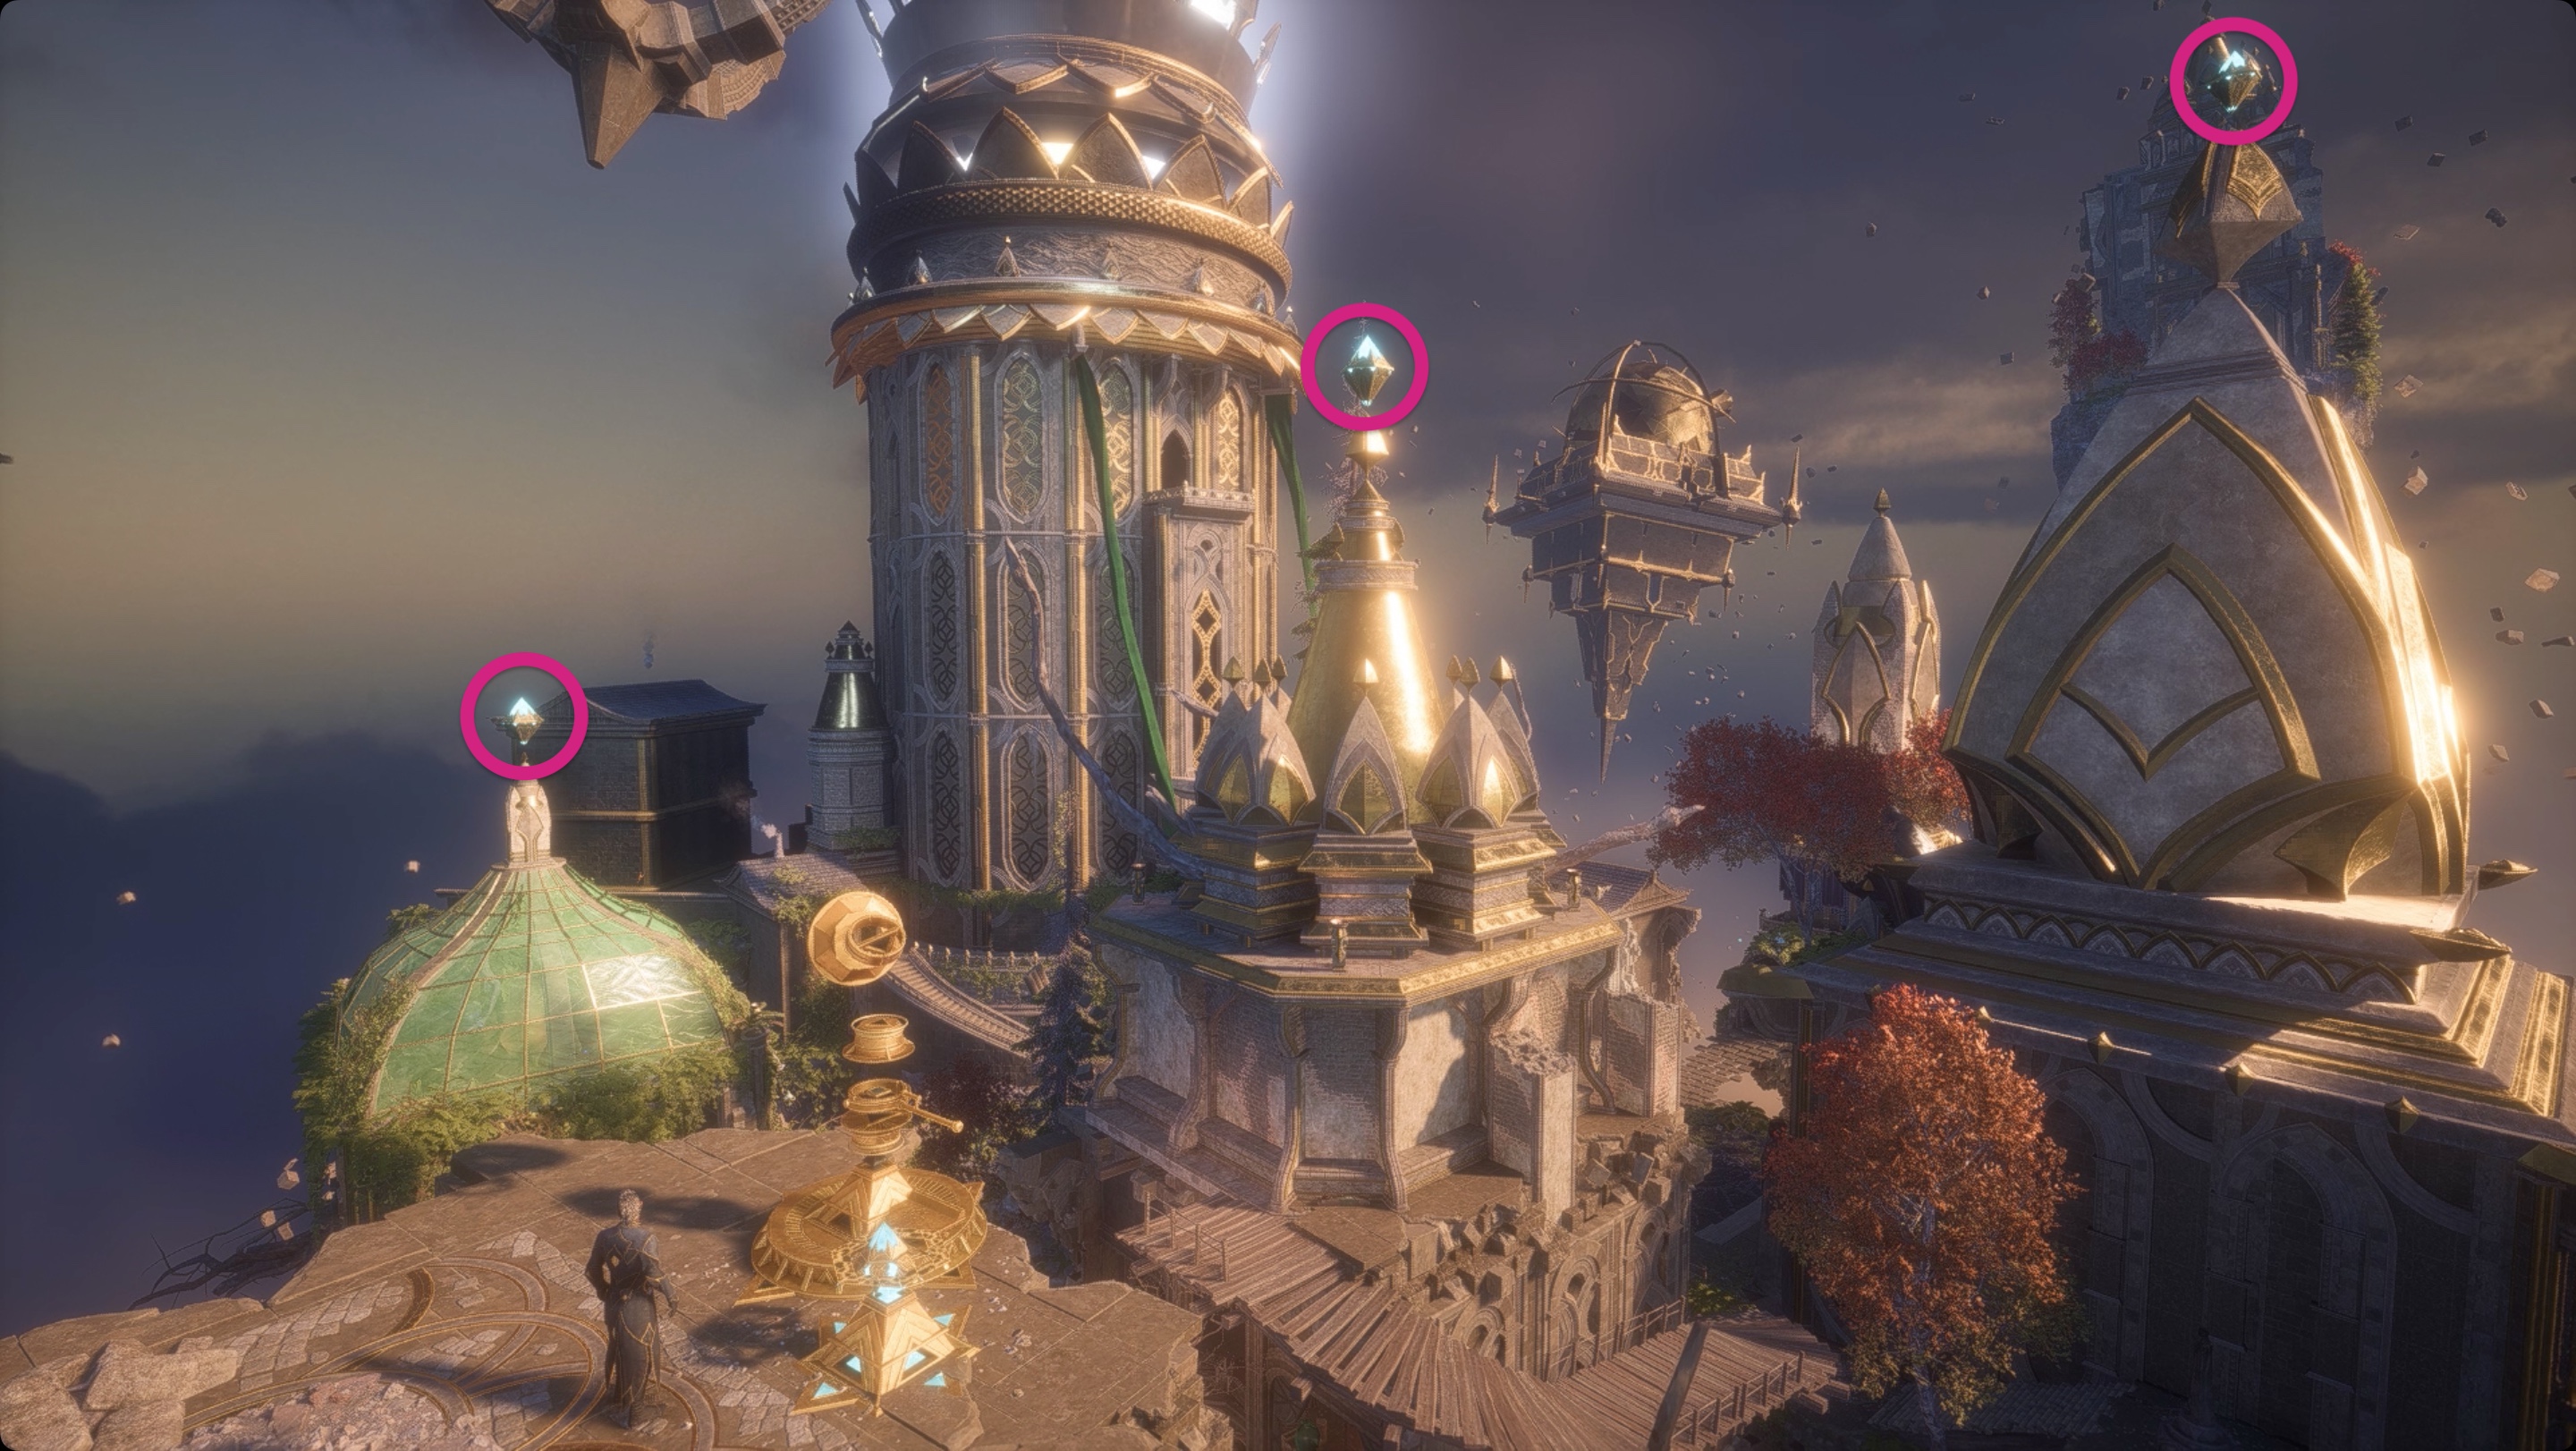
You’ll step out onto a balcony above the watchtower. Open the chest and then grab the floating crystal. Place it in the beam device.
Your job is to point it at three crystals to free wisps. Those crystals are floating above three domes right in front of you.
Once all three wisps are free and float off toward the library, make your way back. This time, the door on the south wall will open, revealing (yet) another portal. Step through
Lighthouse puzzle rewards
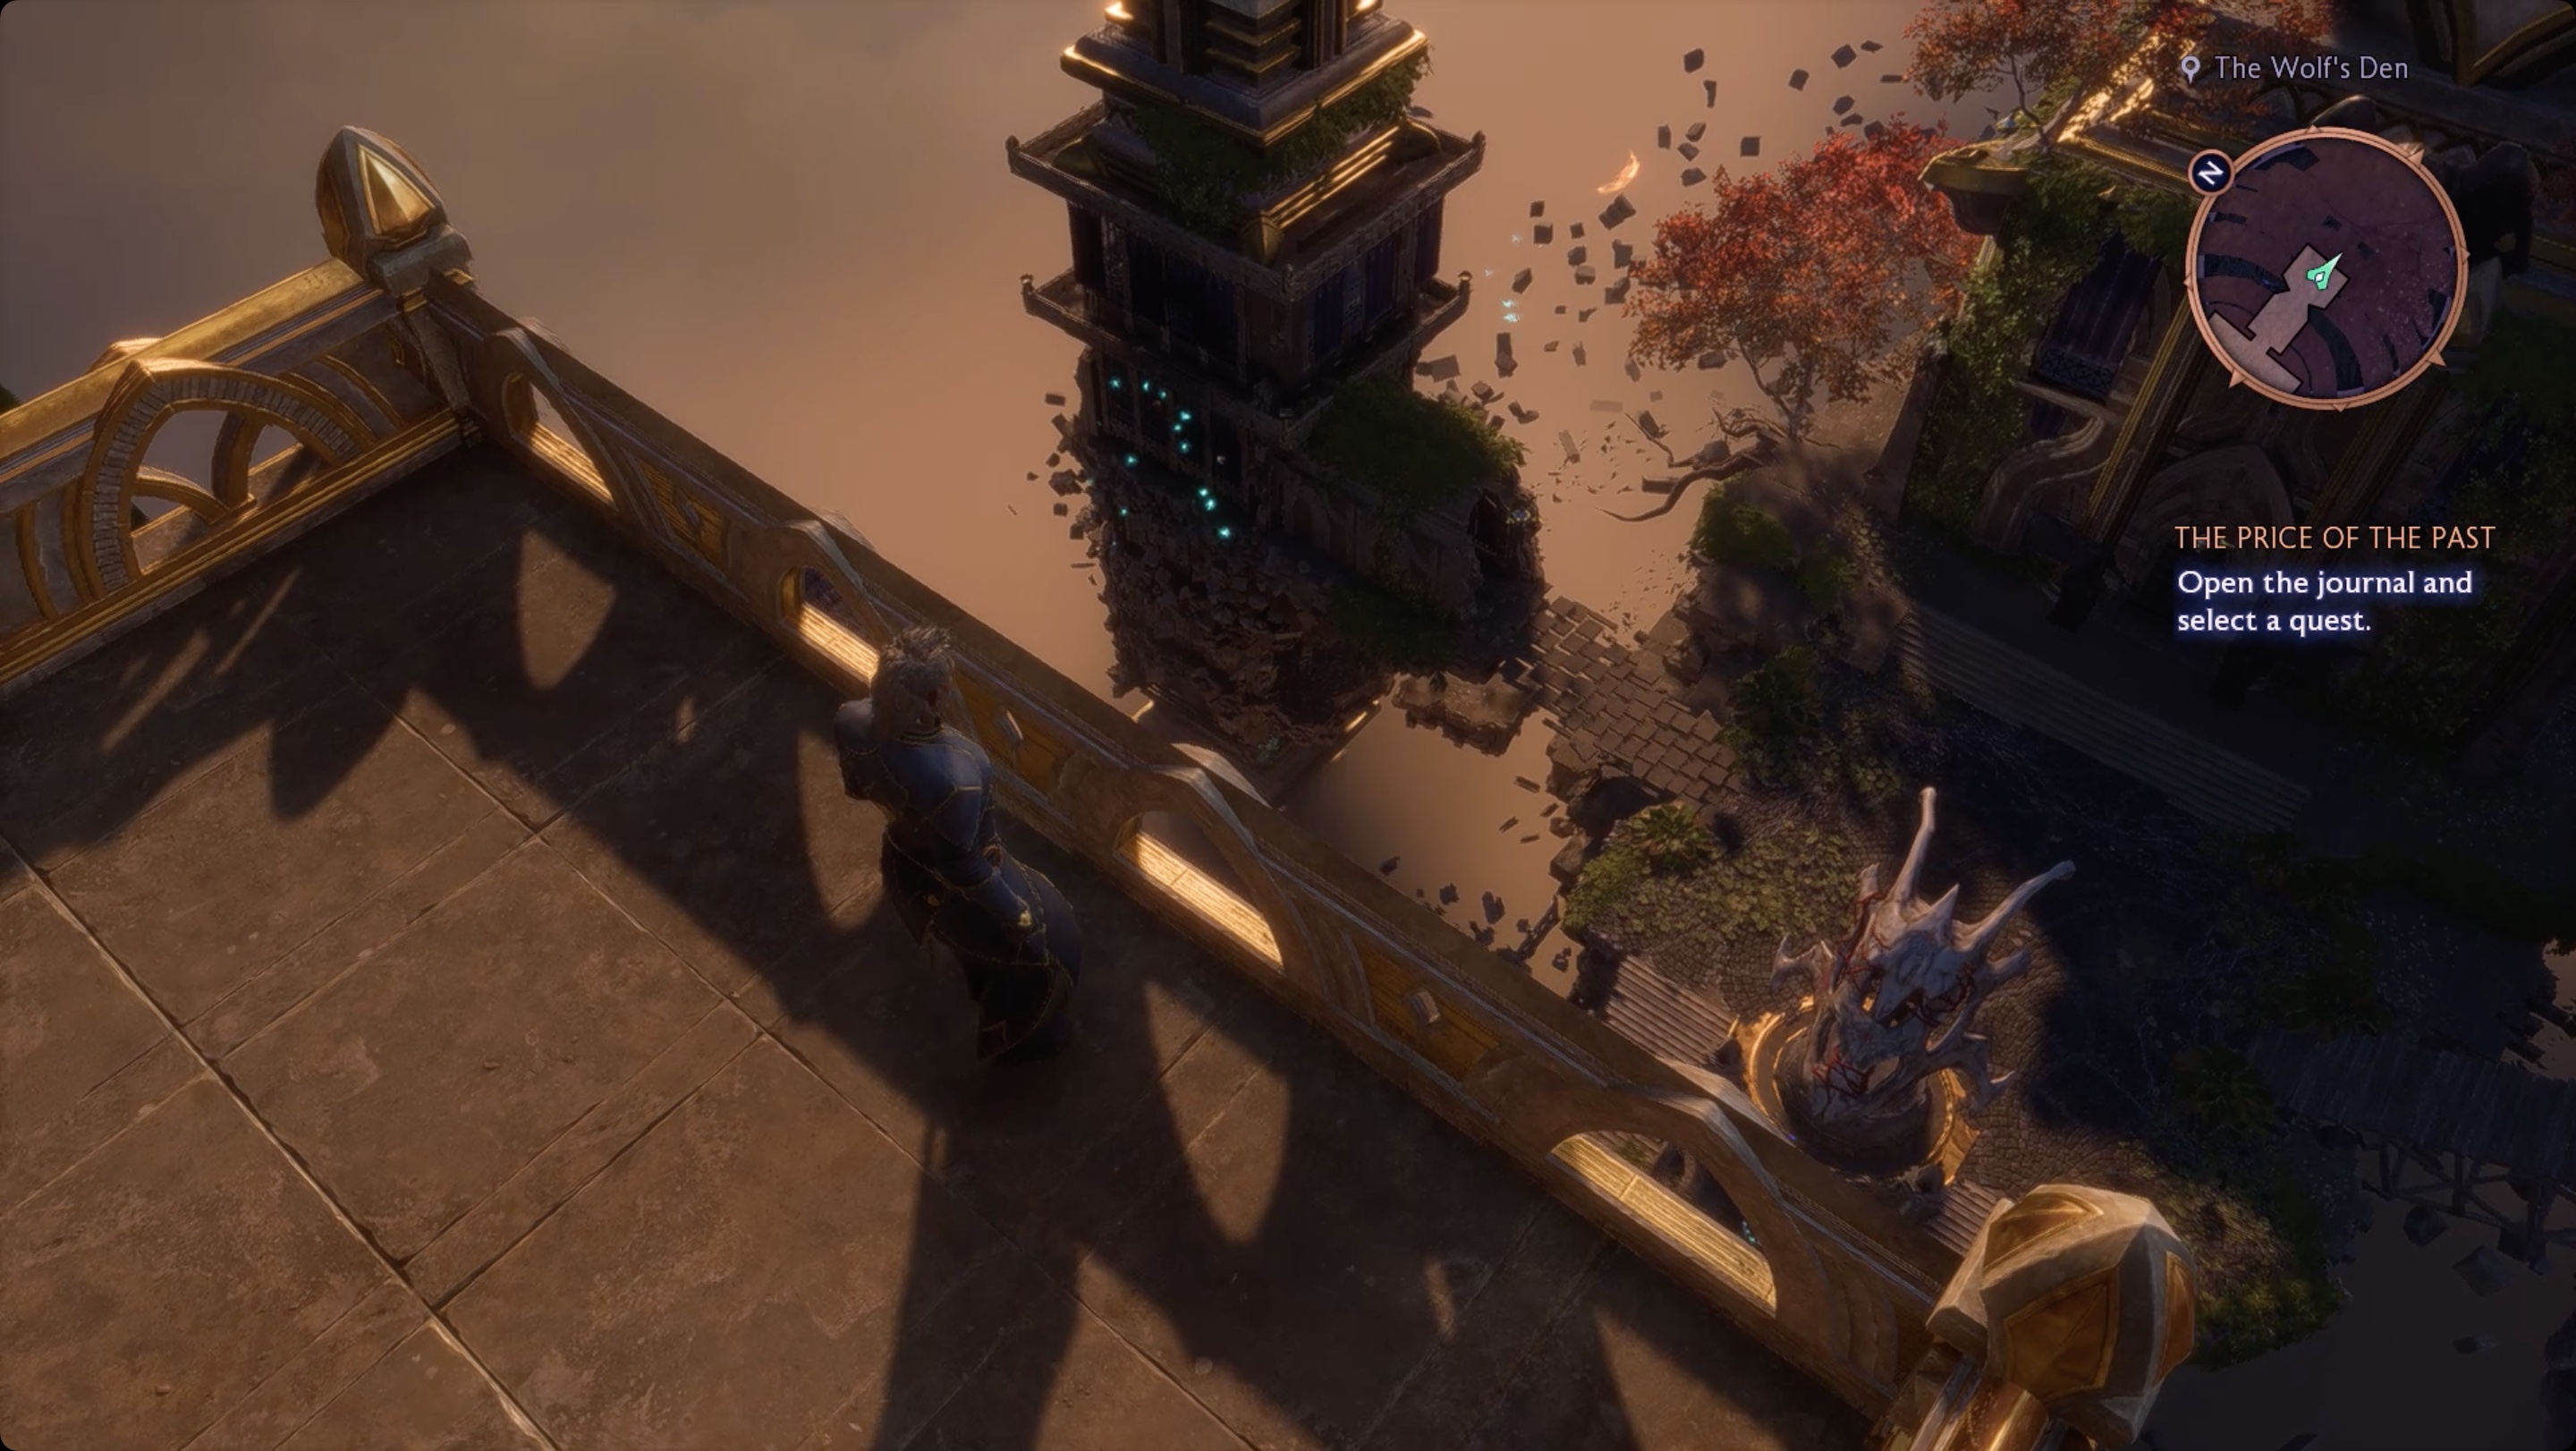
This portal leads to the Wolf’s Den high above the library. Take everything that’s not nailed down — it’s not like Solas can use it anymore. There’s another door here, but it just leads to a balcony with a hell of a view.
For more Dragon Age: The Veilguard guides, see our guides on the Warden Vault puzzle, all companions, all apply and detonate combos, how to romance, and how to change appearance.
