As part of the main opening story in Cyberpunk 2077, Dex sends you on a mission to dig up some info on a super-wealthy Corpo.
You can choose to complete The Pickup or The Information missions in any order you like before completing The Heist, and you can find The Pickup guide here. The Information is a much shorter and straightforward mission than The Pickup and will be your introduction to the Braindance mechanic.
Be warned – the flashing lights from the Braindance machine has triggered epileptic seizures in some players, so you might want to look away when the flashing begins.

Cyberpunk 2077: How to complete The Information questline
The first step of this quest is to head to Lizzie’s Bar between 6 pm and 6 am, so if you arrive a little early, open your menu and choose the Wait option to let time pass you by. The bouncers will mention the Braindance stuff and set a few ground rules before you’re allowed in.
Once you’re inside, head up to the bar for a chat with Mateo, the barman. He’ll make some small talk before you ask to see Evelyn Parker, and you can try to bribe him for more info. Fortunately, Evelyn has been watching and will approach you. She’ll ask you to follow her to a back room where you can get the lowdown on what’s going on.

Speak with Evelyn to learn about the Relic biochip
She’ll try to dig for information on your reliability, how long you’ve known Dex and she gives off a general vibe that she doesn’t have much time for Fixers and much prefers a loyal crew – remember this, as it’s quite important later.
Eventually, you’ll discuss what she’s after: a Relic, the Secure Your Soul trinket from Yorinobu Arasaka, which makes this heist quite dangerous indeed. You’ll need to get inside Konpeki Plaza, a luxurious hotel, but it’ll be a while before you’ll be visiting.

Yorinobu has been disowned by his father, Saburo Arasaka, and has gone a little rogue. He’s paranoid, so there’s little “huscle” around him, as Evelyn puts it, but there’s still a lot of security tech you’ll eventually need to deal with.
She’ll be deliberately vague with details on why he wants to sell the biochip, what her relationship is with him and the like, but after your chat, she’ll lead you to Judy and the raw Braindance experience she has to offer.
Braindance tutorial
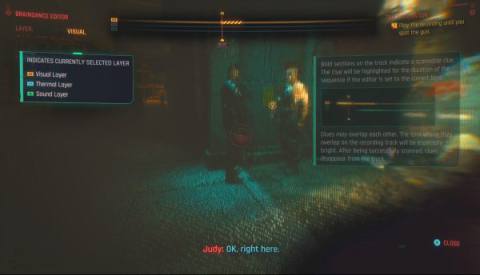
Judy will set you up on the Braindance machine and talk you through your first tutorial. It’s footage you’ve likely seen before in Night City Wired episodes, where one thug robs the store and the other one shoots him. Follow Judy’s instructions to learn about going into editing mode and analysing Audio, Visual and Thermal layers for clues.
If you watch the top bar, you’ll see a block appear in each layer’s line that indicates there’s something to be found. Search for something glowing in the corresponding colour – in the case of Visual, something orange – or that has a magnifying glass icon.
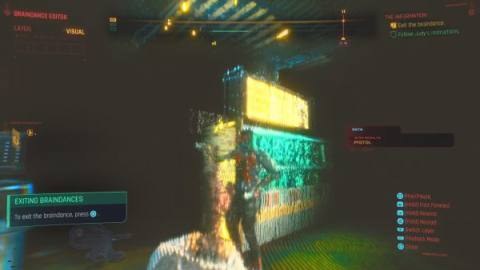
Some clues will overlap and you’ll need to rewind and switch between layers to find anything. The Braindance controls stay on the screen the whole time, so you’re unlikely to get stuck.
To exit the Braindance, hit circle on PlayStation controllers and B on Xbox gamepads. After that, Judy and Evelyn will ask you to go through another Braindance to find the biochip. You’ll want to bring T Bug on board, much to Judy’s reluctance, as she can help you with security systems and finding out more info.

Braindance in Konpeki Plaza to find the Relic
Again, this section is pretty straightforward. You can optionally search for security systems, which you’ll do mostly through Visual and Audio layers. Look up high for security cams and use the Audio layer when it becomes available to hear a drone in the centre of the room.
You can also stay in playback mode the first time to watch it all from Evelyn’s perspective as another optional task.
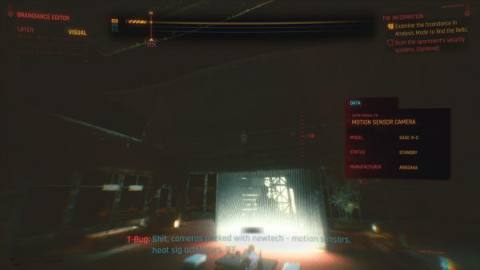
You’ll be going back and forth a lot and it’s a pretty simple mission until you need to scan the Datapad. Wait until Evelyn has finished choosing some music then head to the bedroom. You’ll find a sweet gun on a table near the end of the bed and the Datapad in a drawer, so go ahead and scan it.
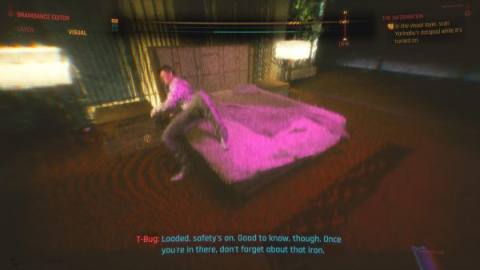
After that, you’ll be able to activate the Thermal layer and search for the Relic. If you rewind to the 45-second mark, you’ll see a green smokey area in the left corner of the main room, past the sofa. Scan it to find the location of the Relic.

It’s worth gathering all the security intel and completing the optional steps as they appear, as there’s no time limit to this mission. Look out for the blocks appearing in the top bar and magnifying glass icons to find everything.
Afterwards, exit the Braindance and have a chat with Judy, who reckons she is going to end up dead because of this mission. You and Evelyn can do your best to reassure her, but she’s on edge.
Should you betray Dex?
In the final moments of this mission, Evelyn will make you a tempting offer: to double-cross Dex and leave him out of it. She’ll give you 50% of the proceeds if you cut out the middle man, but you don’t need to make a decision right now. If you tell her you’ll think about it, you aren’t agreeing to anything at this point, but you will get her number.

It doesn’t matter which choice you make between these dialogue options. Pissing off your Fixer is risky business that could cost you your life but as Evelyn reminds you, it could also make you a legend. As I said, you don’t need to make a choice right now and the effects of your choice won’t be obvious right away as it doesn’t really come up again… Until later.
After your chat with Evelyn, speak with Dex to complete the mission. You can either move on to The Pickup if you haven’t completed it or The Heist.
If you’re just getting started in Night City, you can check out our guides on which Lifepaths and Attributes you should choose, where to find your pre-order items, how to solve hacking puzzles and what the best weapons are.
The post Cyberpunk 2077 The Information Quest | Should you betray Dex? appeared first on VG247.


