Welcome to the Zone, the radioactive wilderness of Stalker 2: Heart of Chornobyl. It’s a wonderful place ripe for exploration. But it also kinda sucks that it desperately wants to kill you. If the mutants don’t get you, the anomalies will, and you’d better watch out for those roving packs of feral dogs. What a life. But as rotten as things can get in Stalker 2, I believe in you. You can survive. At least with these handy Stalker 2 tips.
So if you don’t want to become a corpse (too often), give this a browse and prepare yourself. I won’t lie: you’re still going to die a lot. But you’ll at least get to live for a wee while longer than you otherwise might. That’s the PC Gamer guarantee.
Vodka is your best friend

I’m not normally a neat vodka drinker, but in the Zone I’ll make an exception. Not because the stressful life of a Stalker has driven me to the booze—well, not entirely—but because vodka serves as a quick fix when you’ve been hit with a big dose of radiation. There are other cures, but none so abundant as this ubiquitous beverage.
Unopened bottles are strewn around everywhere, the ghosts of a party that never got to reach its conclusion, probably because a pack of wild dogs or a band of raiders interrupted the boozy fun times. So whenever you start seeing spots, start glugging that miracle liquid and you’ll be good.
Unload every gun you find
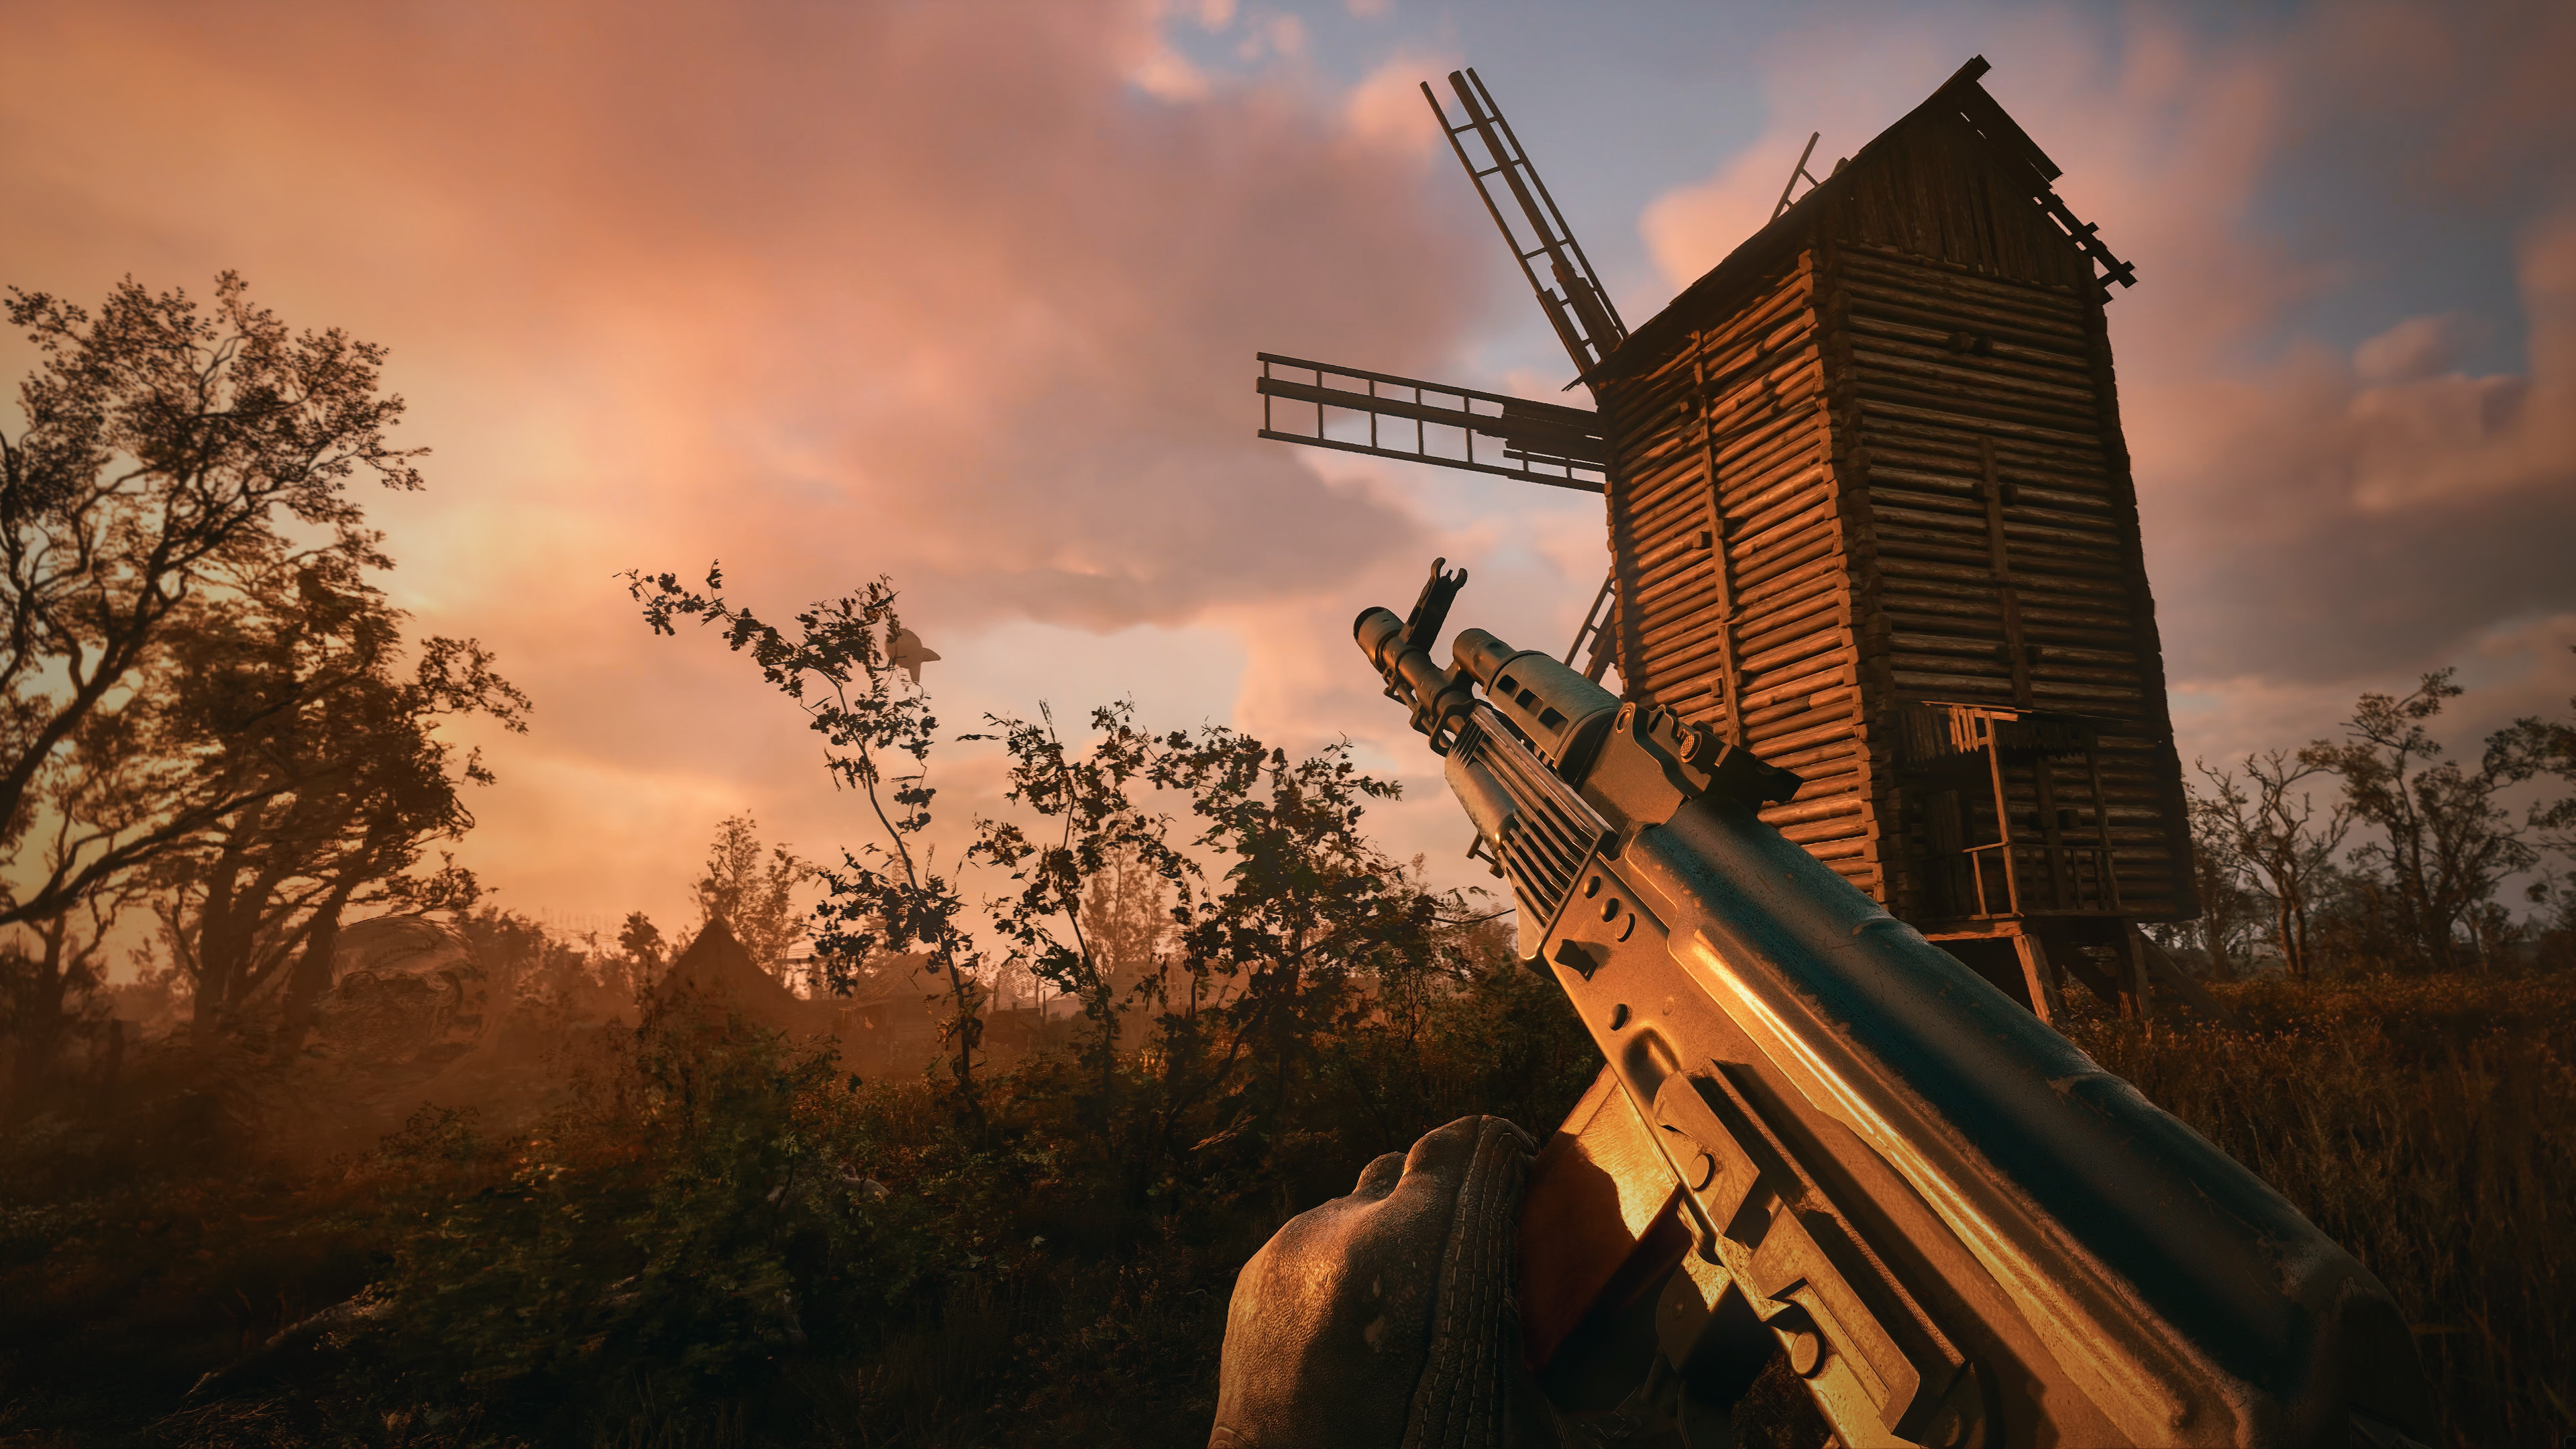
Nearly every corpse you encounter will be packing, but it’s unlikely it’ll be a pristine firearm. Broken guns can be repaired by techs for a fee, but most of the time it’ll be a gun you already own—the Zone is strewn with AKs and Viper-5s—so there’s no point in picking them up, especially since you can’t sell them until they are repaired, at which point you’re not turning a profit. So you won’t want to waste the inventory space, but that doesn’t mean you should ignore these weapons entirely.
The vast majority of them are still going to be loaded, and since the Zone is full of dangers, many of which will see you fire a whole clip or more into them before they go down, you’re always going to need more ammo. Instead of spending coupons, then, just harvest ammo from the weapons of the deceased. Every bit counts.
Dabble in pacifism
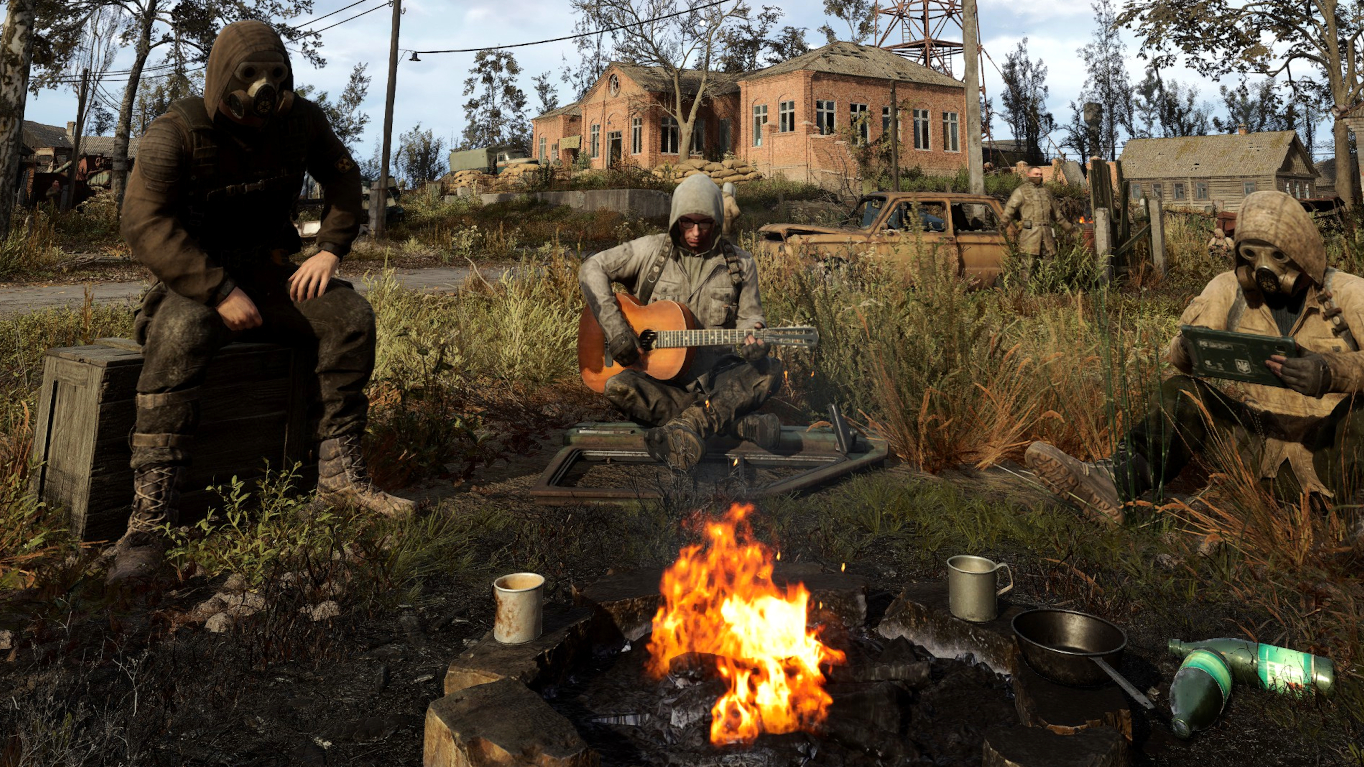
The Zone is an endlessly violent place, but that doesn’t mean you have to fill every threat you encounter with bullets. Killing humans can score you some loot, sure, but you’ll rarely get anything for killing a mutant or an animal, so you’re really just exchanging ammo and health for a fleeting sense of safety. Instead, sneak around dangers, or find more creative ways to end their lives without getting your hands dirty.
If you encounter some monsters and you know there are humans nearby, dragging them towards each other is a sound strategy. As a bonus, you’ll be able to loot any humans who weren’t lucky enough to get out of the fight with their lives. The environment can be another temporary ally. Get threats to follow you into anomalies and let the Zone do the dirty work for you. Even bad weather can lend a hand, given the lethality of lightning.
Anomalies about? Whip out the detector
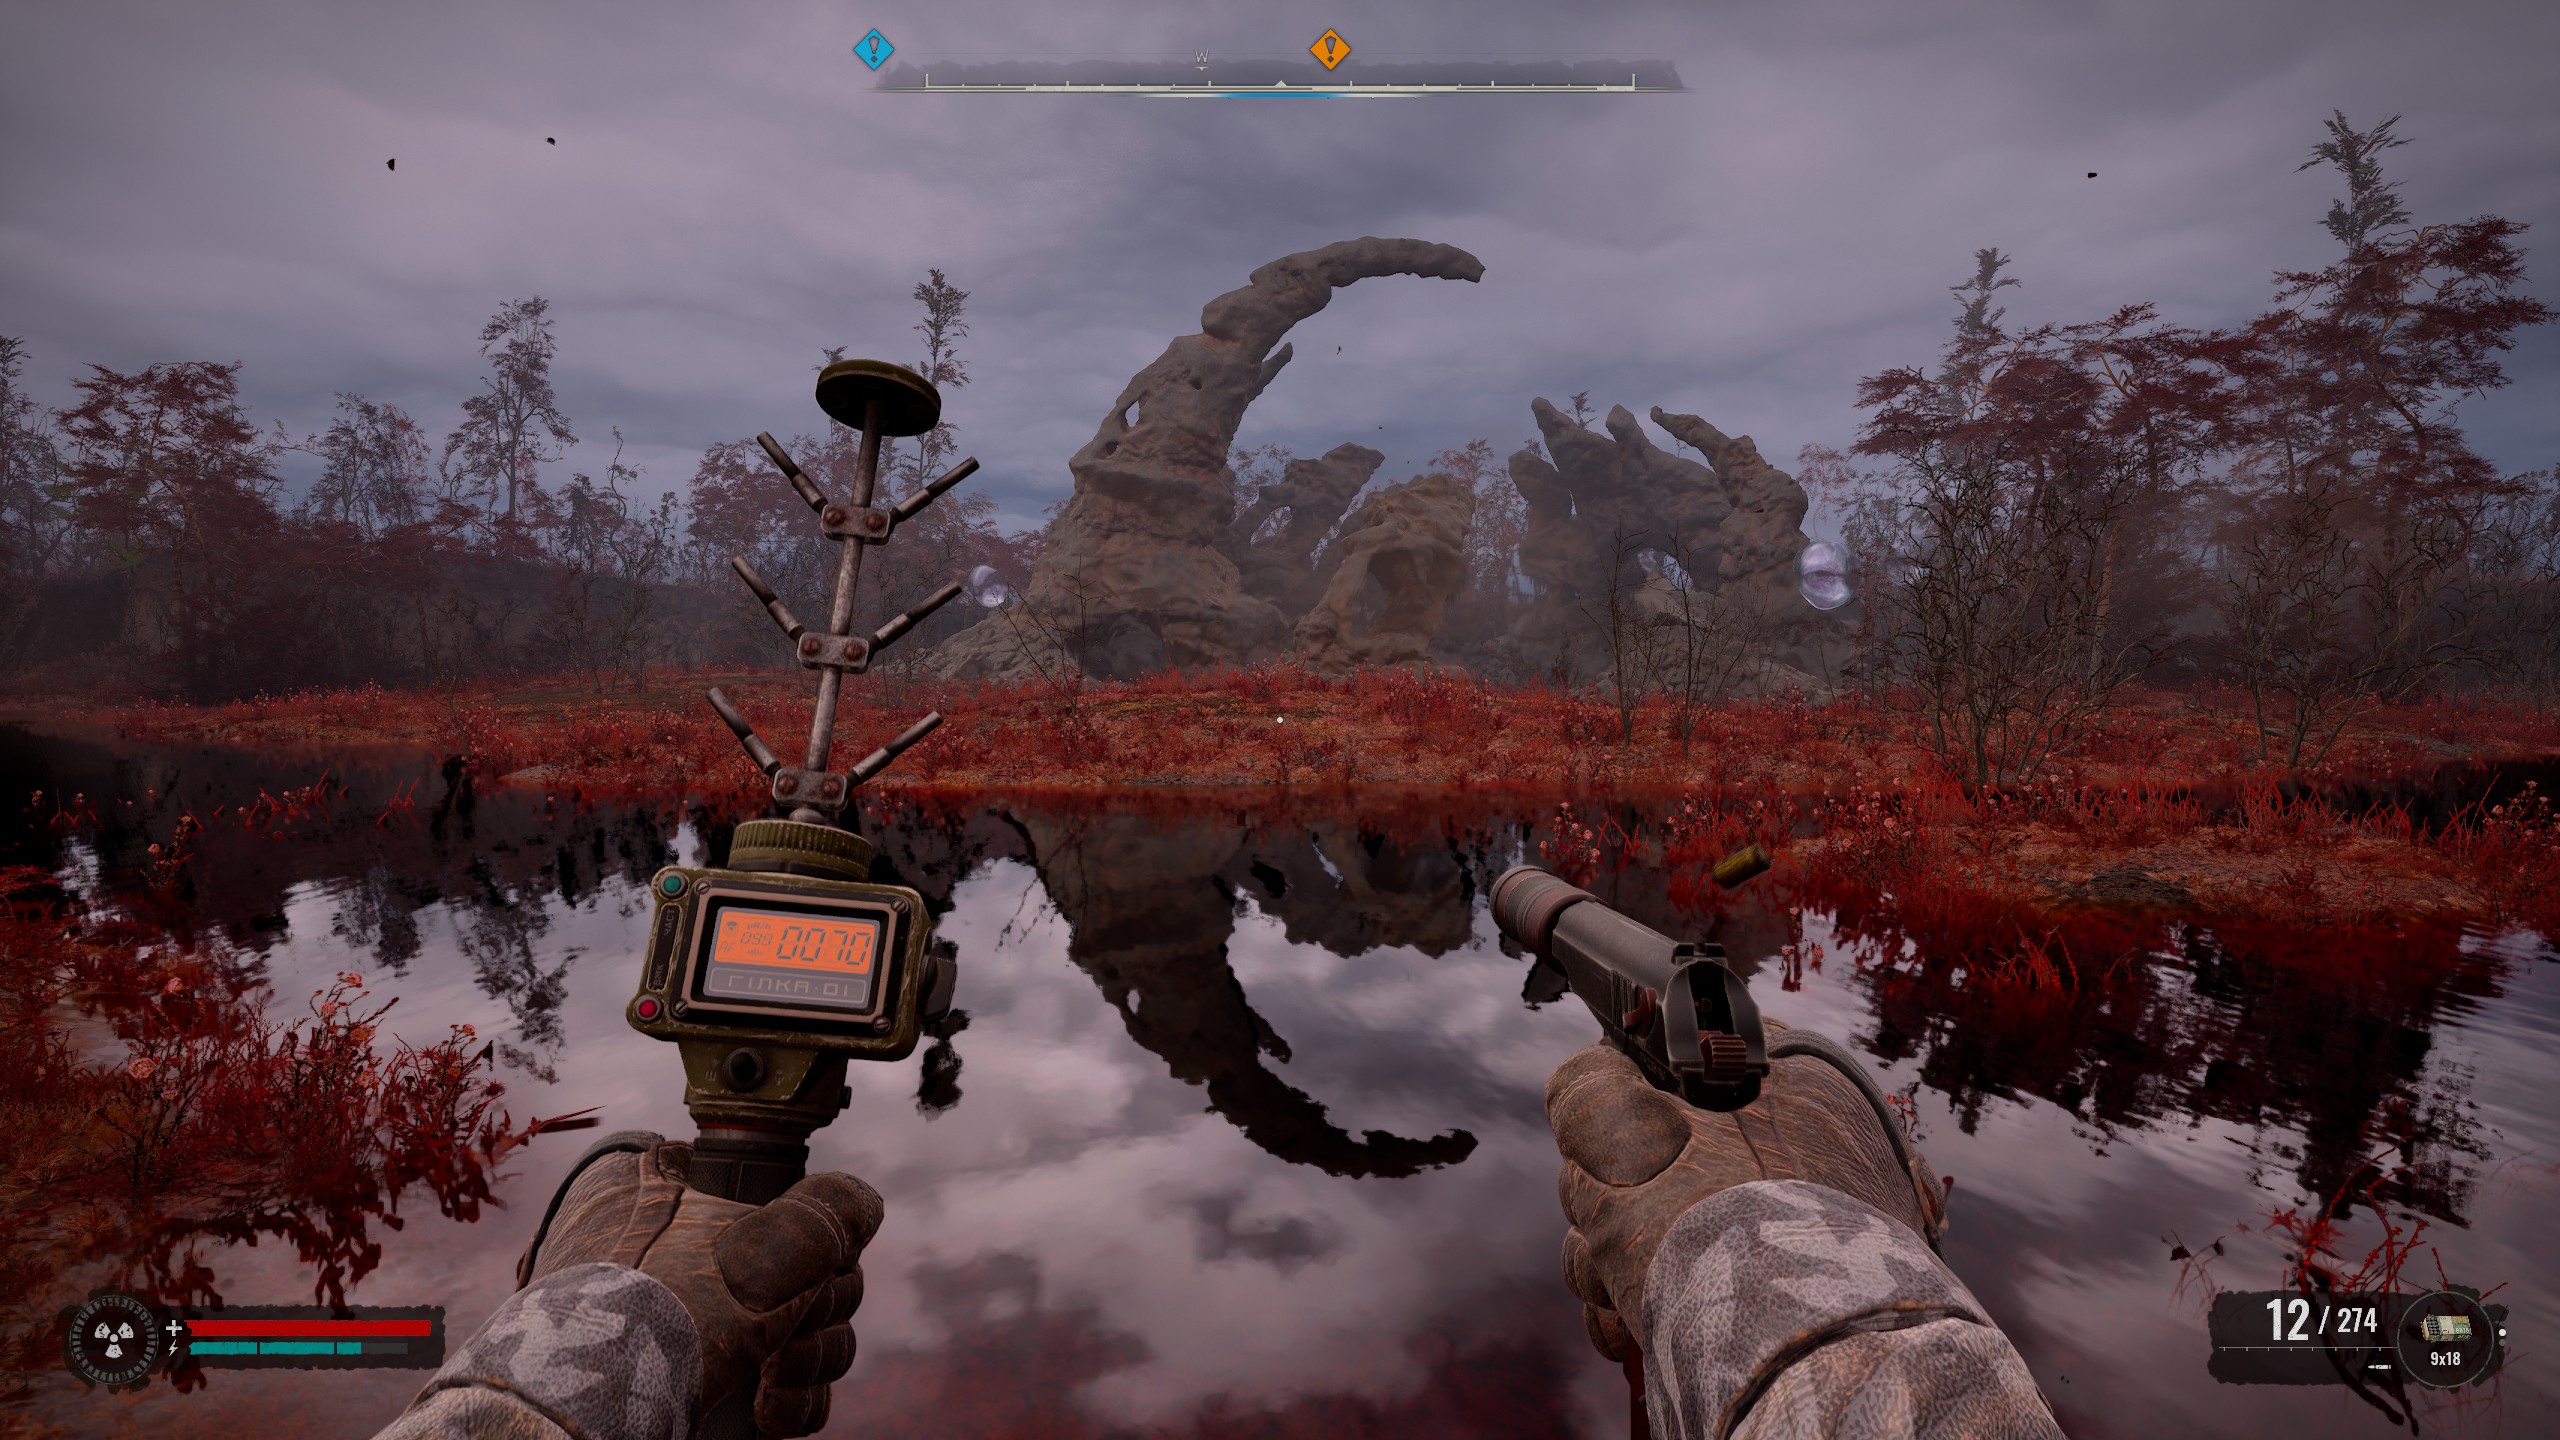
On fire? Torn to shreds? Hurled into the air by an unseen force? You’ve either angered the Old Testament god or you’ve wandered into an anomaly field—a cluster of the Zone’s most dangerous environmental hazards. It’s not all bad news, though: anomaly fields tend to be a goldmine for artifacts, which have probably the best weight:value ratio of anything in the game. They range from humdrum (but still valuable) stuff that can do things like mildly staunch bleeding or gently massage away radiation to the ultra-rare, ultra-pricey heavy-hitters that can pretty much make certain status effects a thing of the past. Always check your detector to see if it gives a tell-tale beep when you’re caught in a thicket of anomalies, and upgrade that detector whenever you get an opportunity.
Don’t go out of your way for stashes
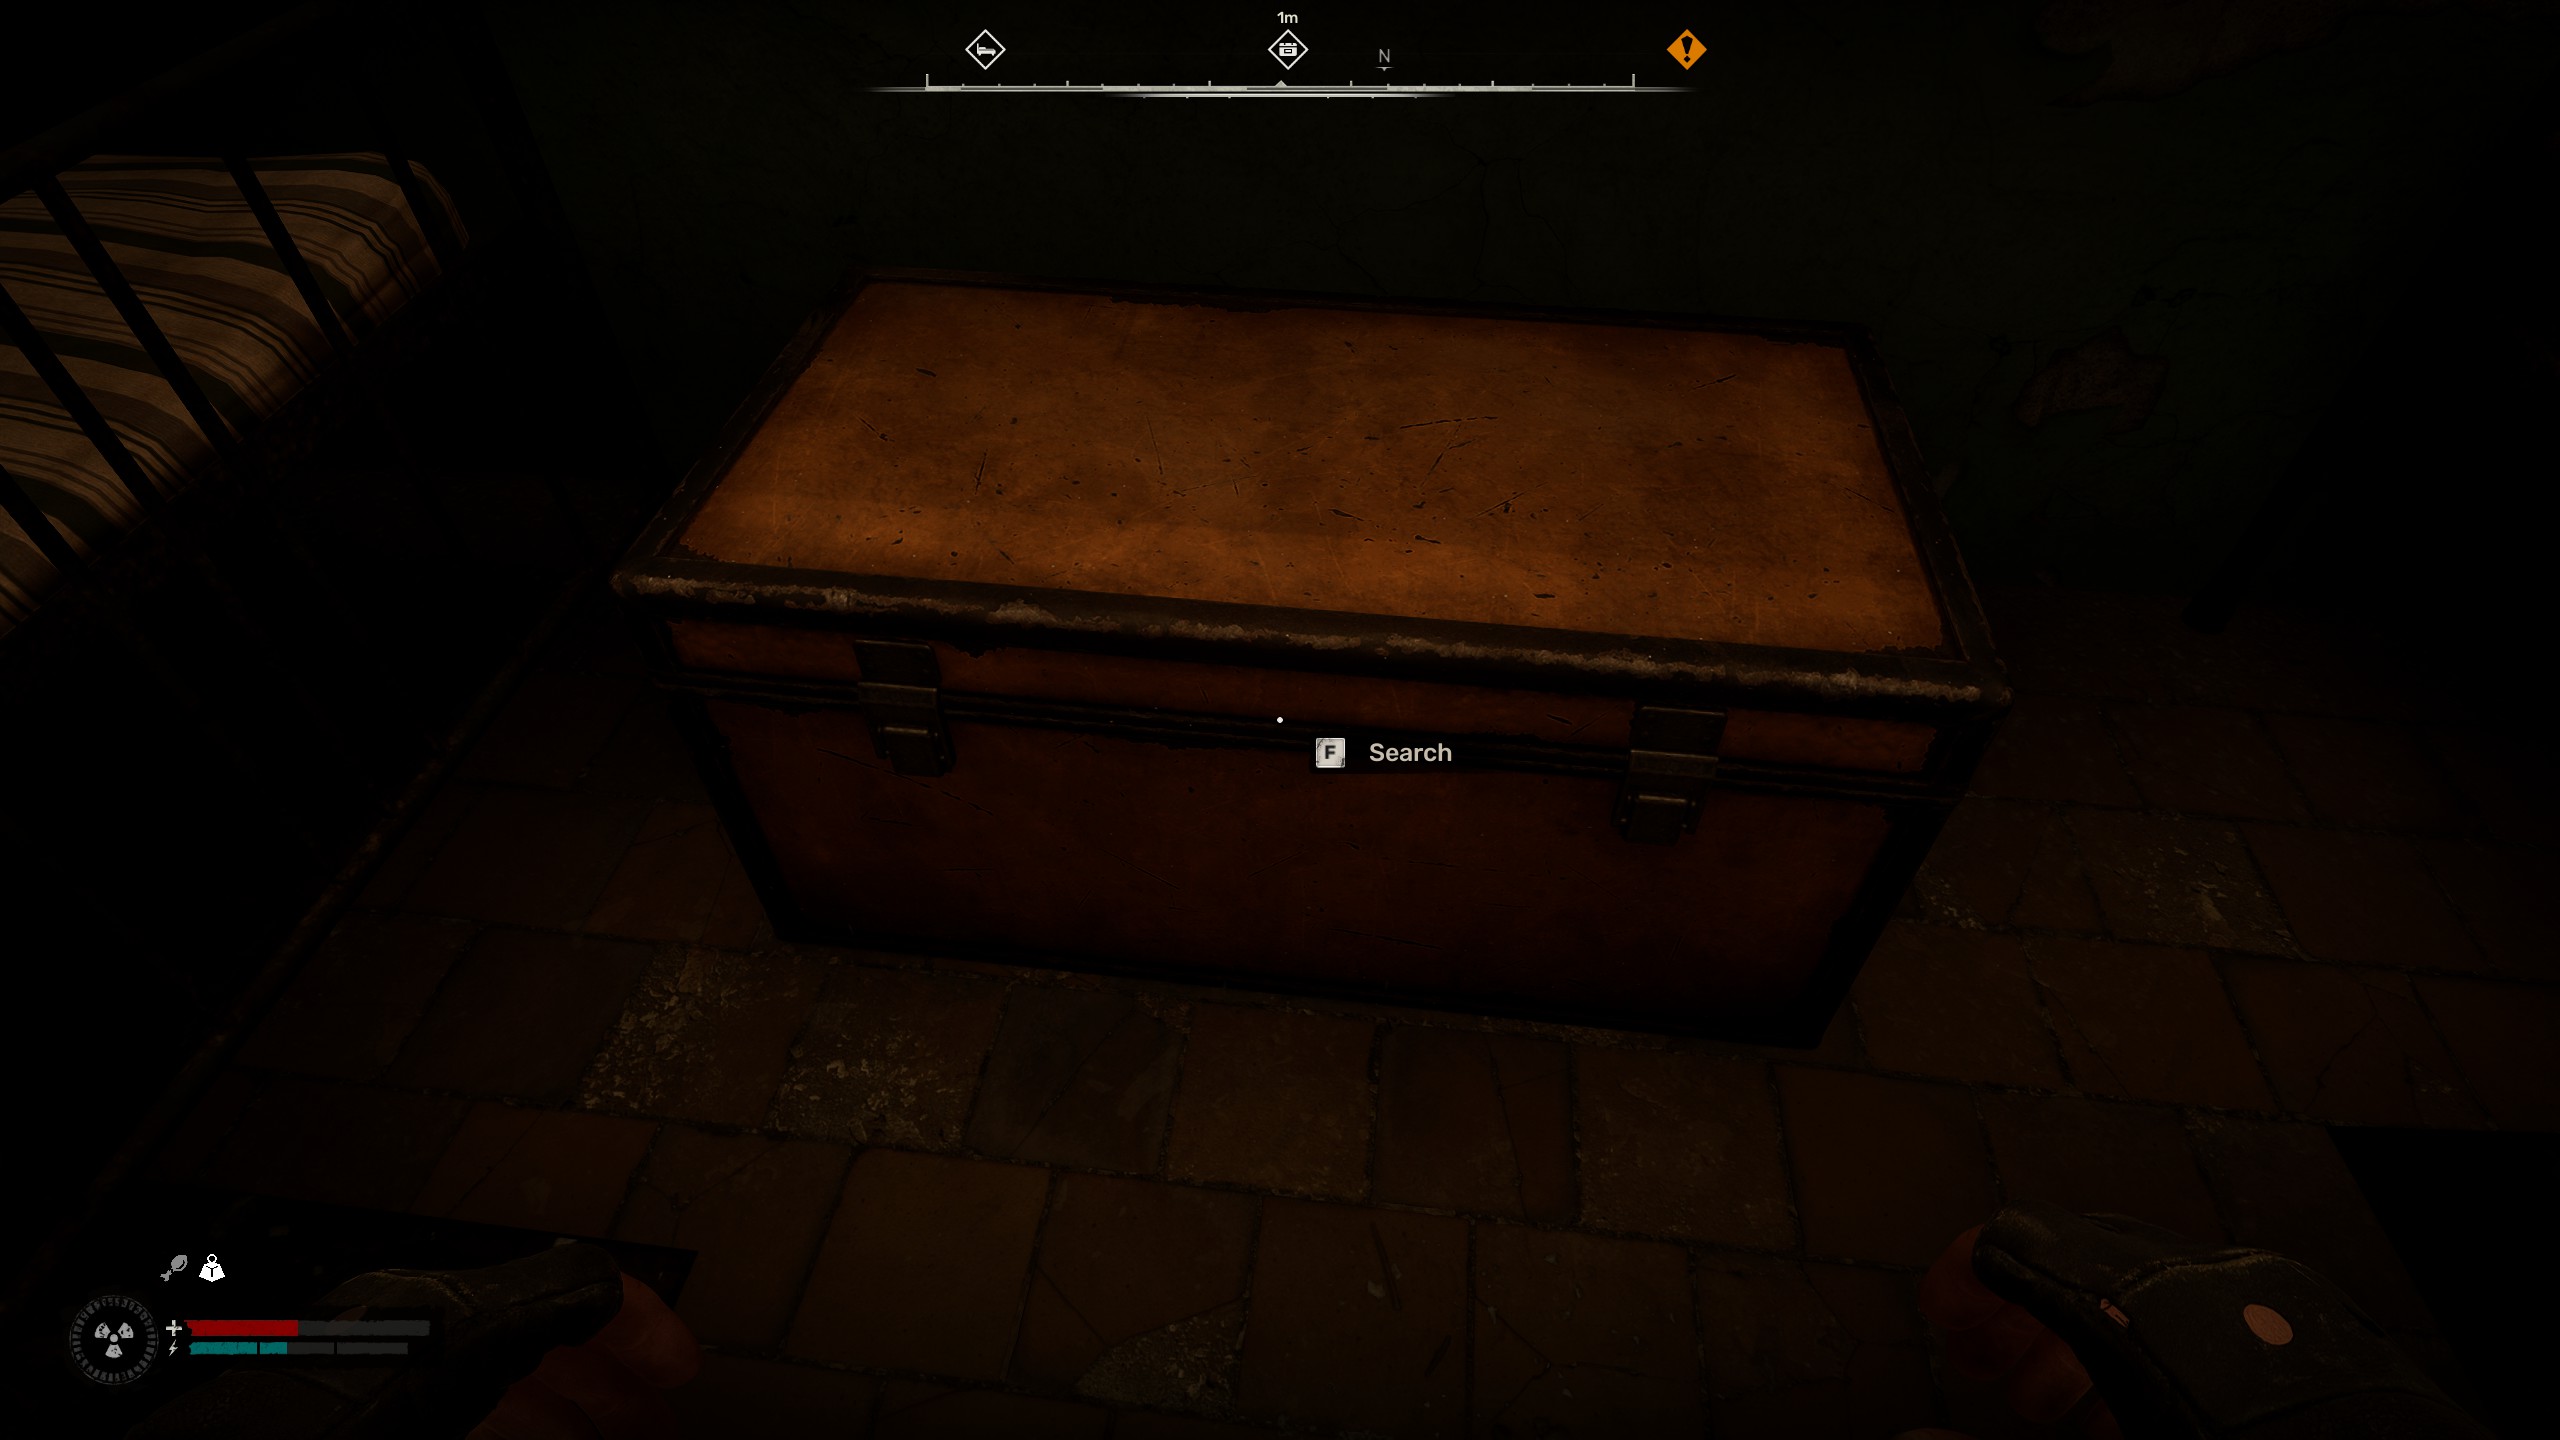
Take one look at your map and you’ll notice one thing: stalkers sure do love dumping their loot. The Zone bristles with stashes for you to locate and plunder, usually tucked away in hard-to-reach places that become little puzzles to unlock.
Here’s the thing, though: most of them are naff. Proper naff. Three-sausages-and-a-medkit naff. So don’t go on a Witcher-3-style question-mark-clearing binge as soon as you open your PDA and see a bunch of them. They’re there for you to pick up on the way to something else, not to dedicate an afternoon to hunting for.
Be ruthless with your inventory
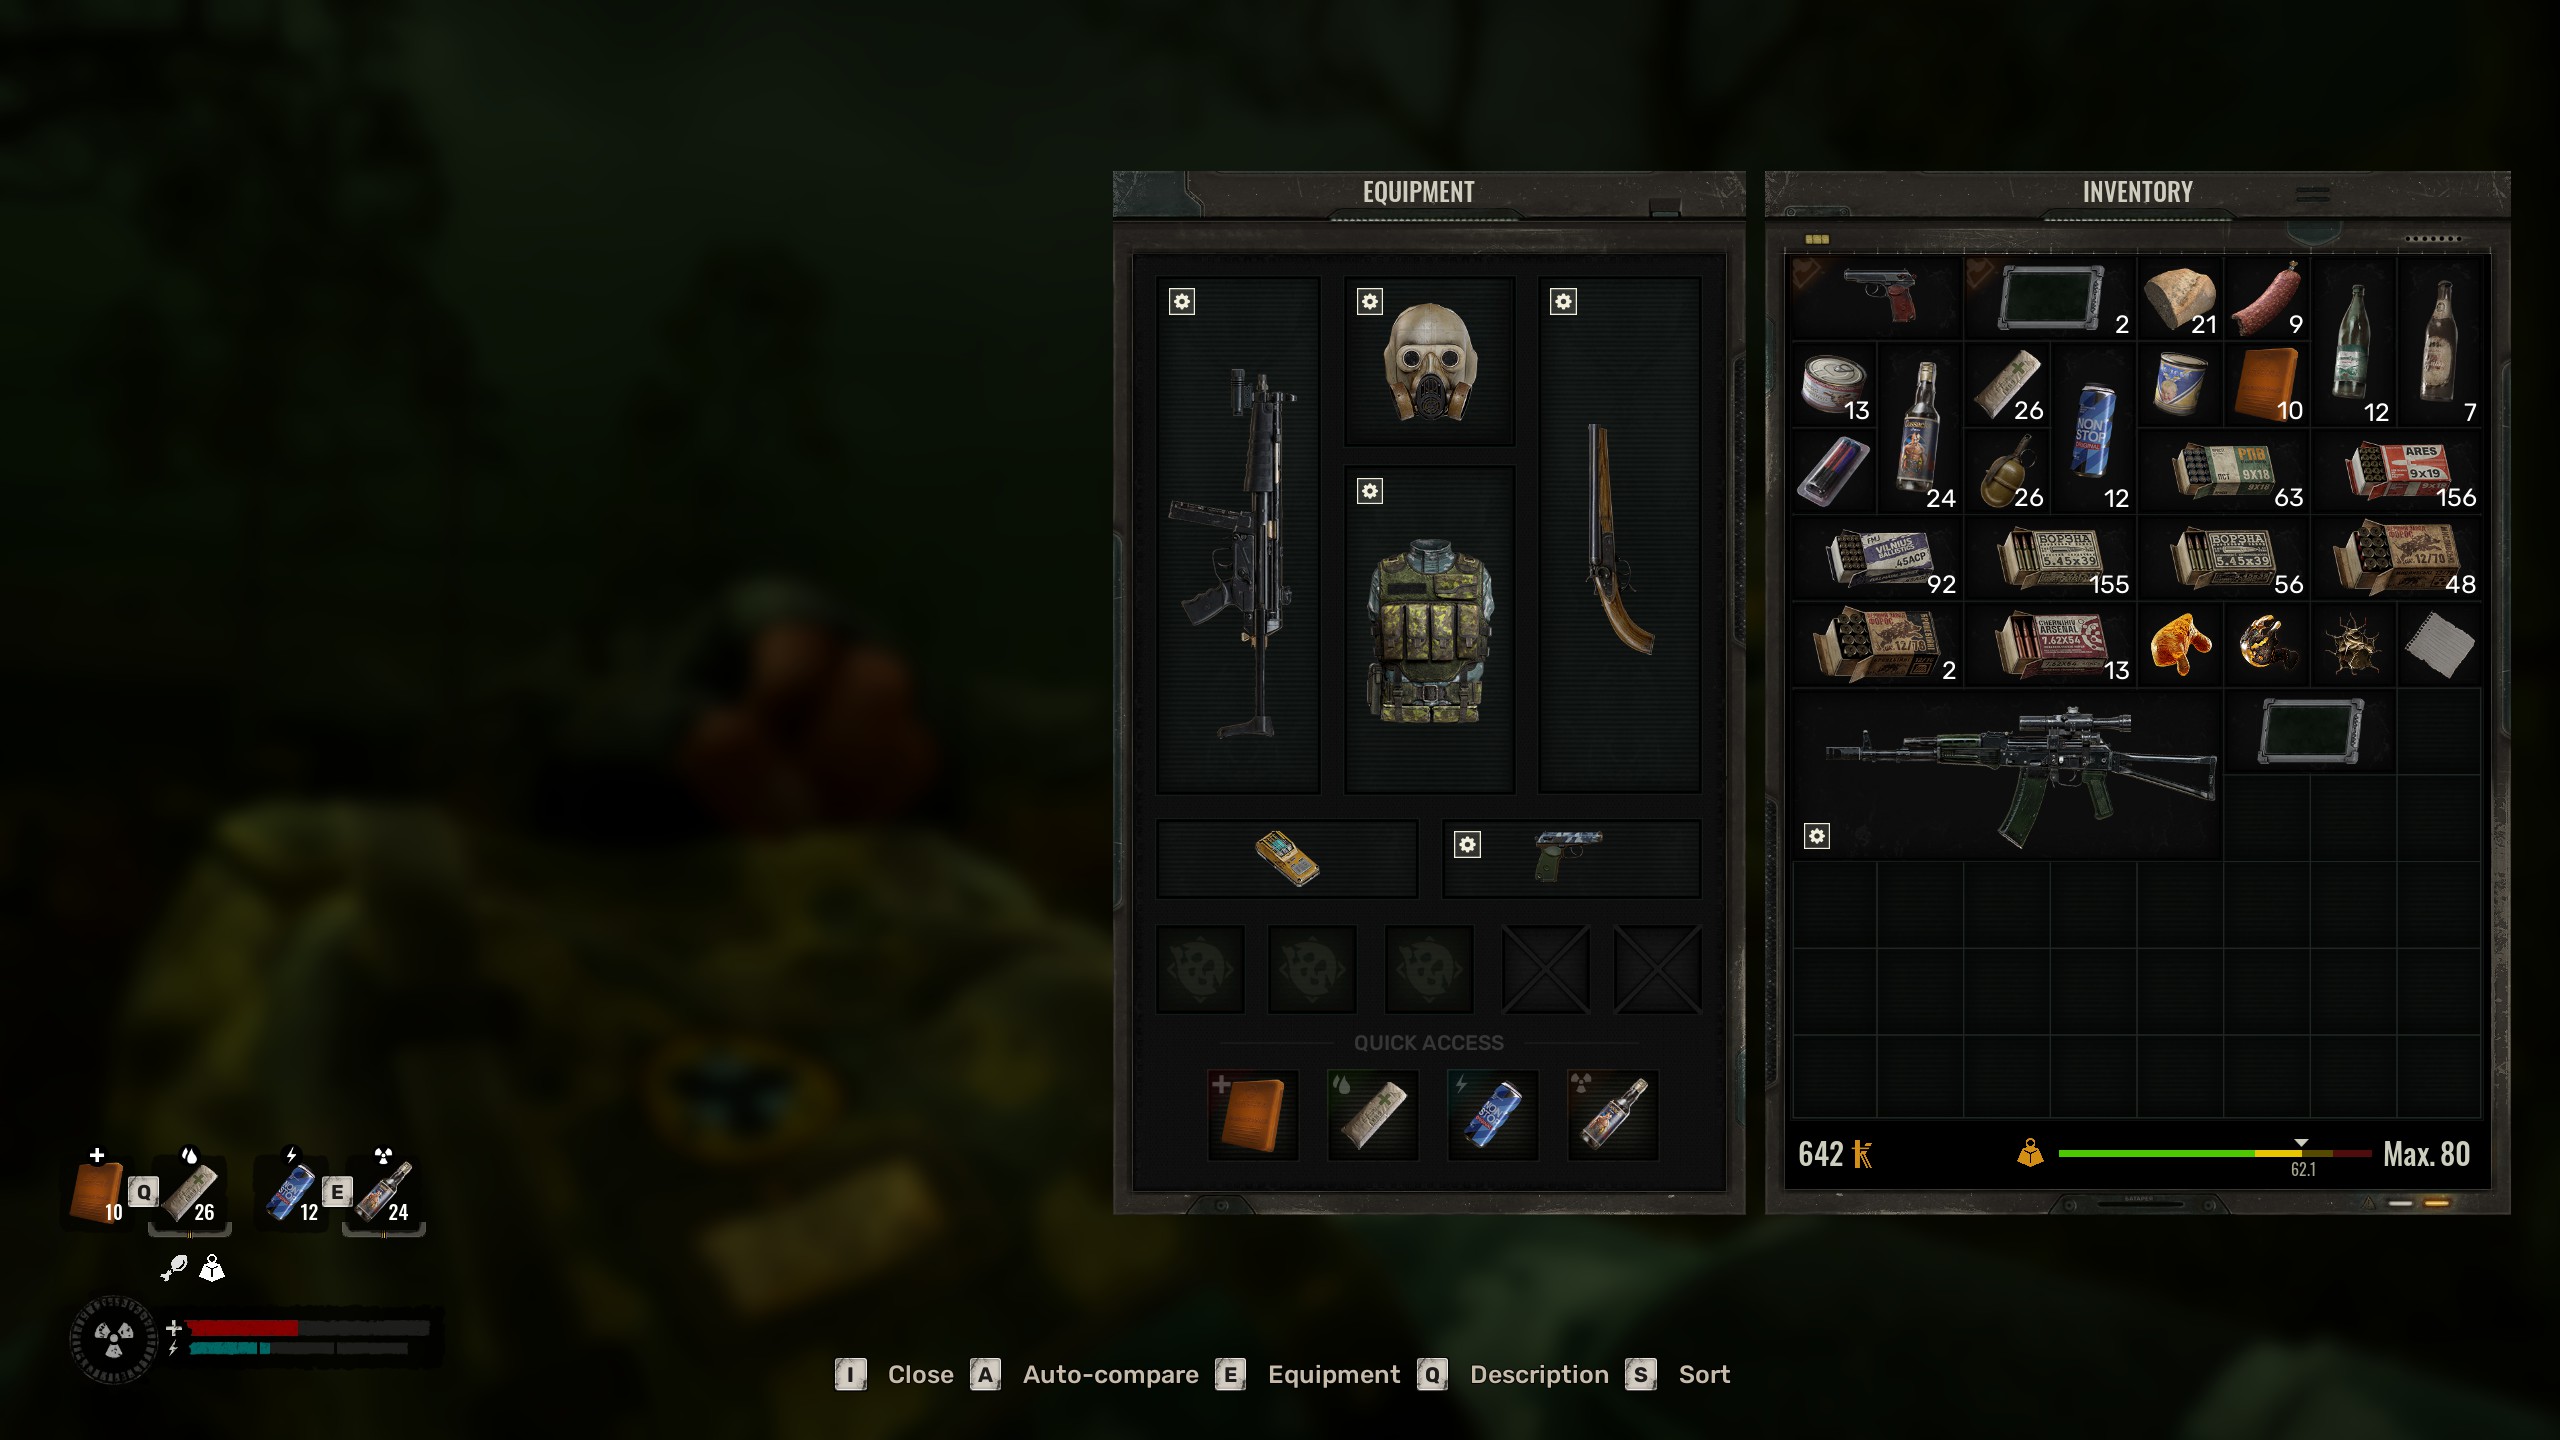
Fallout might have spoiled you with that ‘fast travel while encumbered’ perk, but we’ll have no such behaviour in Stalker, thank you. Encumbrance is a bear in this one: not only will you just stop walking at some point, every new tier of encumber-itude will slow you down and make stamina regenerate slower, which is potentially lethal in a firefight, and enormously tedious when you’re covering huge distances on foot.
So take a good, hard look at your inventory before you leave a hub area, and only take what you need. That means bullets for the guns you have equipped, a little food, and healing items. No more, no less. Don’t fret: you don’t have to sell what you don’t take or leave it dumped on the floor. You can drop it into Skif’s stash box to make it accessible from any hub area across the map.
Radio protection artifacts are your best friend
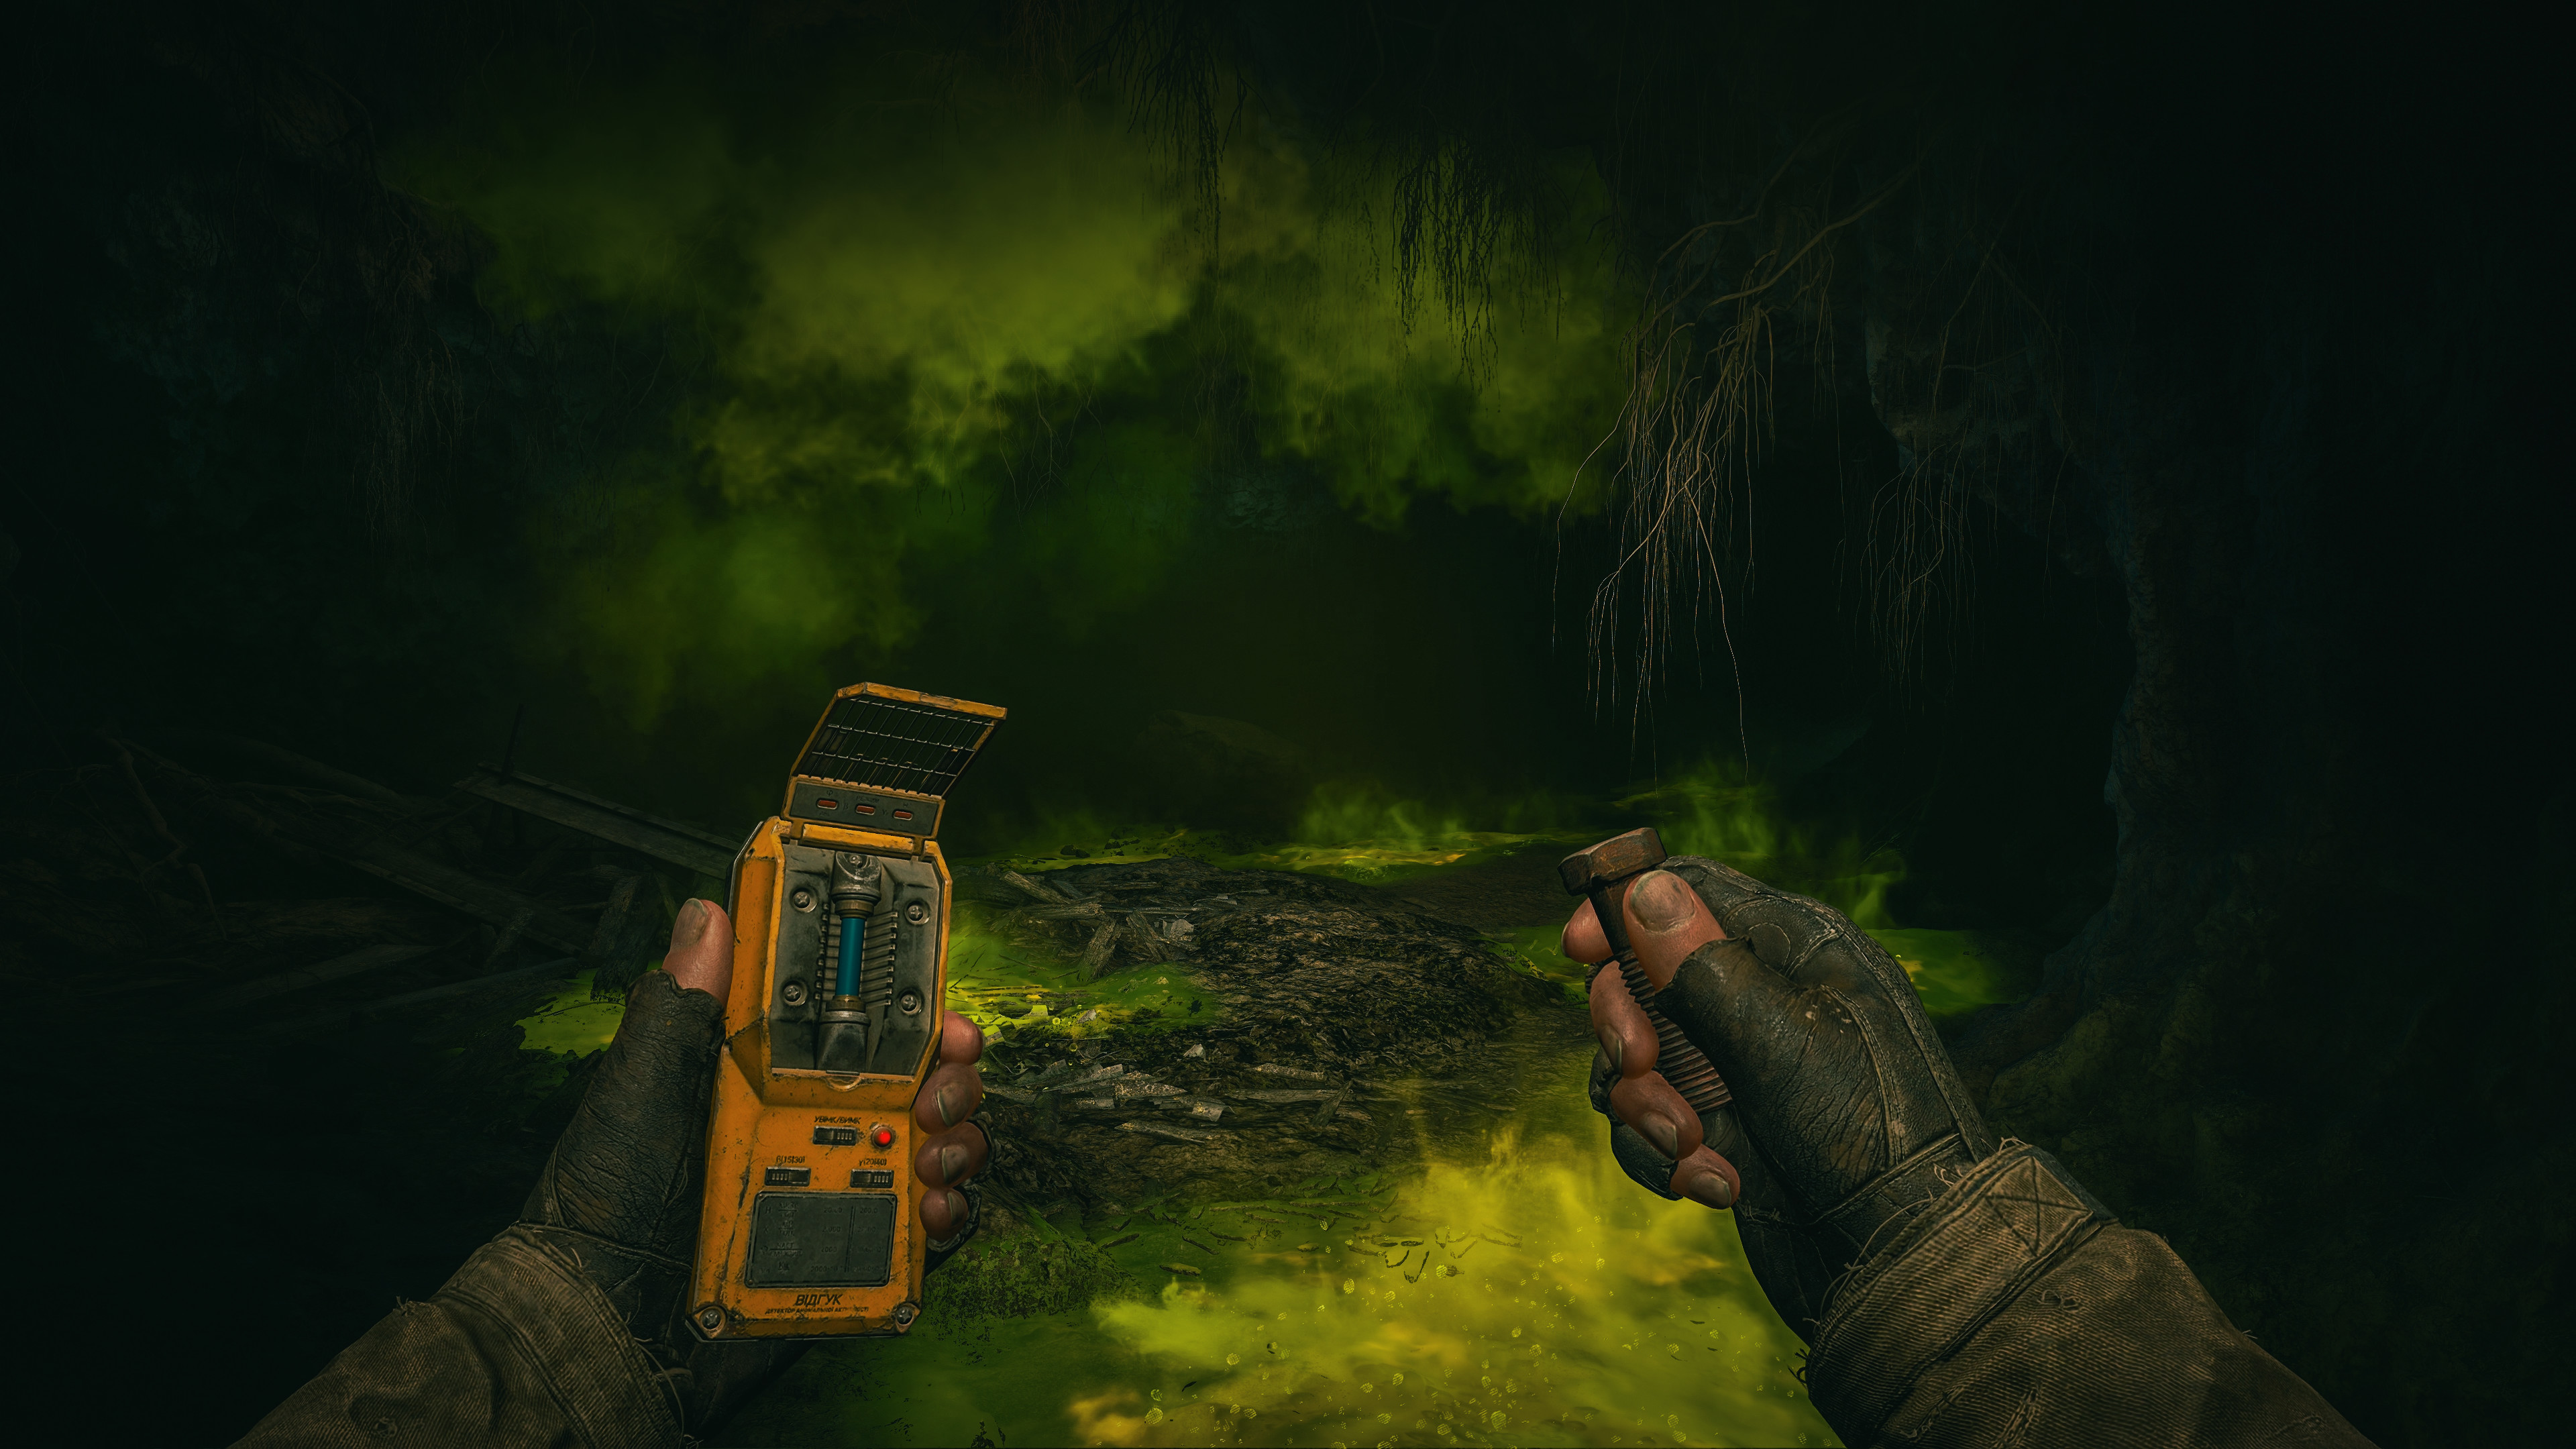
The true Stalker experience is finding an incredible artifact you just can’t equip, because it puts out enough rads to kill a horse. That’s why you need to balance the artifacts you have equipped with ones that protect against radiation (a suit with high radio-protection will also help). Got a Meat Chunk you want to equip? Make sure to also load up a corresponding artifact that will suck in the rads it kicks out so they don’t go into your frail human body.
Invest in psi-protection
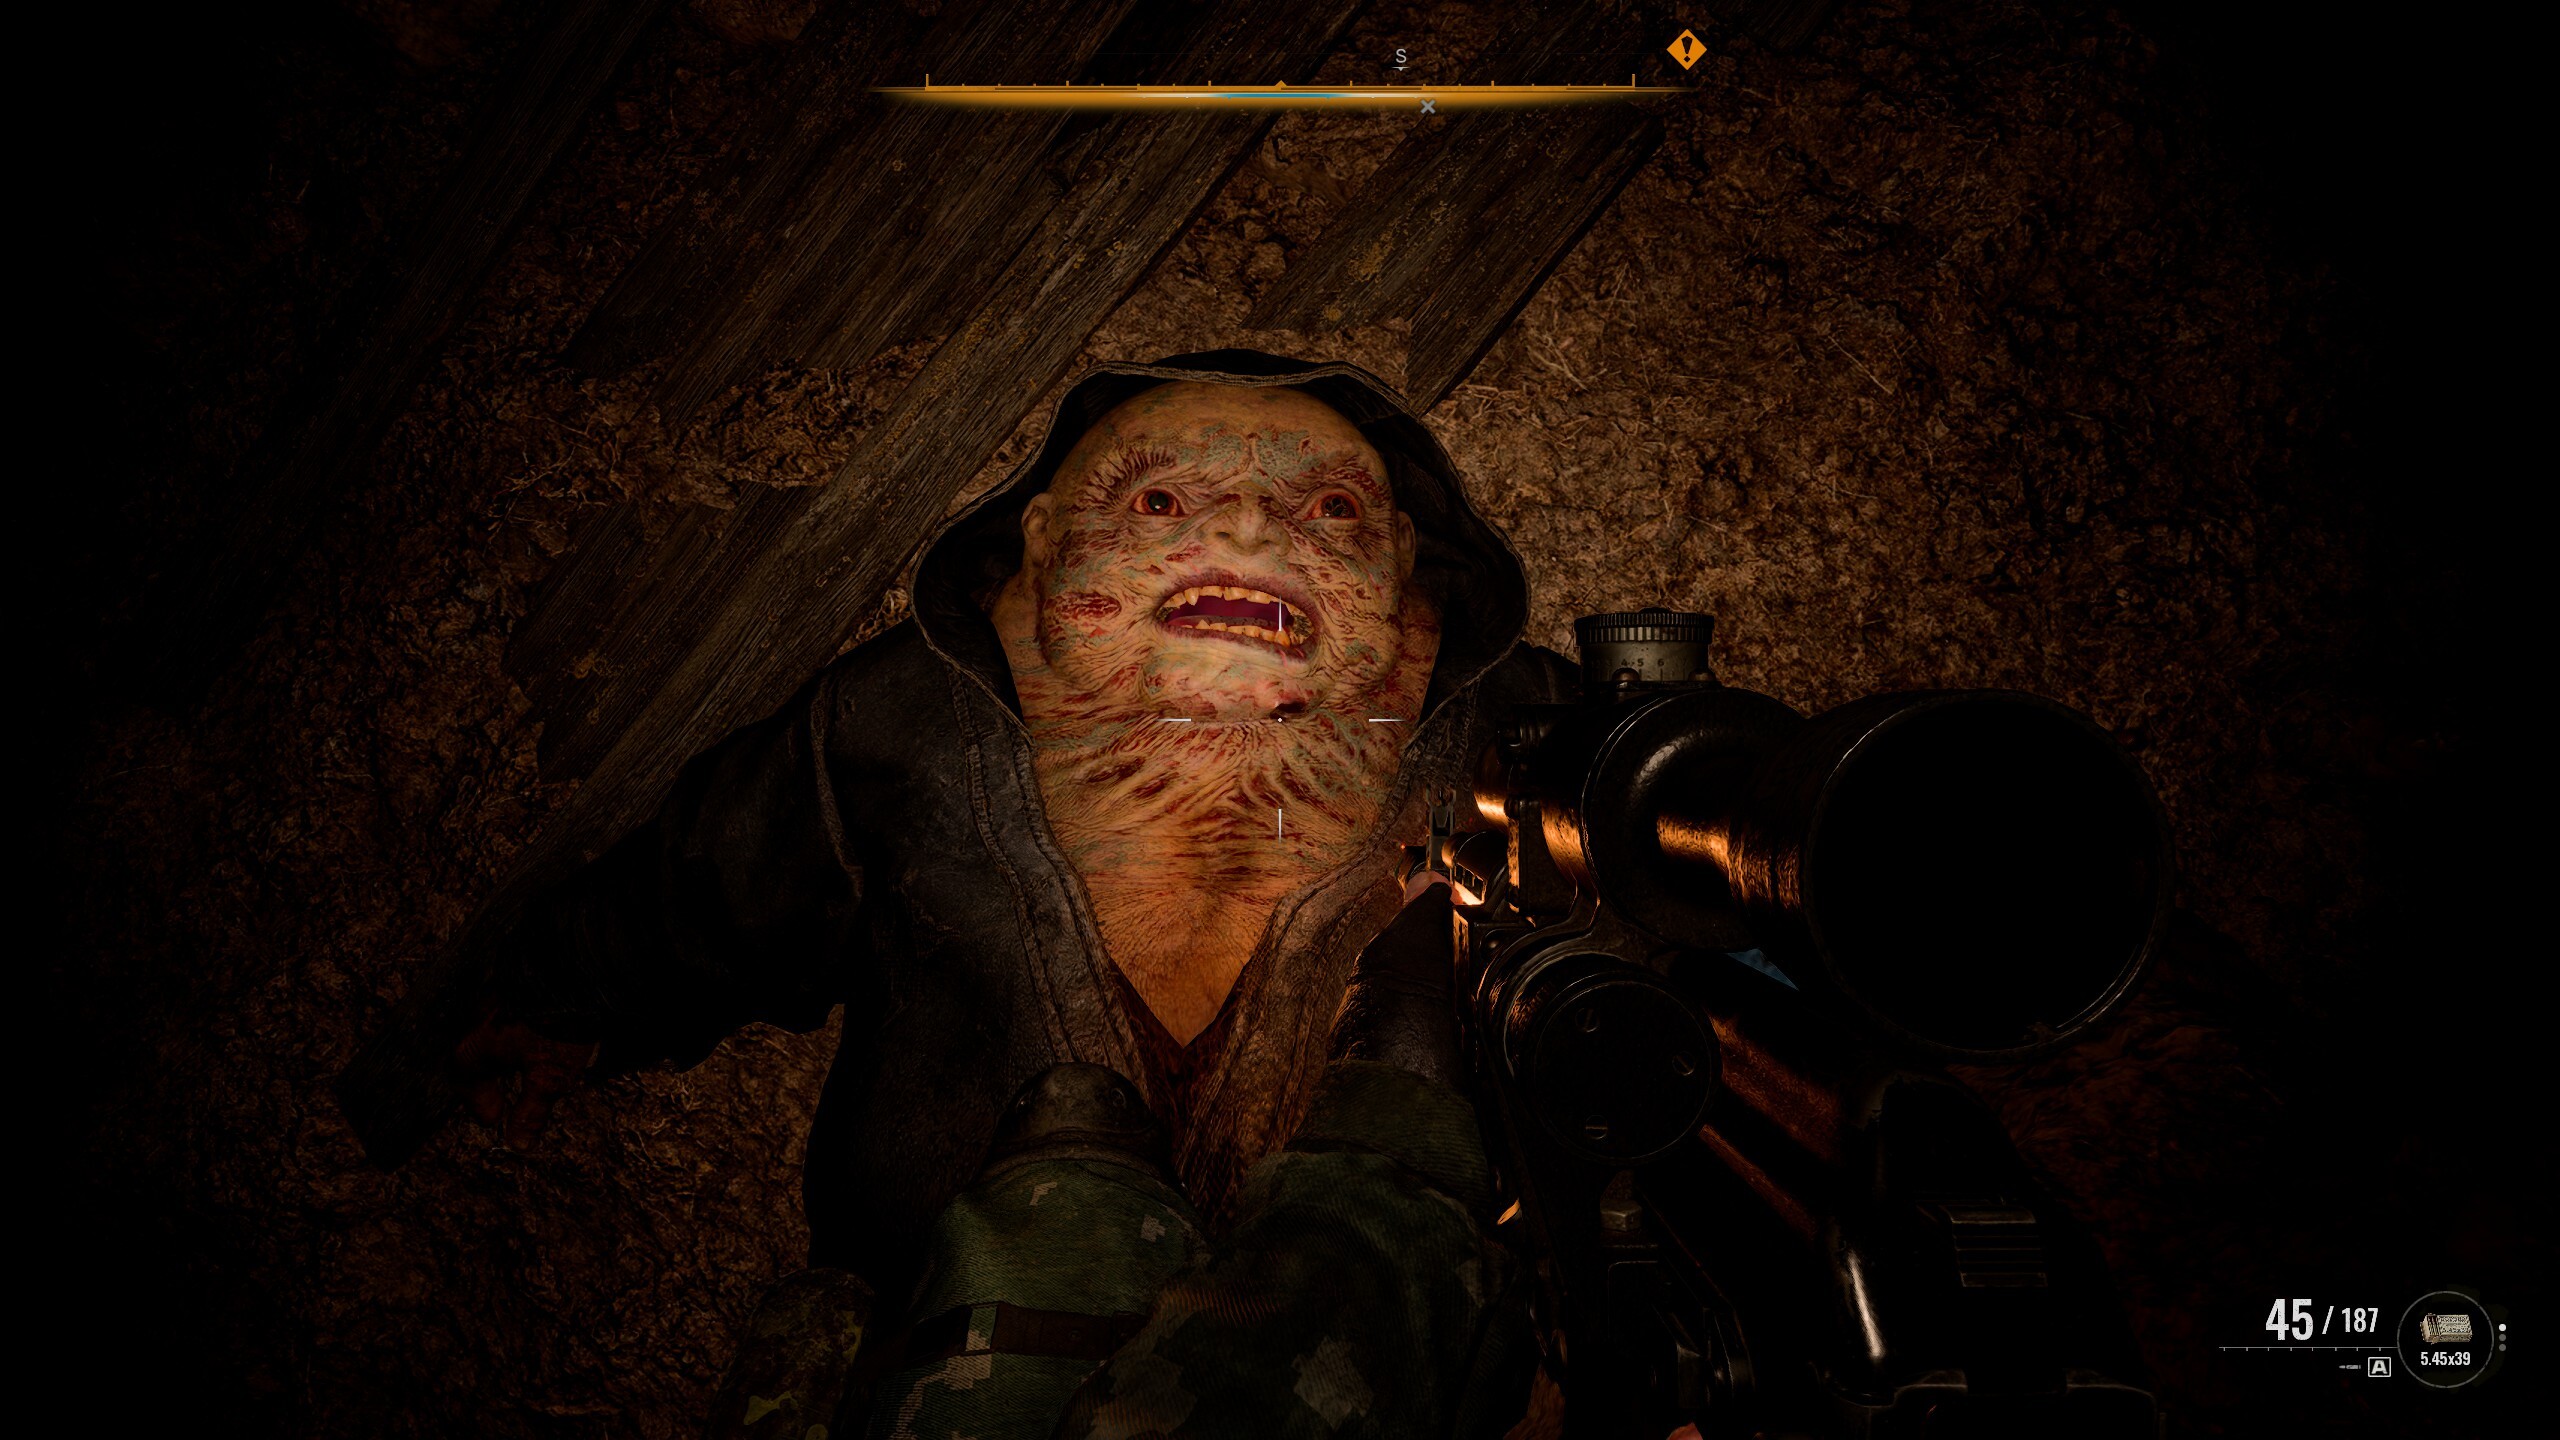
The Zone is full of enemies, but none of them are scarier or more of a huge PITA than its many psychic beasts. Things like Burers, Controllers, Psy-dogs and more will all worm their way into your brain to daze and confuse you, making you a sitting duck while they pummel you to death. That means you should treat them as priority number one in any combat encounter, and it also means you should prize armour and artifacts that offer psi-protection like they’re made from pure diamond dust.
Don’t be afraid to explore
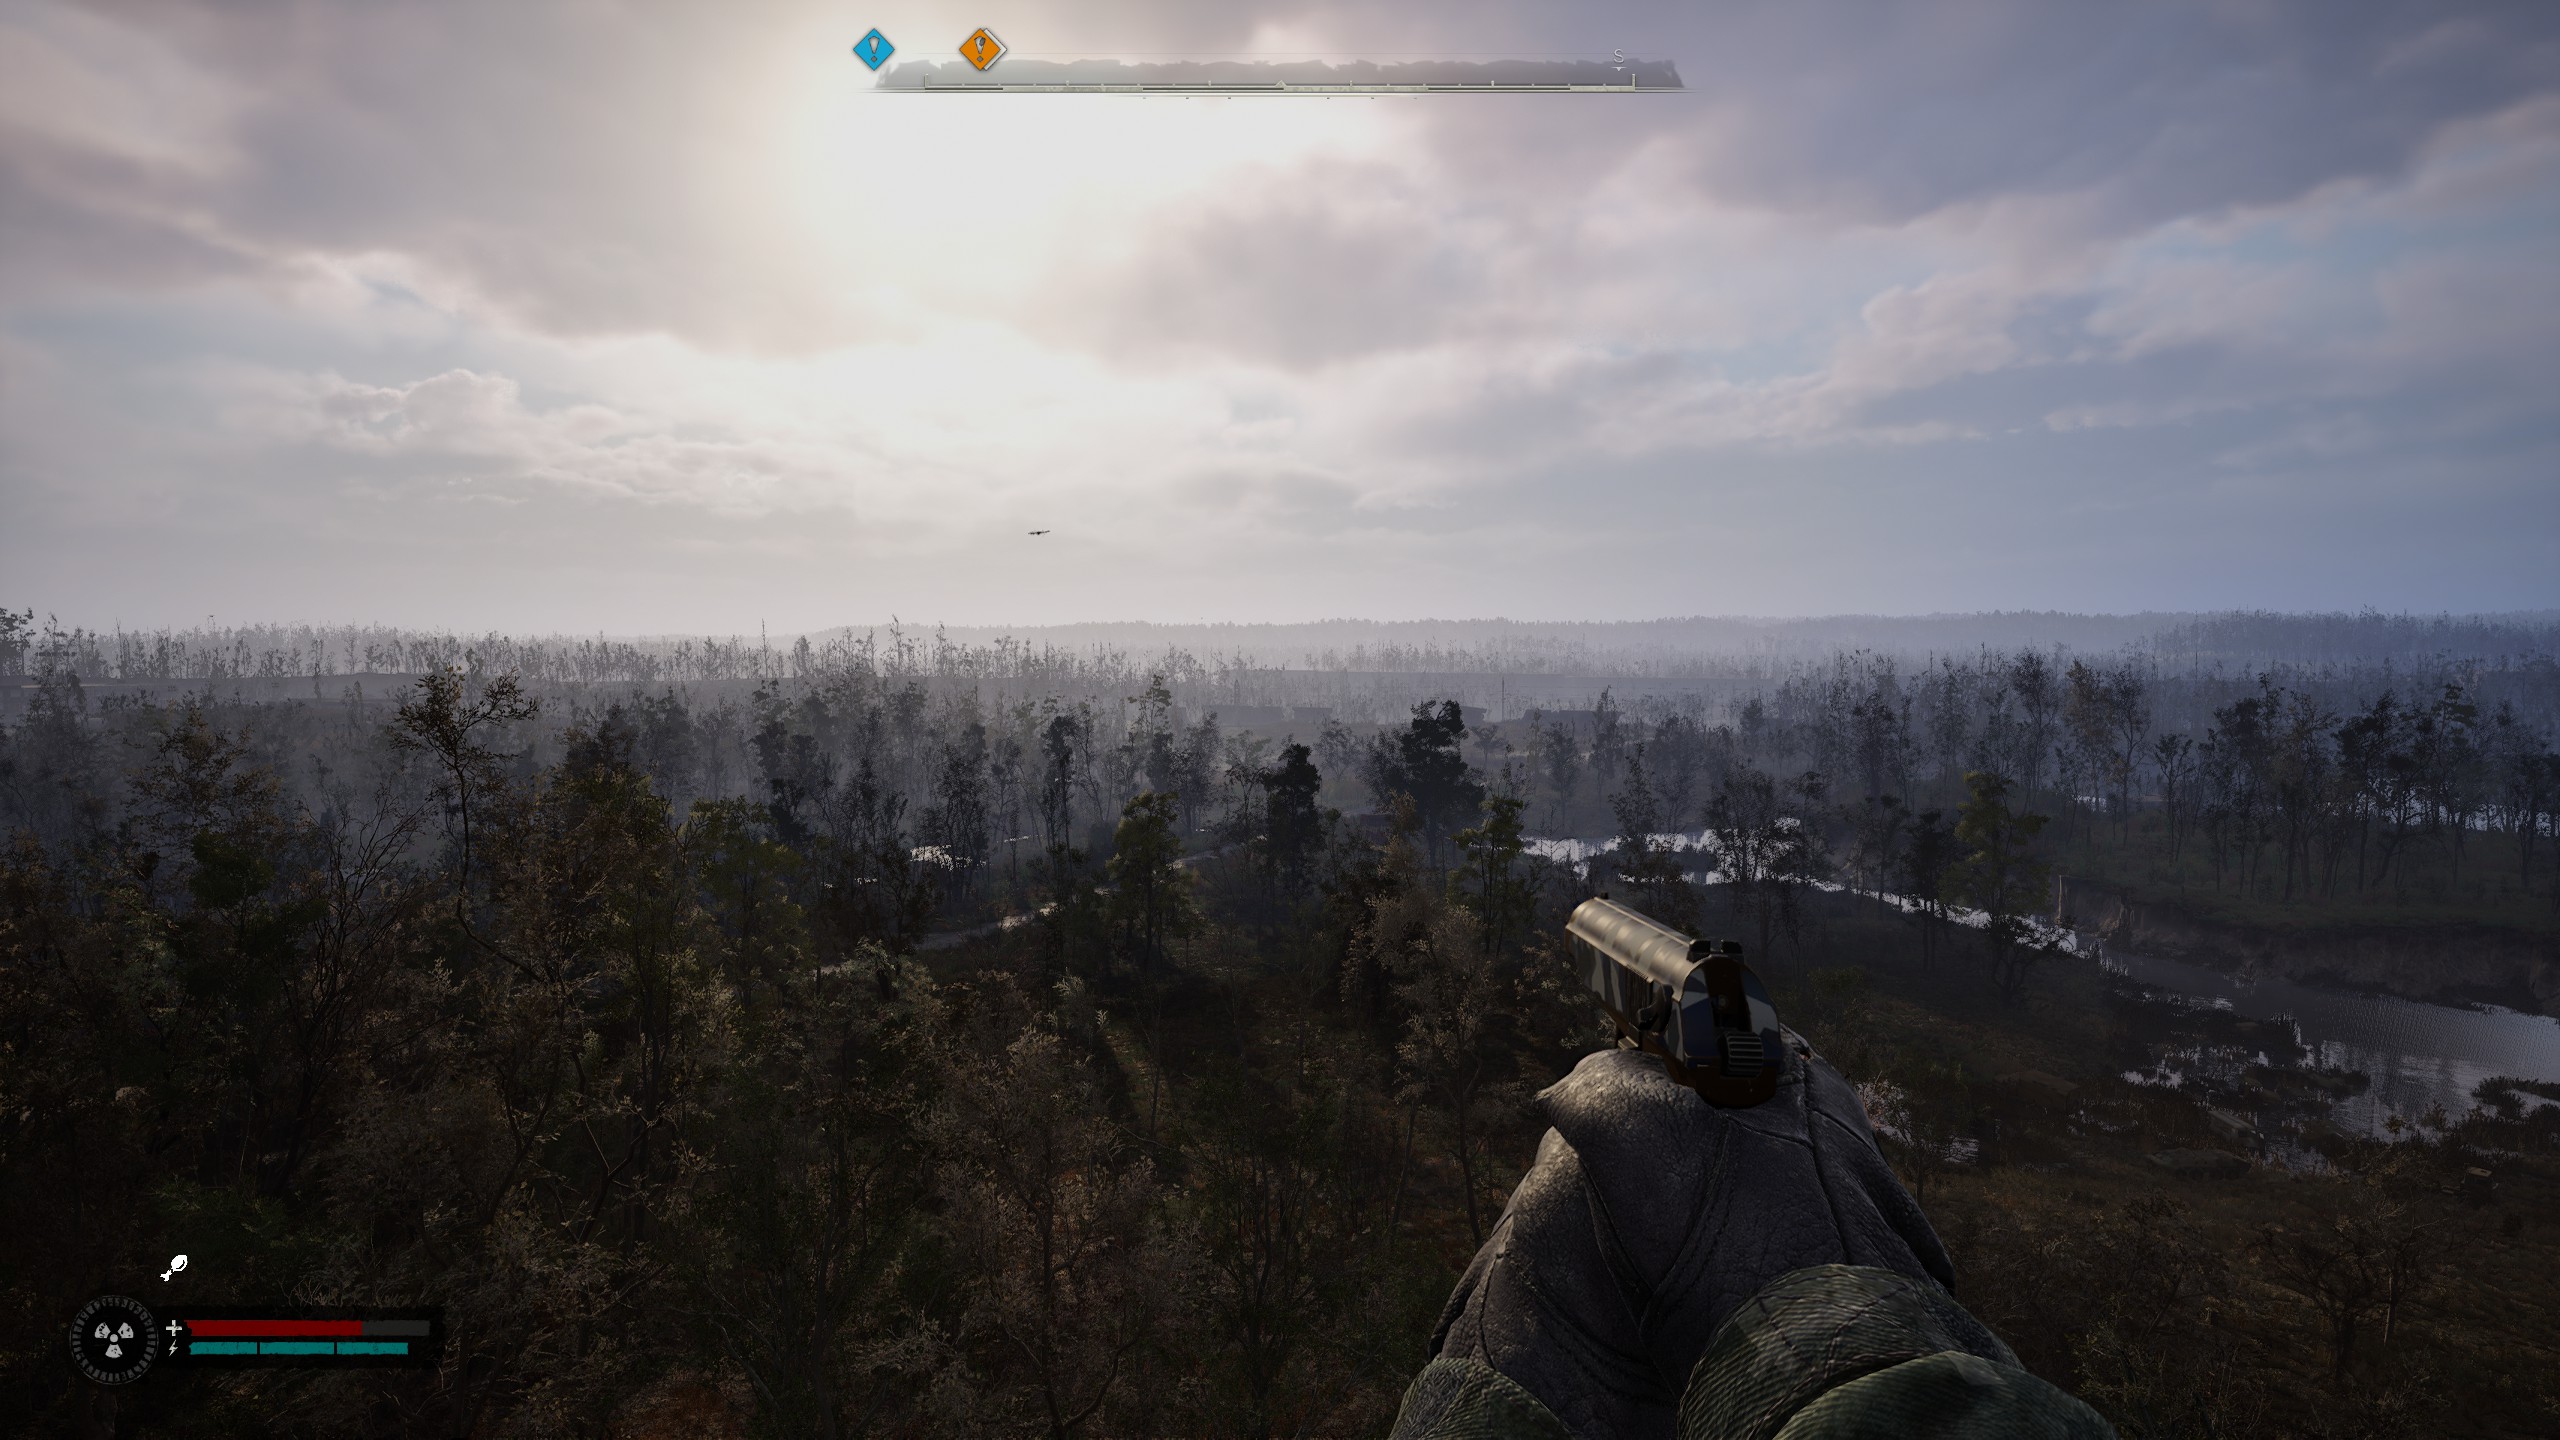
There’s no getting around it: you will do a lot of walking in Stalker 2. Quest marker to quest marker, vendor to vendor, secret base to secret base, there’s a lot of ground to cover and no way to cover it but on foot. That might dissuade you from branching out too far from your main mission area in the early game—after all, won’t you just have to hoof it all the way back when you want to resume the plot?
Not quite. Stalker 2 does have (very limited) fast travel. Most hub areas play host to a guide, an NPC you can talk to and pay 1000-or-so coupons to take you instantly to another hub area. So don’t be afraid to head anywhere that looks interesting: you can always pay someone to bring you back.
Steel yourself for jank
There’s no way around it—Stalker 2 is supremely janky. It’s an ambitious game that was created while the studio’s home country was—and still is—in the midst of a Russian invasion. But even with that in mind, Stalker’s always been a janky series. Sometimes this feels like part of its charm, like when you encounter floating NPCs or other weird bugs that otherwise have no impact on the game itself. Chalk it up to life in the Zone.
But there’s also the game-breaking stuff, and the crashes and quests that don’t work as advertised, all of which can be a pain in the arse. GSC has already tackled a vast number of these issues, but you’re bound to still run into some more of them. The game is good enough to make enduring them worthwhile, but you should be prepared for things to not always work as expected.


