Working out the best Helldivers 2 loadout for your galactic warrior is a bit of a puzzle at first, as you gradually unlock new weapons and armour you can try. The sheer variety in terms of Stratagems alone makes it tough to know what to bring, especially when you only have four slots to work with when you head out for a mission.
If you're looking for some easy builds you can put into practice, I hit level 20 a ways back and unlocked all the Stratagems, so I've now got a pretty good handle on what's decent and worth bringing to a fight. Hopefully, our best Helldivers 2 builds will give you some ideas you can implement if you're looking to be pointed in the right direction.
All Rounder
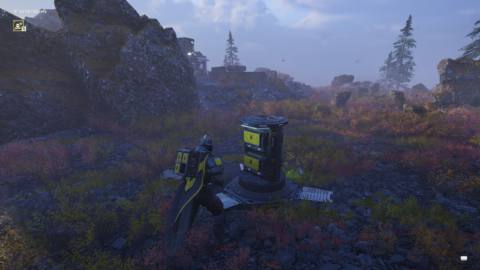
- Primary: AR-23 Liberator (assault rifle)
- Secondary: P-2 Peacemaker
- Grenade: G-12 High Explosive
- Armour Perk: Med Kit (stim inventory and second stim duration +2)
- Stratagems: Orbital 120MM HE Barrage, Eagle Strafing Run, Machine Gun, Supply Pack
If you don't have a particular enemy in mind when devising a loadout, then you're a lot like me. Sometimes I want to set one loadout and then stop thinking about it, and for that, I always fall back on the default Liberator assault rifle. Pick off bugs from a distance in ADS, stall a charging Stalker at full-auto, or hipfire in a desperate escape—the Liberator can do it all well.
When I don't want to think particularly hard about Stratagems, I default to becoming the ammo mule. The Supply Pack is my single favorite item in Helldivers 2 because it's always useful. Not only can you resupply your entire loadout at the press of a button, but you can also be a hero to your squadmates when they're running dry. The Supply Pack pairs especially well with one of the best, ammo-hungry support weapons in the game (the standard machine gun) and the Med Kit armor perk that can keep your stims topped off at all times. Big damage and high survivability are a winning combo in any scenario.
Pathfinder
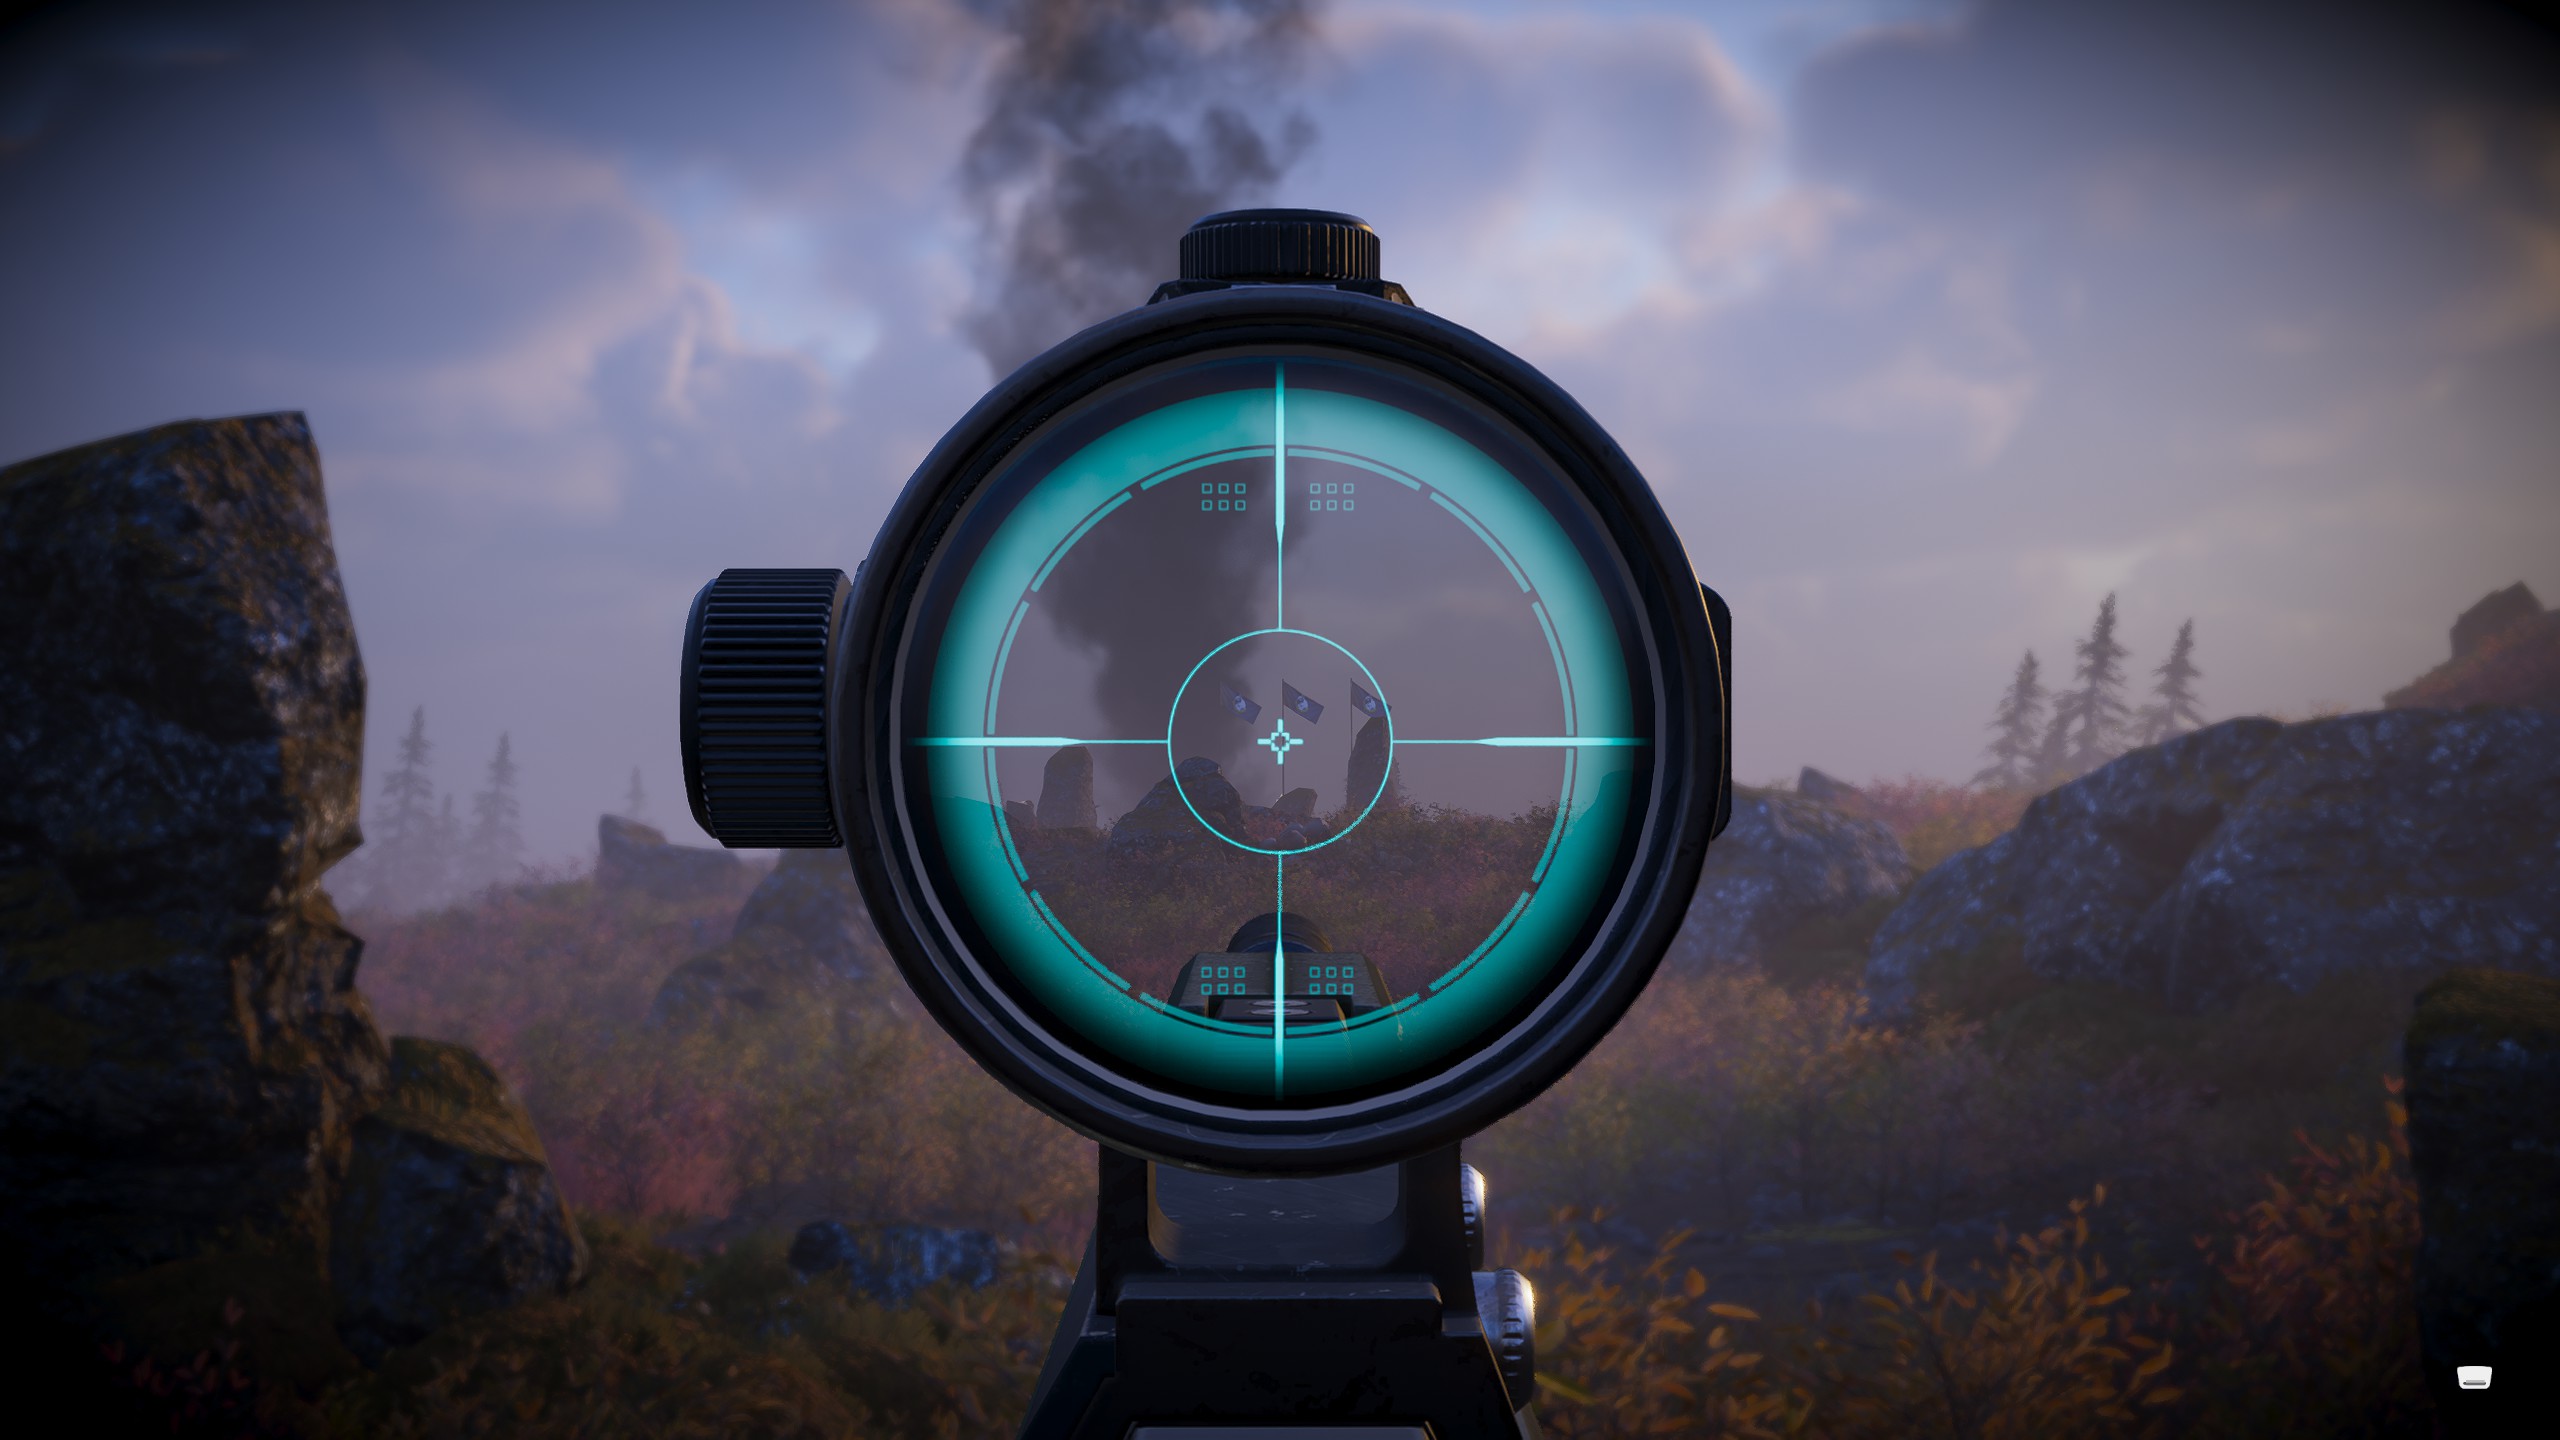
- Primary: R-63 Diligence (marksman rifle)
- Secondary: P-19 Redeemer
- Grenade: G-16 Impact
- Armour Perk: Scout (Markers placed on the map generate radar scans every two seconds. Reduces range at which enemies can detect you by 30%)
- Stratagems: Jump Pack, Anti-Material Rifle, Gatling Sentry, Eagle Cluster Bomb
Sussing out where the secondary objectives are in Helldivers 2 can be difficult, so sometimes it's worth bringing someone as a scout who can explore and stray from the team a bit but still extricate themselves in a bad situation. Light armour, the Scout perk, and a Jump Pack will help you move fast, detect objectives on the map, and literally boost away from any situation where you might get swarmed.
The R-63 Diligence and the Anti-Material Rifle will help you pick off targets at a distance, while the P-19 Redeemer can be that emergency pull if you do get swarmed and don't have the Jump Pack charged. The Gatling Sentry is also perfect for baiting away enemies, while the Eagle Cluster Bomb is easy to chuck down behind you as you're retreating to waylay any swarms that might be hot in pursuit. If you don't feel you need this then you could bring an Orbital Precision Strike, use the sentry to bait in a tough armoured target, then call down the strike on top of the turret to deal with them.
Nest Buster

- Primary: AR-23P Liberator Penetrator (assault rifle)
- Secondary: P-19 Redeemer
- Grenade: G-12 High Explosive
- Armour Perk: Engineering Kit (reduces recoil when crouching or prone by 30% and gives two extra grenades)
- Stratagems: Grenade Launcher, Supply Pack, Orbital Precision Strike, Eagle Cluster Bomb
If you're doing blitz missions or want to quickly take out bug nests and secondary objectives so you can get onto the main stuff, this is the build I recommend. The AR-23P Liberator Penetrator is my favourite assault rifle due to its medium armour penetration, and the P-19 Redeemer is great for when you're backed into a corner. The most important parts of this build, however, are the Grenade Launcher and the Supply Pack.
Grenade Launchers can close bug holes from range with well placed shots, and they can also destroy Spore Stacks or even Rogue Transmission towers at a distance, speeding up your mission considerably. In terms of airstrikes, Eagle Cluster Bomb is still the best for clearing large groups of enemies often, while Orbital Precision Strike is perfect for taking out single hole nests and quickly moving on without even having to go near them. If you want a flashier version of this build, consider swapping the Supply Pack for a Guard Dog to watch your back, or include the Eagle 500KG bomb for busting those big nests.
Bot Cruncher
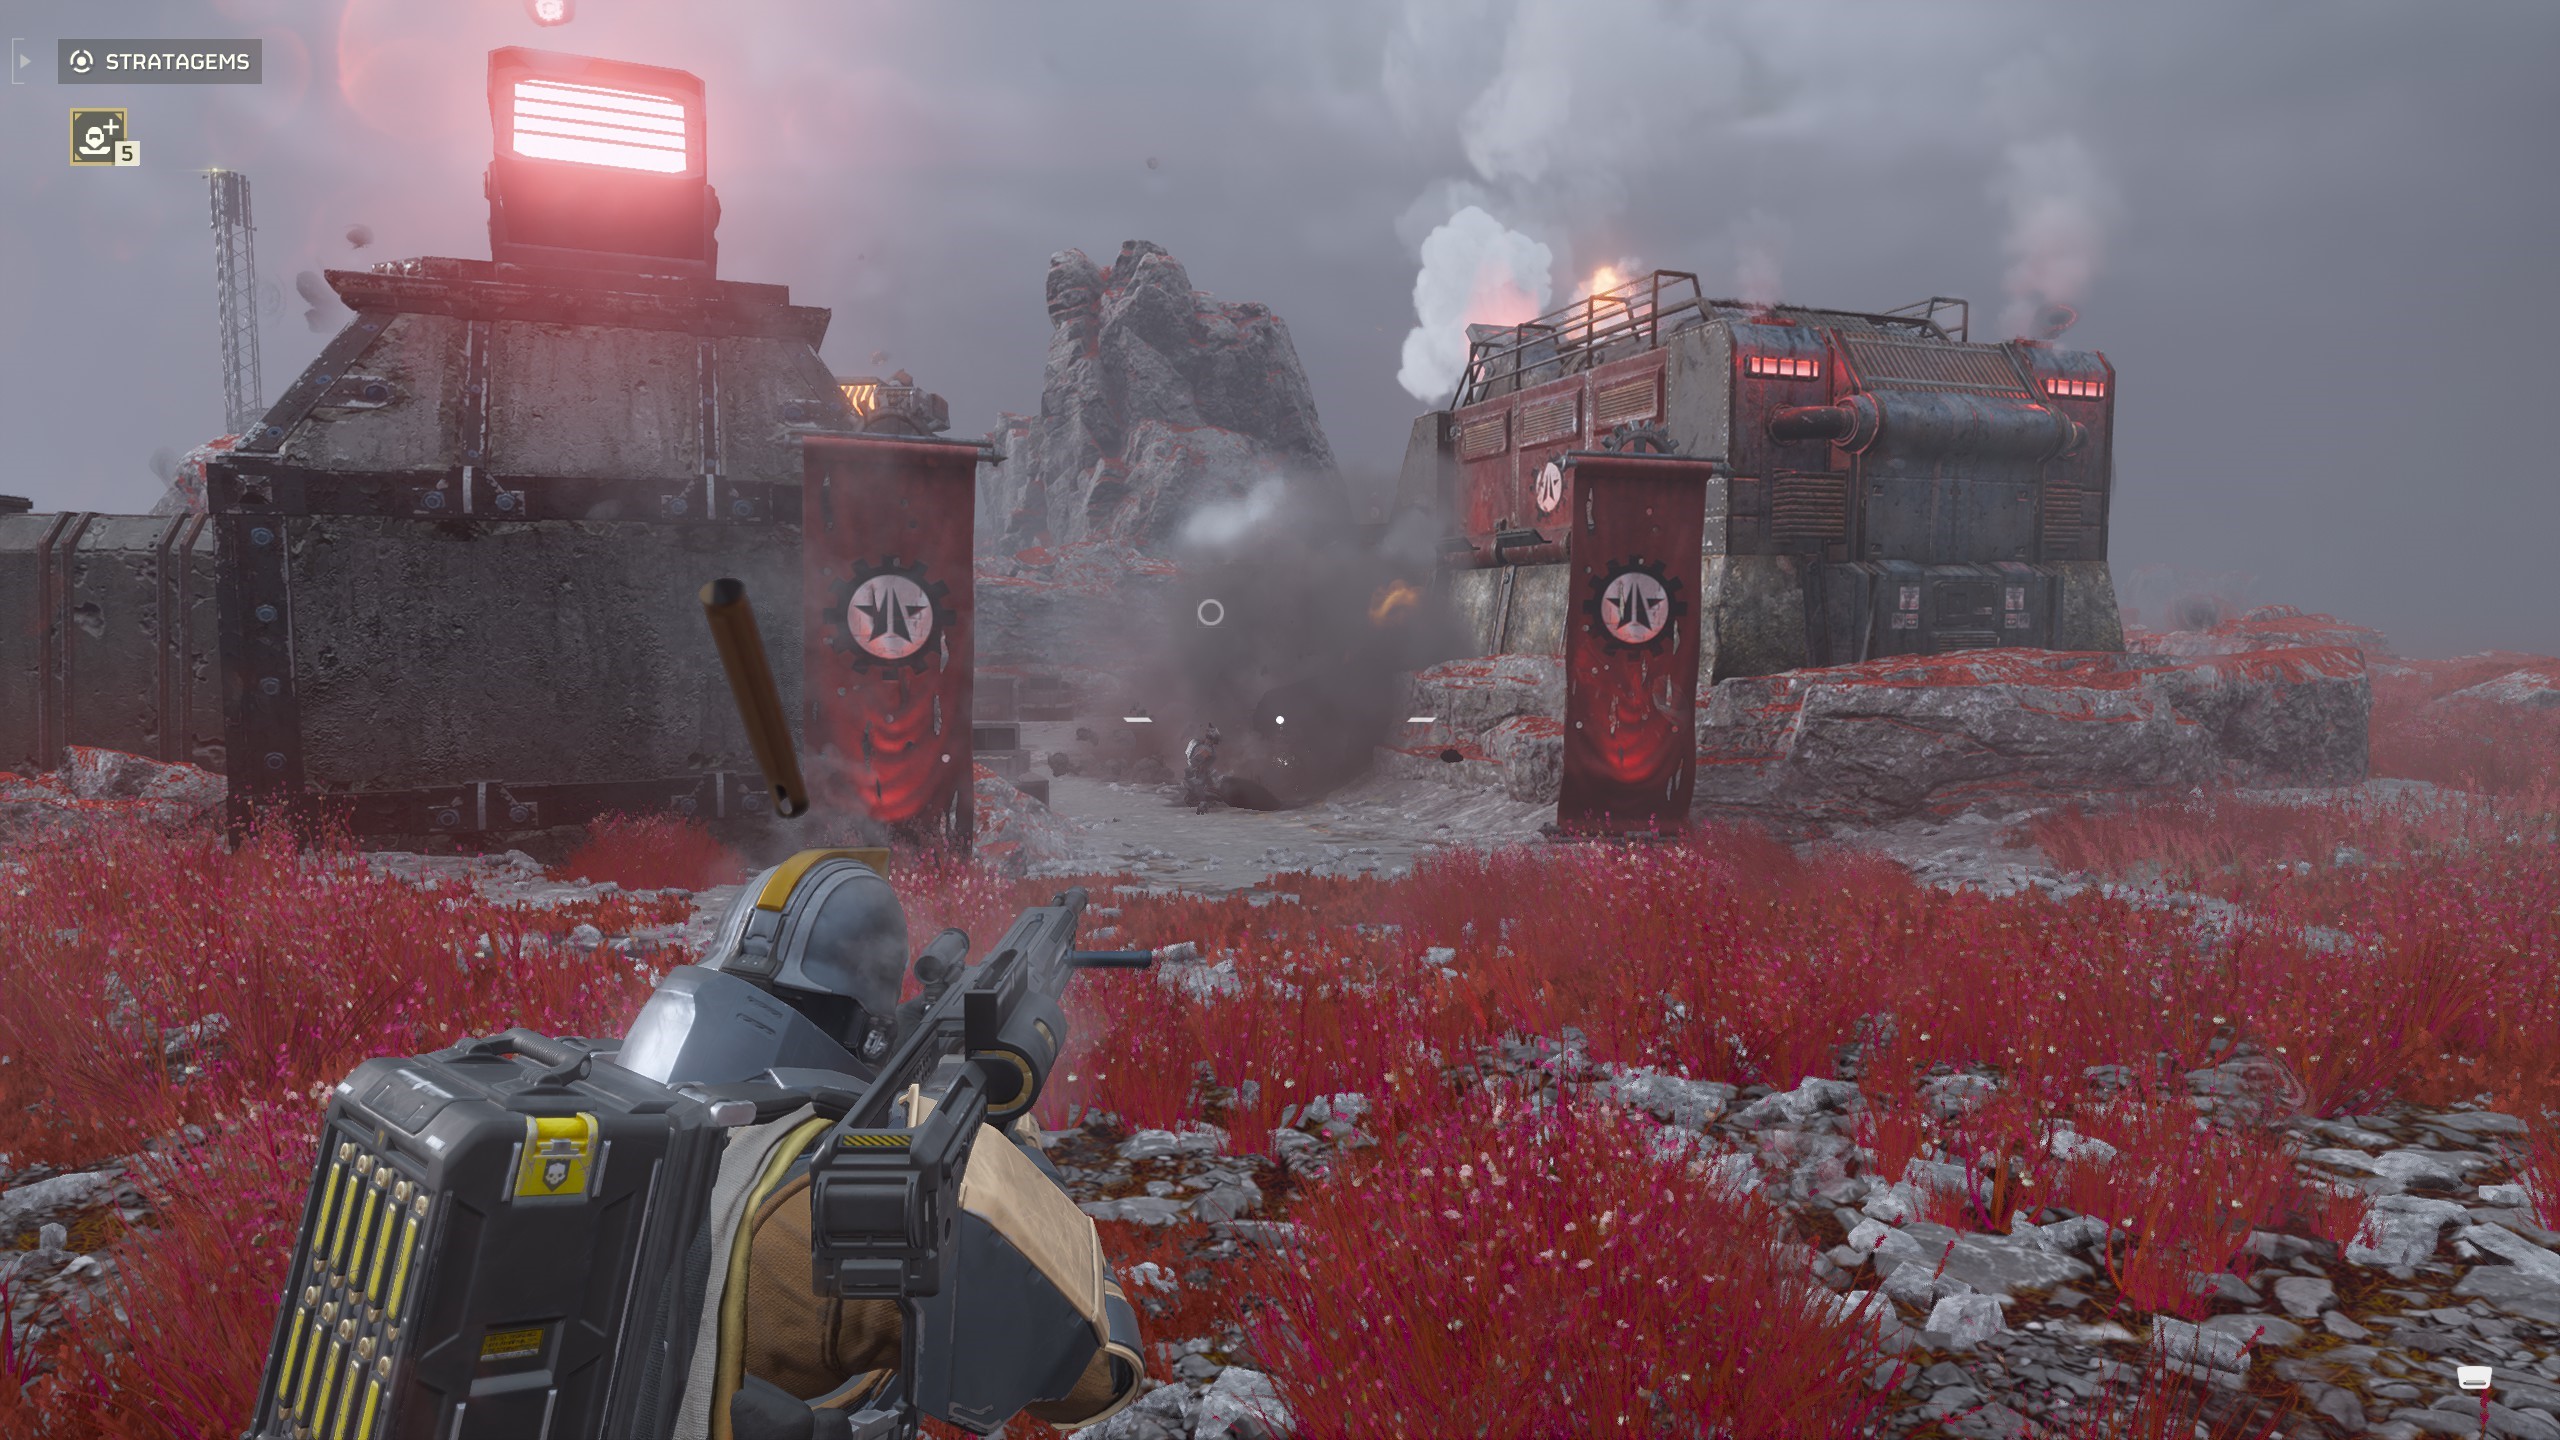
- Primary: R-63 Diligence (marksman rifle)
- Secondary: P-2 Peacemaker
- Grenade: G-6 Frag
- Armour Perk: Extra Padding (provides extra armor rating)
- Stratagems: Eagle Airstrike, Orbital EMS Strike, Autocannon, Gatling Sentry
I haven't completed as many Automaton missions as Terminid, but it seems like precision is the way to go. The Diligence is a very powerful single-shot rifle with an adjustable scope, and it unlocks early on the free warbond. As a backup, I prefer the Peacemaker pistol for its steadier hand when going for headshots.
When calling in help, Automatons require a different approach. Airstrikes work as well as they do against bugs, but consider an EMS strike to disable bundles of armoured walkers instead. The frequency of armoured Automatons means I often rely on a support weapon, too, in this case being the Autocannon. It's best used with two people for non stop firing, but even operated alone the Autocannon tears through walkers and infantry with high accuracy and fire rate. It's like having a little tank on your shoulder.
Titan Killer

- Primary: AR-23P Liberator Penetrator (assault rifle)
- Secondary: P-19 Redeemer
- Grenade: G-16 Impact
- Armour Perk: Fortified (Reduces recoil when crouching or prone by 30% plus 50% explosive damage resist)
- Stratagems: Orbital Laser, Orbital Railcannon Strike, Eagle Cluster Bomb, Spear
This is the build that I generally take to missions where I'm required to kill lots of armoured targets like Chargers or even multiple Bile Titans—this build requires you to be quite high level to access its Stratagems, but you can always tweak it slightly. First off, I always take the AR-23P Liberator Penetrator for its medium armour penetration, and the P-19 Redeemer is a must for quick burst damage if you get swarmed. A solid grenade pairing for this is the G-13 Impact which will instantly kill a Bile Spewer if you hurl one at it.
The Orbital Laser and Orbital Railcannon Strike are both amazing for single target damage, though if you don't have either, a well-placed Orbital Precision Strike can still kill a Charger or Bile Titan. Eagle Cluster Bomb also gives you an easy way of clearing big enemy groups with its four uses and fast cooldown. The cherry on top is the Spear. While its targeting is a bit broken at the moment, it has incredible range and homes on targets, so is perfect for a moving armoured target or one that's far away. You could also use the Recoilless Rifle if you want something with a bit more versatility, since the Spear can only target big armoured enemies.
Bug Masher

- Primary: SG-225 Breaker (shotgun)
- Secondary: P-19 Redeemer
- Grenade: G-12 High Explosive
- Armour Perk: Democracy Protects (50% chance to not die on lethal damage)
- Stratagems: Orbital Airburst Strike, Eagle Strafe Run, Recoilless Rifle, Anti-Personnel Minefield
This is what I bring on higher difficulty missions against bugs. The Breaker shotgun is an early standout as one of the best primary weapons in Helldivers, both for its raw DPS output and its surprising range for a videogame shotgun. It'll fire about as quickly as you can pull the trigger, and up close it'll liquify any basic bugs giving chase. Its main downside is that magazine—it's small, and you will have to reload often. With its high fire rate, the Redeemer is a natural backup when the Breaker's running dry.
For Stratagems, focus on raw explosive power. My squad likes the Orbital Airburst Strike for its large area of effect against swarms, and the Eagle Strafe Run is a personal favorite for an immediate barrage in a straight line. The Recoilless Rifle is one of the best early support weapons to quickly deal with heavy armor targets like Chargers, but is best used with a squadmate assisting with a team reload.

