In Destiny 2: Beyond Light, the campaign ends and various NPCs shower you in quests. The questline from the Exo Stranger is Born in Darkness, and exists to help you hone your Stasis powers with Aspects and Fragments.
To pick up your first Aspect — different for each class — you need to complete the first step of Born in Darkness to pick up the Aspect of Control quest. For Aspect of Control you need to find and destroy five Entropic Shards located around Europa. These items aren’t on the map, but we know where at least five of them are.
Later, you’ll get Aspect of Destruction. This required you to destroy all nine Entropic Shards.
Note that to destroy these Entropic Shards, you need to have the Salvation’s Grip Exotic in your possession. To get that, you’ll need to complete The Stasis Prototype quest.
Entropic Shard 1 – Asterion Abyss
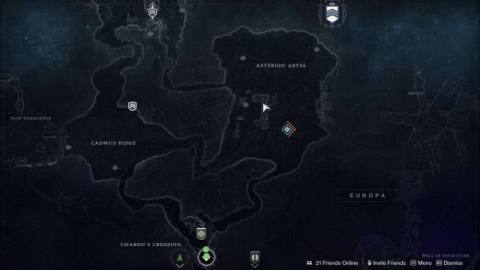
Make your way to the Asterion Abyss and climb to the top of the L-shaped Vex creation.
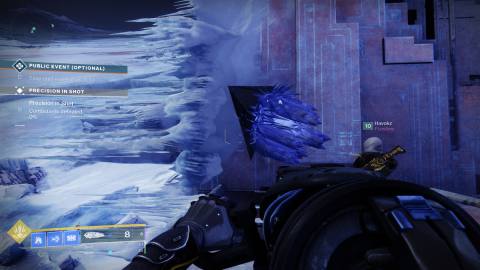
The Shard is on the northern part of the structure, standing out in the open. Shoot it with Salvation’s Grip to break it.
Entropic Shard 2 – Concealed Void Lost Sector
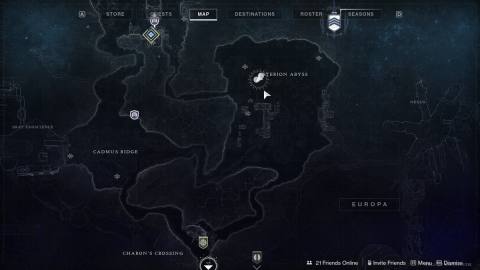
The second Entropic Shard is also in the Asterion Abyss, hidden inside the Concealed Void Lost Sector.
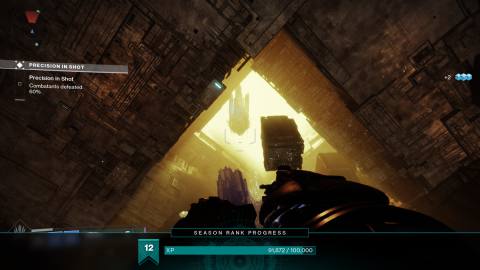
Enter the Concealed Void Lost Sector and make your way to the very end. Defeat the boss and open the chest. But before leaving the boss room, look up and into the orange light. There’s a hole in the top of the ceiling where you’ll find an Entropic Shard. Shoot the Shard with Salvation’s Grip to destroy it.
Entropic Shard 3 – Cadmus Ridge
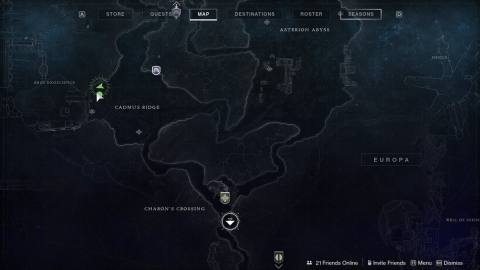
The third Entropic Shard is in Cadmus Ridge, just outside of the Braytech area on Europa.
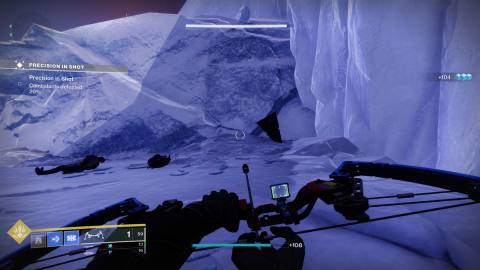
The Shard is sitting against an ice wall where a group of Fallen like to spawn. Shoot it with Salvation’s Grip to destroy it.
Entropic Shard 4 – Eventide Ruins
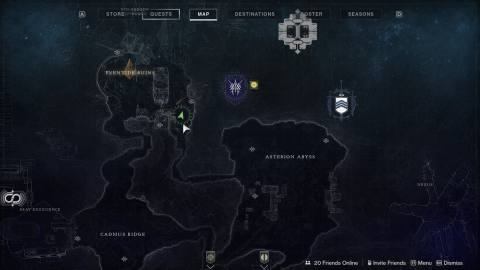
The fourth Entropic Shard is in Eventide Ruins, just off the path from Asterion Abyss.
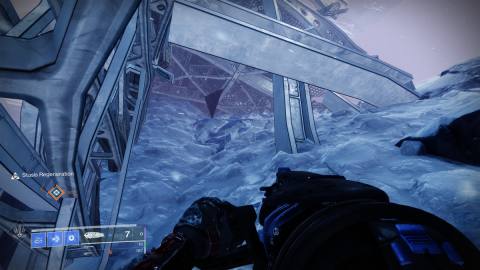
Make your way up to the half-broken bridge in Eventide Ruins. Under the broken scaffolding, the shard is sitting on top of some ice. Shoot it with Salvation’s Grip.
Entropic Shard 5 – Bunker E15
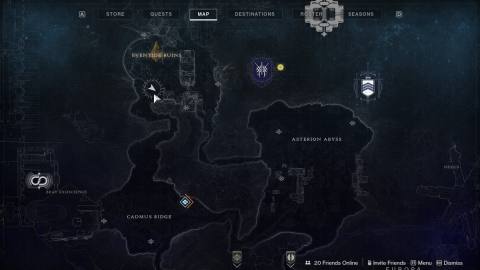
Go to Eventide Ruins and enter the Bunker E15 Lost Sector.
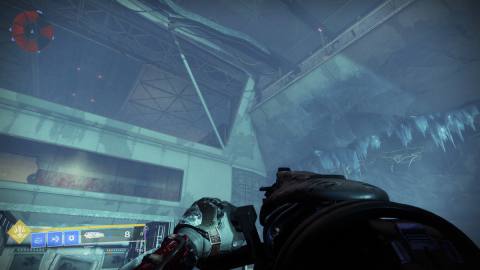
Progress into the Lost Sector until you reach the large room with several bots in cages. Turn around and look up at the wide window where you started the Lost Sector. Up and to the right, where the curved wall meets the walkway, there’s an Entropic Shard tucked in the corner.
If you’re looking at our image above, look at the tip of Salvation’s grip and follow it in a straight line up. That dark triangle is the shard you’re looking for. Shoot it with Salvation’s Grip.
Entropic Shard 6 – Riis-Reborn Approach
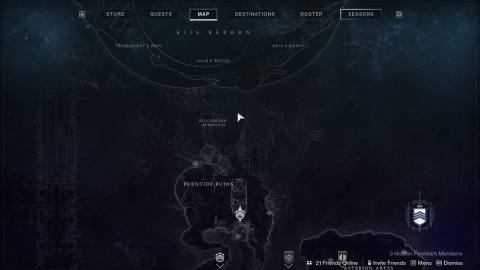
This Entropic Shard is a real hike. Make your way up to the Riis-Reborn Approach until you find the second double elevator — through the Stasis door Eramis escapes through during the campaign.
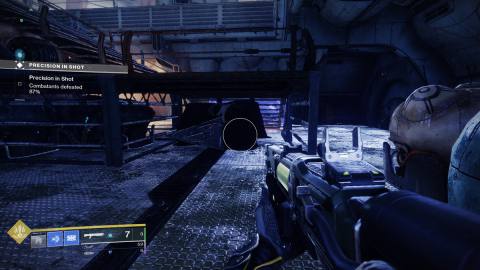
After riding the elevator up, near the teleporter, walk around to the backside of the stairs. The Entropic Shard is hiding under the stairs. Use the Salvation’s Grip to destroy it.
Entropic Shard 7 – Technocrat’s Iron
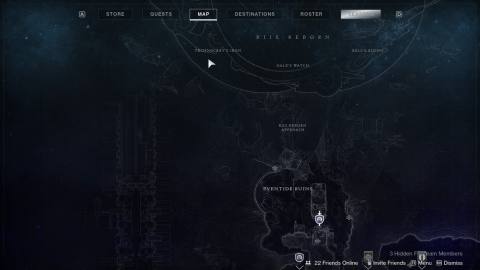
This Entropic Shard is even farther away from a landing zone than Entropic Shard 6. Follow the instructions for Entropic Shard 4 to reach the stairs in the Riis-Reborn Approach. Follow the stairs up and take the teleporter.
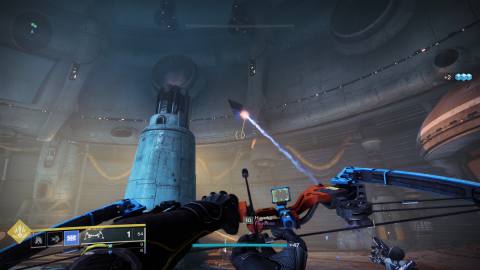
Once out of the teleporter, follow the path but keep left. You’ll know you’re going the right way when you see “Technocrat’s Iron” flash on your screen. Keep following this path until you reach an arena and dead end. The Entropic Shard is floating next to one of the pillars. Shoot it with Salvation’s Grip to destroy it.
Entropic Shard 8 – Kell’s Rising
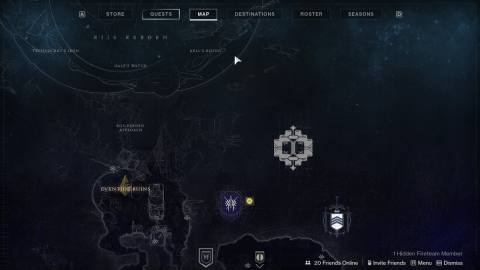
Entropic Shard 8 in is Kell’s Rising, the opposite direction of Technocrat’s Iron.
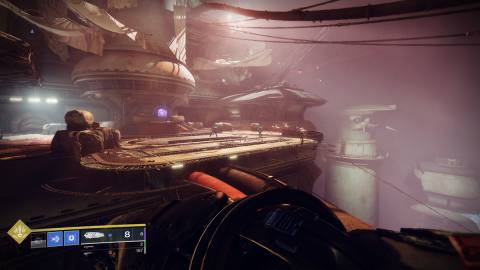
From Riis-Reborn Approach, take the path up the elevator and through the teleporter, like you did for Entropic Shard 7. But when the fork in the road hits, take the door forward/on the right instead of following the path to the Technocrat’s Iron. Follow this path up and up and up until you reach the dead end of Kell’s Rising.
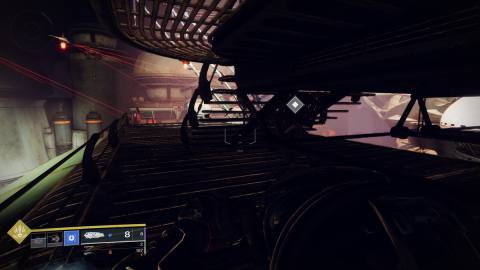
You should be in an arena (where you started the Salvation’s Grip mission, before destroying the barrels). Look up and to the right. Jump up to the platform here and look for some stairs. Under the stairs, you’ll find the Entropic Shard. Shoot it with Salvation’s Grip.
Entropic Shard 9 – Creation
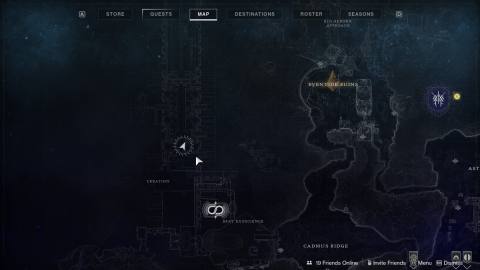
Go to Bray’s Exoscience and make your way into Creation, just like your visiting the Clovis AI for The Lament.
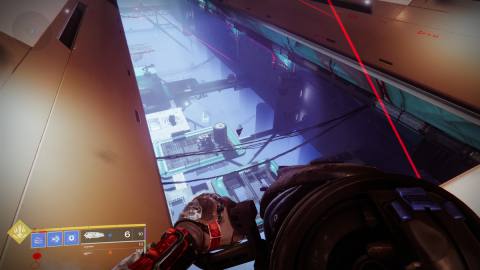
Jump down to the first drop, before it gets all blue and before you jump through the broken glass window. Look out into the blue area, between the two white, angled lips. You’ll see the final Entropic Shard just floating in mid air. It may take you a few shots, but you can hit the shard from the platform you’re on. Use Salvation’s Grip to destroy it.
Aspect of Control
Once you’ve found five Entropic Shards and finished Aspect of Control, follow the objective marker back through the teleporter and into Eramis’ room with the giant Crux of Darkness. Commune with it to get your first Aspect.
Aspect of Destruction
Once you’ve finished finding all the Entropic Shards for Aspect of Destruction, head back to where you got your first Aspect. Commune with the Crux of Darkness again, defeat a bunch of enemies, and grab your second Aspect.
