
If you’re the type of person to wonder how you get one of those cars with a custom anime paint job, you might like the Cooler Master MasterFrame 360 Panorama. It’s all about putting your personality on display.
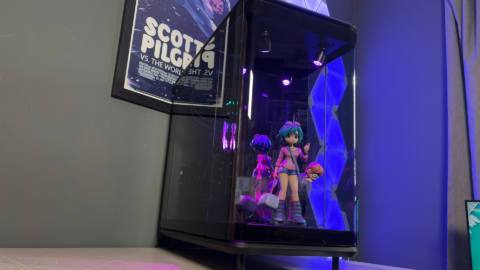
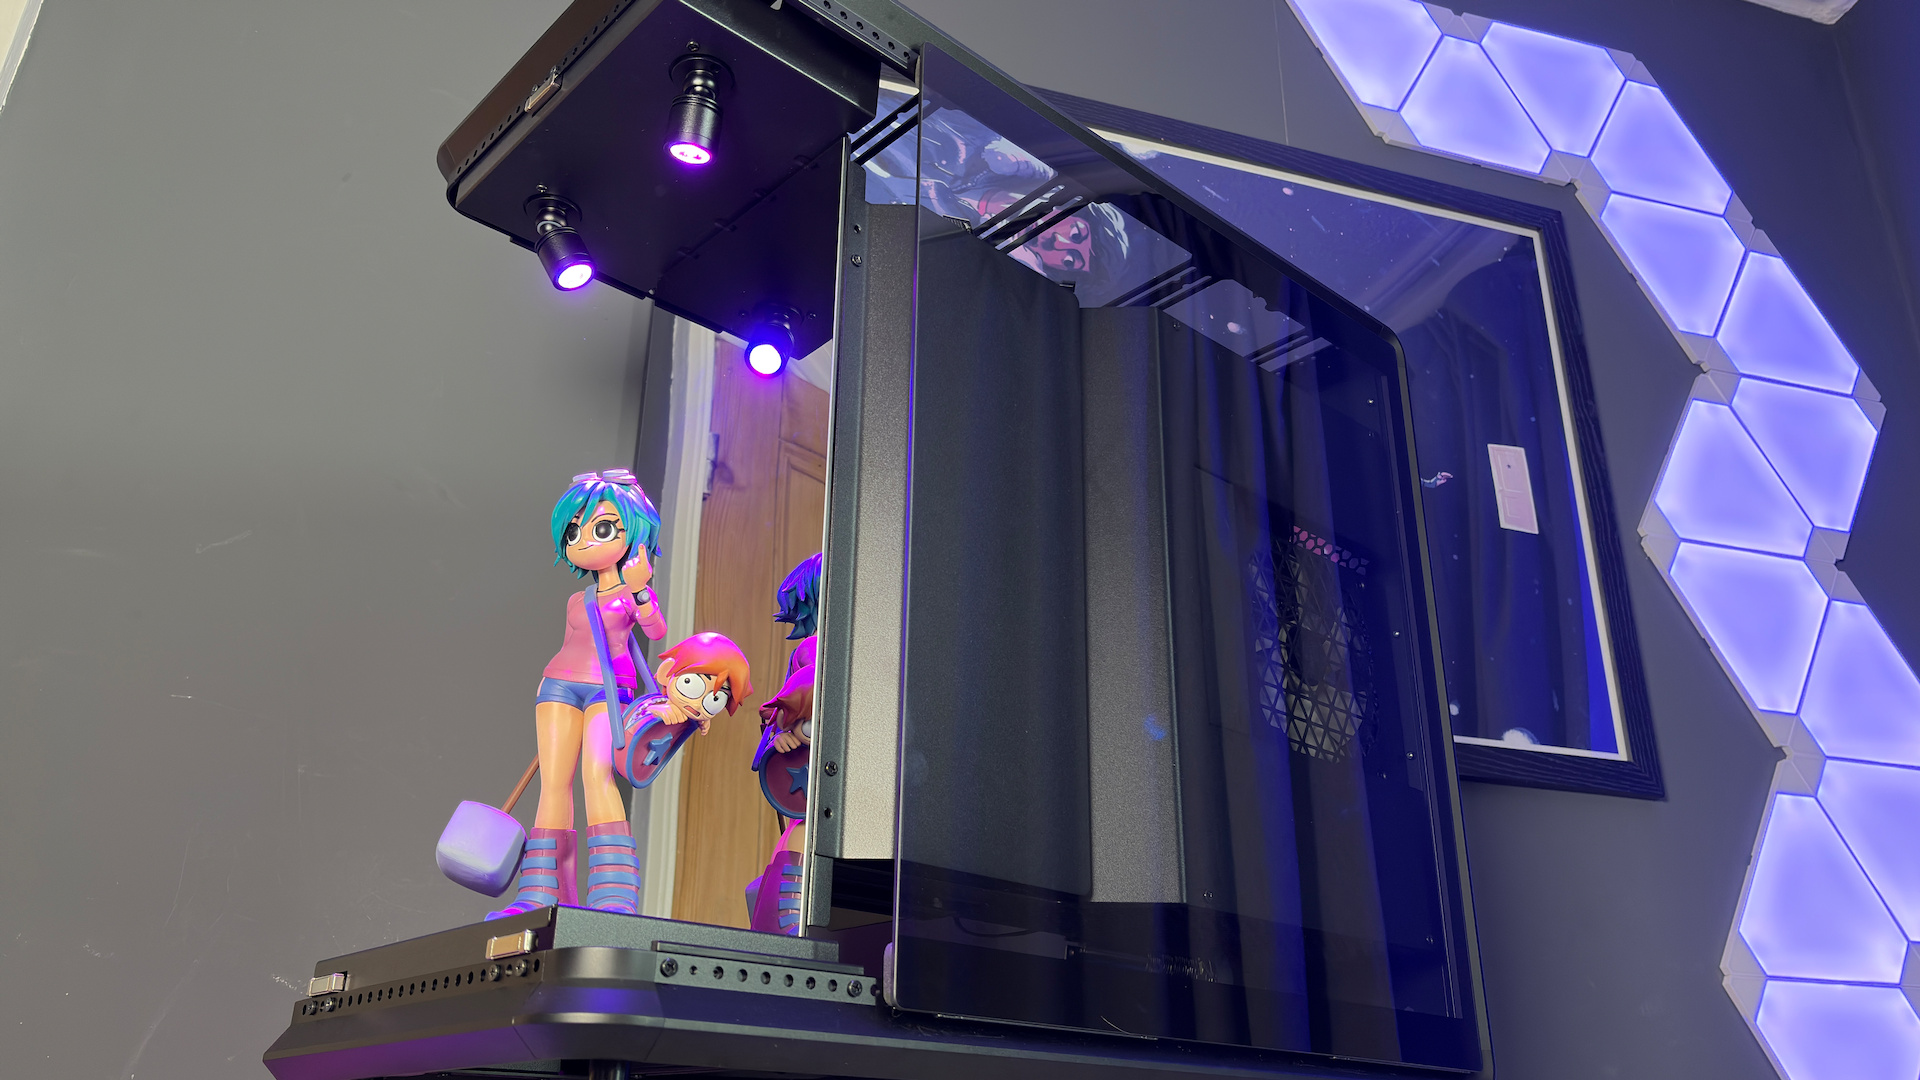
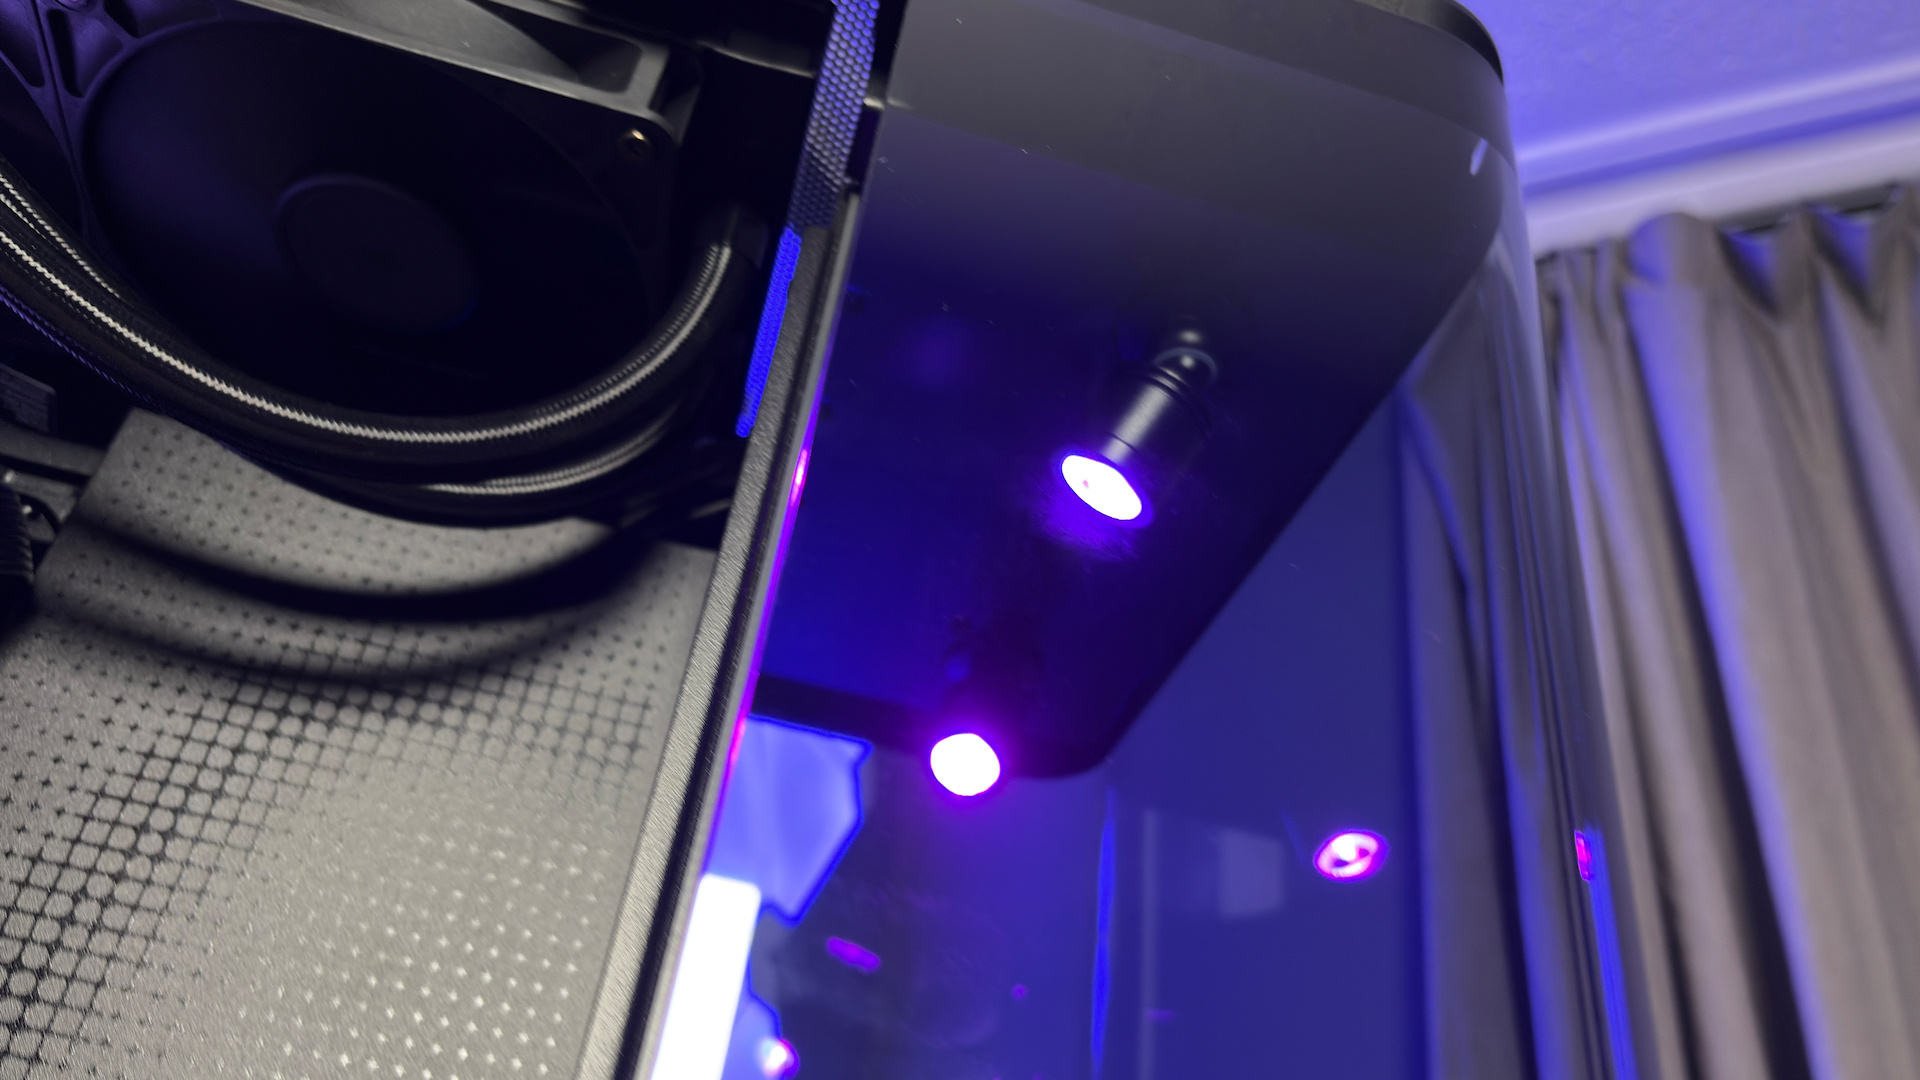
The MasterFrame 360 Panorama features three tempered glass panels. There’s one on each side and a curved piece that hugs the front of the case. Behind this front panel sits a stage. It’s only small, but it has a mirrored backdrop and two adjustable spotlights. The idea being you can put something here—figure of your favourite anime character, Lego, Gundam, whatever—and have it be the focal point of your entire PC build.
Beyond a model of a 1988 Lamborghini Countach and Feathers McGraw from Wallace & Gromit—I am a man of culture—I’m a bit short on figures to put on display. Though I do have one of Romona Flowers from the Scott Pilgrim graphic novels that fits near-perfectly and matches a framed poster behind my desk. The only downside is that the Ramona figure is a little short to take full advantage of the space.
There’s no two ways about it: this case is huge. I measured it at 585 x 550 x 292 mm, which means it is not only quite tall but also quite wide. This does leave ample room for a large figure, up to around 32 cm, though ideally a touch smaller than that.
Dimension: 585 x 550 x 292 mm
Motherboard support: ATX, Micro-ATX, Mini-ITX
Max. GPU size: 430 mm
Max. CPU cooler size: 145 mm
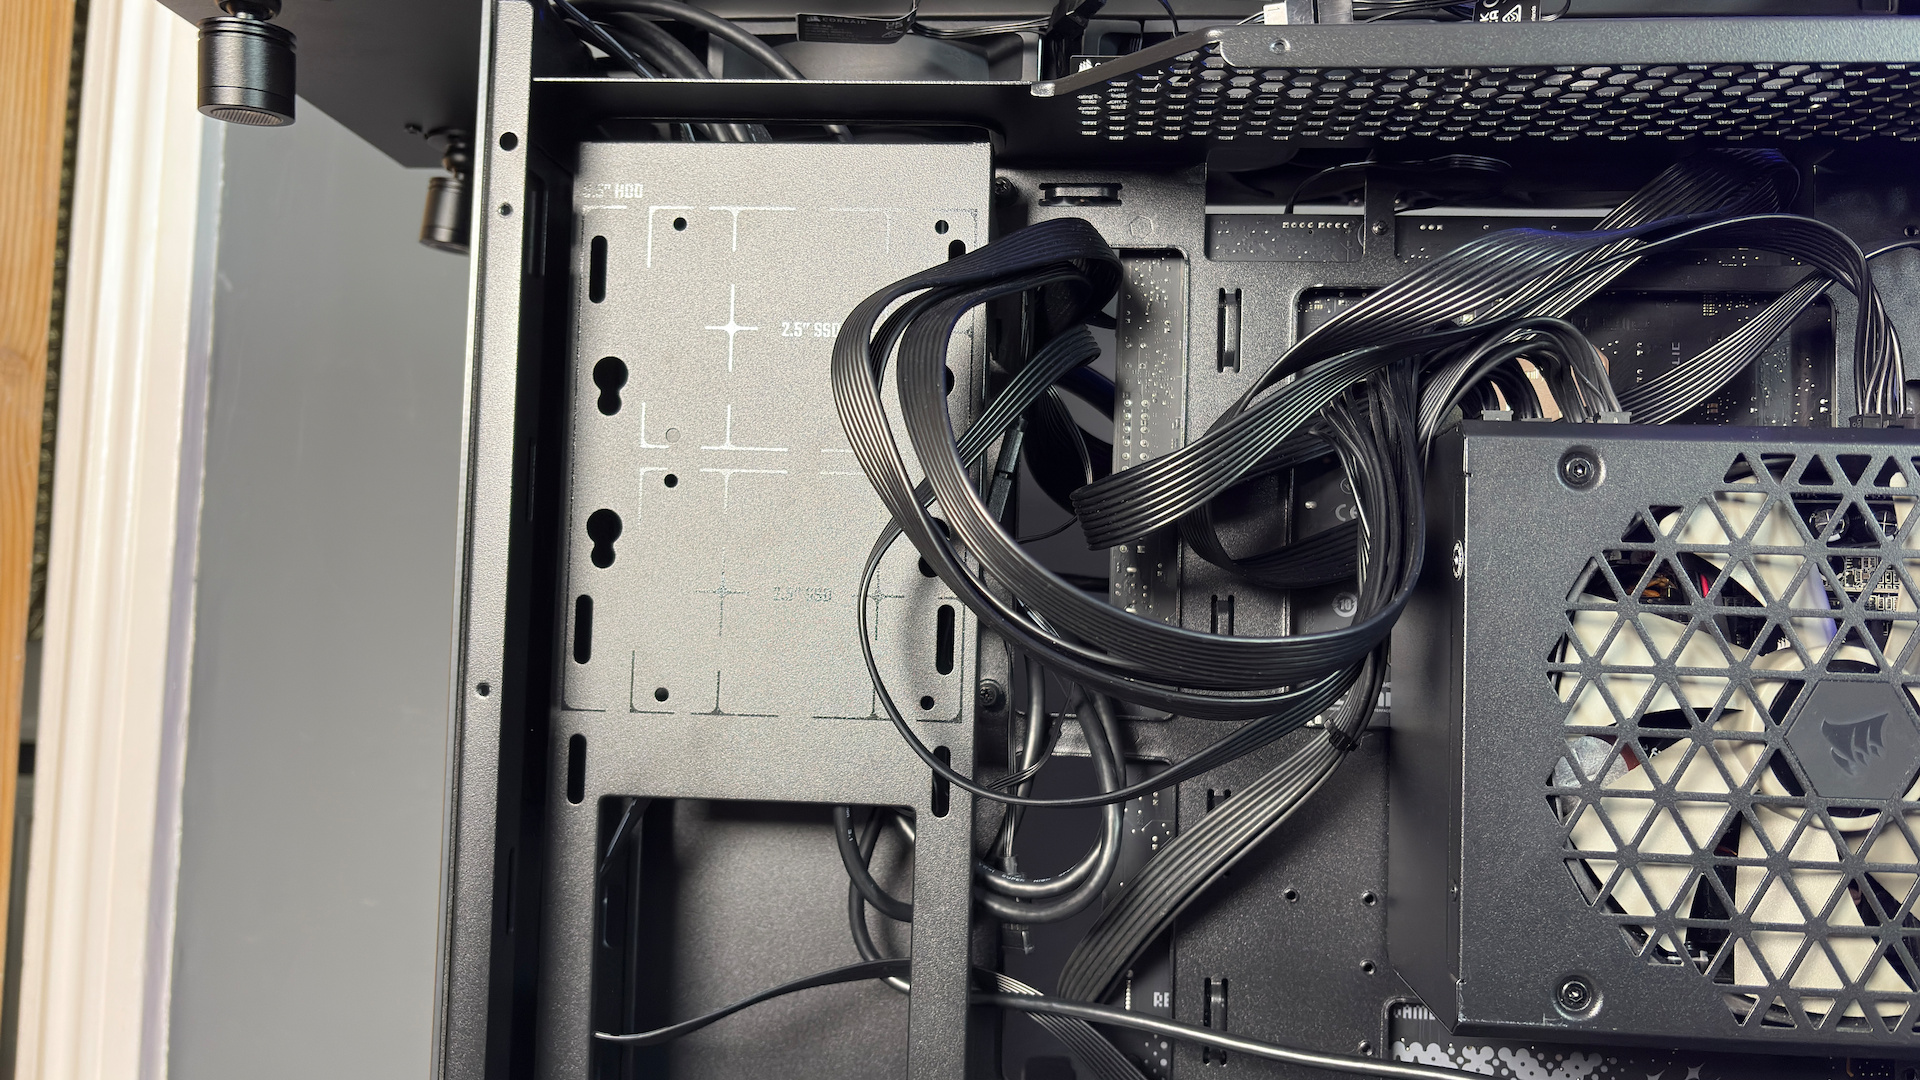
Storage bays: 1x HDD or 2x SSD
Front panel: 1x USB 3.2 Gen2x2 (Type-C), 2x USB 3.2 Gen1 (Type-A), 3.5 mm audio jack
Fan support: 12x 120 mm (or 4x 140/180/200)
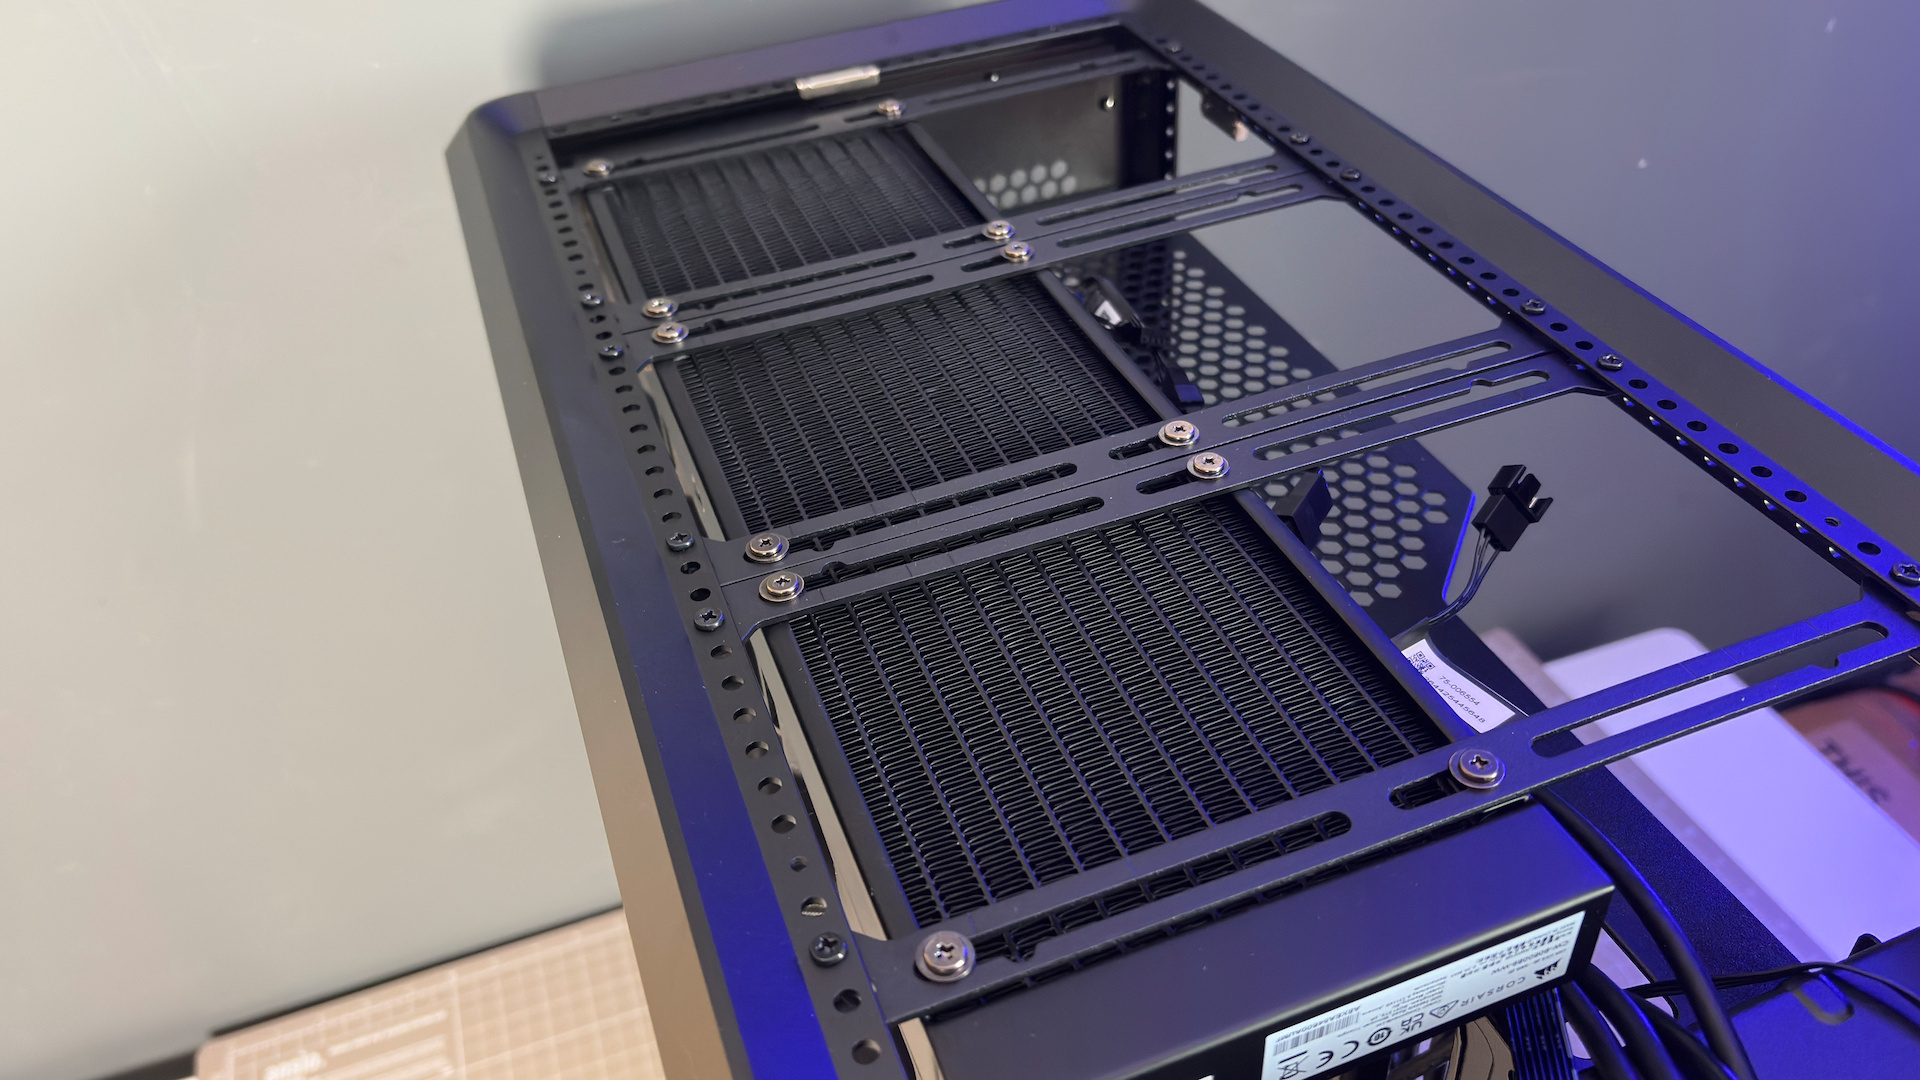
Cooler support: Up to 360 mm
Extra features: VGPU mounting (exclusive) with PCIe 5.0 riser cable
Price: $222 (mirror, open) | $200 (mirror, closed) | $300 (LCD)
There are a few options for this compartment. There’s the standard option I have for review with a mirror panel. This one costs $222. There’s also a version that’s similar except it treats the front compartment as its own, closing it off from the rest of the case. That’s $200. Then there’s the inevitable option with an LCD screen instead of a mirror. That one costs even more at $300.
Whatever you end up sticking on display will be well illuminated by the twin spotlights mounted to the top of the space. These are easily adjusted with a ball joint, allowing for 360-degree movement. They are also fully RGB, each with its own ARGB connection that can be either combined into a single source in your motherboard’s lighting software or run independently of one another. There’s a lack of lighting elsewhere on the case, though.
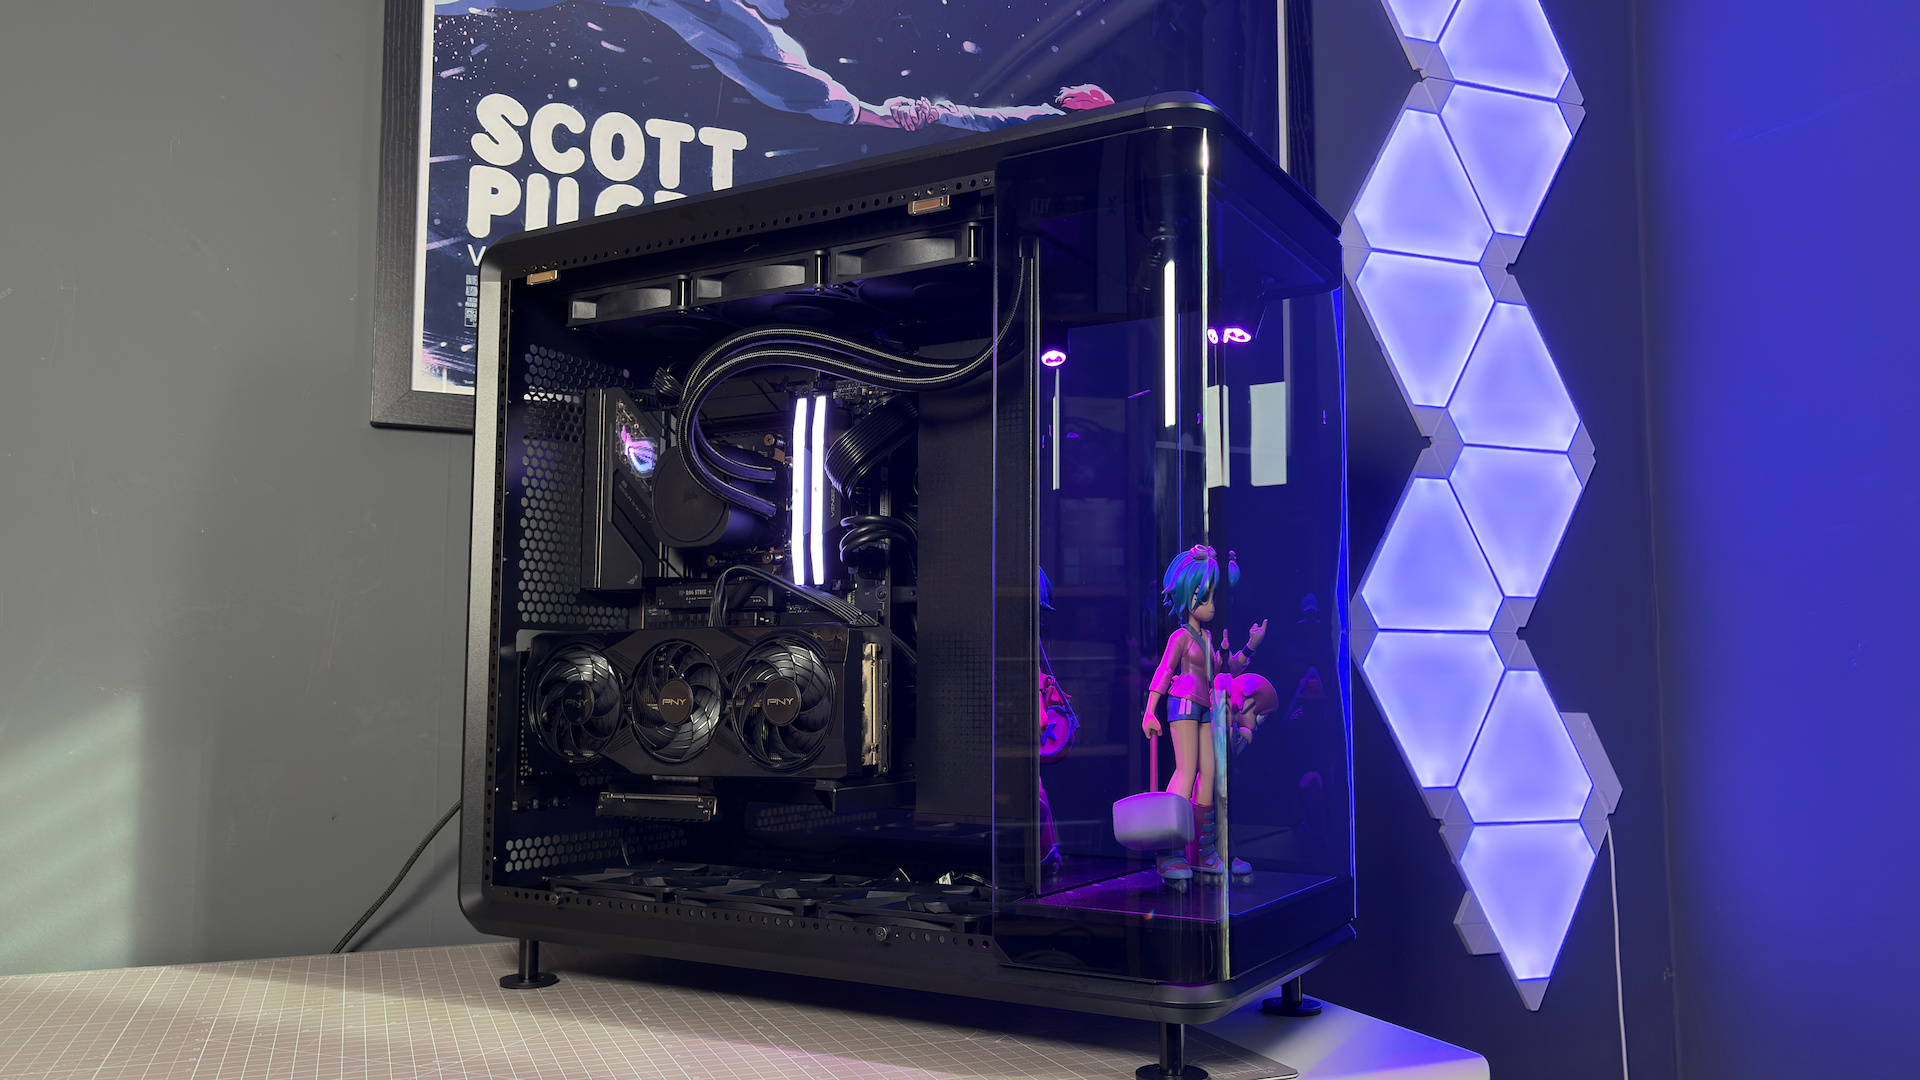
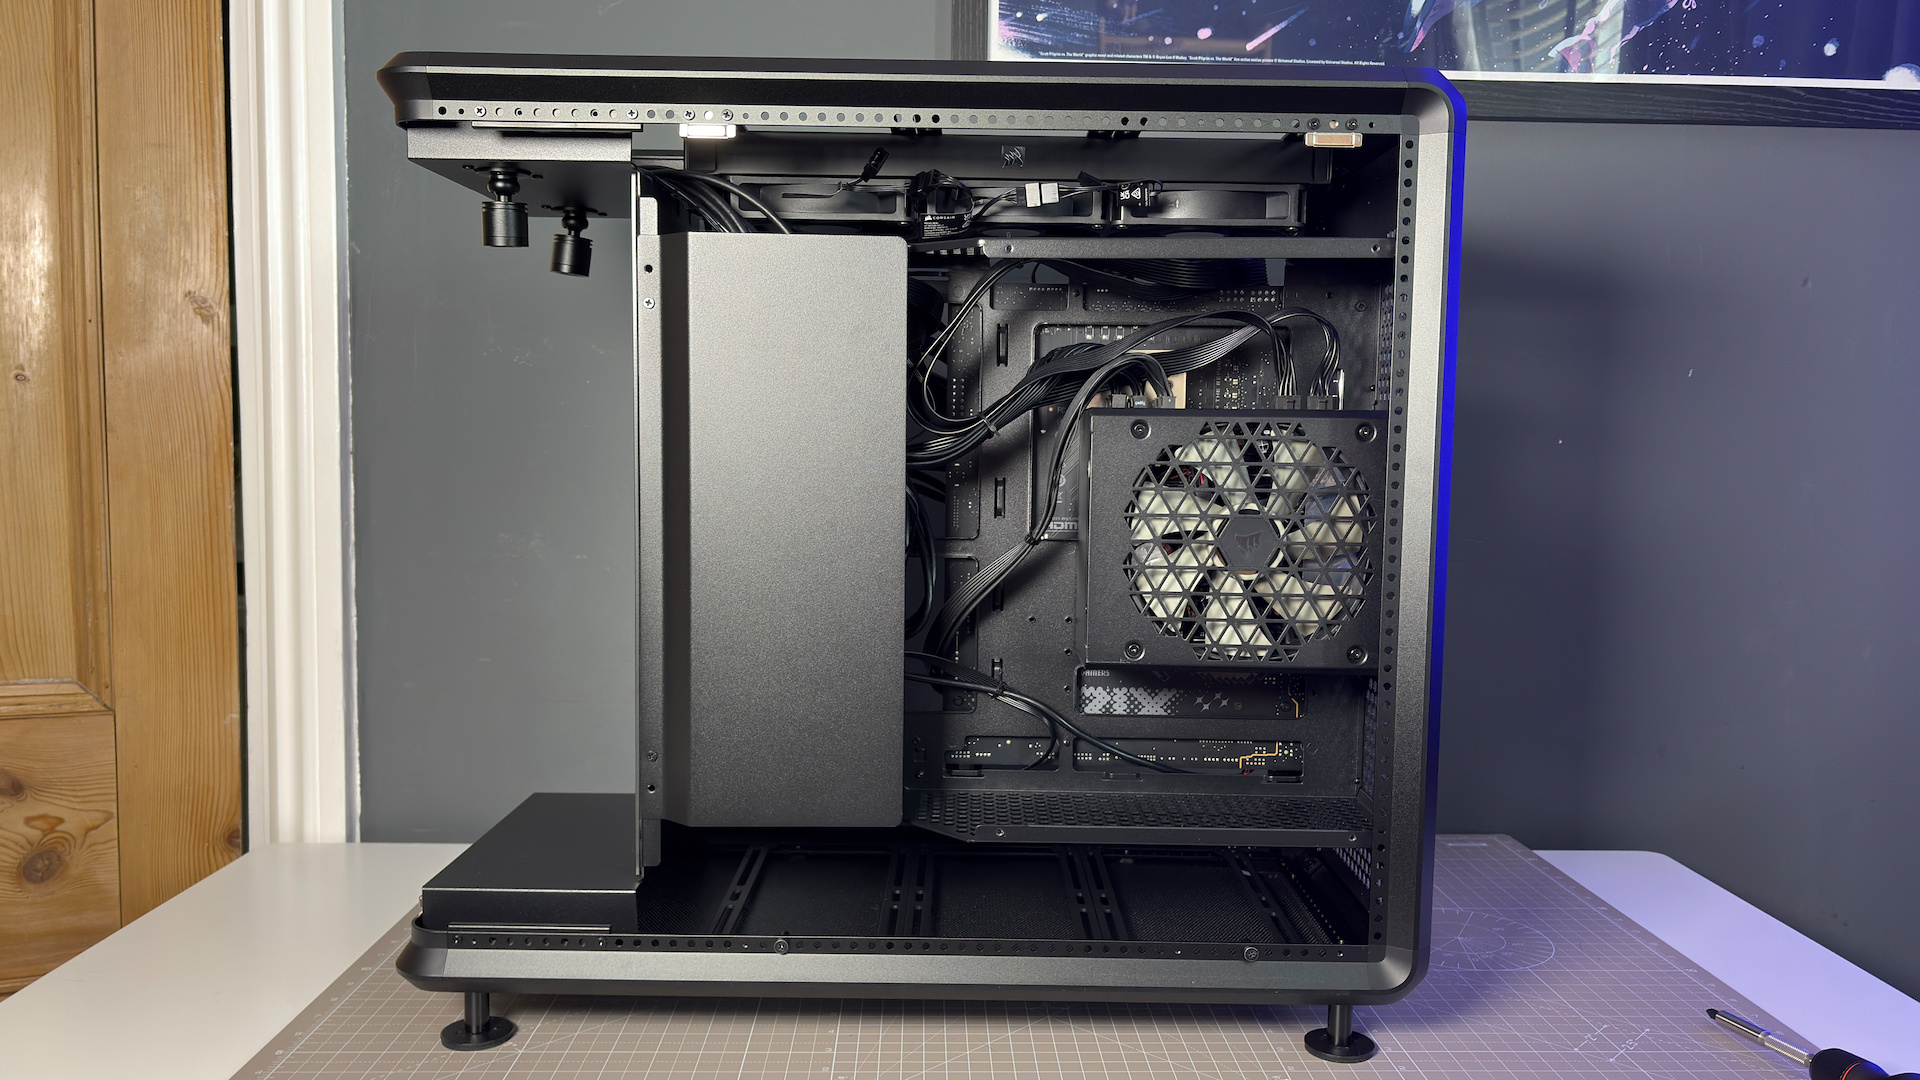
While all eyes are on the figure up front, the MasterFrame 360 does a good job keeping the functional parts of the PC out of sight. The side panels are lightly tinted, helping to cover up any ugly cables or connectors I might’ve left poking out from behind the rather slick cable management system used here. Let’s take a look at that cable management, as it’s quite unlike anything I’ve used in recent memory.

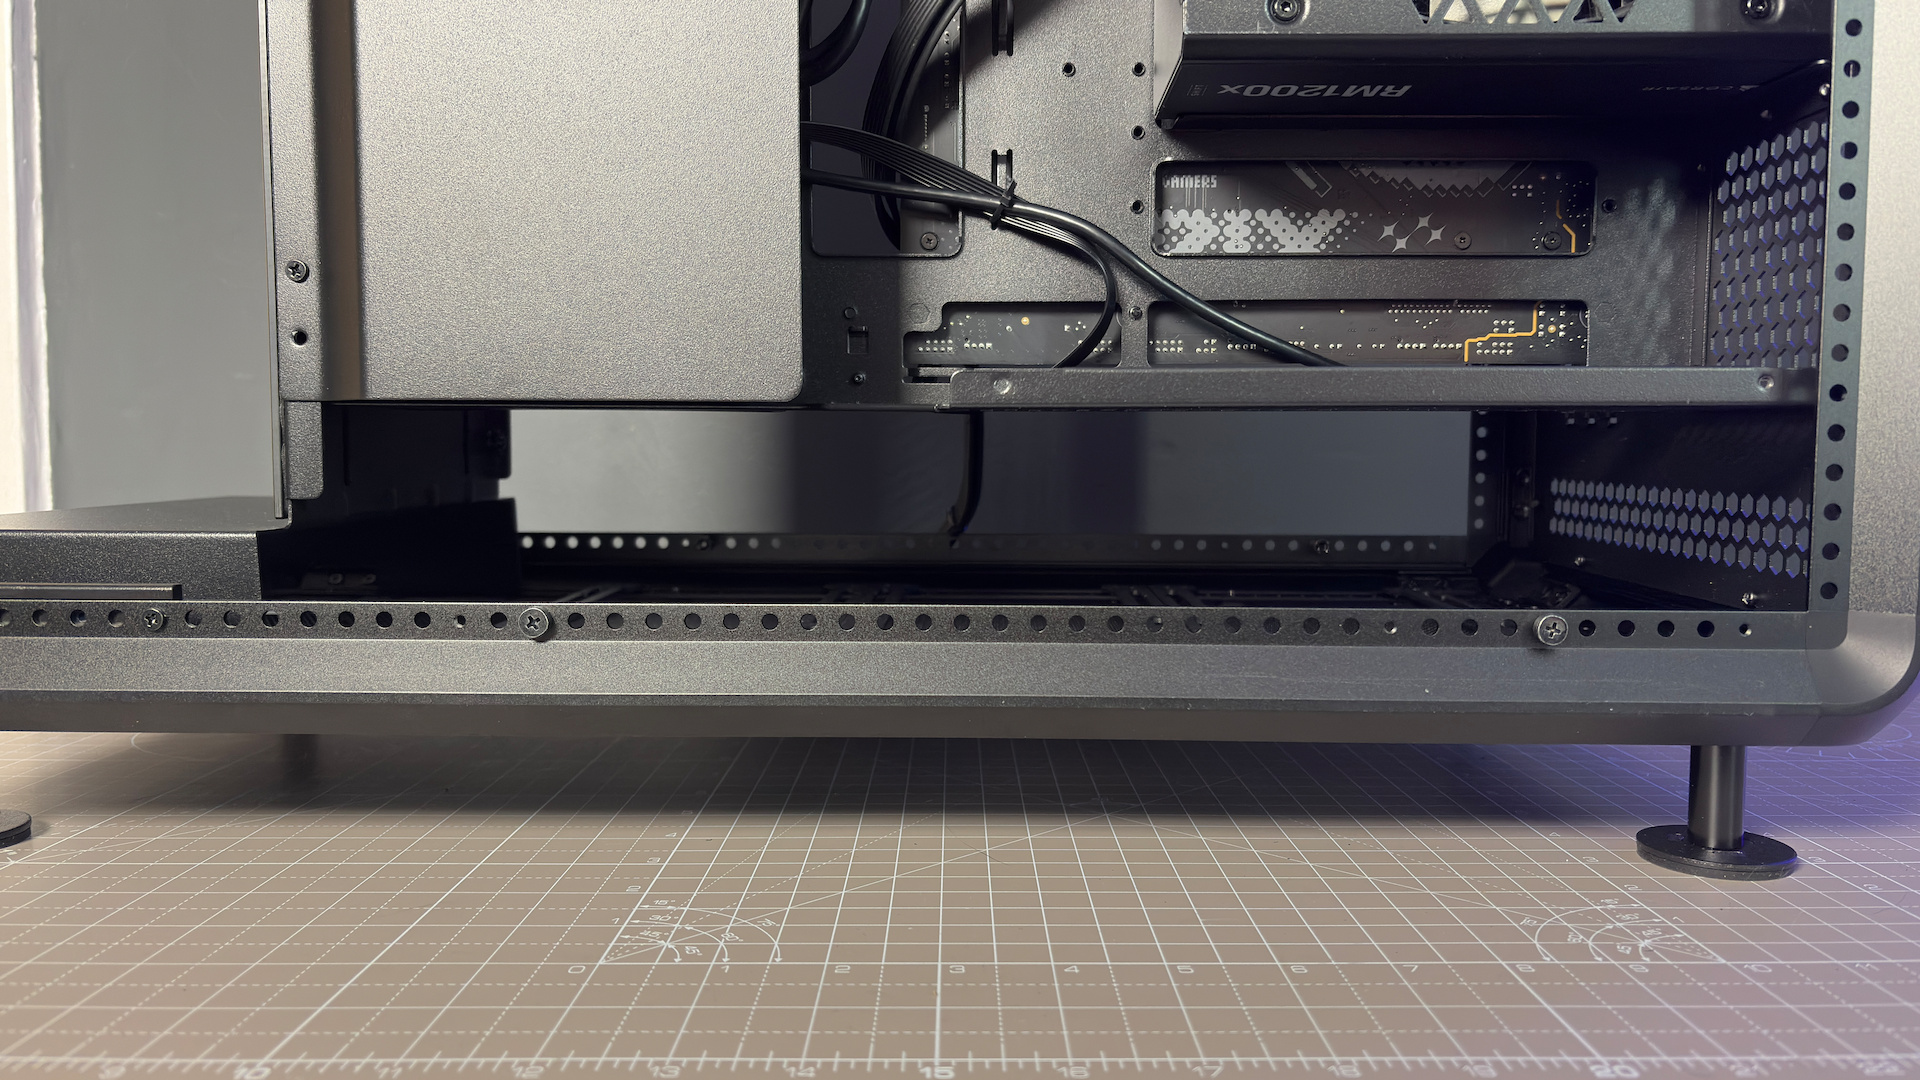
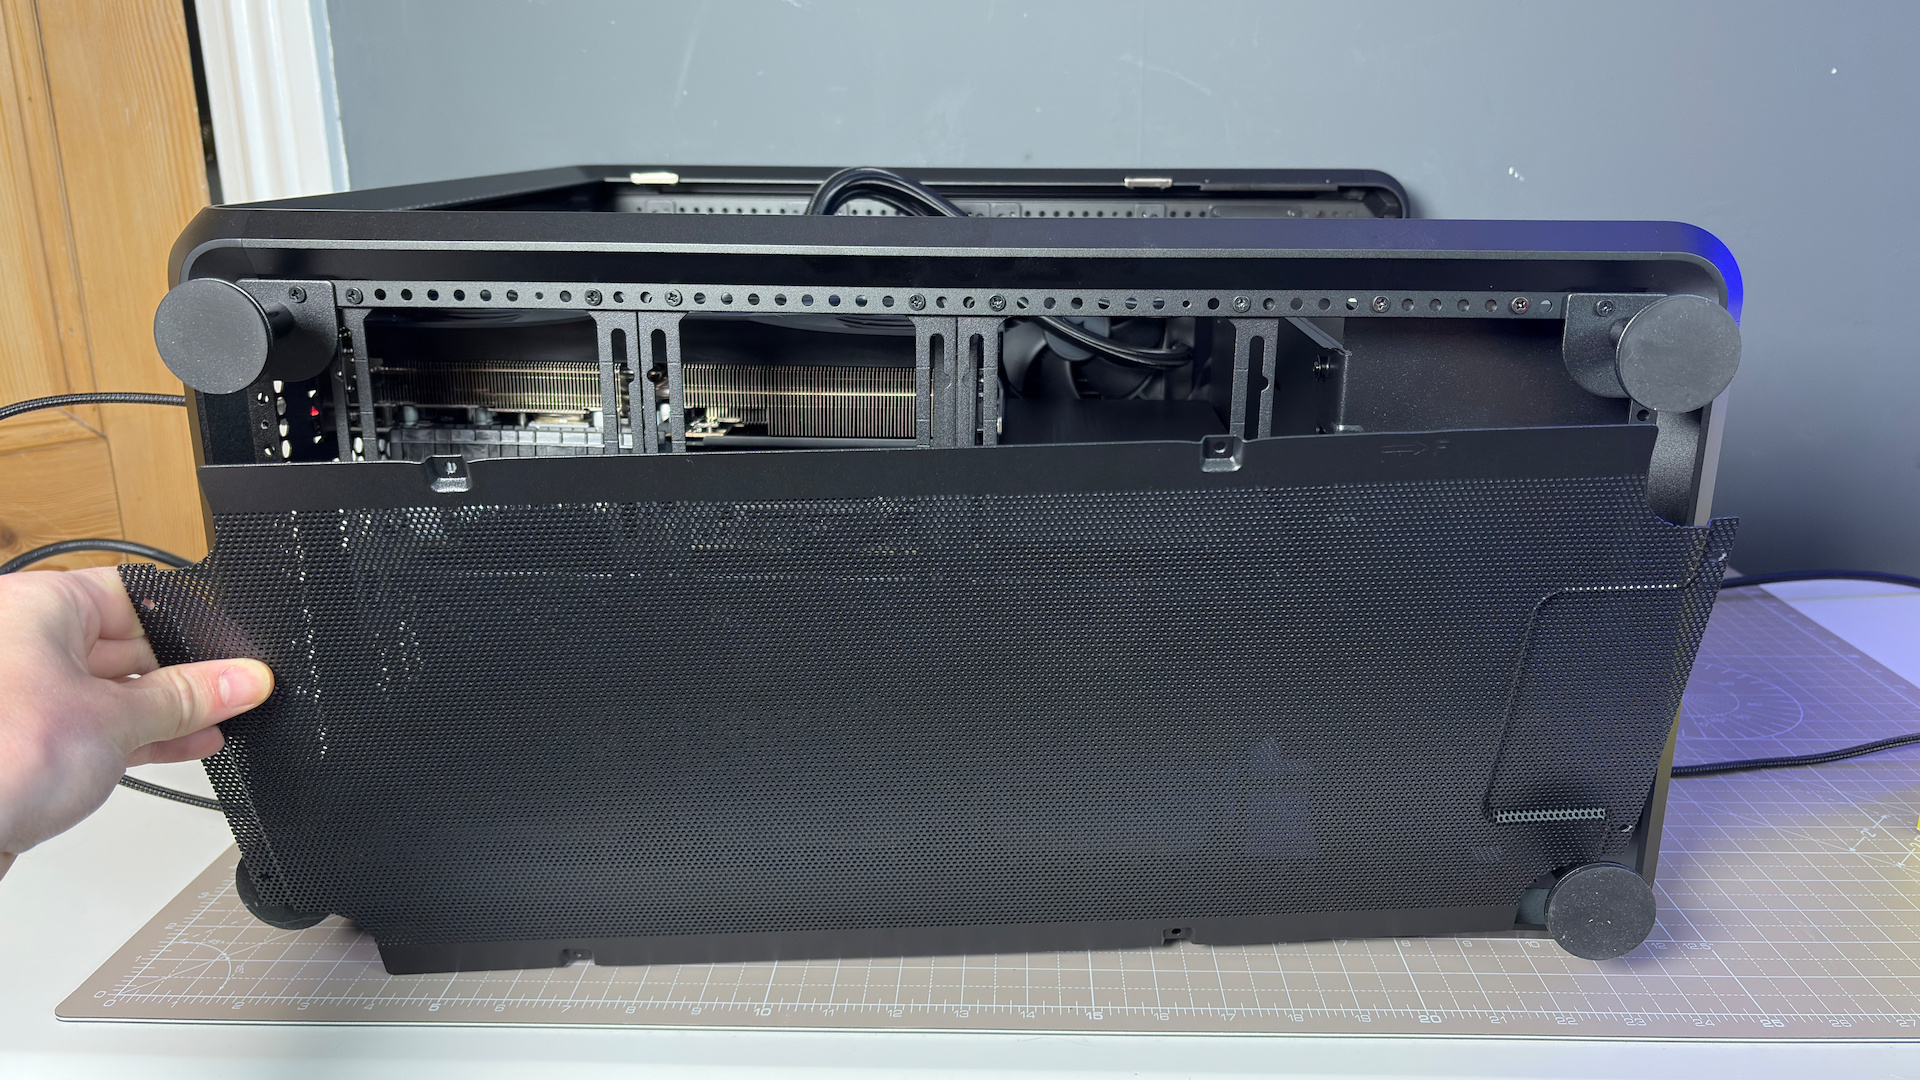
The actual PC sits on a tray hanging between the top and bottom of the case. Most cables are routed beneath the metal cover to the right, which is help in place with six rubber fittings and can be easily removed with a light pull. The majority of cables wind through this to the back through a removable SSD cage with space for 2x 2.5-inch drives. Though there is more to it than that.
Since the rear of the case is on full display through a tempered glass side panel, it needs to be in top shape. You can’t just leave a big mess and try to cover it up by squeezing the panel back into place.
{“type”:”articleBuilderTags”,”tags”:[{“url”:”/tag/image/cooler-master-masterframe-360-panoramic”,”indexed”:false,”dateModified”:1747754458000,”dateCreated”:1747754457000,”site”:”pcgamer”,”type”:”image”,”slug”:”cooler-master-masterframe-360-panoramic”,”name”:”Cooler Master MasterFrame 360 Panoramic”,”alternateNames”:[],”id”:”t9UNgAkXh8m6praweW2vQ3″,”abbreviation”:””,”lifecycle”:[],”relatedFreeformTags”:[]}],”site”:”pcgamer”,”tagsType”:”image”}Or can you?
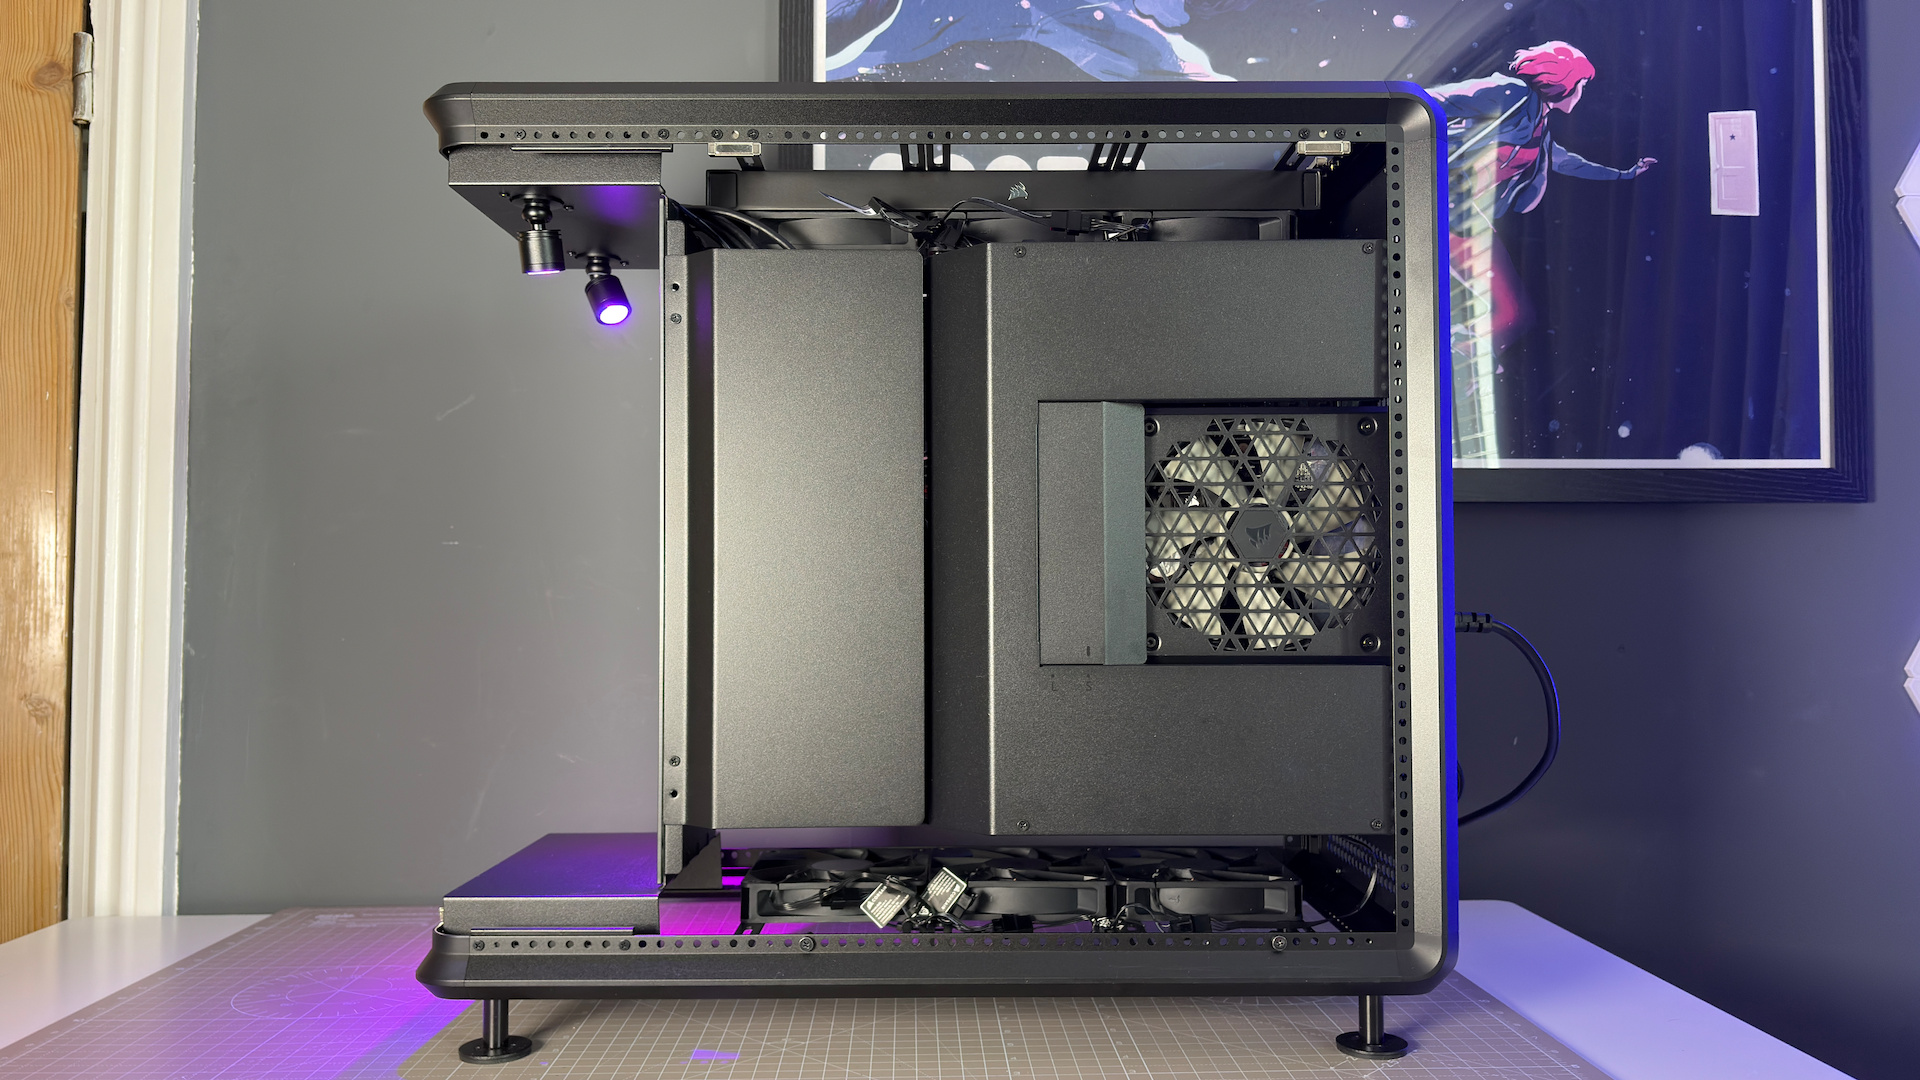
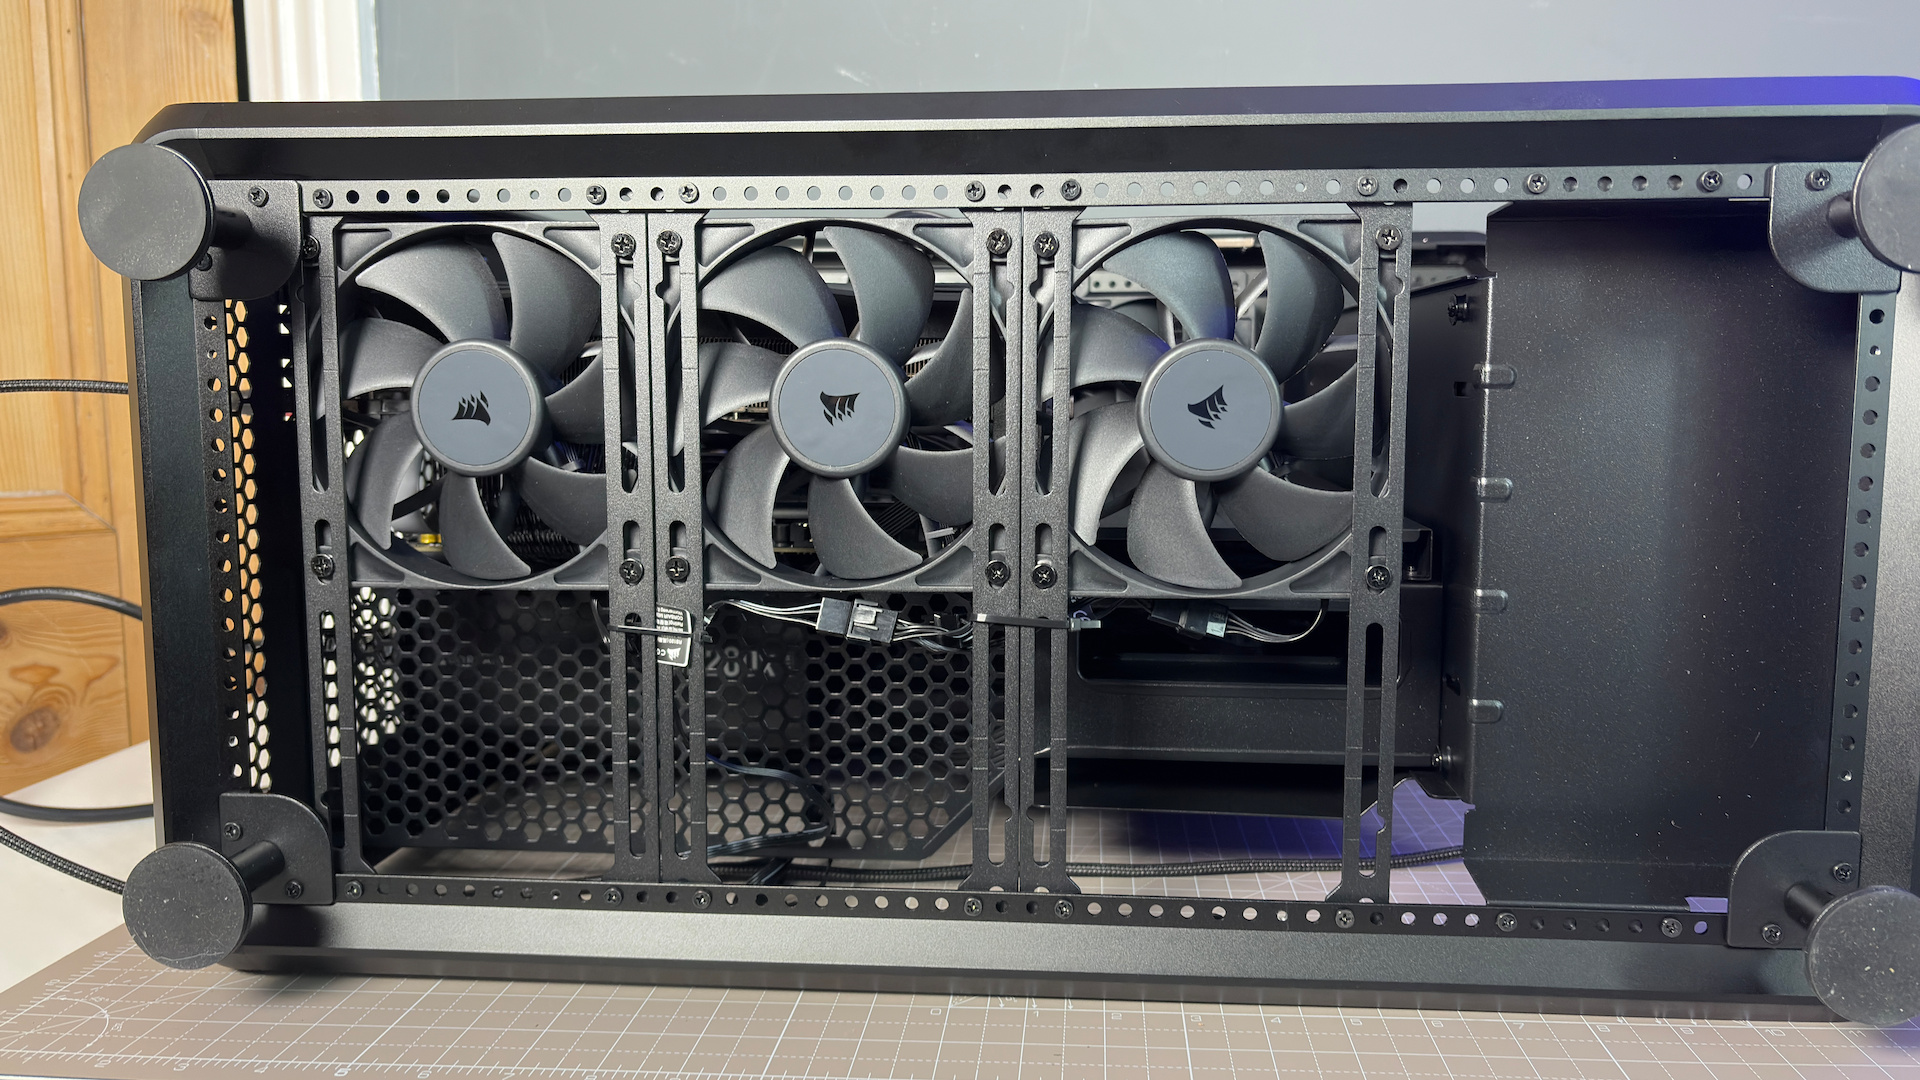
Cooler Master has included a couple of plates that are affixed atop of all the cables and the power supply, which almost entirely cuts out the need to strap down or zip-tie the cables whatsoever. So long as they’re roughly kept under wraps, you just cover them up—job done. I did end up using zip-ties for a couple cables in the end, just to keep things under control, including the cable from the lower-mounted fans.
The largest of the two cable covers features a cutout for the PSU’s fan, which can be even be adjusted to accommodate larger models. Though you needn’t bother with it. Upon returning the tempered glass side panel, you’ll realise as I did that the PSU is mostly cut off from fresh air either way. An odd decision.
There are no fans included with the case. There are, however, many places to mount them or an all-in-one liquid cooler. There’s room for six 120 mm fans in the top of the case, and six more in the bottom. The case uses an adjustable rail system for the outer frame—hence the name—and the fan brackets can be moved to accommodate up to 2x 140/180/200 mm fans if required. Or you can top and tail as I’ve done here, with your choice of fans and cooler: I opted for 3x Corsair RS120 fans and a Corsair Nautilus 360 RS AIO.
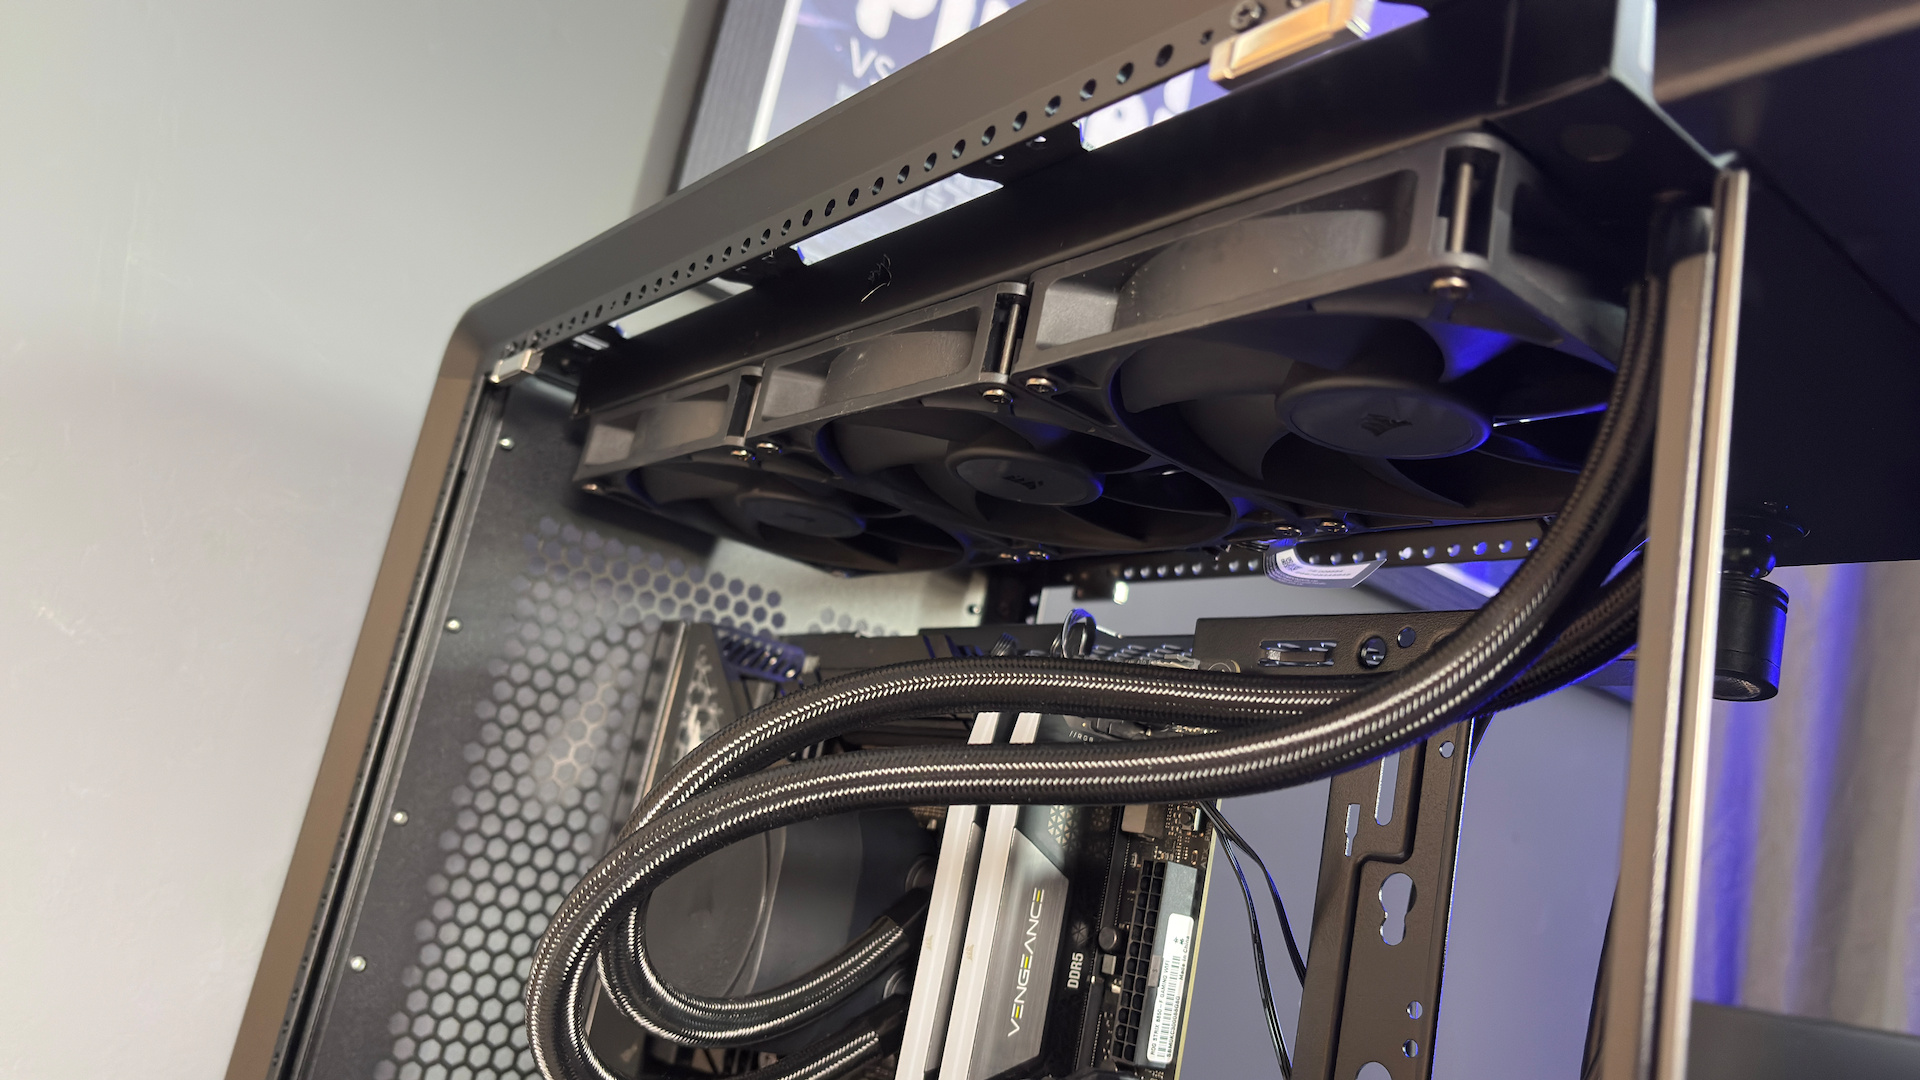
It feels like I’m underutilising the MasterFrame’s flexibility by only installing an AIO into it. A custom loop may well be possible without much, if any, modifications here.
✅ You have a lot of figures: If you want to represent your favourite anime or interest, this is a great case to do it. But you will have to settle on just one to go in the case. Can you do that?
❌ You want the best cooling: While there are a lot of cooling options here, with the room for an enormous quantity of 120 mm fans, you do have to provide them yourself, and the PSU and GPU are more limited for airflow by their orientation to the glass panels.
The MasterFrame 360 Panorama feels tough, right down to its metal feet. Though that does make it quite heavy. It easily tops out my scales at home, but Cooler Master has it just under 15 kg on official product sheets. I can believe it, too, as it is not much fun to move around with parts installed. You really don’t want to drop this thing on any side—too much glass.
It’s an interesting idea for a case. The stage is certain to appeal to some more than others. It does make it easy to stan your favourite things without lifting a finger. Falling short of building a Hatsune Miku statue that doubles up as a gaming PC, you can stick a figure in the front of the MasterFrame 360 Panorama and feel you’re still repping your interests. For that reason, the MasterFrame 360 Panorama definitely has a strong niche appeal.
As a generalist case, it’s a little more complicated. Even beyond its enormous size and weight, it only offers expansion slots for a vertically-mounted GPU. The included PCIe 5.0 riser cable feels very robust, and it looks great, but you can’t make use of any spare PCIe slots down the line for add-in cards. Perhaps a small concern for some, but power users with lots of NVMe drives on an expansion slot or anyone who still rocks a sound card will have to look elsewhere.
What the MasterFrame 360 Panorama does, it does very well. It’s not a one-trick pony, and though it definitely favours looks over ease of use (you’ll need to get a screwdriver out to wire in anything new), it has some practical considerations that go a long way. If you want to build a gaming PC that reflects your personality and interests without major modding, this feels like an easy shortcut.


