
Searching for the Spellbound grimoire locations in Dragon's Dogma 2 is a daunting task, especially as you don't have much information to go on. Meeting Trysha for the first time at Eini's Home to the north of the starting town of Melve, you might have assumed that this would be an easy gig, but hunting down the grimoires takes you all over the map.
The rewards for helping this little girl learn magic are well worth it, though, since if all goes well you'll get the Meister's Teachings for both the Mage and the Sorcerer vocations, making this a must-do quest for any spellcaster. All that said, here's how to find all five grimoires for Trysha in the Spellbound quest, plus resolve its other steps for the rewards.
Fulminous Shield location
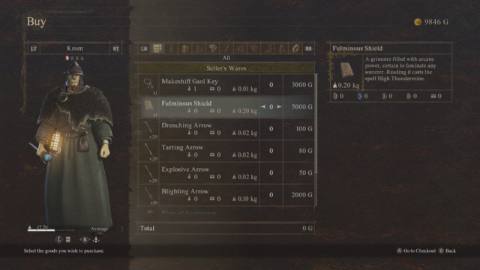
This first grimoire is very easy to grab—head to the entrance to Melve with the burnt houses and look for Dudley, the merchant with the backpack. You can purchase Fulminous Shield from Dudley for 5,000 gold, but since that's a lot of money early on you might need to save up first.
Howling Blizzard and Nation’s Death Knell location
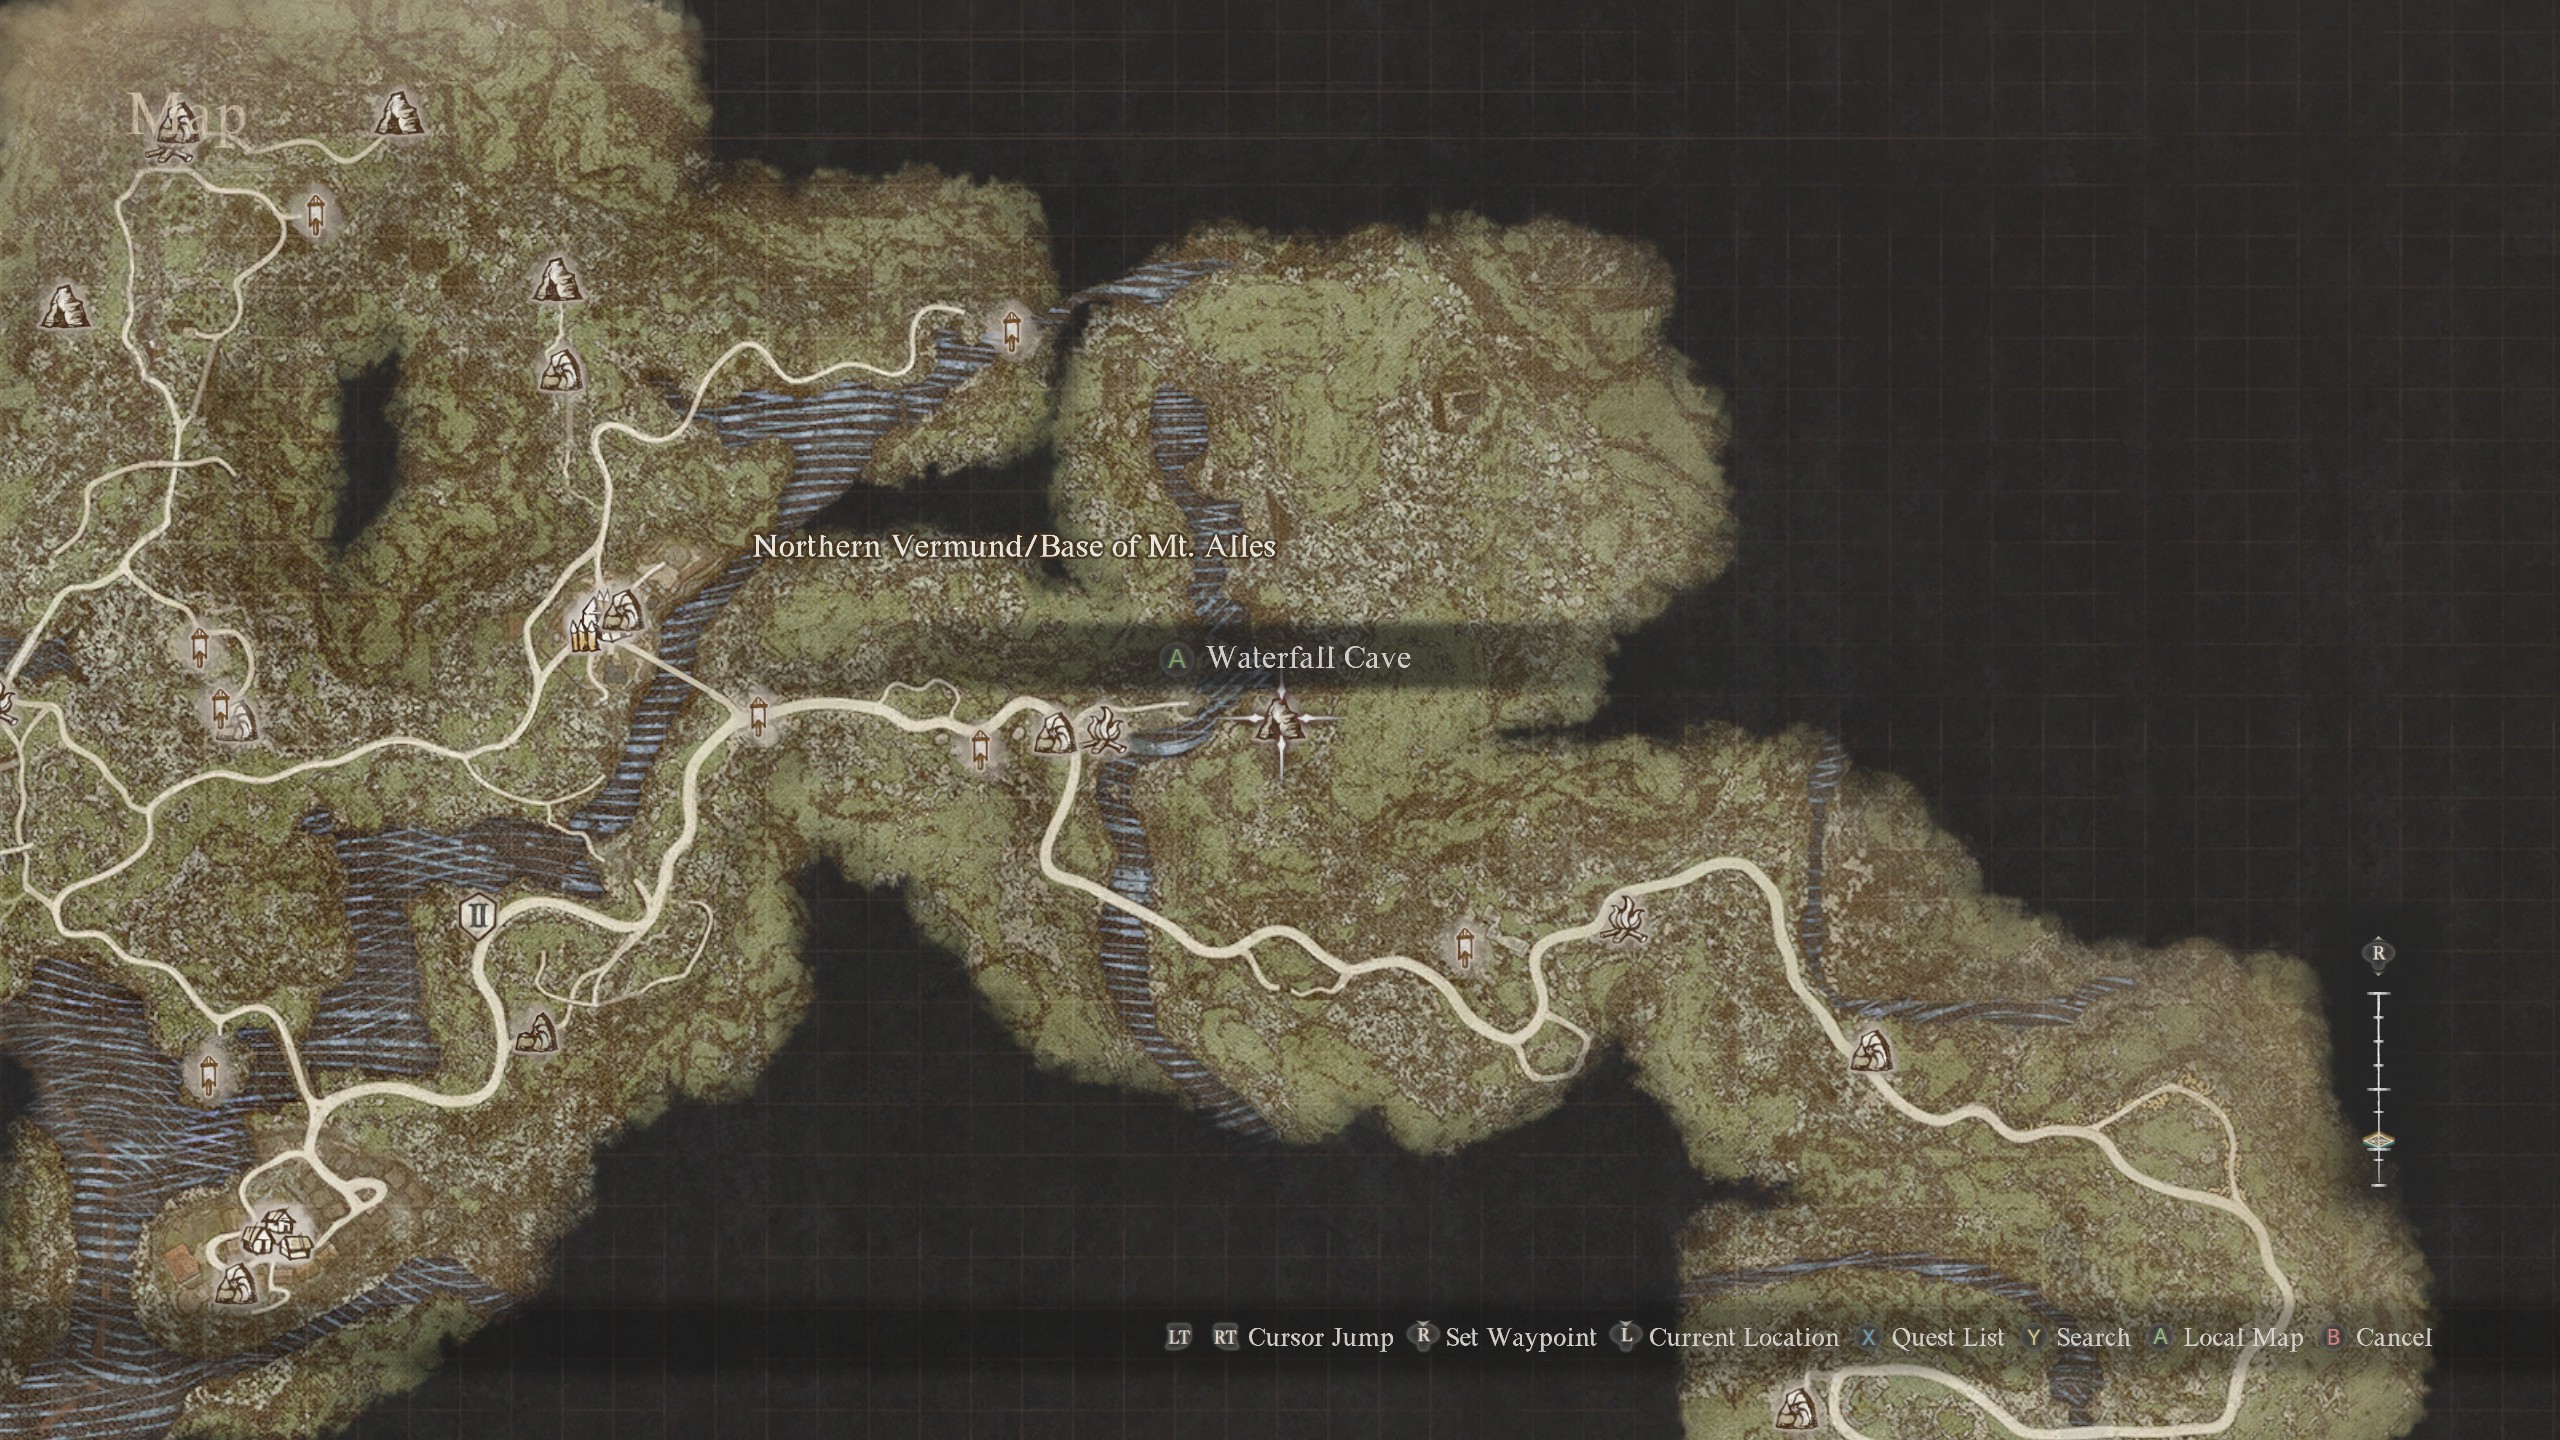
The next two grimoires are quite a bit trickier to claim since they require you to fight a wight boss. If you haven't defeated one of these before, I recommend bringing a mage with the Empyrean spell, since they're weak to holy magic.
Travel to the Waterfall Cave dungeon near the Borderland Campground campsite on the road to the capital of Vernworth. This requires progressing the main quest a little so you can leave the Melve region. To enter the dungeon, climb the rising path behind the campsite and the rocks to find a cave entrance next to the upper waterfall.
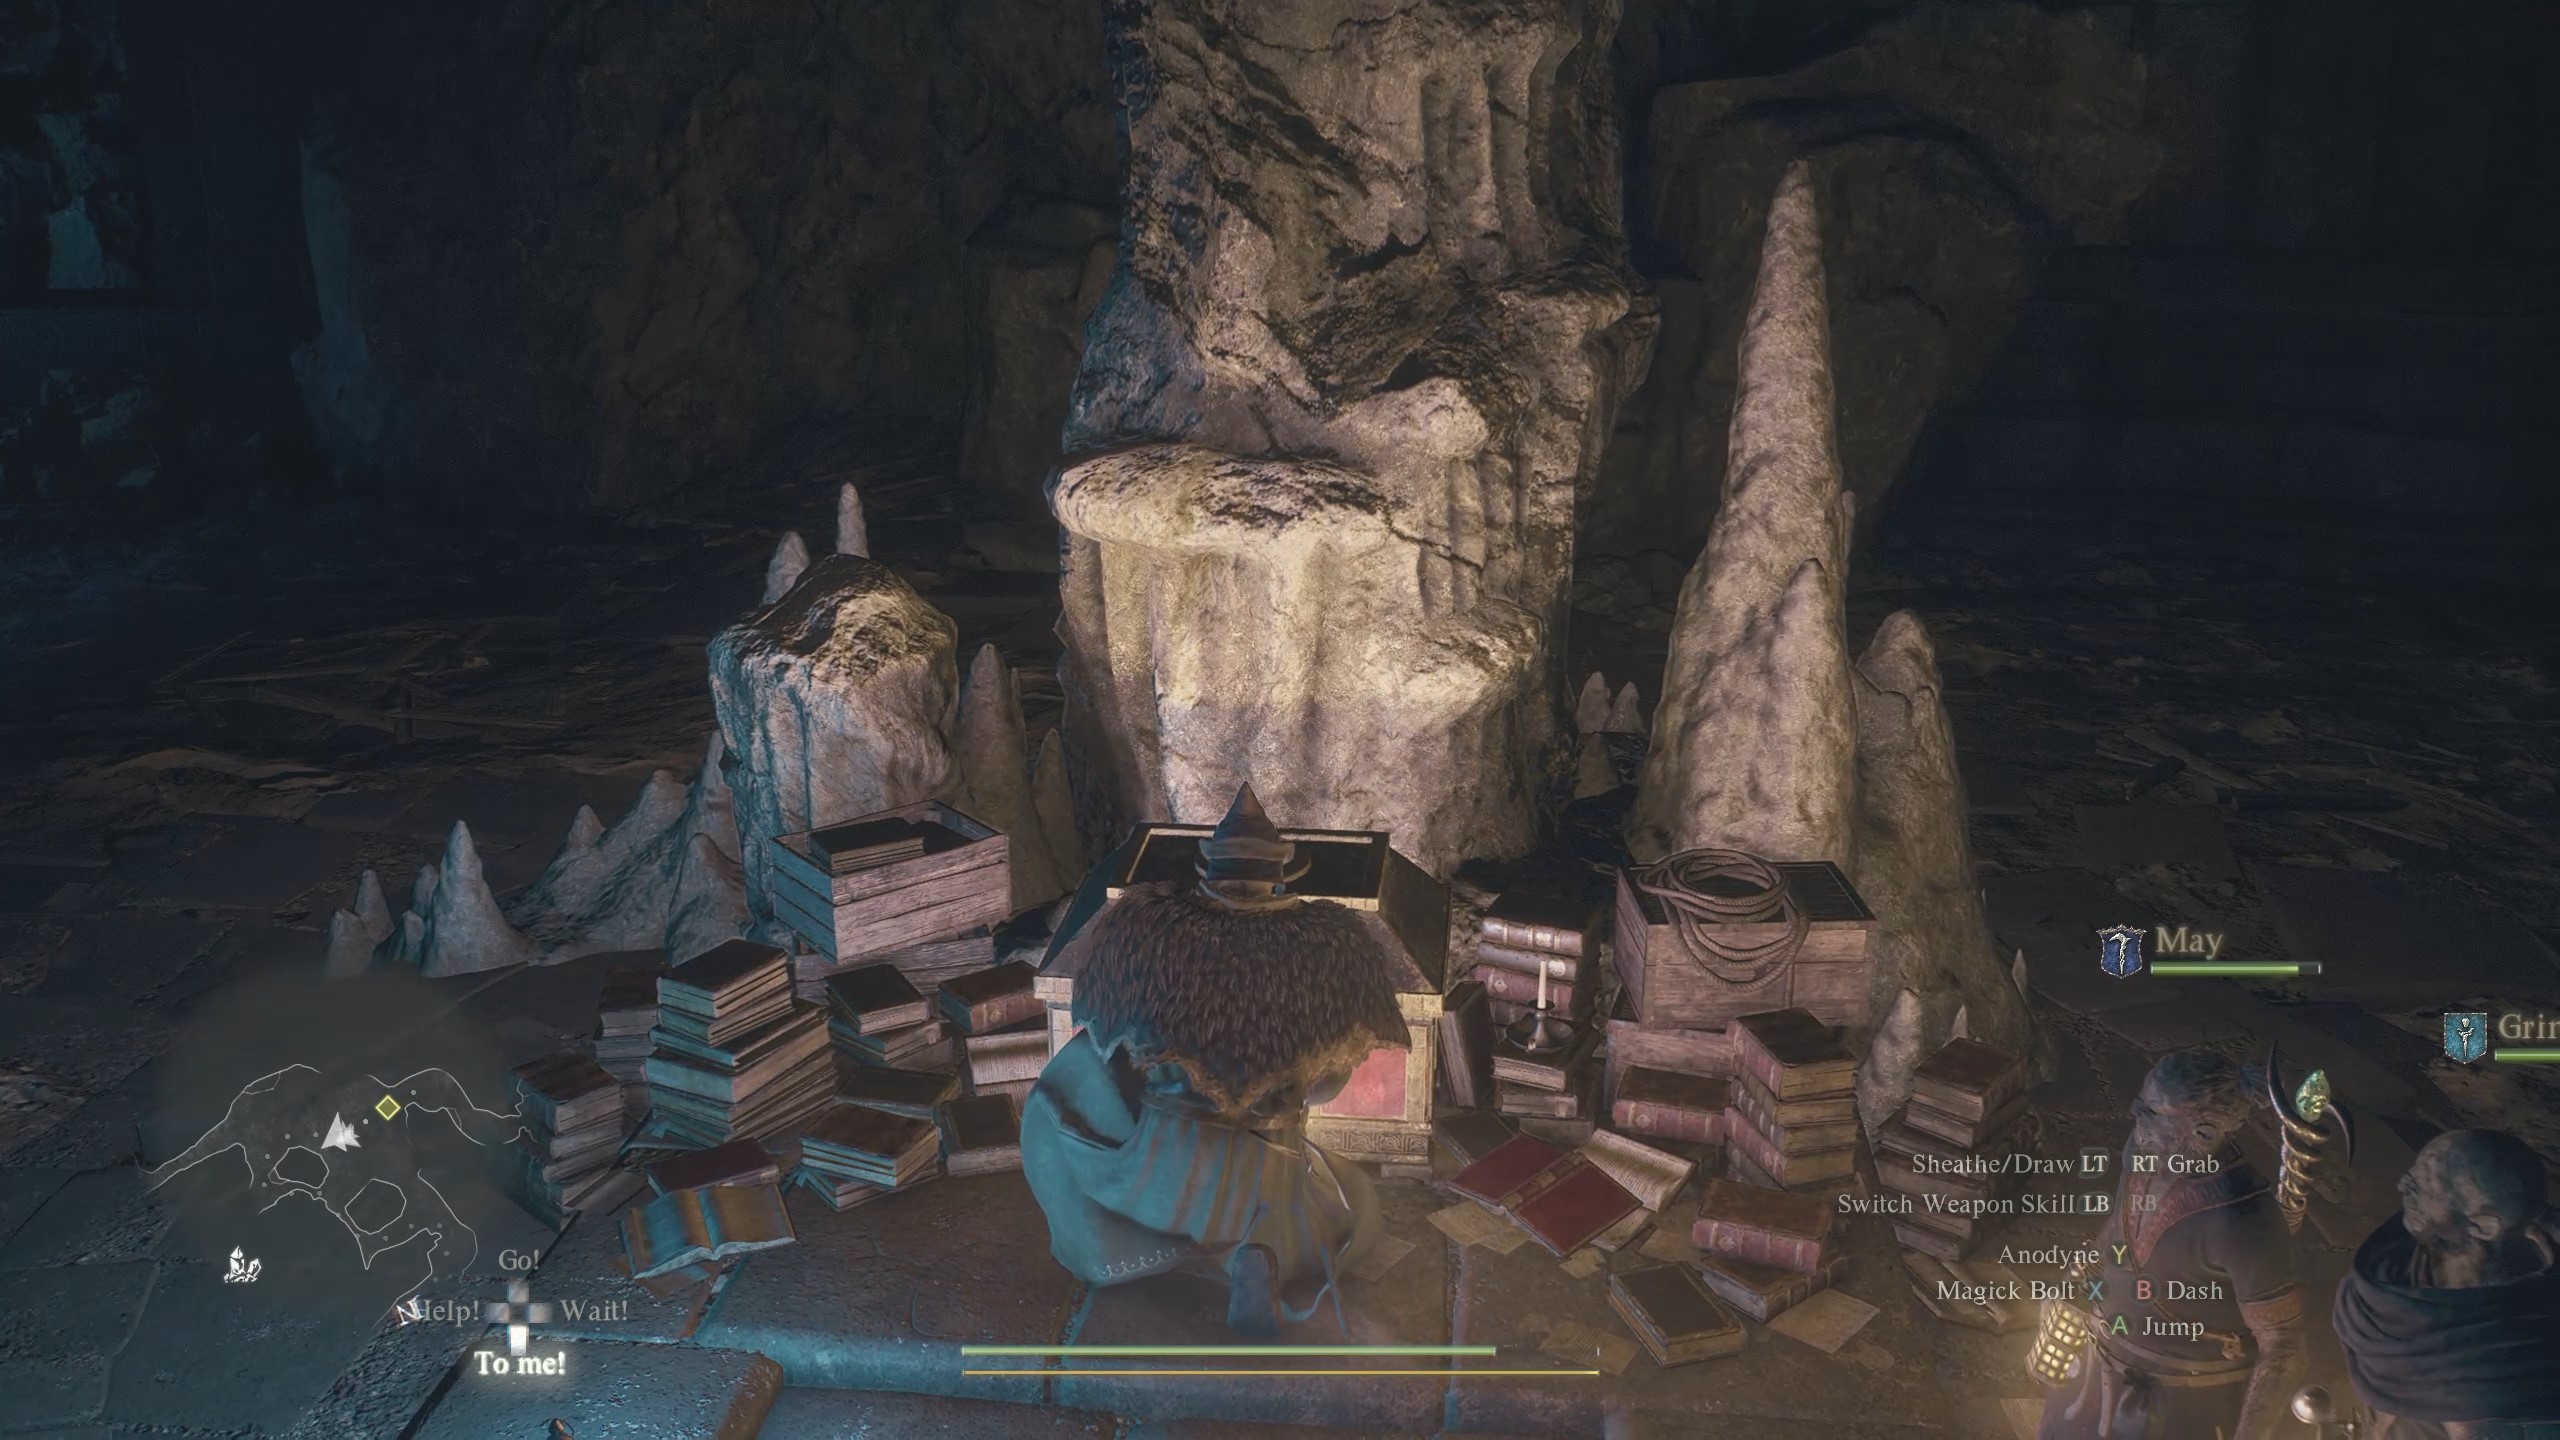
Progress through the dungeon until you reach the second floor and find an old academic's study filled with scrolls; make sure to avoid the extremely difficult chimaera boss on the way. You'll need to open the chest in the centre of the room chest to get Howling Blizzard and Nation's Death Knell, though this will summon the wight.
Theoretically you could run away from the boss, but it's well worth beating since it gives you lots of RC and the Eminent Coat, which is a decent armour piece for Mages.
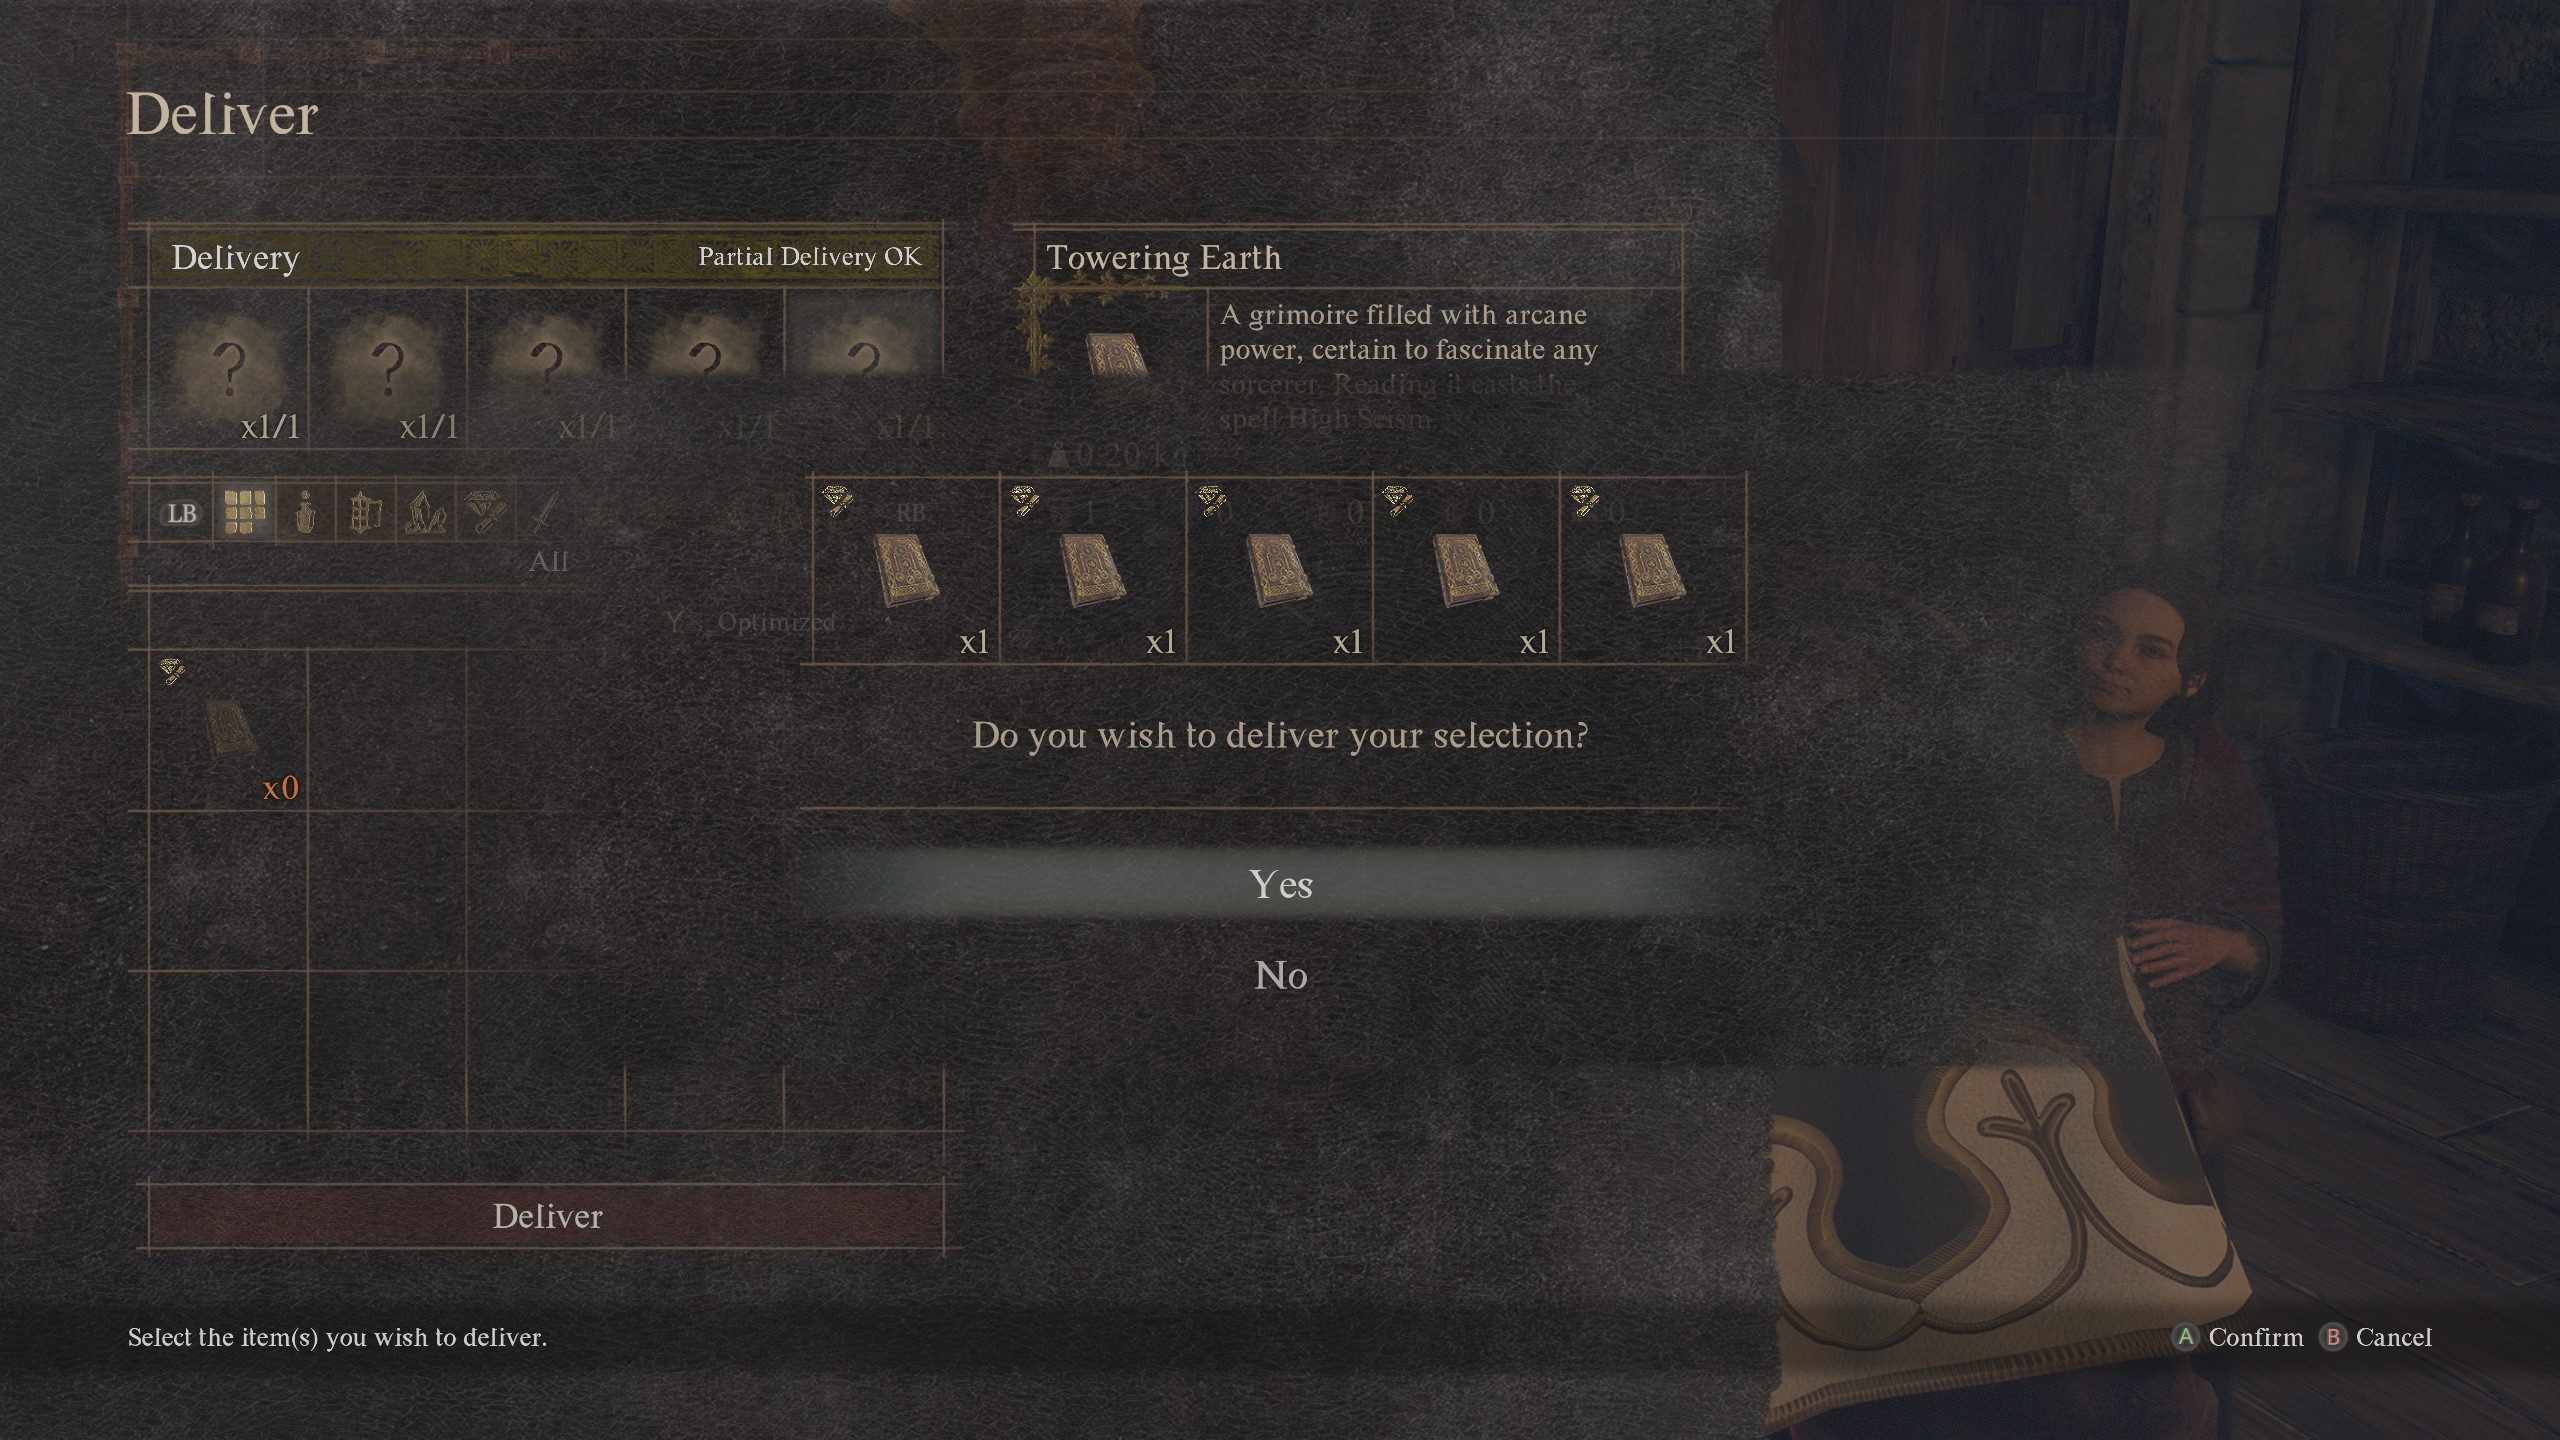
Towering Earth location
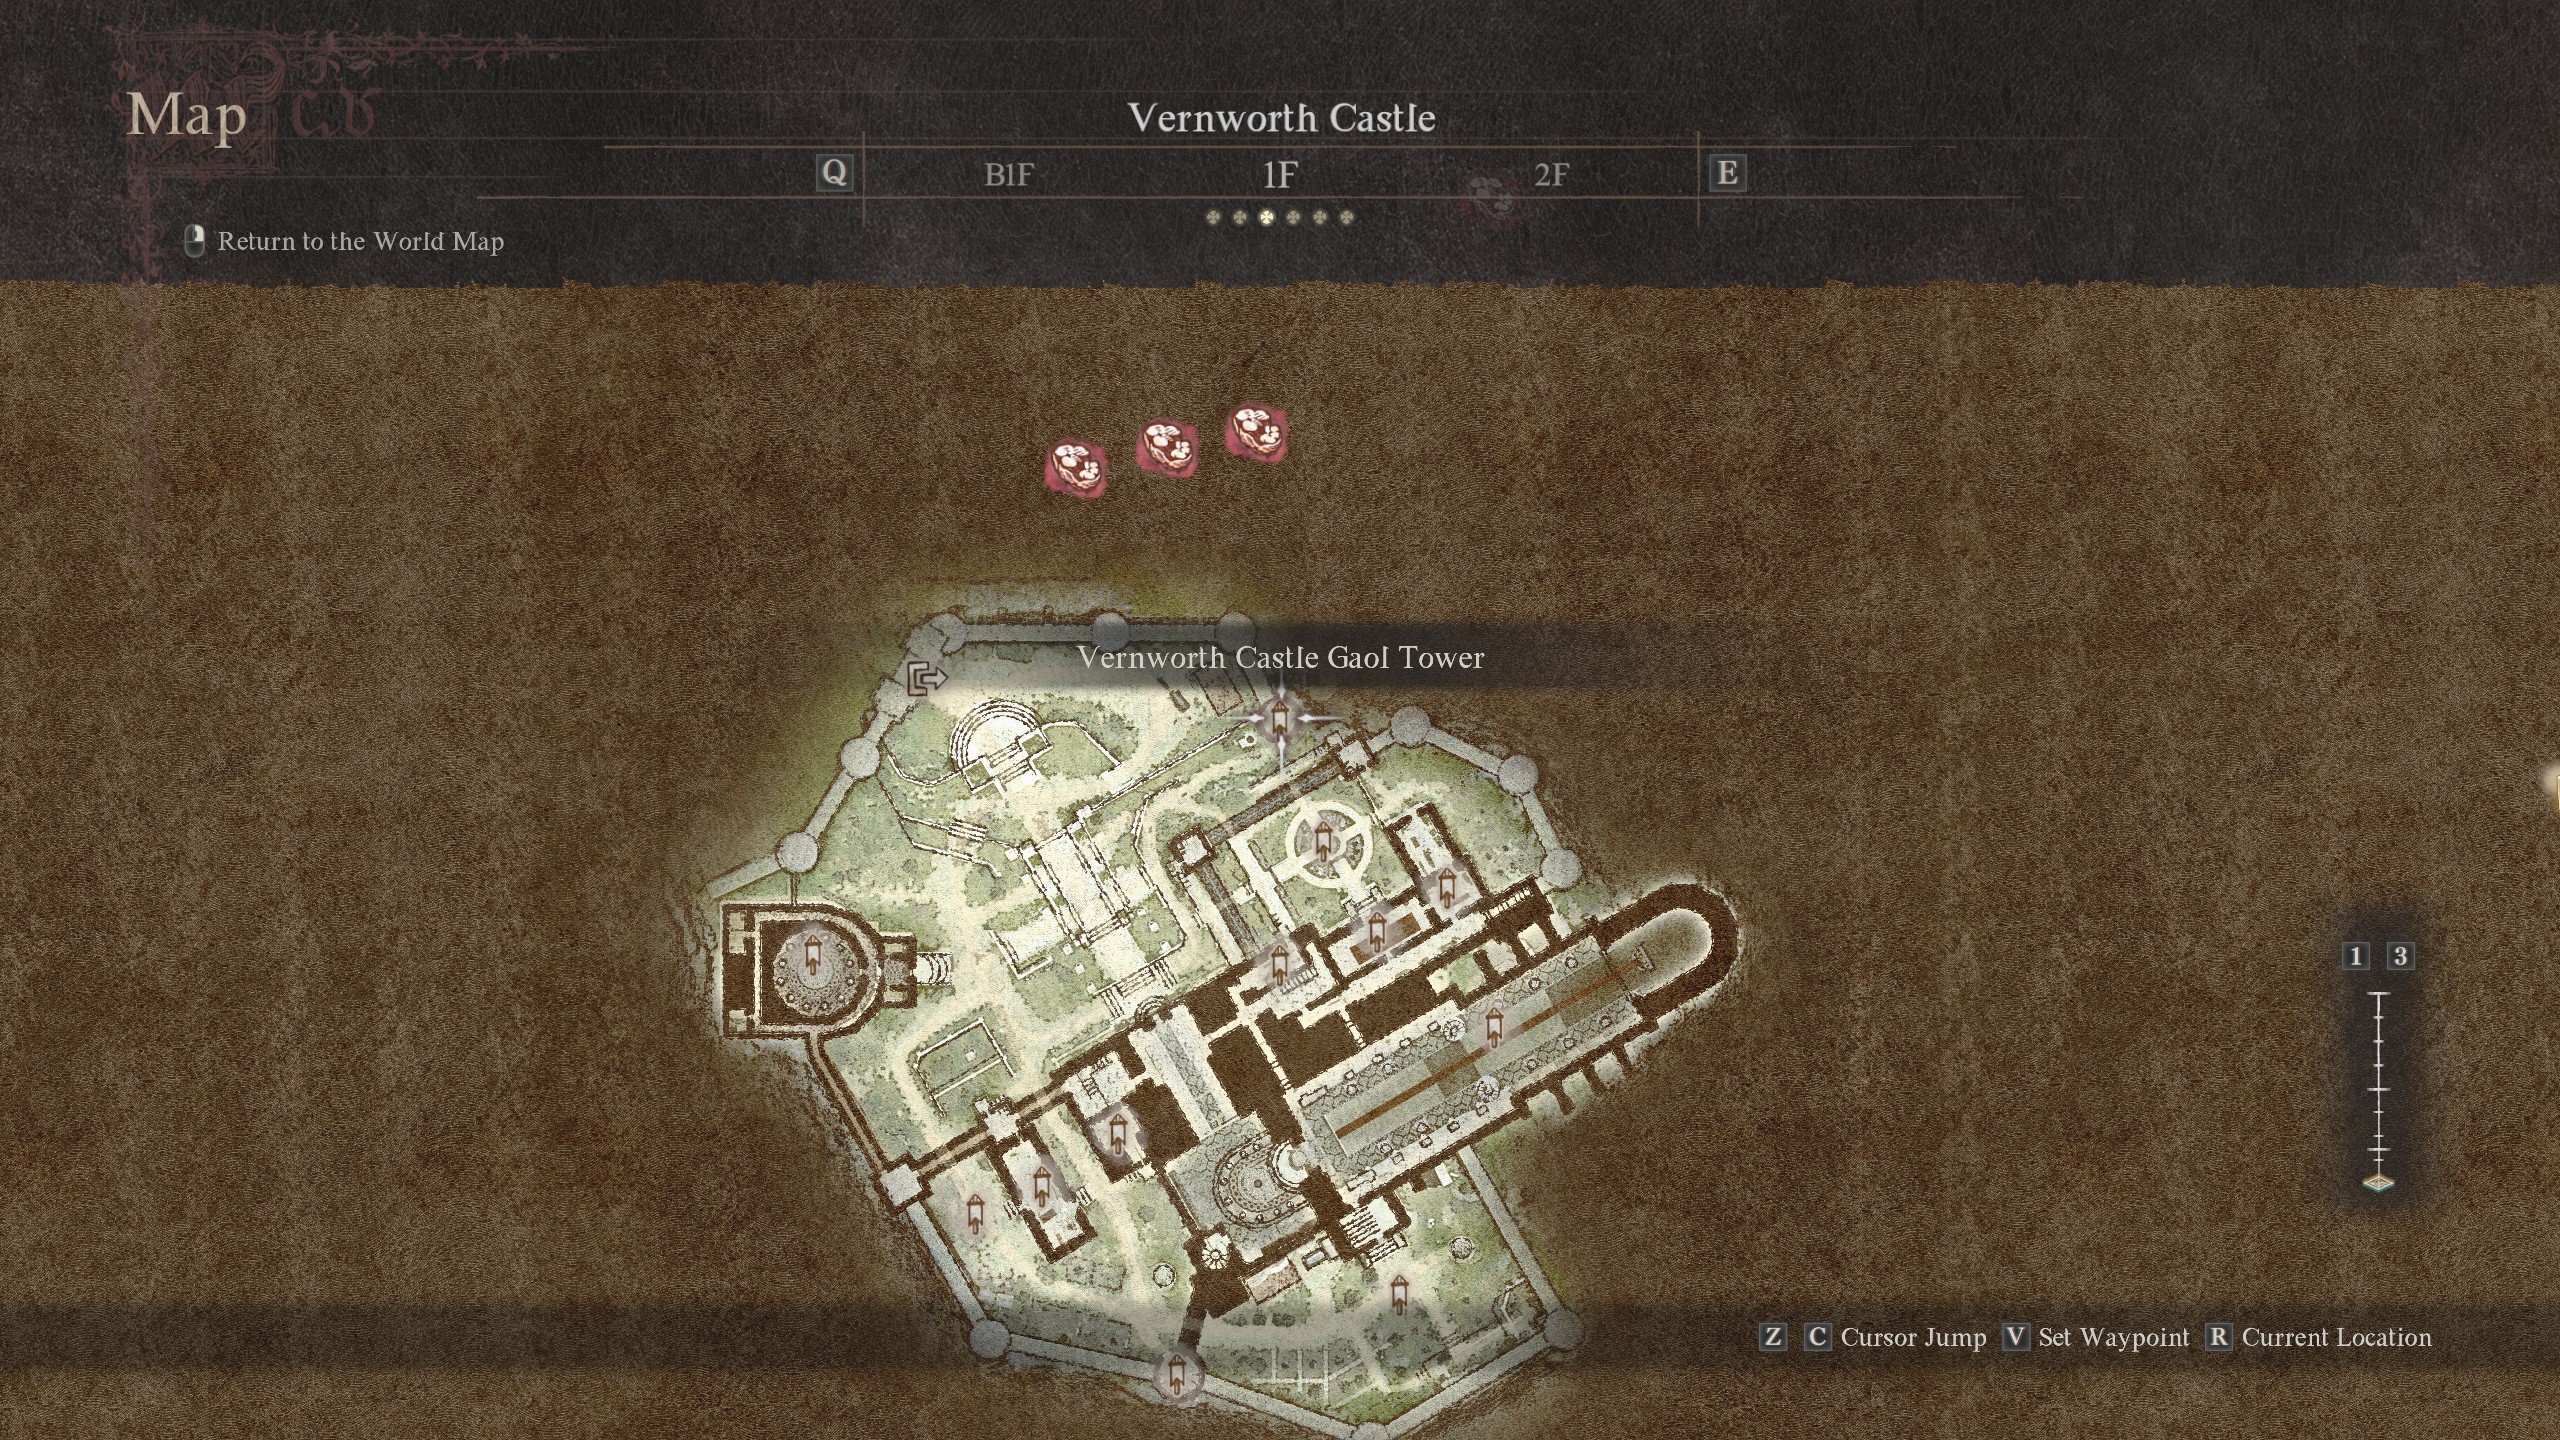
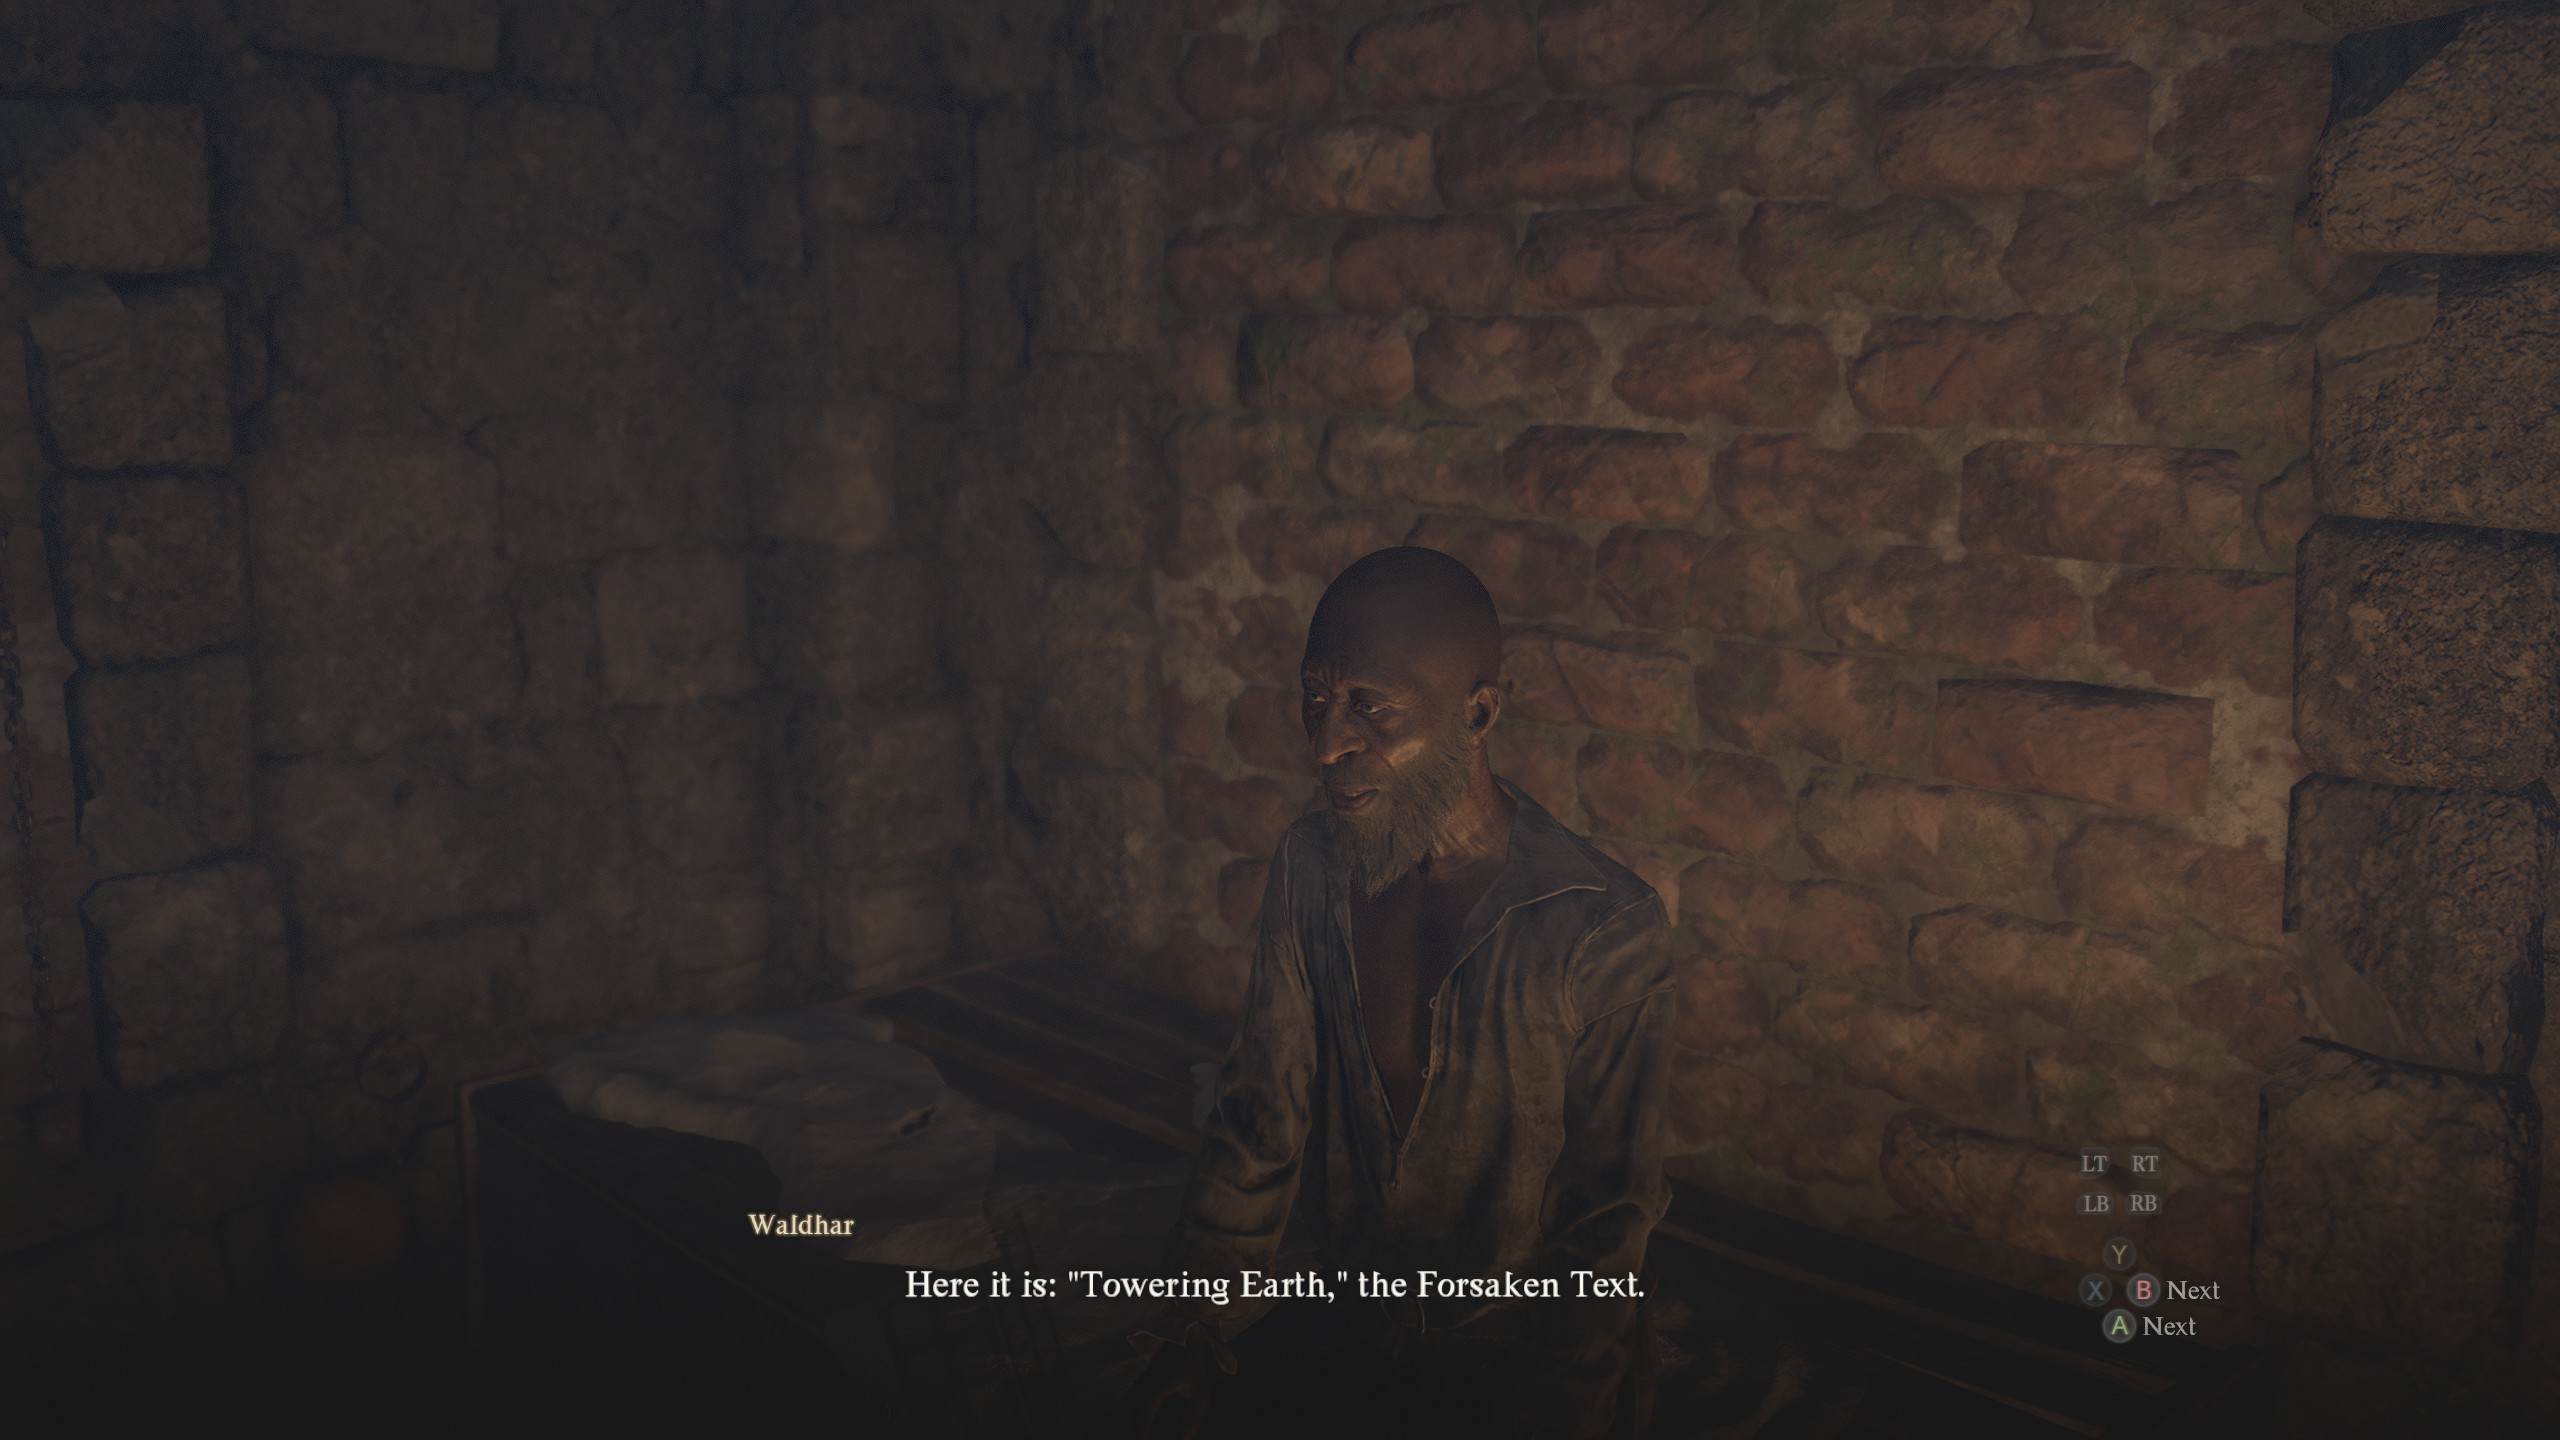
The next grimoire requires progression in the main quest. You'll have to reach Vernworth, meet Captain Brant in The Stardrop Inn, and begin The Caged Magistrate quest by asking him about magistrate Waldhar. Brant will give you a key to the Vernworth Castle Gaol so you can visit Waldhar, though the magistrate refuses to leave unless you find him an appropriate place to hide and read books. Luckily, you can just talk to him again and he'll give you Towering Earth for free while still in the prison.
Let There Be Light location
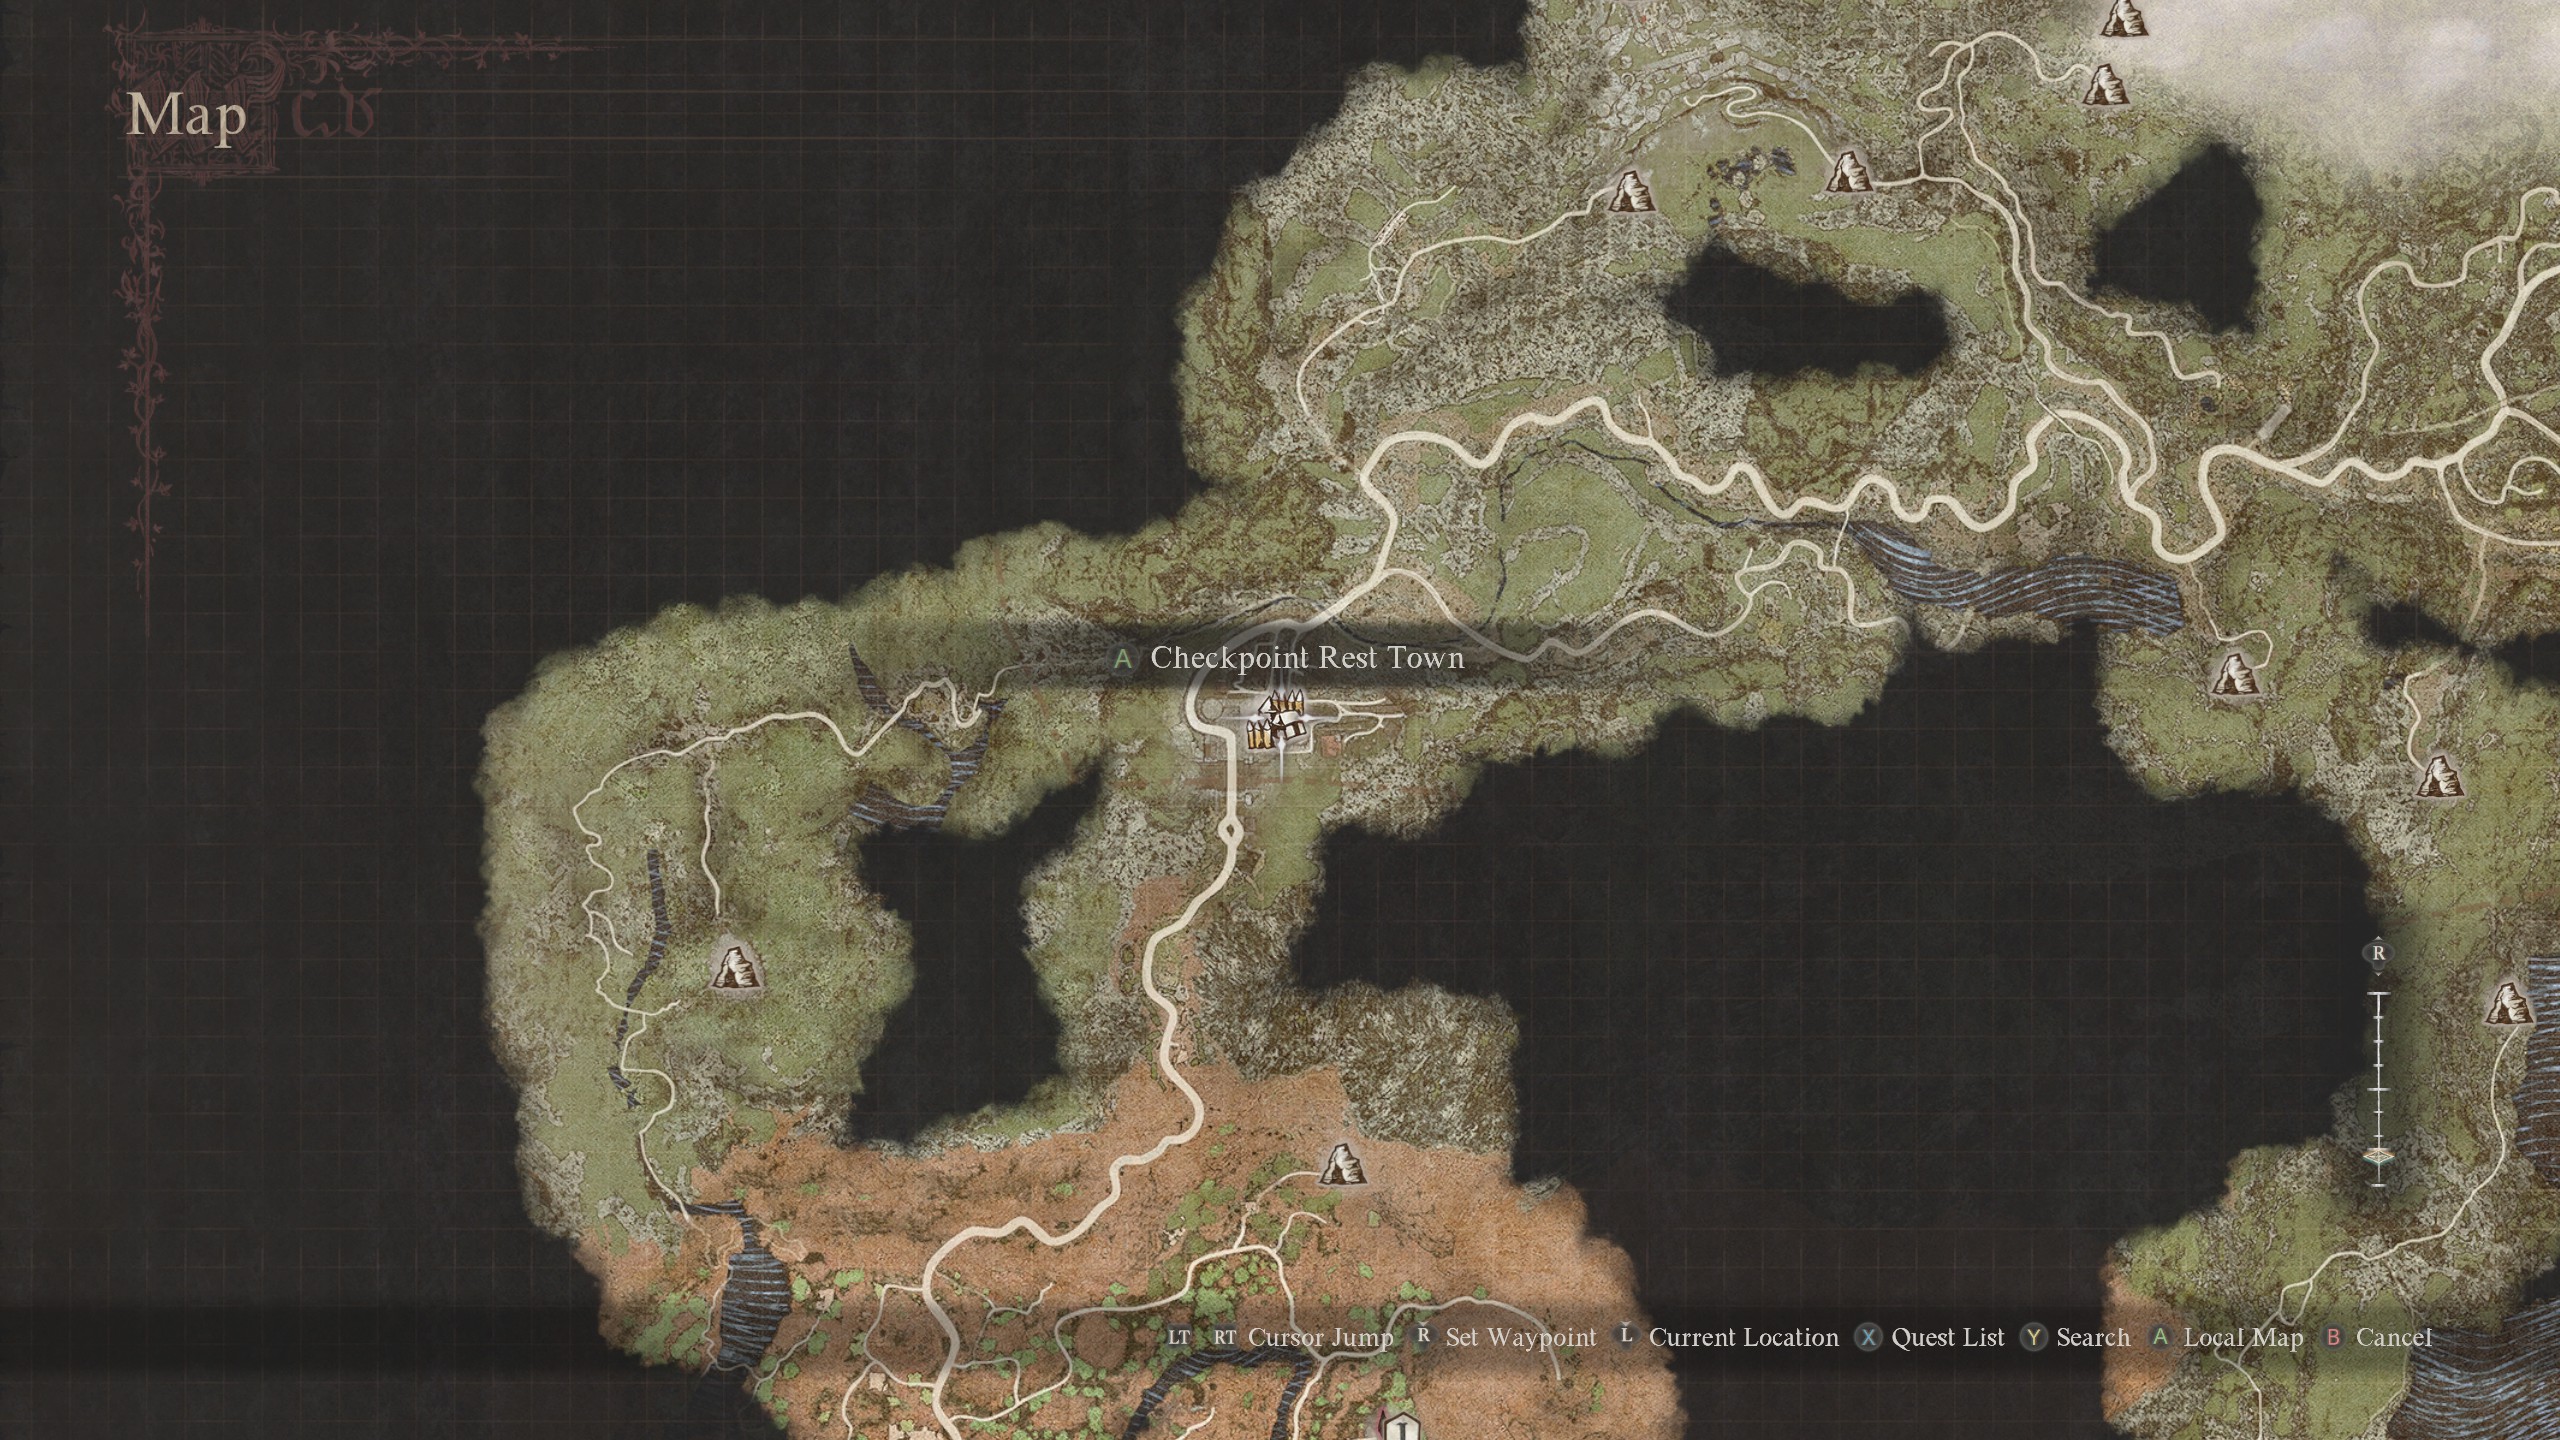
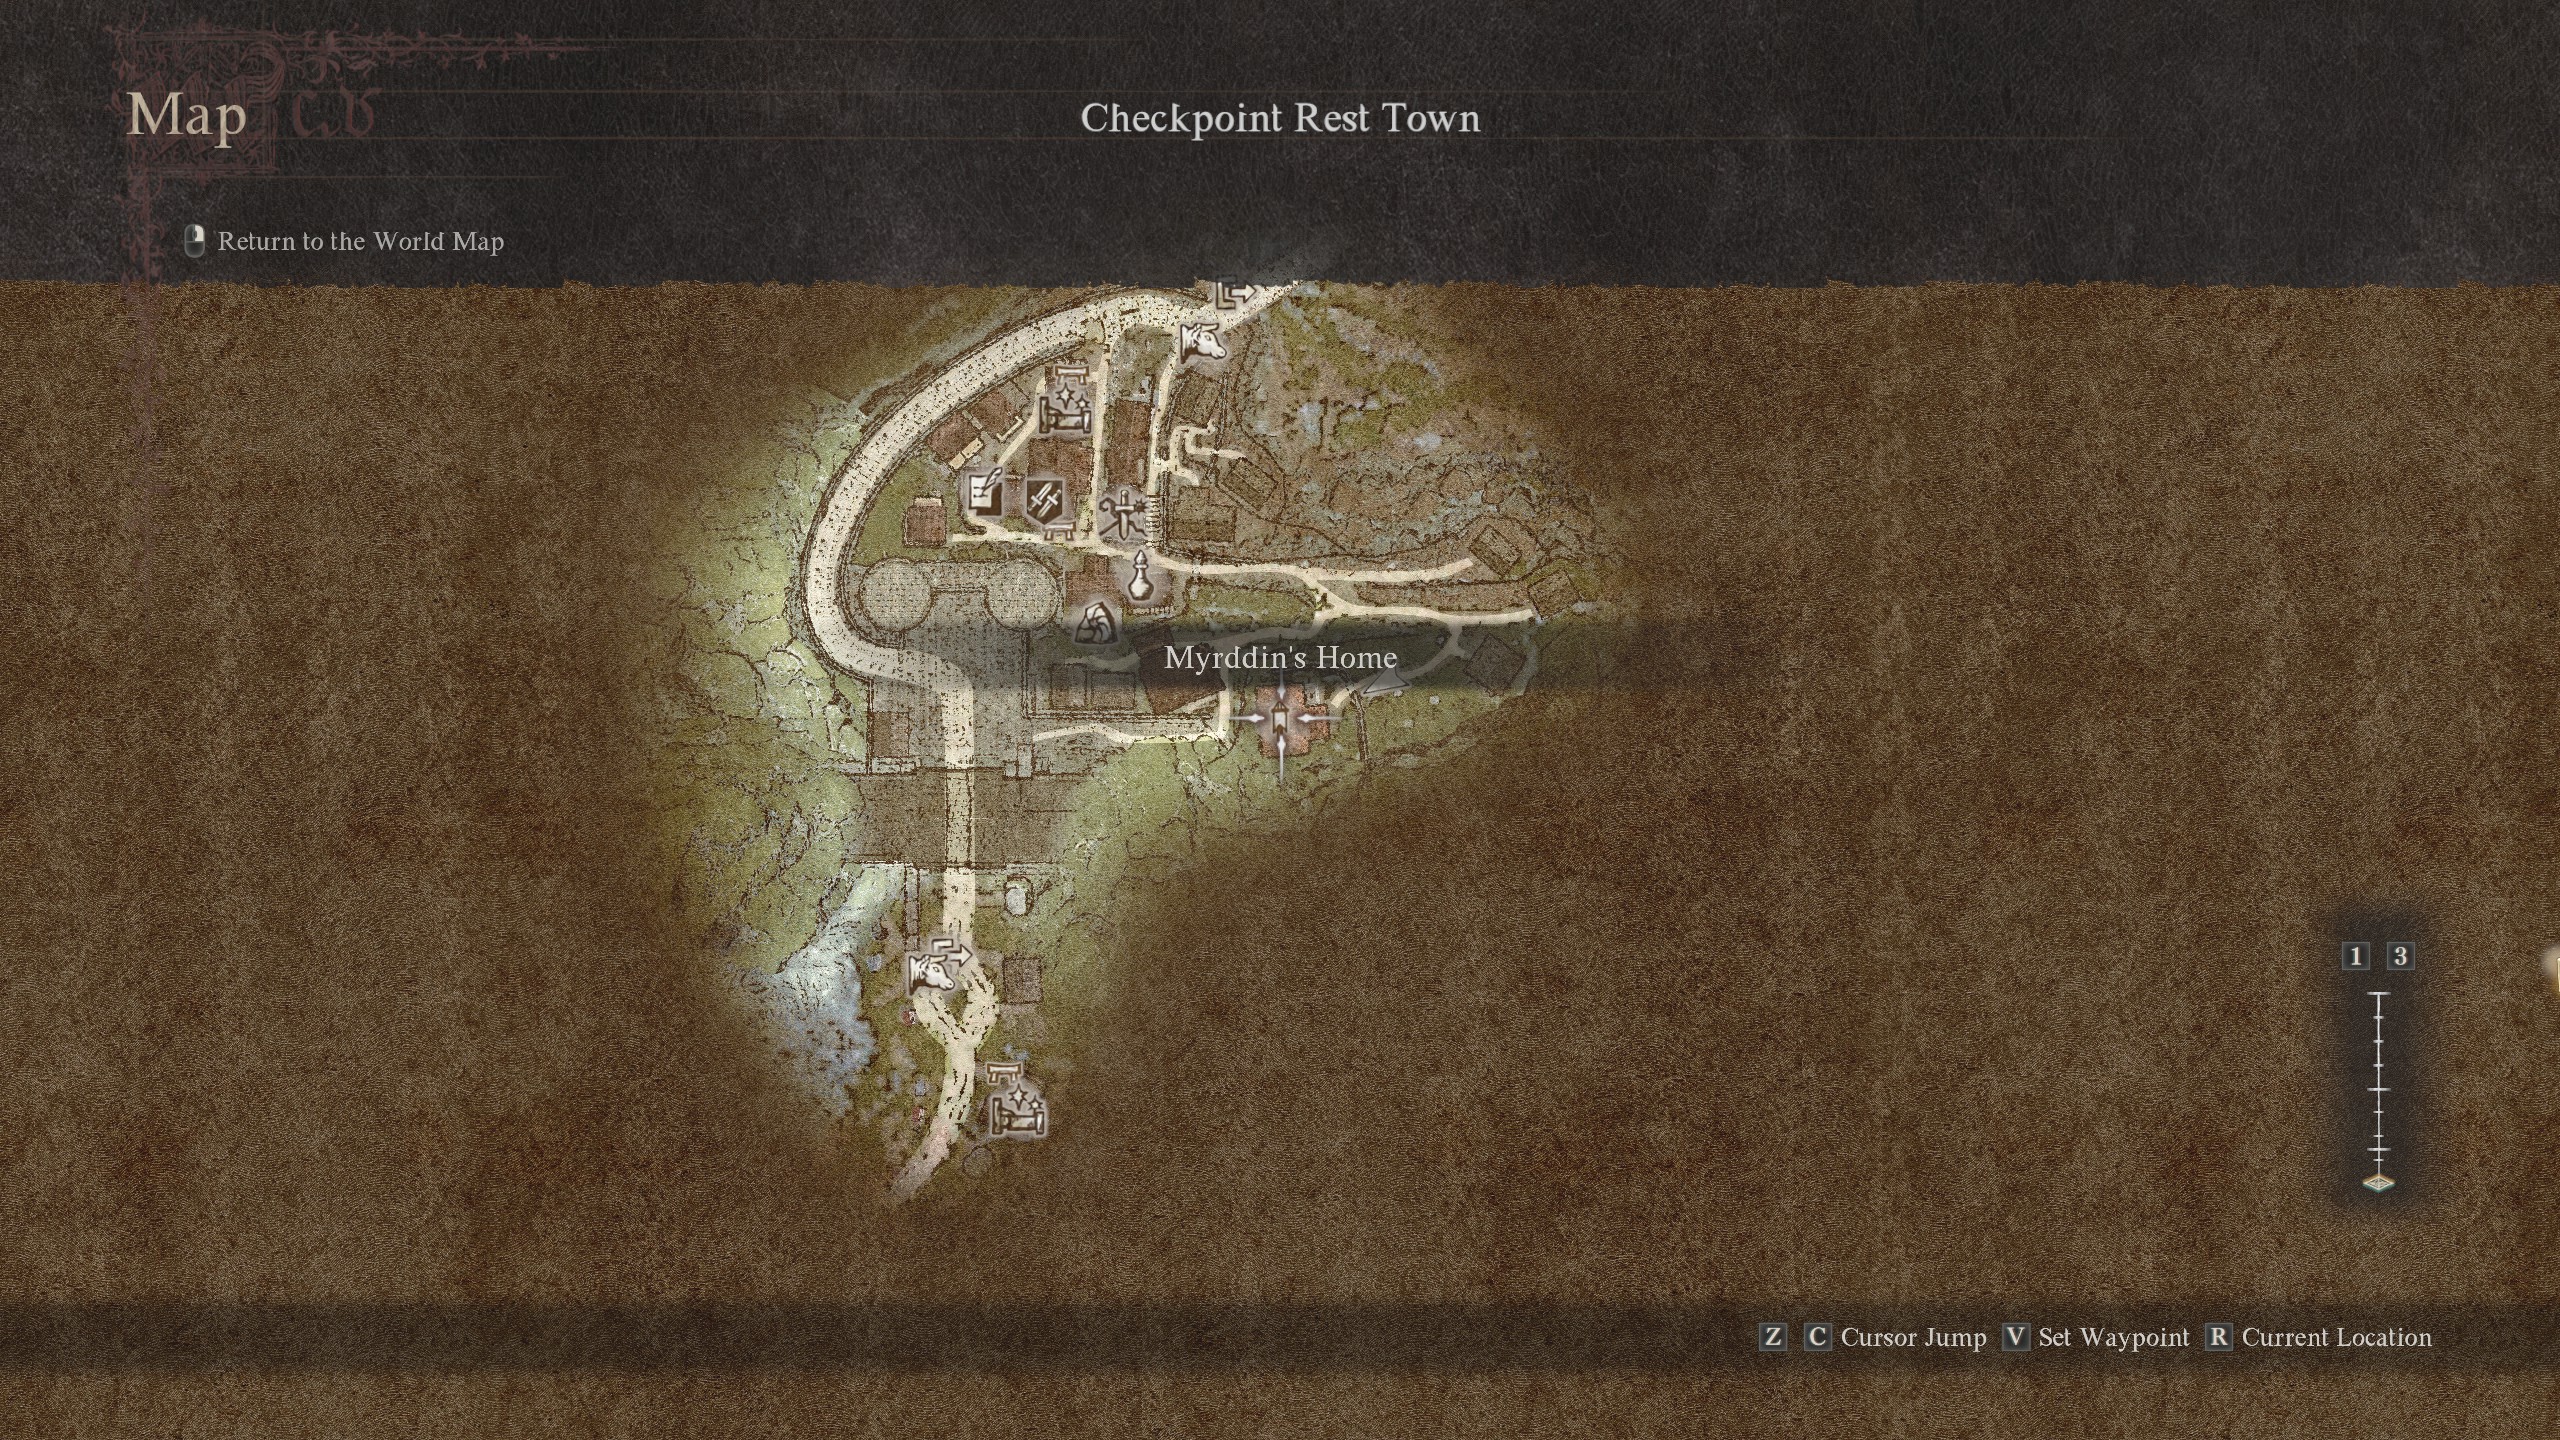
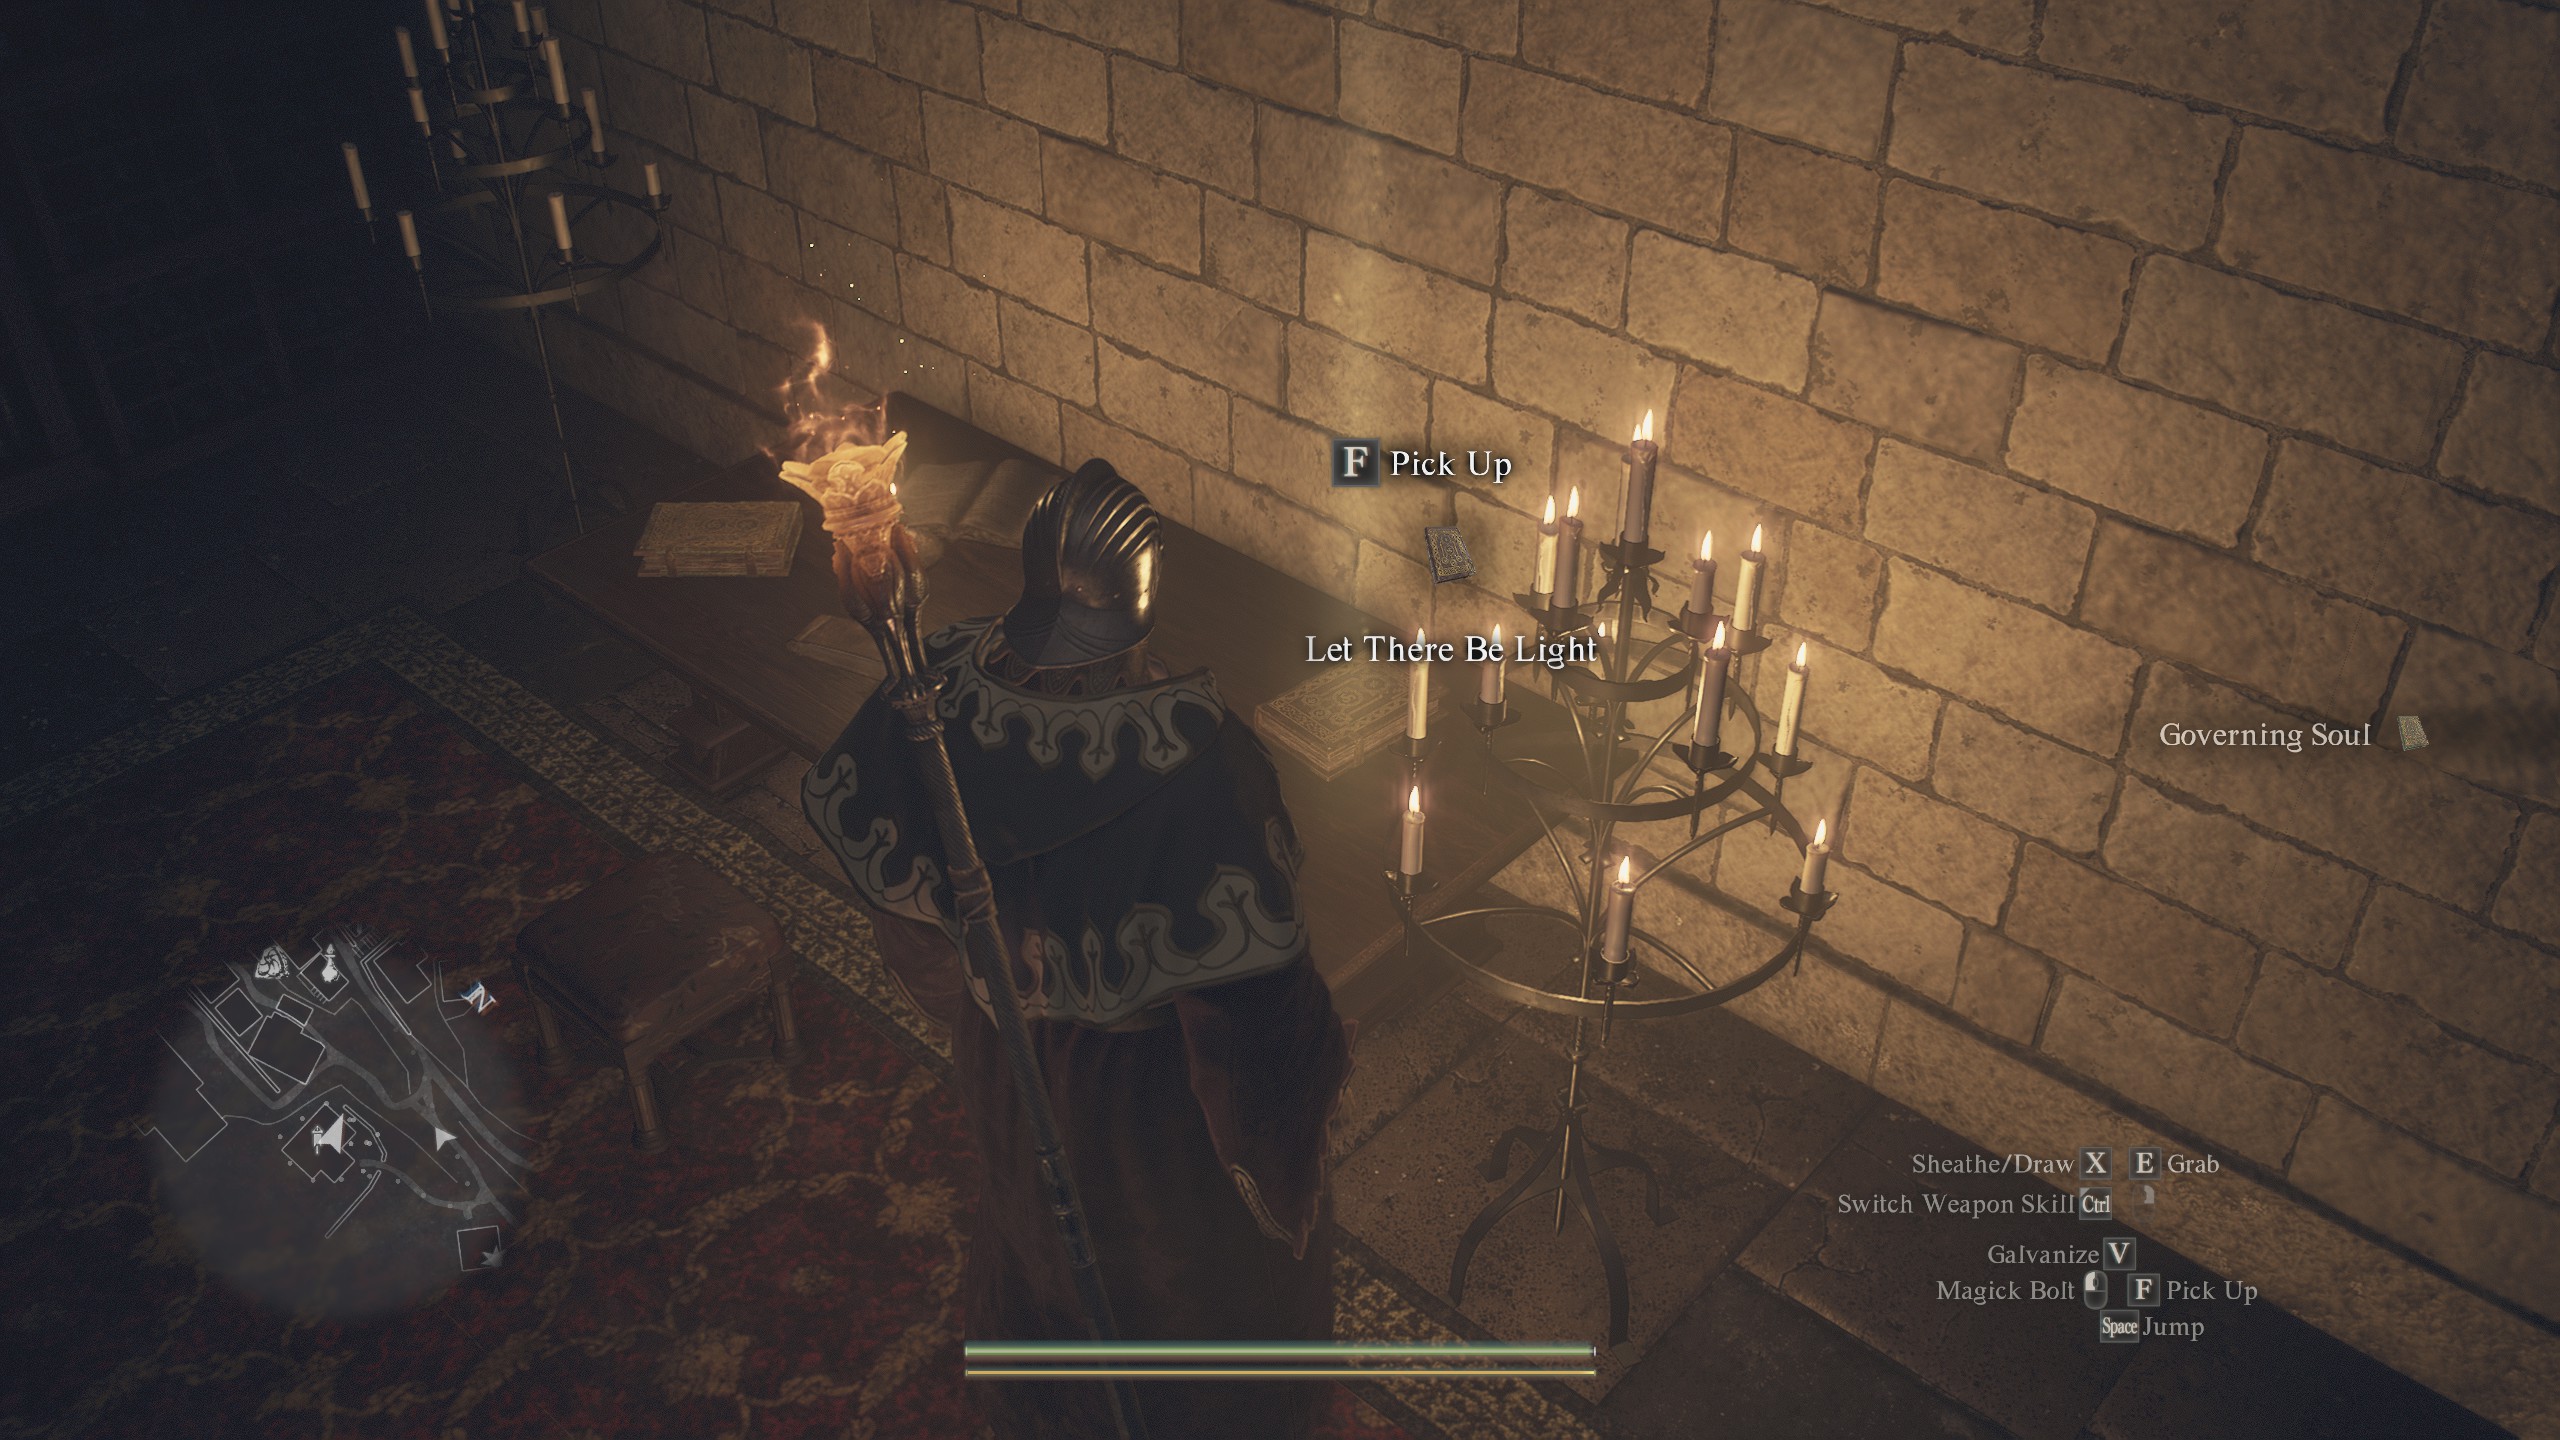
The final grimoire is located in the Checkpoint Rest Town which is far to the west of Vernworth. If you haven't been here before, you can take the ox cart by the western entrance to the city to get there directly. Once you've arrived in the town, climb the hill to reach Myrrdin's Home—the sorcerer will refuse you entry, but you can simply climb the wall to the right of his house and jump onto his balcony. Enter through the balcony's glass doors to find Let There Be Light on the table in that room. Myrrdin will also let you into his house if you're wearing Formal Raiment, giving you another potential way to steal the book.
Delivering the grimoires and how to save Trysha

Now you've got all five grimoires you can give them to Trysha. Make sure to visit her in the daytime and wait for her grandparents to leave to pass her the books. She'll thank you, give you the Turquoise Ring, and set about her studies; don't worry, the big rewards are yet to come. Return to Trysha in a few days; I personally just rested till morning four times at the nearby campsite and that seemed to do it.
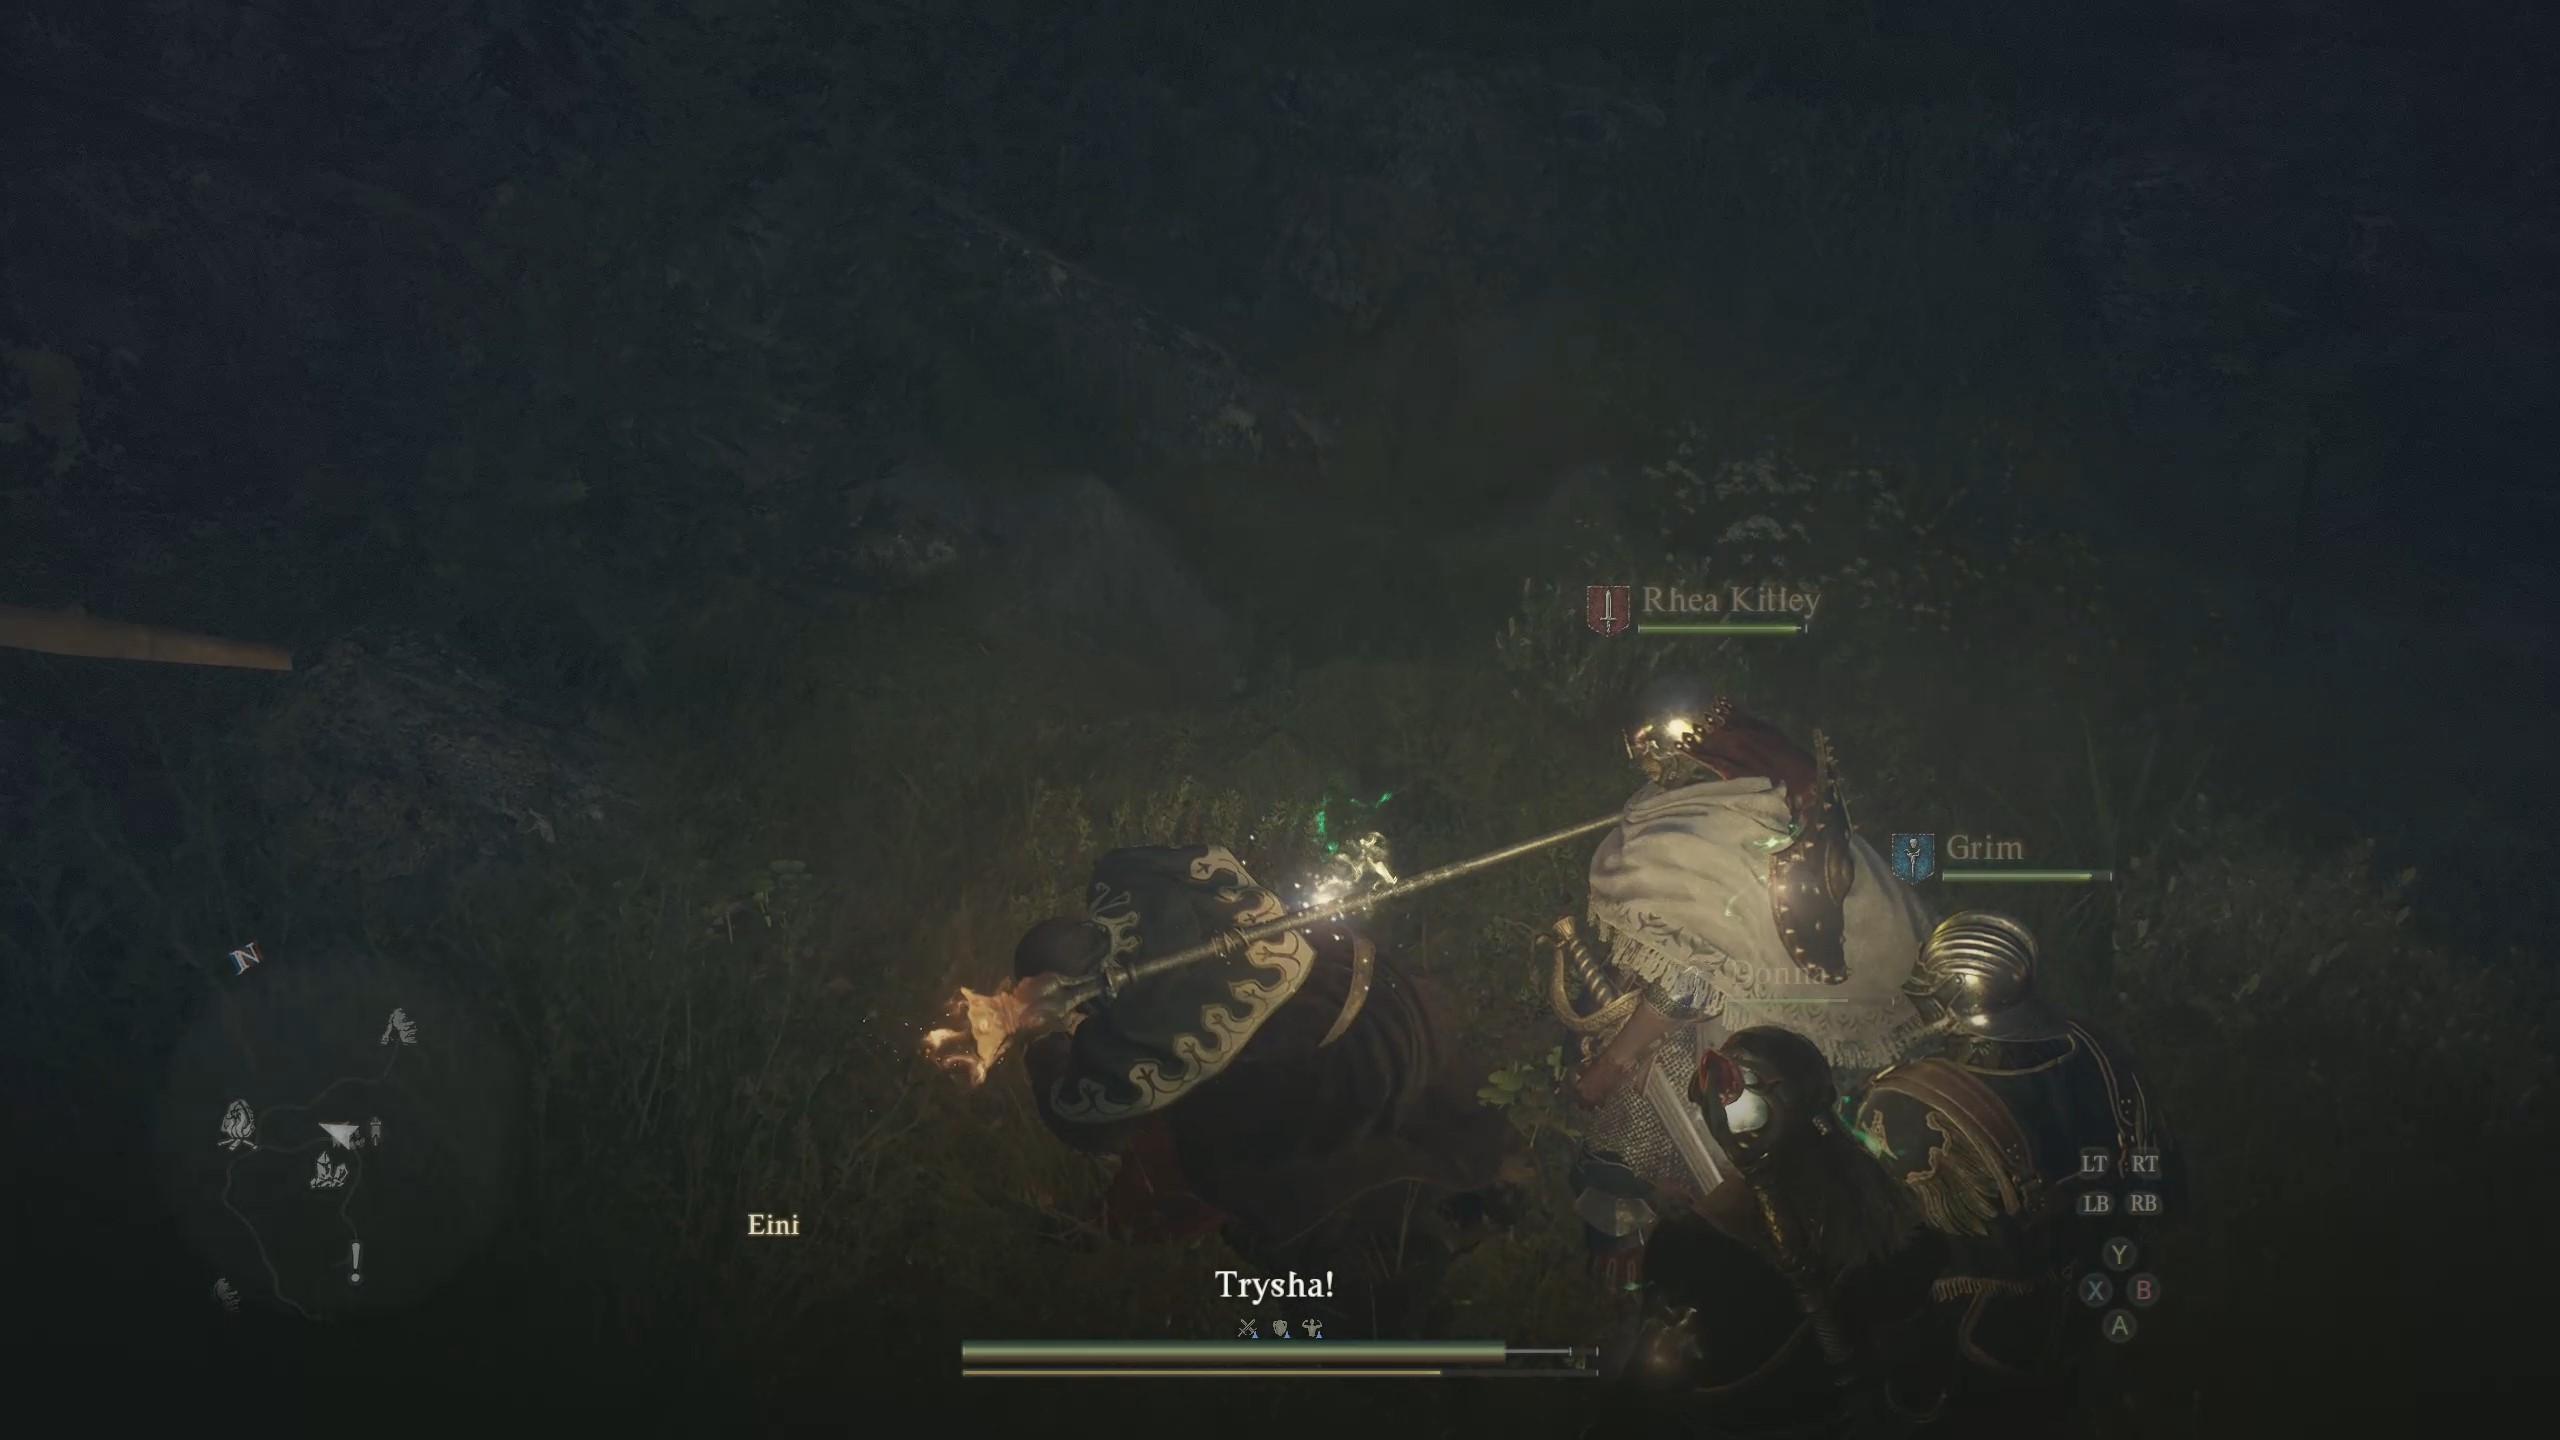
Upon returning to the house you'll find Trysha attacking her grandparents with spells. To save her you need to exhaust her magic. What this means in practice is letting her cast and dealing a little bit of damage to her, though make sure not to kill her. Thankfully your Pawns straight up won't attack Trysha. When she stops casting and is visibly breathing hard, restrain her by picking her up.
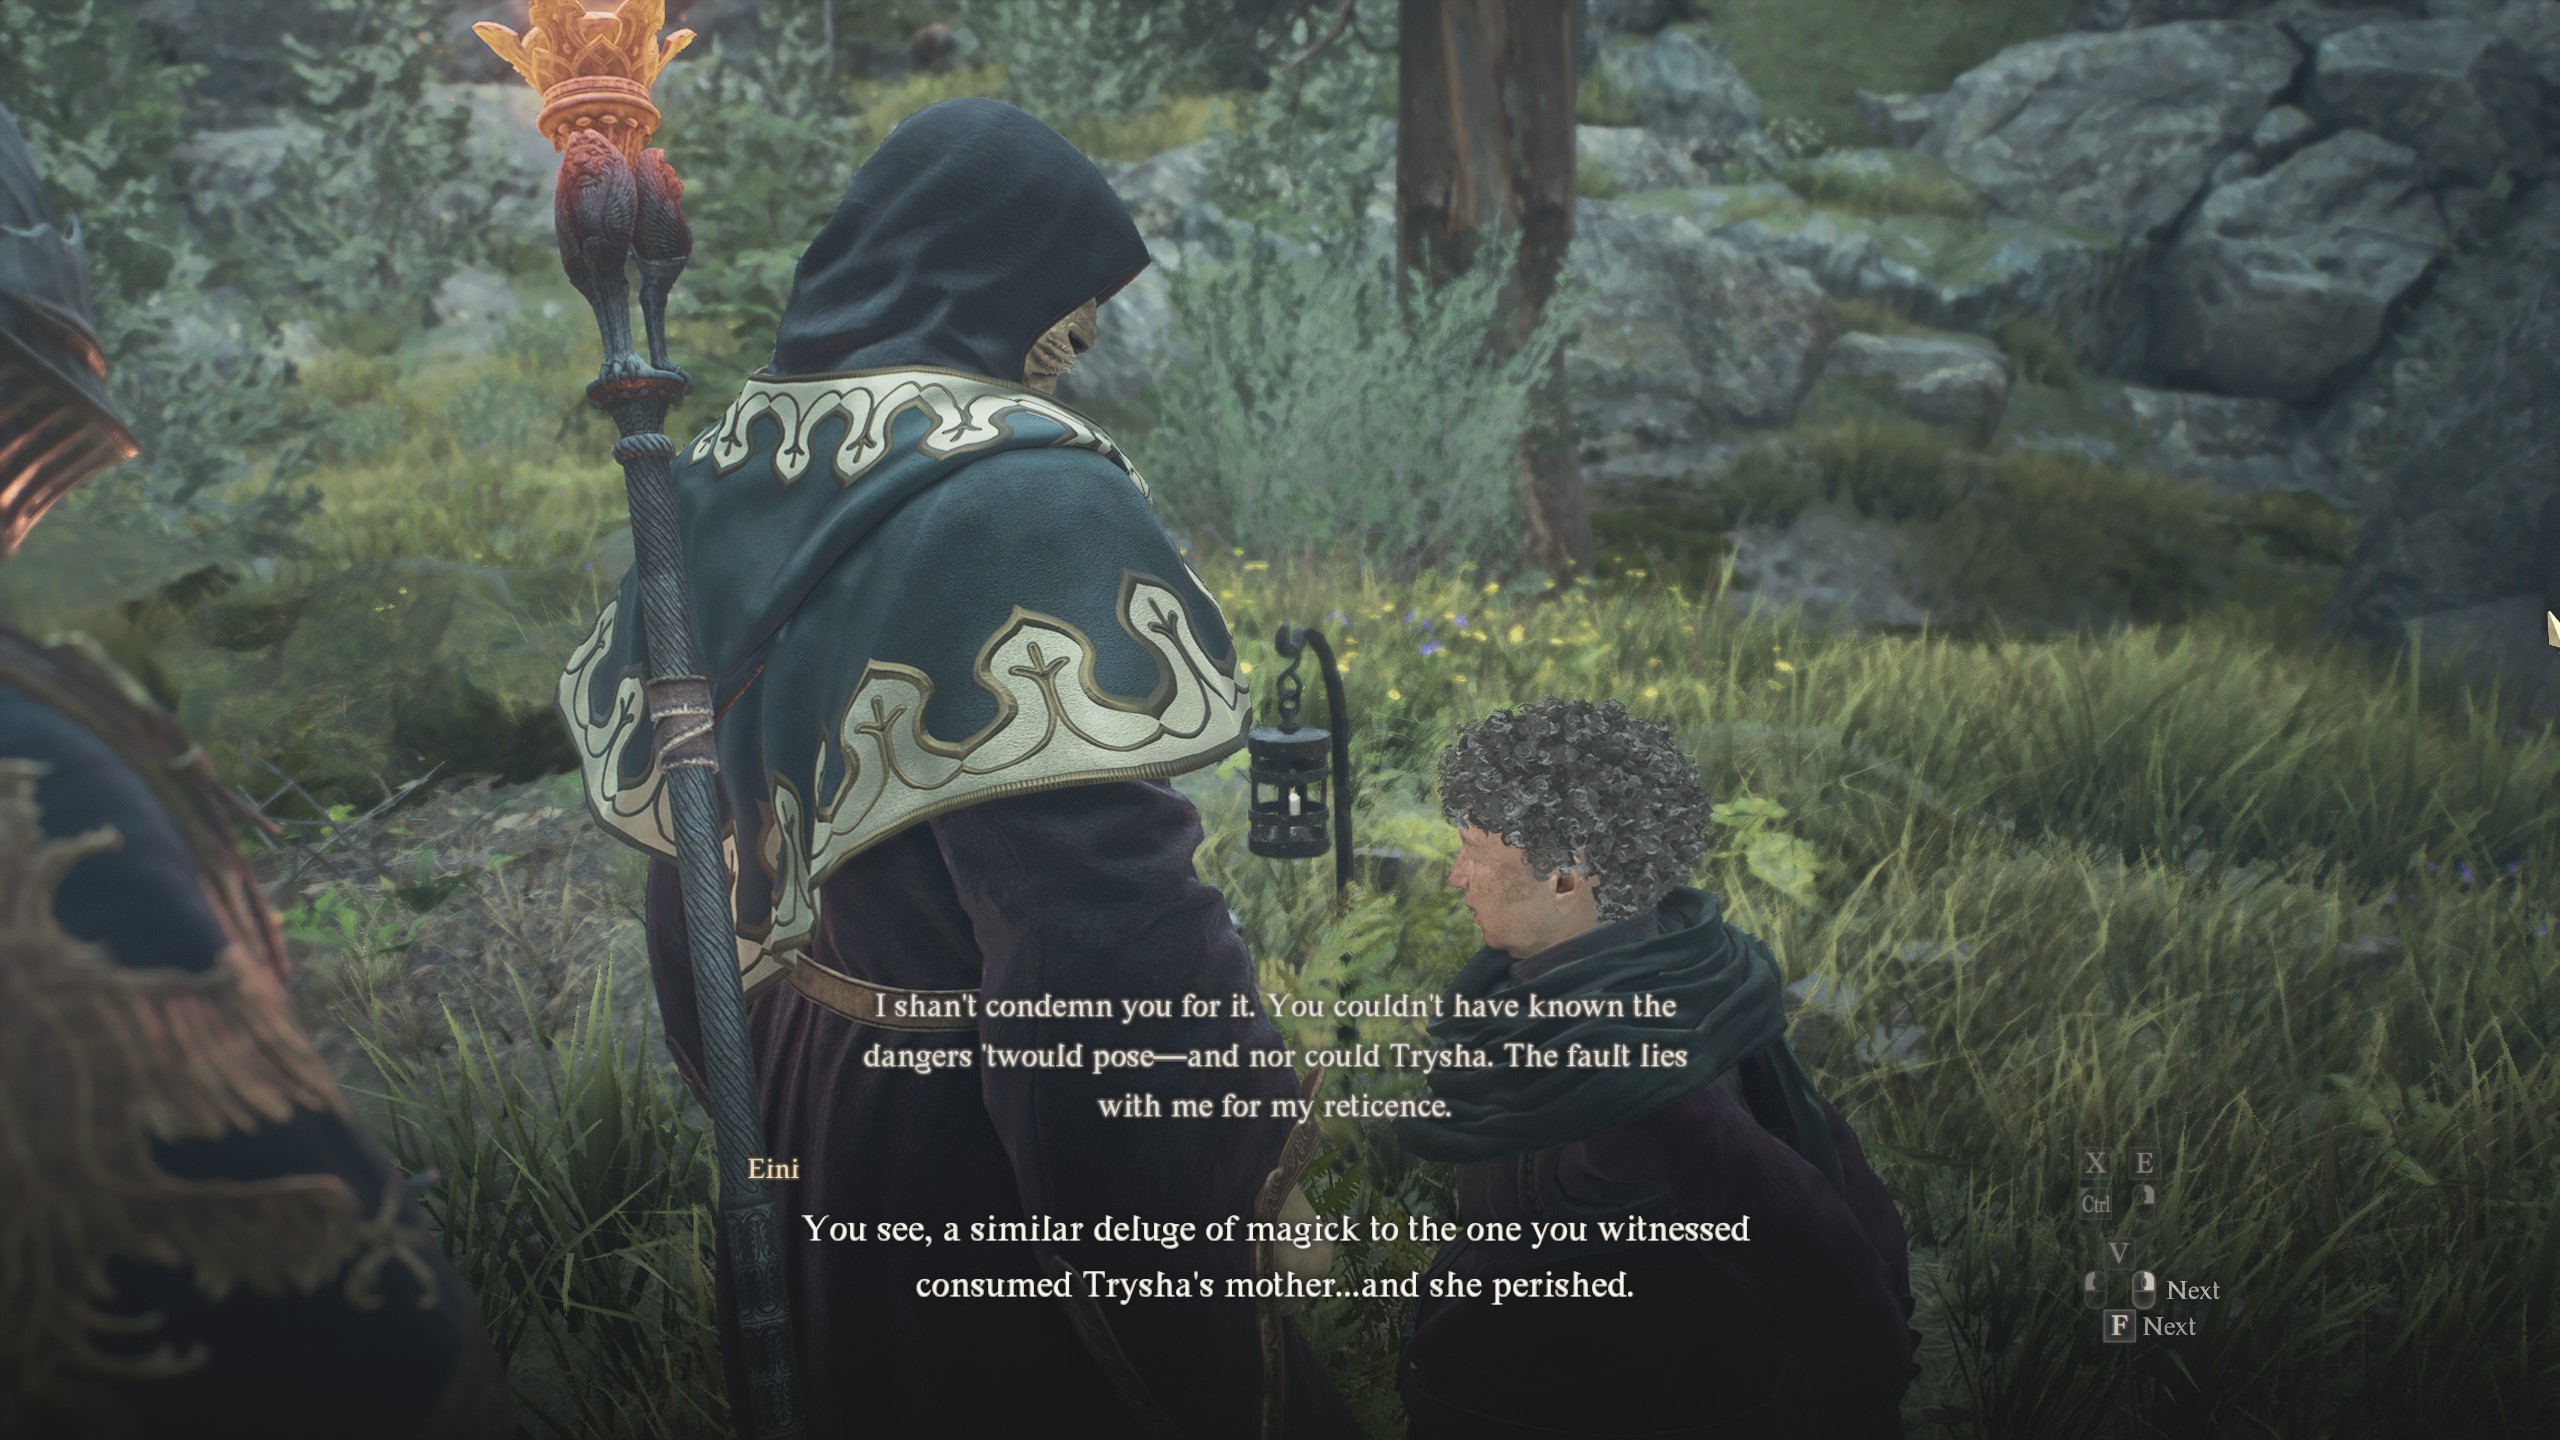
Her grandparents will thank you and ask you to come back when she's woken up. For me, this was just a single rest till morning at the nearby campsite. Return to Trysha and she'll give you the Cast Stone wand, as well as the Conjurer's Jottings, which are the Meister's Teaching for Sorcerers that give you the spell Meteoron. If you also talk to Eini, her grandmother, she'll give you the Enchanter's Almanac; the Meister's Teaching for Mages that grants the Celestial Paean spell.
Meteoron is a very strong damage spell, though it has a long cast time and can only be used outside. Celestial Paean, on the other hand, temporarily grants infinite stamina and damage reduction to you and your pawns, making it a powerful support magic.


