

After sorting out some issues in Gerudo Valley in The Legend of Zelda: Echoes of Wisdom, you’ll be able to jump straight into the rift, taking you to the Gerudo Sanctum.
This is either the first or second non-tutorial dungeon you’ll run on your journey (either coming second to or being followed by the Zora’s Jabul Ruins), so while the puzzles here aren’t too complex, you likely won’t have many tools in your arsenal yet.
Below is our full Gerudo Sanctum dungeon walkthrough in Zelda: Echoes of Wisdom, where we’ll show you how to nab every chest and echo along the way. There are many solutions to the puzzles in this dungeon, so while our solutions might not be the most efficient or the easiest, we can at least confirm that they work. And hey, if it works, it works.
Gerudo Sanctum walkthrough (part one)
Right off the bat, you’ll be greeted with a ladder. Climb up and head to the right, climbing up the walls while avoiding the wind cannons. You should be able to jump from the right-most rock wall to the one on the left to bridge the gap.
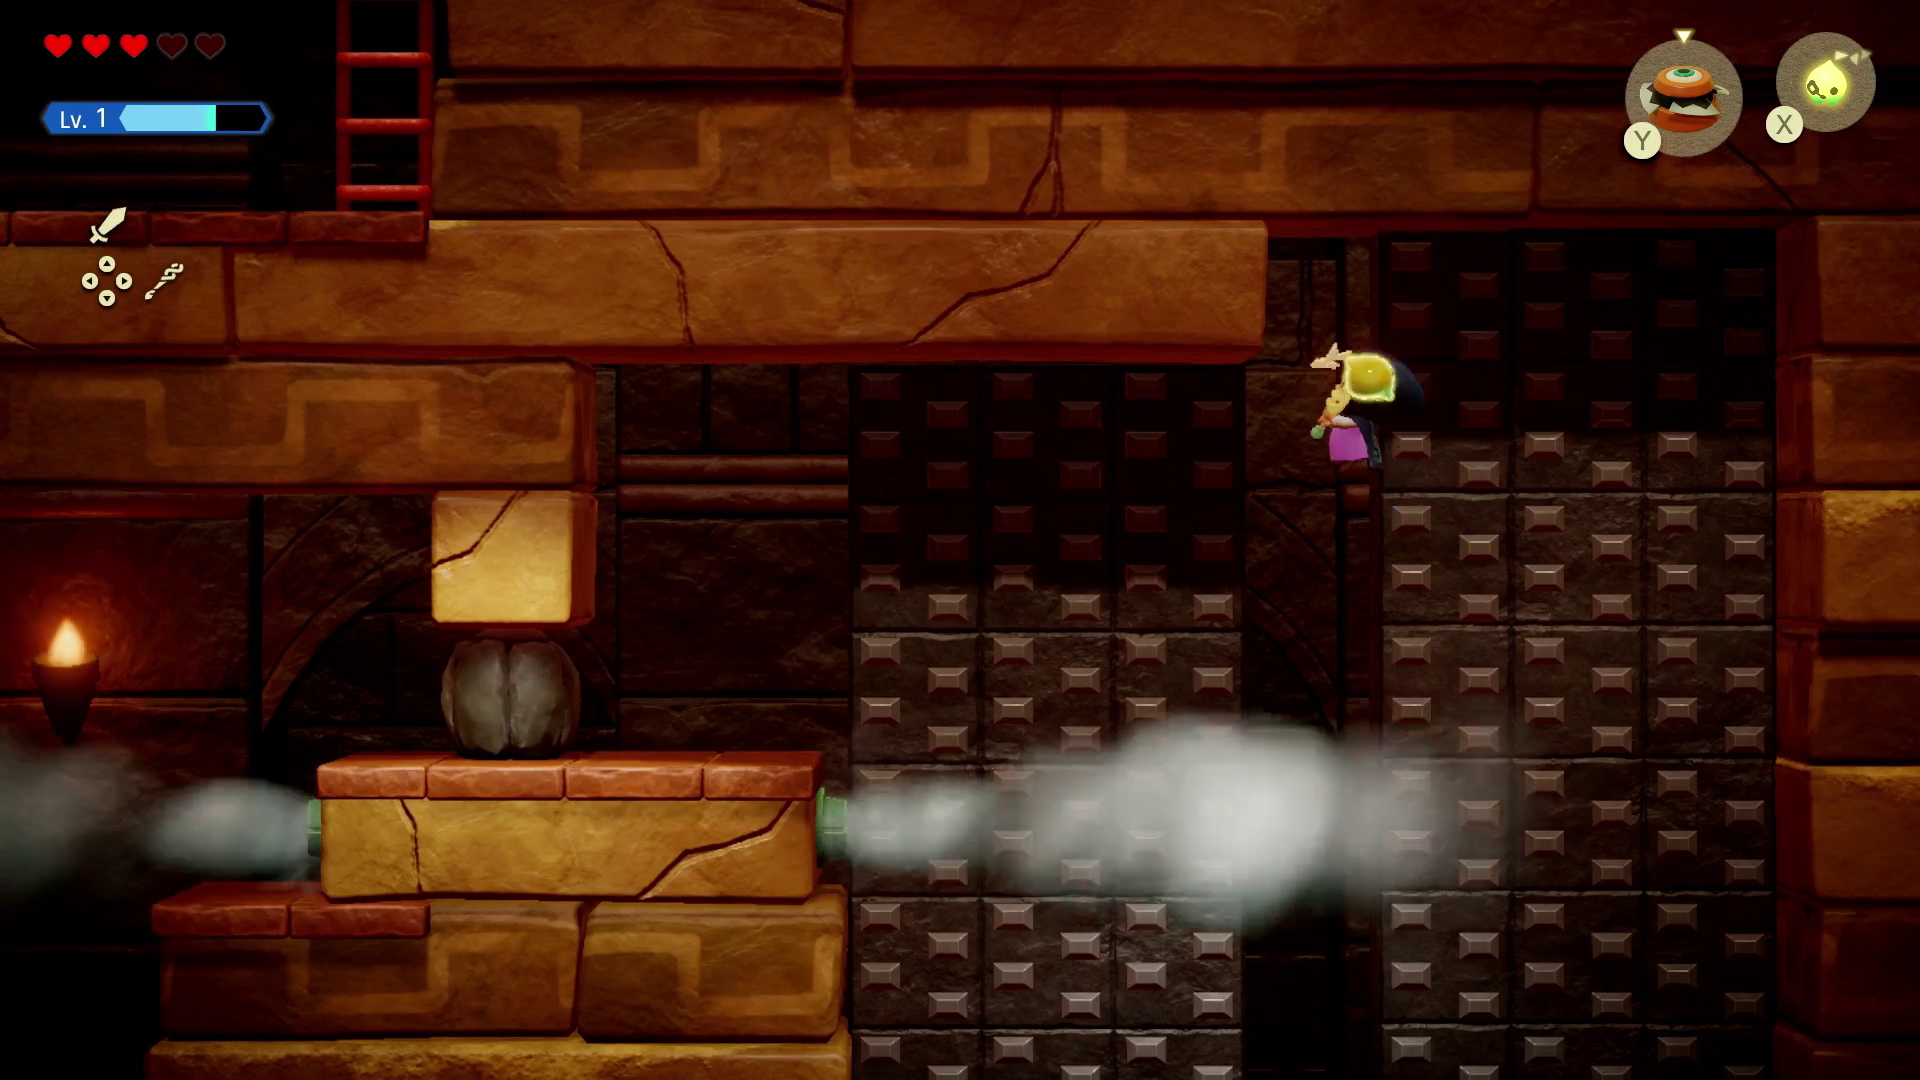
Continue left, pushing the boulder in front of the wind cannon, giving you safe passage up the previously obscured ladders. Head up the ladders.
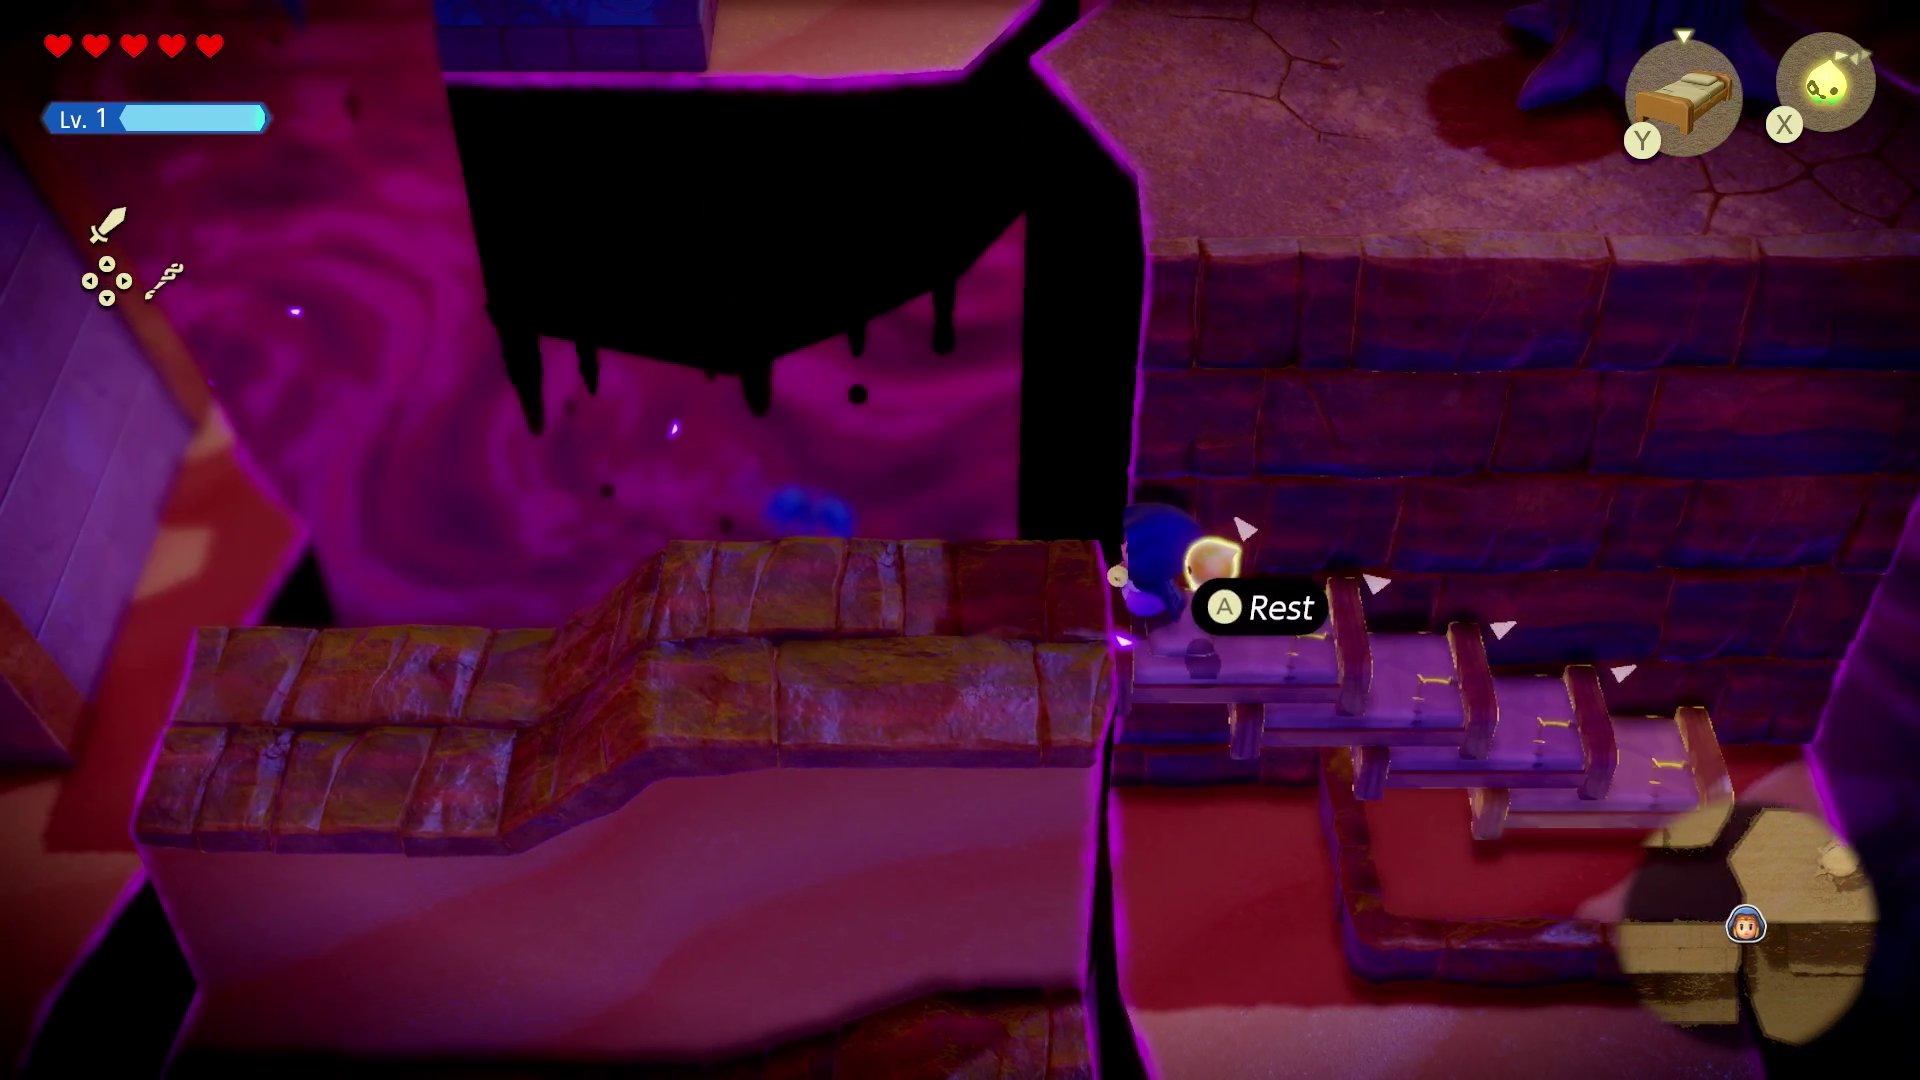
In the new room, you’ll see a locked door, a warp waypoint, and exits on both the left and right. Activate the waypoint, break those jars to potentially get some smoothie ingredients, and head left.
You’ll now be in a room where tiles are flying at you. Quickly press ZR near a tile to learn the Flying Tile Echo, one of the most useful in the game, and dodge the remaining tiles. Once the tiles are gone, a chest will appear with a red rupee (worth 20 rupees) inside.
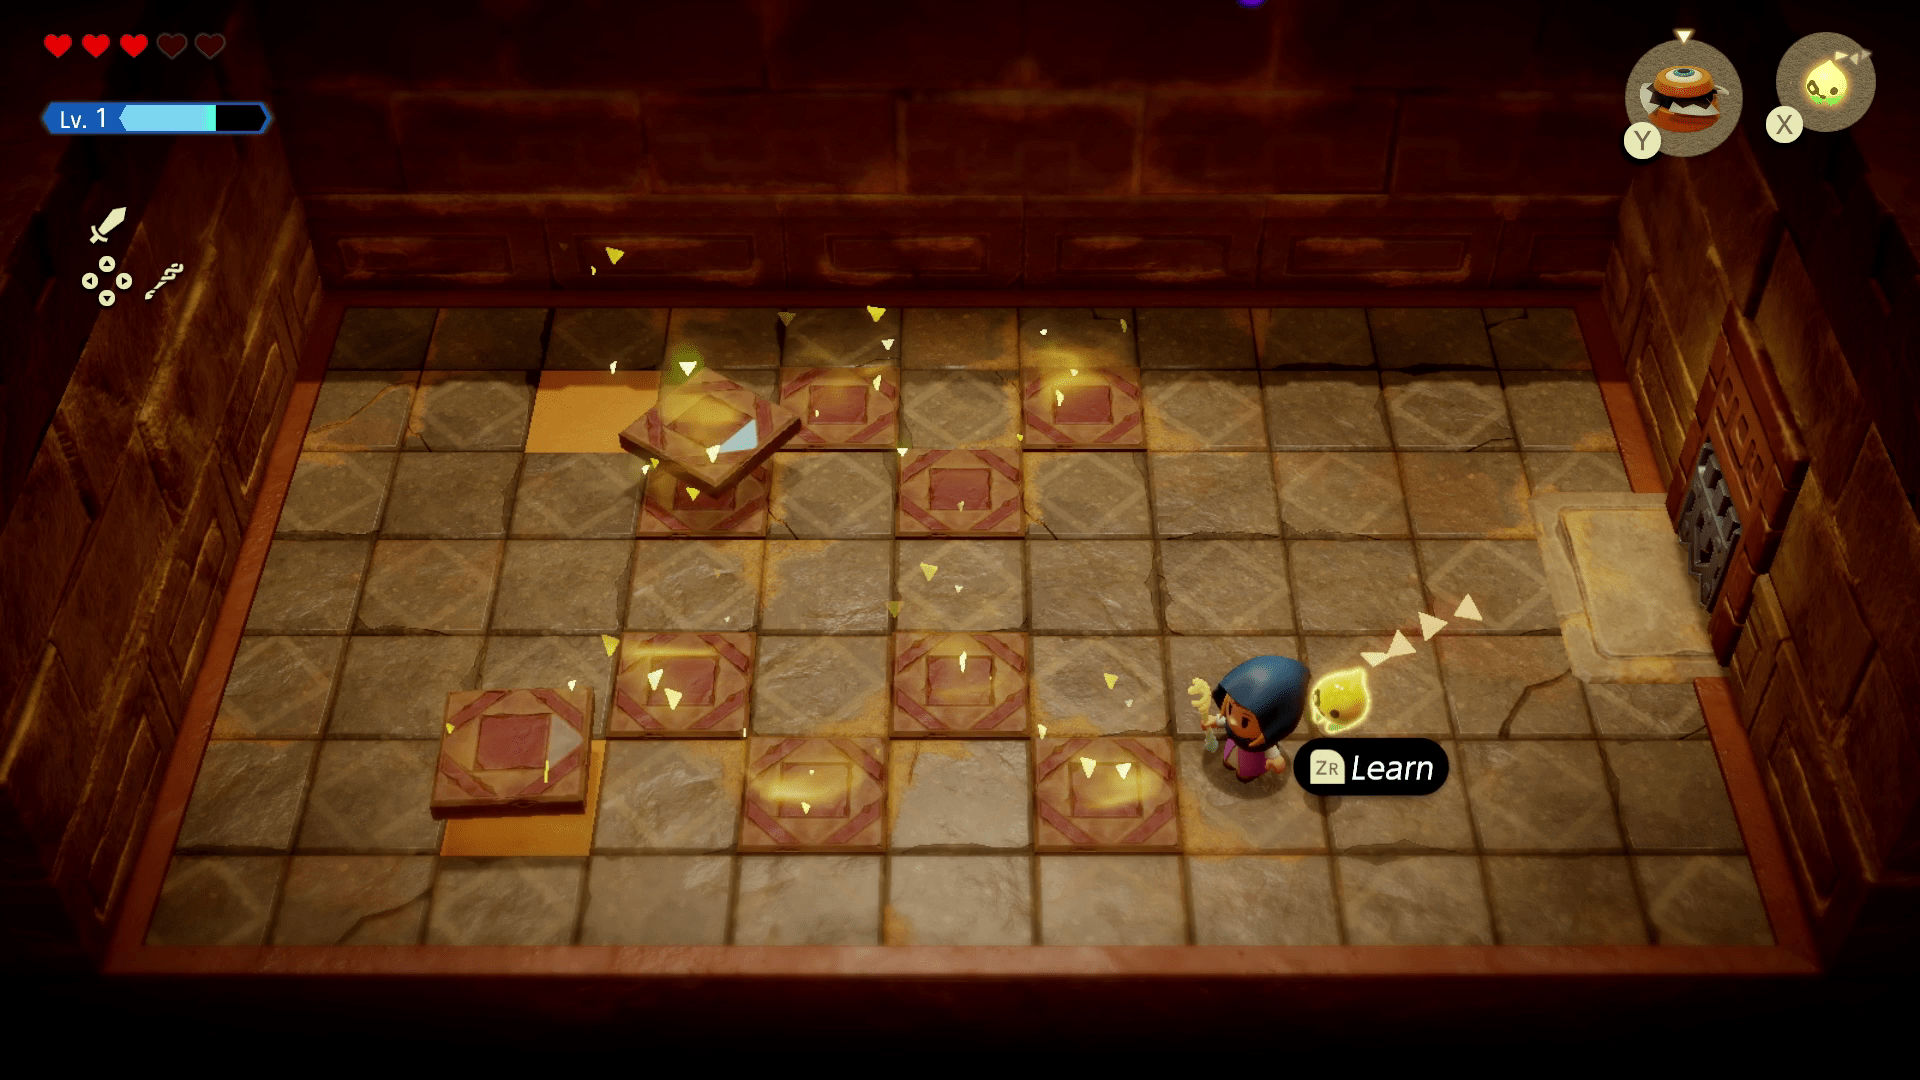
If you didn’t manage to learn the echo fast enough, you can leave and re-enter the room to cause the tiles to respawn.
Head back to the room with the waypoint and now go right, the only direction you can go.
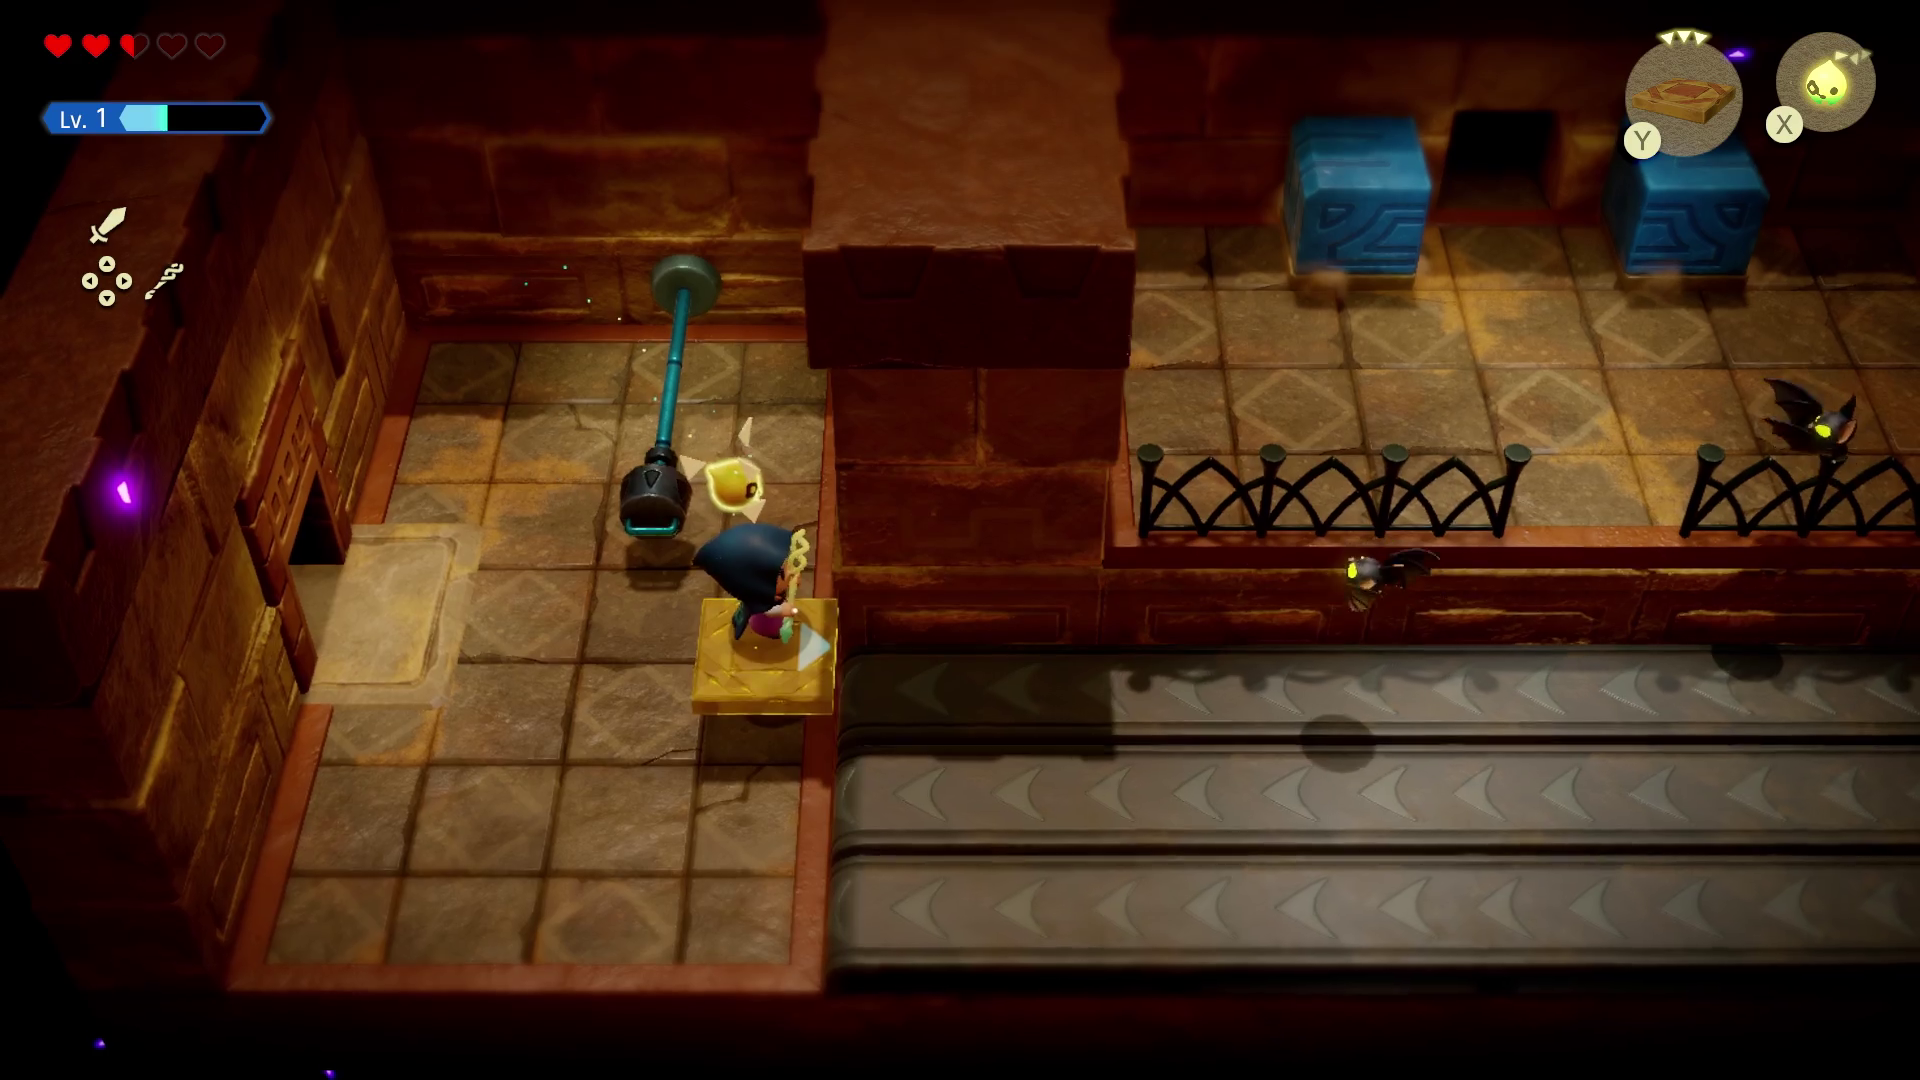
You’ll now be in a room with some conveyor belts, some keese, and a blue contraption that holds a door open. Take out the keese using your tactic of choice (Crow Echo, Swordfighter mode, etc.) and then grab the handle on the left side, pulling it out as far as possible. Once you do this, quickly summon a flying tile to take you safely across the conveyor belts, jump from the tile to where the door is, and enter it before the blue blocks close.
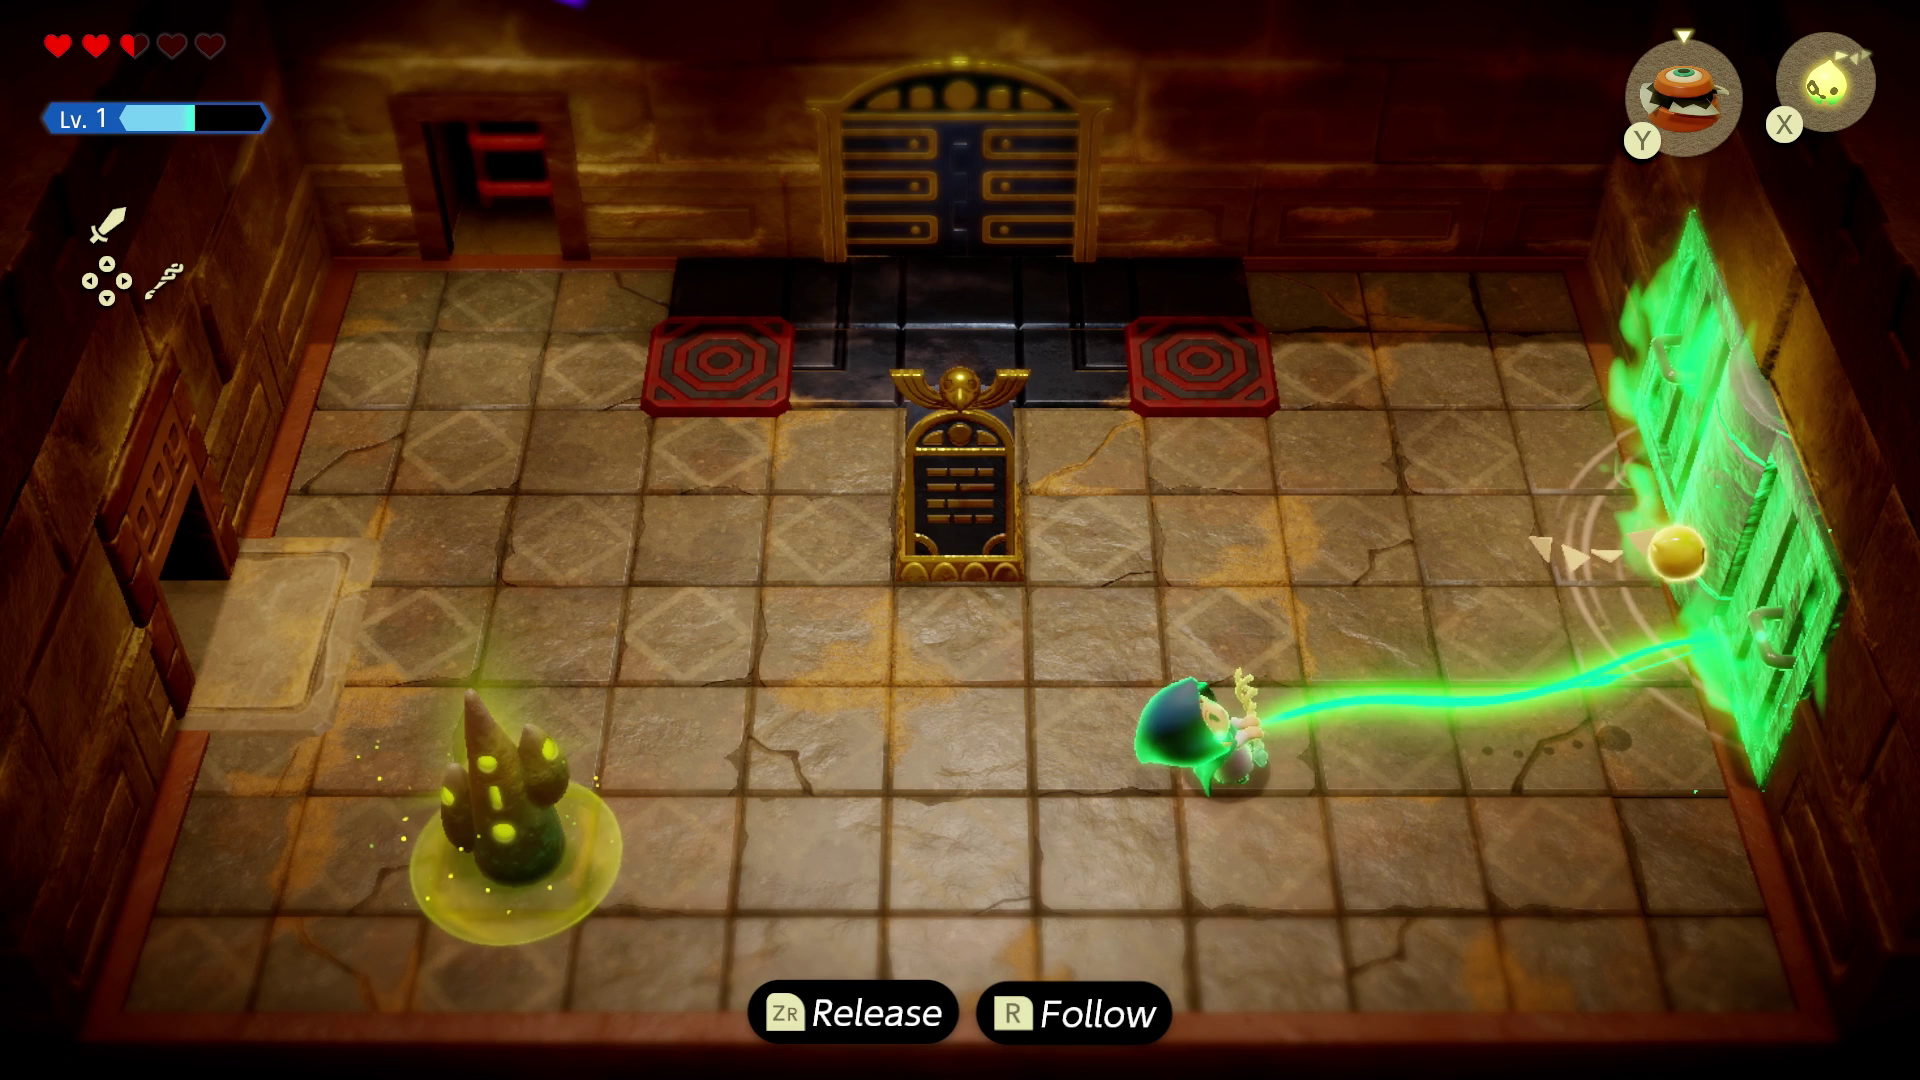
In the next room, there’s a suspiciously interact-able silver wall. Use Tri to grab on to the handle of the wall and pull it, so it rotates open. Enter the newly opened door to find a chest with a small key inside. Smash those pots for some smoothie ingredients and warp back to the room with the locked door.
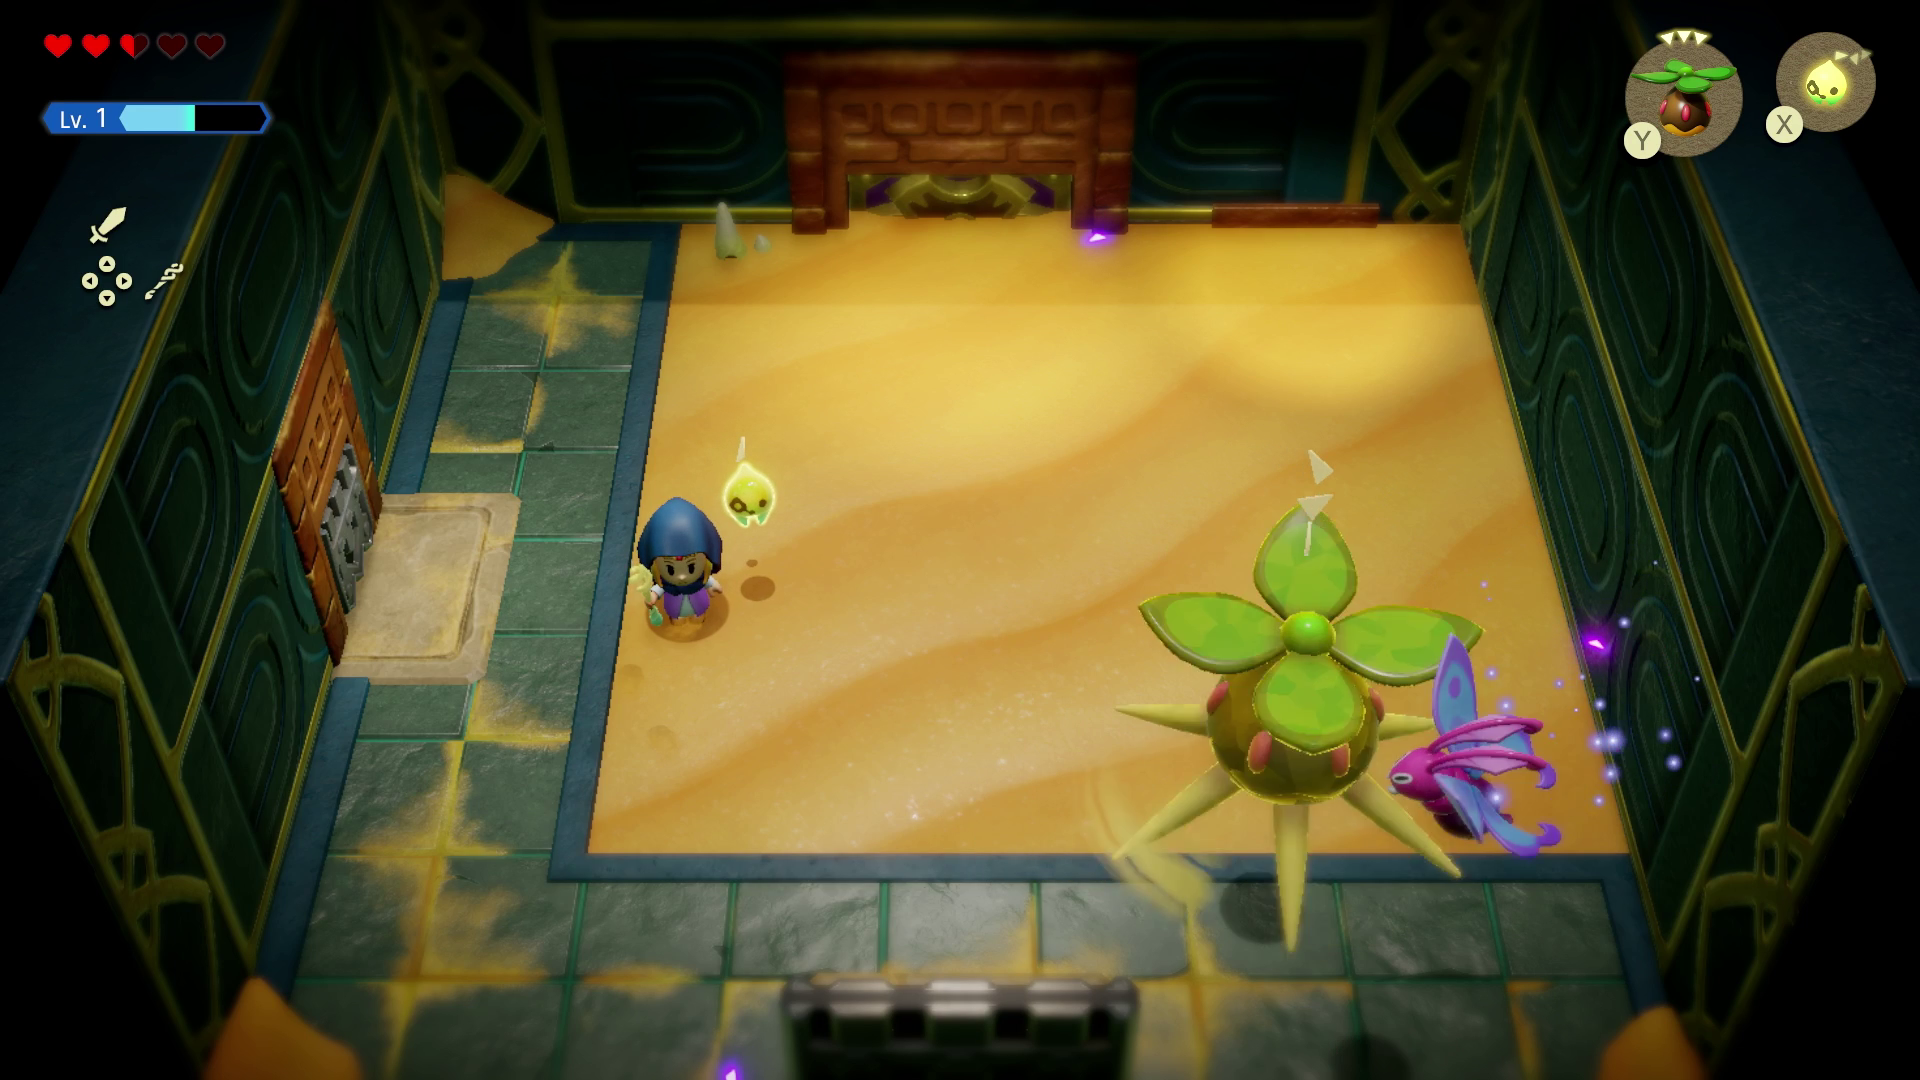
Unlock the door and you’ll be in a room with some snake-statues. Learn the Snake-Statue Echo, but you won’t actually use this for anything. Continue on to a room with some flying moth enemies inside. Take them down using flying echoes (like crows or keese) quickly and learn the Mothula Echo.
Once the mothulas are taken care of, the door on the left will open, so head in there. You’ll now be in a room with some pots, and there’s even a chest on the other side of the wall! Break open those pots and ignore the chest for now.
Head south and you’ll be in another room with conveyor belts. Whip out your trusty Flying Tile Echo to cross this chasm and head down the ladder. Continue on and take on the little rolling baddie and learn the Caromadillo Lv. 2 Echo.
Use your previously obtained Holmill Echo to dig into the sand above the chest and drop into the hole it creates to get a Golden Egg from a chest. (If you don’t have the Holmill Echo yet, you can grab one in a few rooms and backtrack.) Dig down again take out the second caromadillo, and move down the ladder on the left.
You’ll now be in a large room with another warp waypoint, a regal-looking door, and a tablet. Activate the warp waypoint and read the tablet, which notes that you need to put specific statues on these platforms to move on.
Use Tri on the right wall handles to open a passageway leading to many piles of sand and a holmill. We summoned a tornando, from a previously encountered Tornando Echo, to blow away the sand. (Similarly to the holmill, there will be a spot to grab tornandos later on, so you can grab one and backtrack if you need to.)
The upper right pile of sand will reveal a sign talking about what statue to place on the pedestals, and the bottom right pile will have a buried chest. The middle right pile will have an aruroda scorpion enemy inside of it, so be careful. Once you clear out the room, use Tri to pull the chest out of the sand to get 10 portions of rock salt.
Gerudo Sanctum dungeon map location
Head back to the room with the warp waypoint and now head left. You’ll get locked in a room with a Poe. Take it out to learn the Poe Echo and a chest with the dungeon map will appear in the center of the room. Leave the room from the south and you’ll be in the stilled bit outside of the Sanctum.
Before following Link, build a platform up into the open window to the right of the door you just came out of to grab a handful of rupees just sitting in a room.
Now head south, following where Link went. Take out the baddies along the path, making sure to grab the half-buried chest on the left for a red rupee. Build some platforms so you can keep heading up until you get to the large pillar with handles. Use Tri to grab the handles and pull, rotating the pillar and giving you access to a ladder.
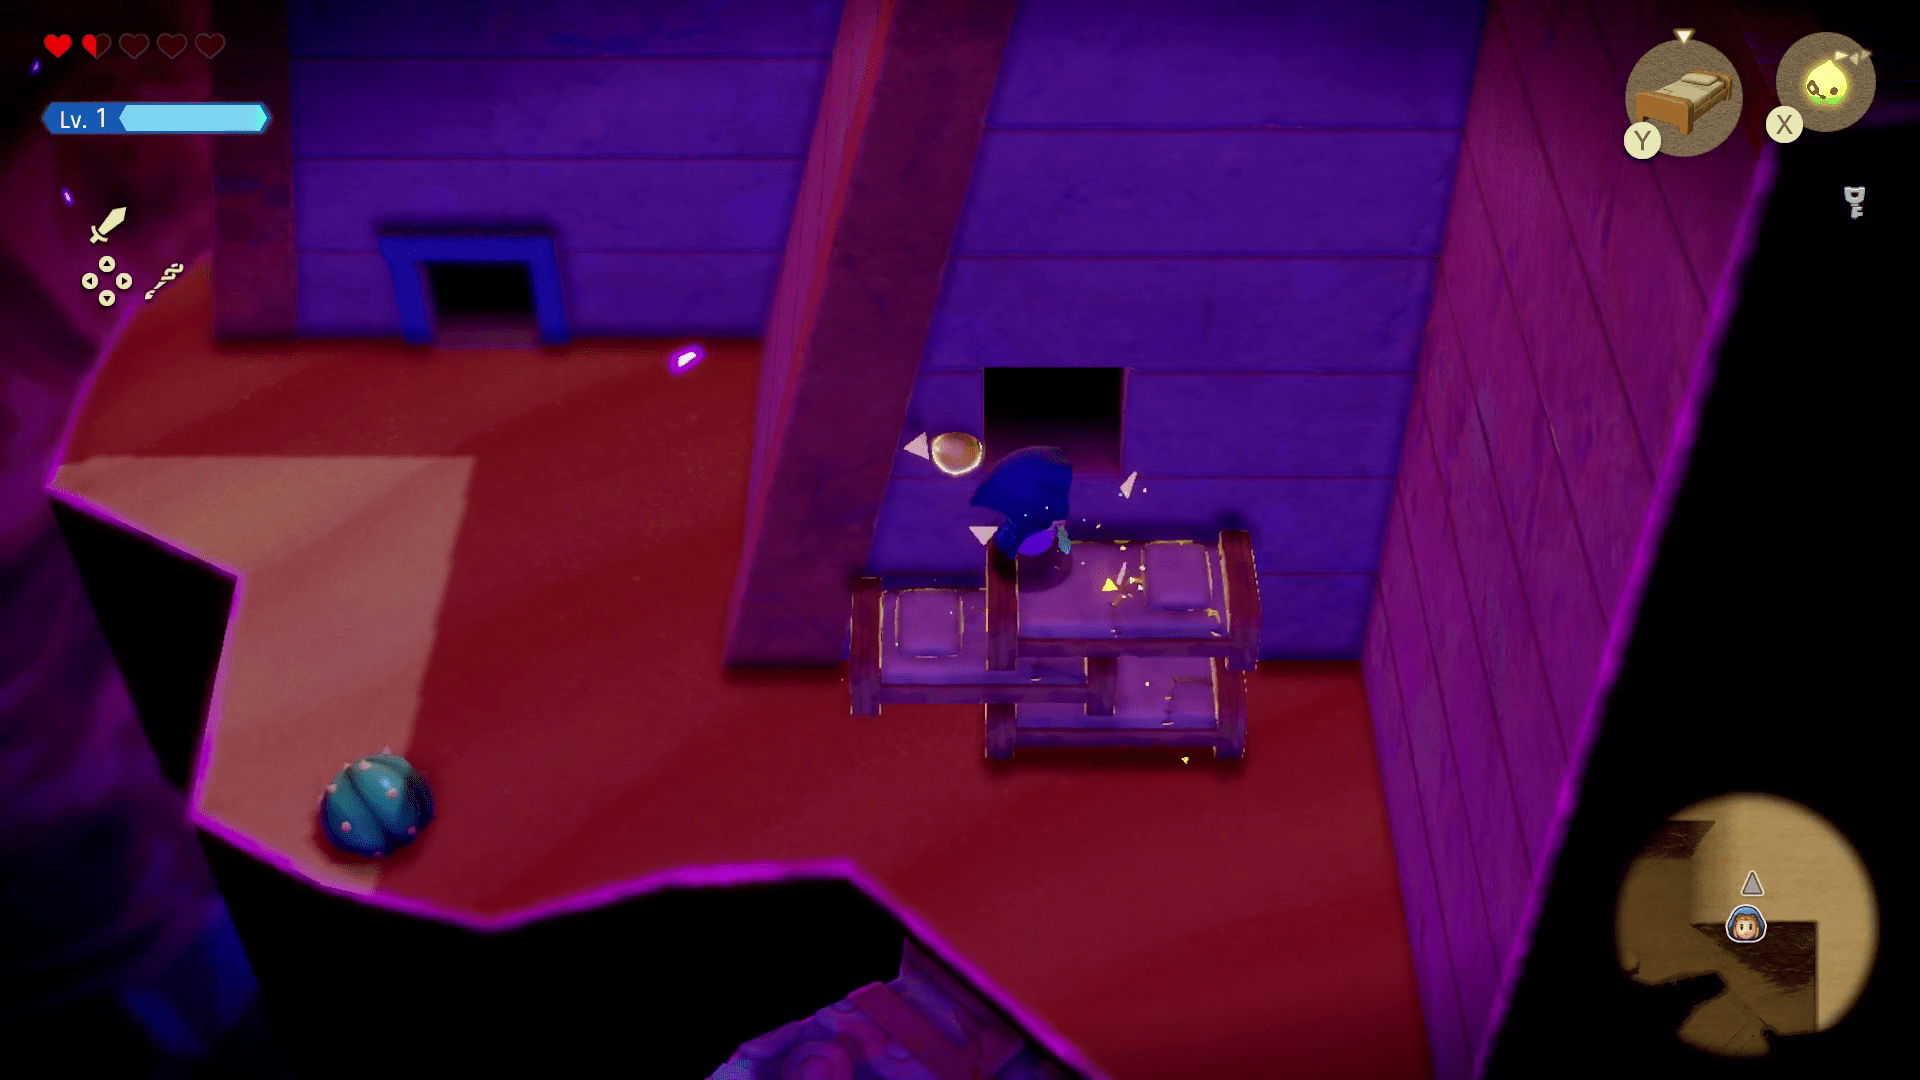
Climb up the ladder to get a purple rupee (worth 50 rupees) from a chest. Head to the left and around, avoiding the tornandos. (Grab a Tornando Echo if you don’t have one already.) Make a platform or staircase of your desire to get up the heightened wall above the quicksand. (We used beds.)

Keep going and interact with the warp waypoint. Take care of the nearby baddies and use a tornando to blow away the southern-most pile of sand to reveal a chest with a monster stone inside. Before you move on, use a holmill on this spot to get access to that previously blocked-off chest, which has a purple rupee inside:
Warp back to the outside waypoint and then summon a tornando to blow away the sand on the right side, allowing you to climb down the wall. Before going inside, head right. Platform your way up to this ledge using your preferred method (again, we used beds):
Then platform up to the right side ledge. Take out the bad guys on the path and keep heading forward until you see another rotating blue ladder pillar. Use Tri to rotate the pillar and climb up to learn the Hawk-Statue Echo. Backtrack to the door you previously disregarded and head inside.
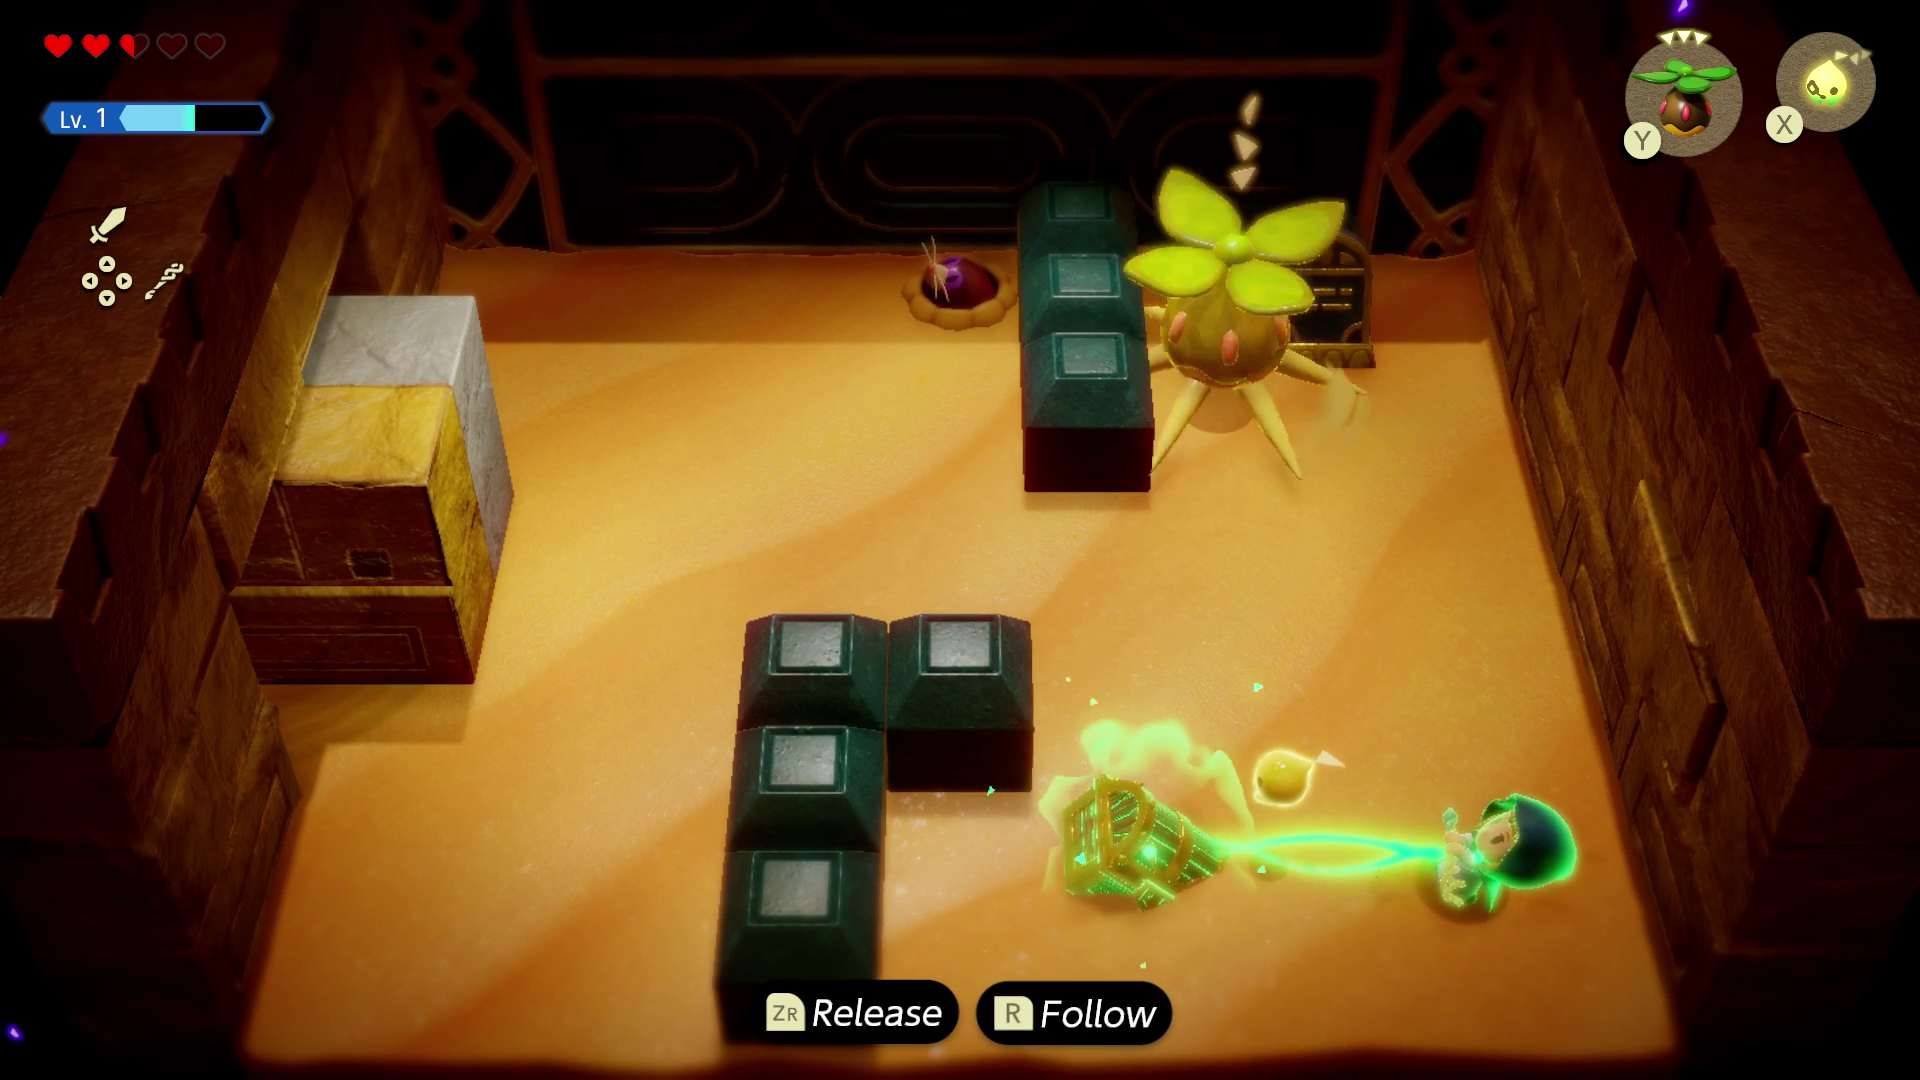
The room you’re in will have another blue block pulley system, so pull the lever all the way out and use your trusty flying tile to get into that door before the blocks close on it.
You’ll now be in a room with two gibdos and a redead, so take them out and learn the Gibdo Echo and the Cat-Statue Echo (the latter you won’t end up using, but will need for collections sake). Use Tri to move the top cat statue out of the way and enter the next room.
Interact with the warp waypoint, break open those pots, and heal up, as the next room you enter will have a boss fight.
How to beat Link in Gerudo Sanctum
This boss fight isn’t unlike the other Link you fought before. Distract him with enemy echoes and then attack him while he’s distracted. After a few swipes of your sword, Link will poof and the second phase of the fight will begin.
This time you’ll be fighting against three of these Links at once, but it’s best to focus on one at a time. The strategy remains the same: Distract Link so he aims at your echoes and then attack him from behind.
If you’re struggling, the pots will have hearts to heal you and the piles of sand will have Swordfighter energy inside, so keep your Tornando Echoes close.
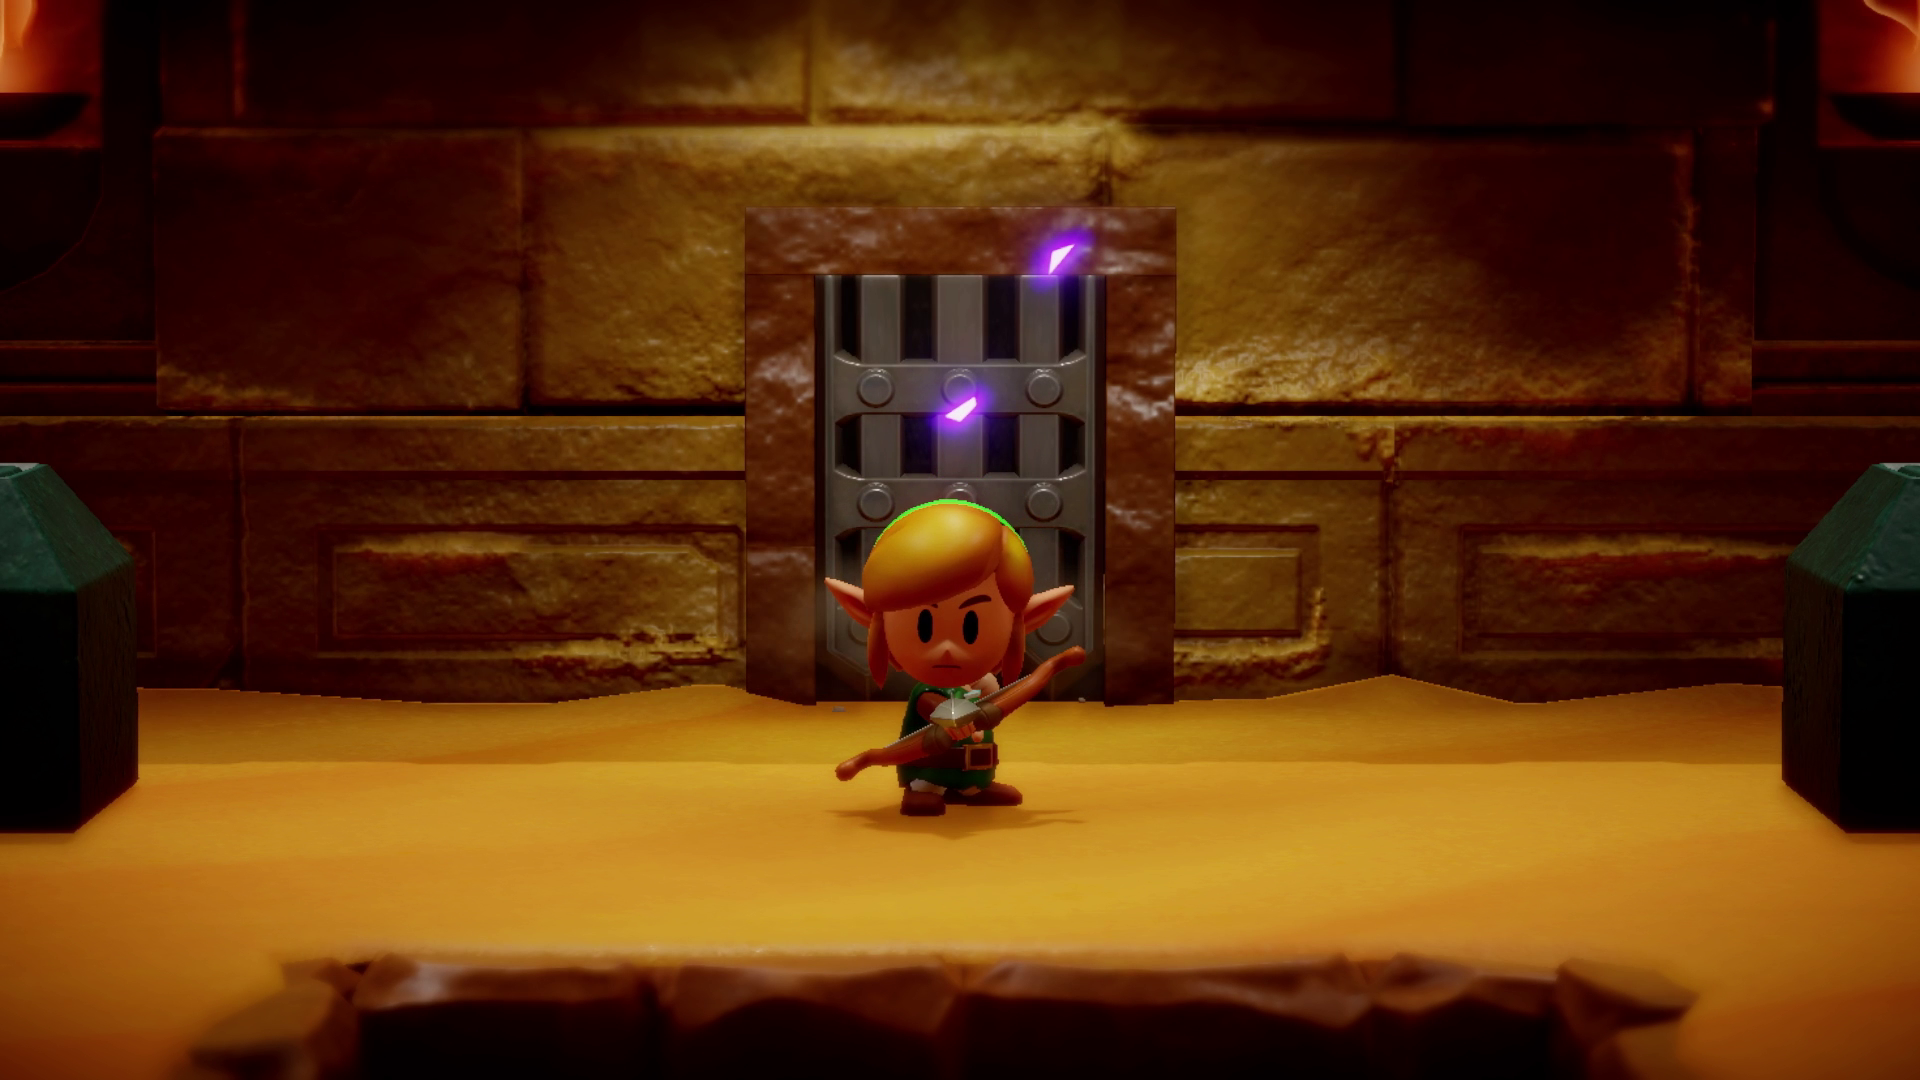
After you beat him, you’ll get the Bow of Might, a great upgrade that’ll help you make quick work of flying enemies.
Gerudo Sanctum walkthrough (part two)
After beating Link, head down the ladder and use your new bow to break the shadowy webbing across the gap. Use a flying tile to cross the gap and head up. Optionally, destroy the webbing with your sword on the left for easier backtracking and then head up the ladder.
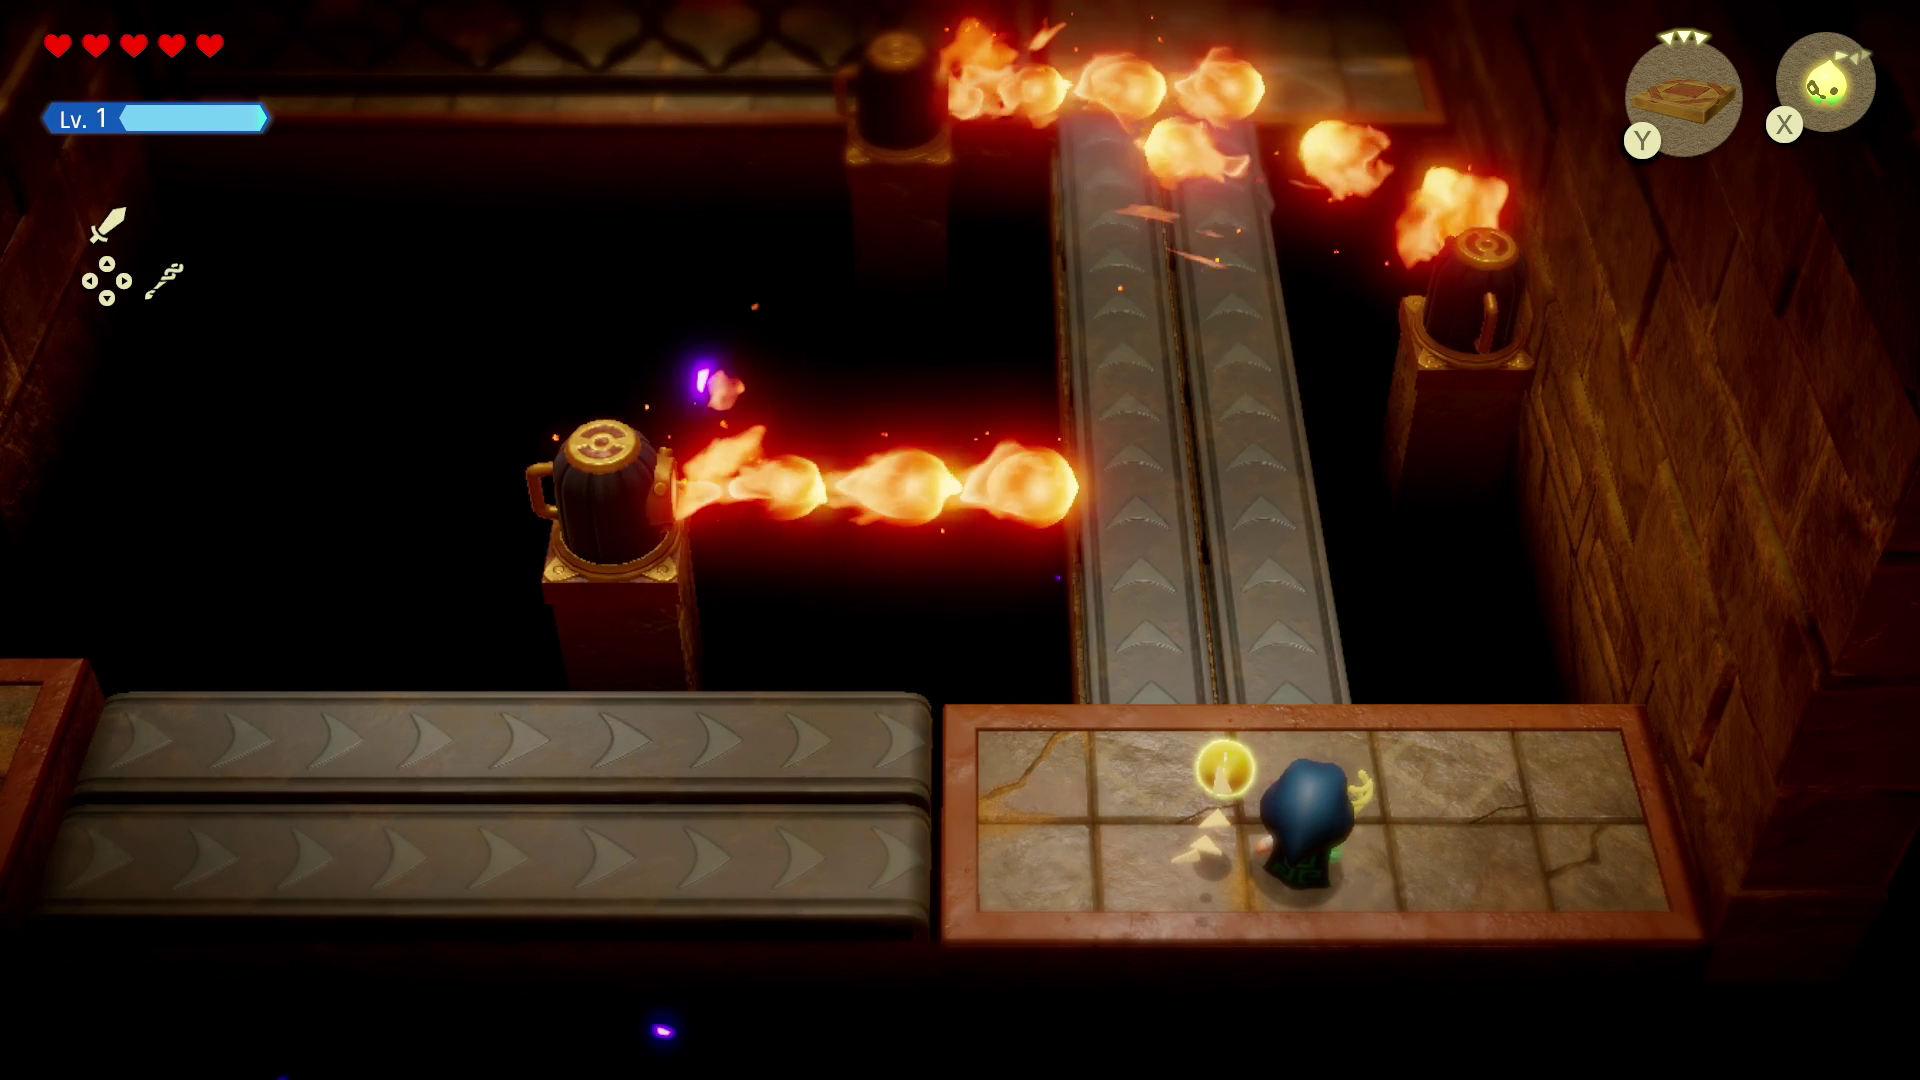
Activate the warp waypoint in this fiery room and then use Tri to grab these fire-spitting devices. Pull on them, rotating the devices so that they are aimed away from the conveyor belts, allowing you safe passage.
Learn the Elephant-Statue Echo at the end of the path and open the chest for a small key. The next portion of the walkthrough with this small key is entirely optional. Just warp back to the room with the tablet and the regal-looking door if you don’t care to flesh out your map.
Warp back to the room with all the pots before the Link fight and head south back into the room with the gibdos and cat statues. Head south again so you’re back in the room with the blue rock mechanism and use the small key to open the door on the right. Use Tri on the northern wall to open a new passage.
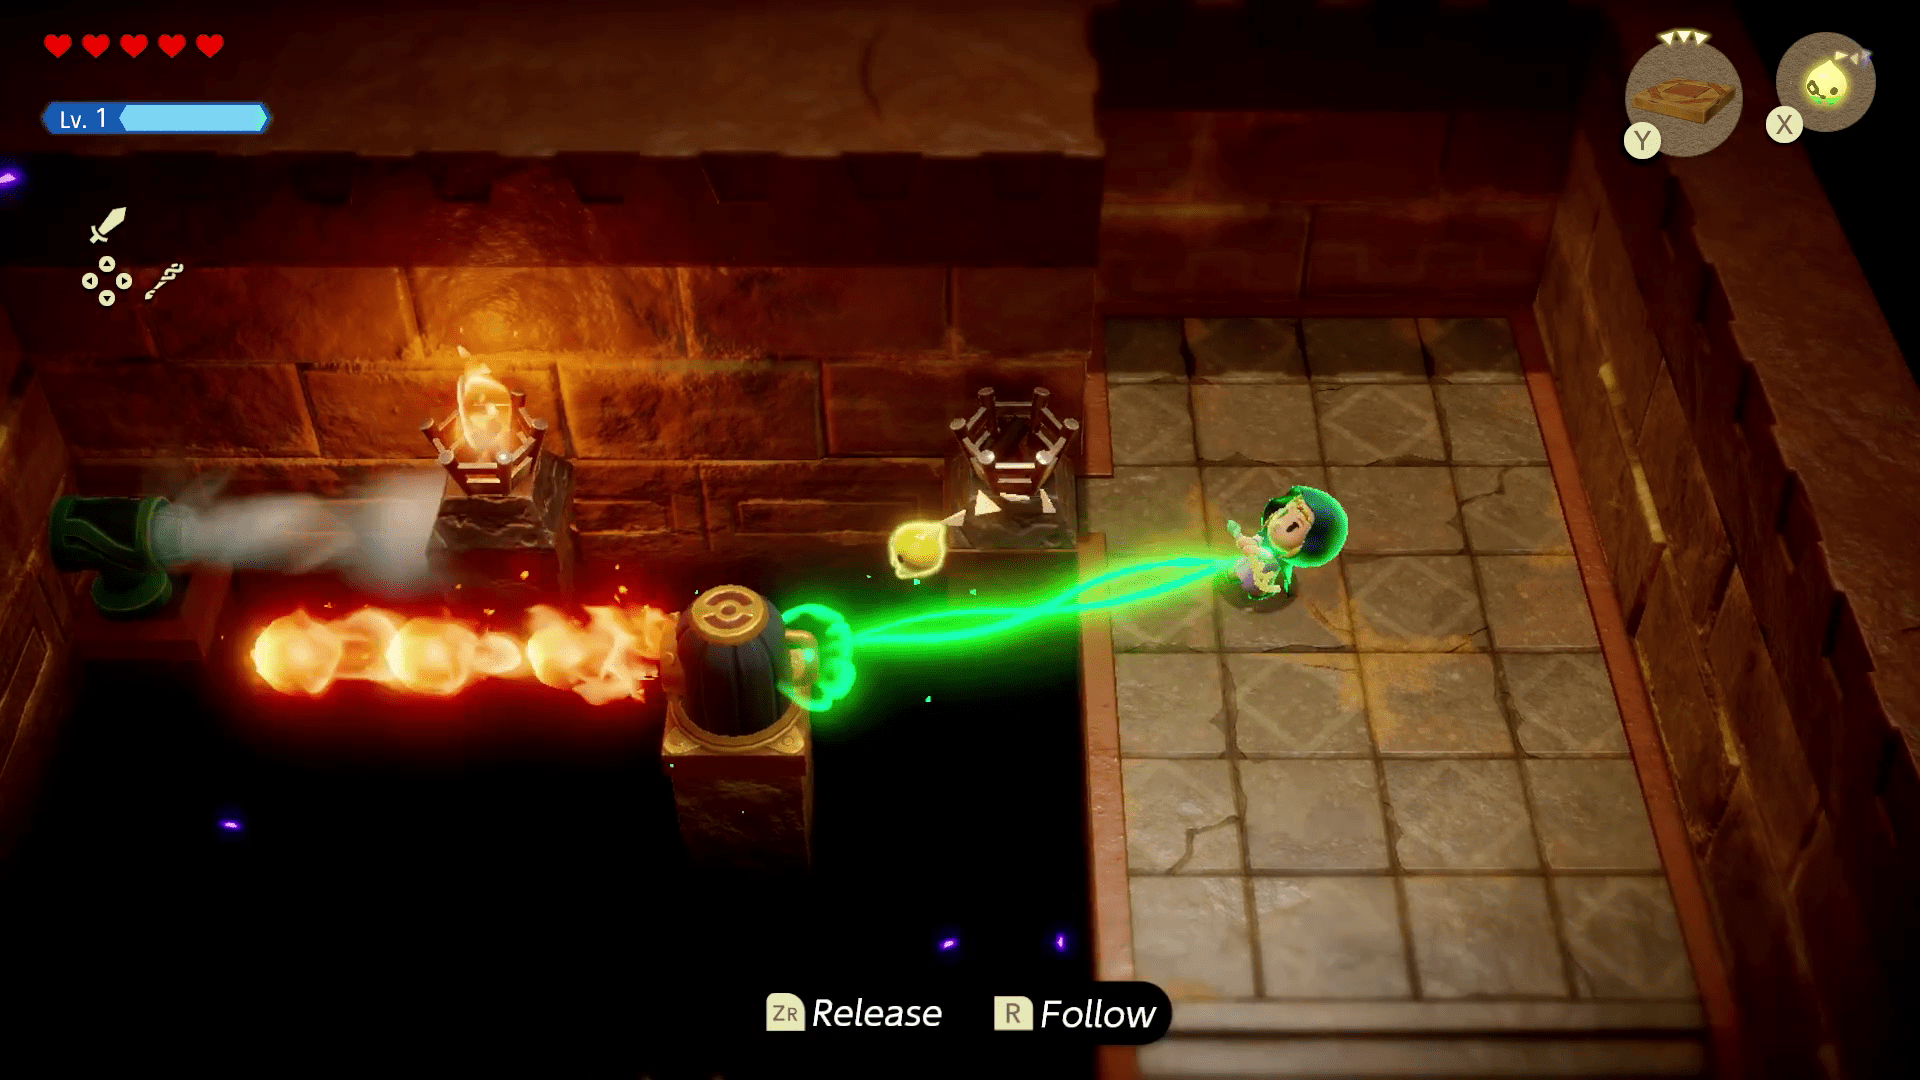
Head inside and fire a flying tile off at the wind cannon in the back. This will break the box under the cannon. Now rotate the fire-spitting device in the center with Tri to light all three torches.
A tablet will appear telling you which statue is required for the door. That’s all. Warp back to the regal-looking door and place a bird-statue and elephant-statue on the platforms like so.
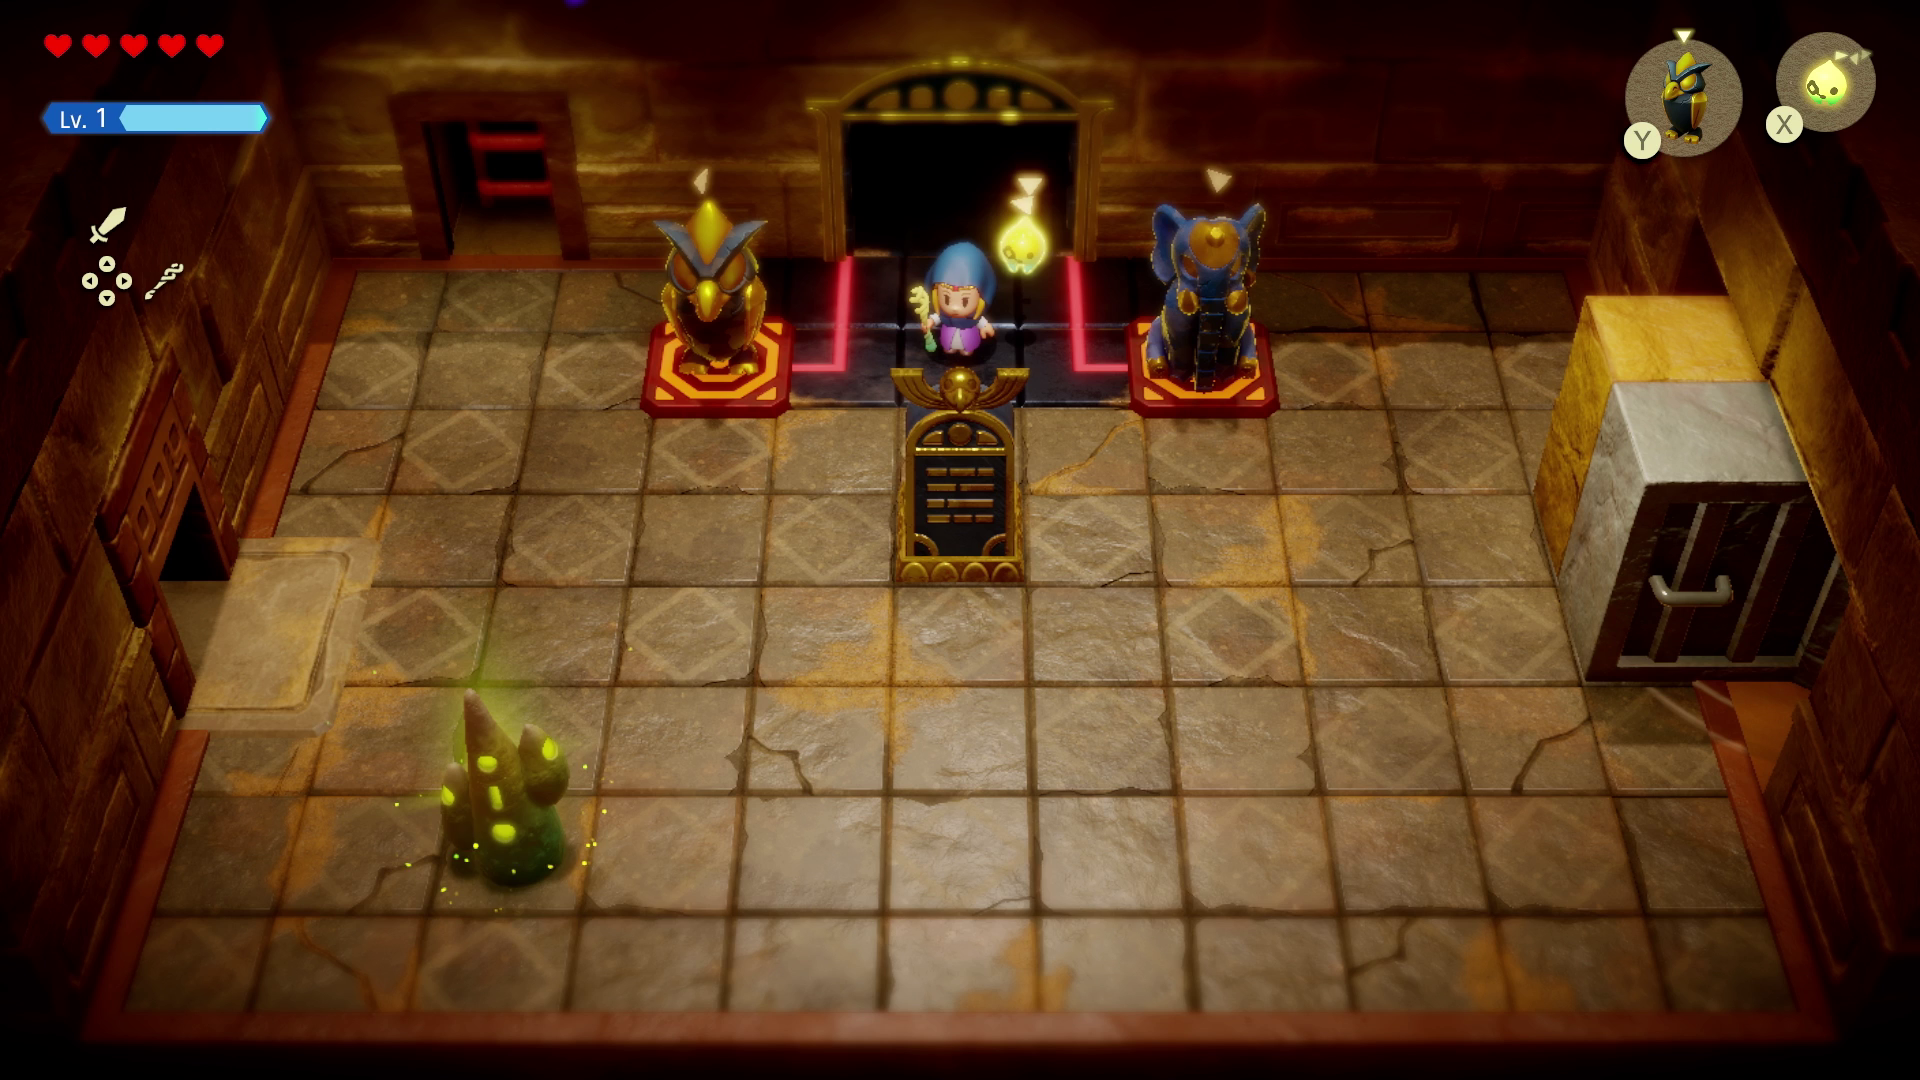
Head inside and use Tri on the plug on the right to empty the sand blocking the boss room and boss key chest. Enter the opening you pulled the plug from and grab the wheel to rotate the blue circle so that the opening lines up with the bottom.
Use Tri to rotate the green inner circle three times and then the wheel to rotate it until the opening aligns with the bottom. Grab the boss key from the chest and head up the stairs. Activate the warp waypoint and get your affairs in order. Heal up and get ready for the dungeon’s boss.
How to beat Mogryph, the Gerudo Sanctum boss
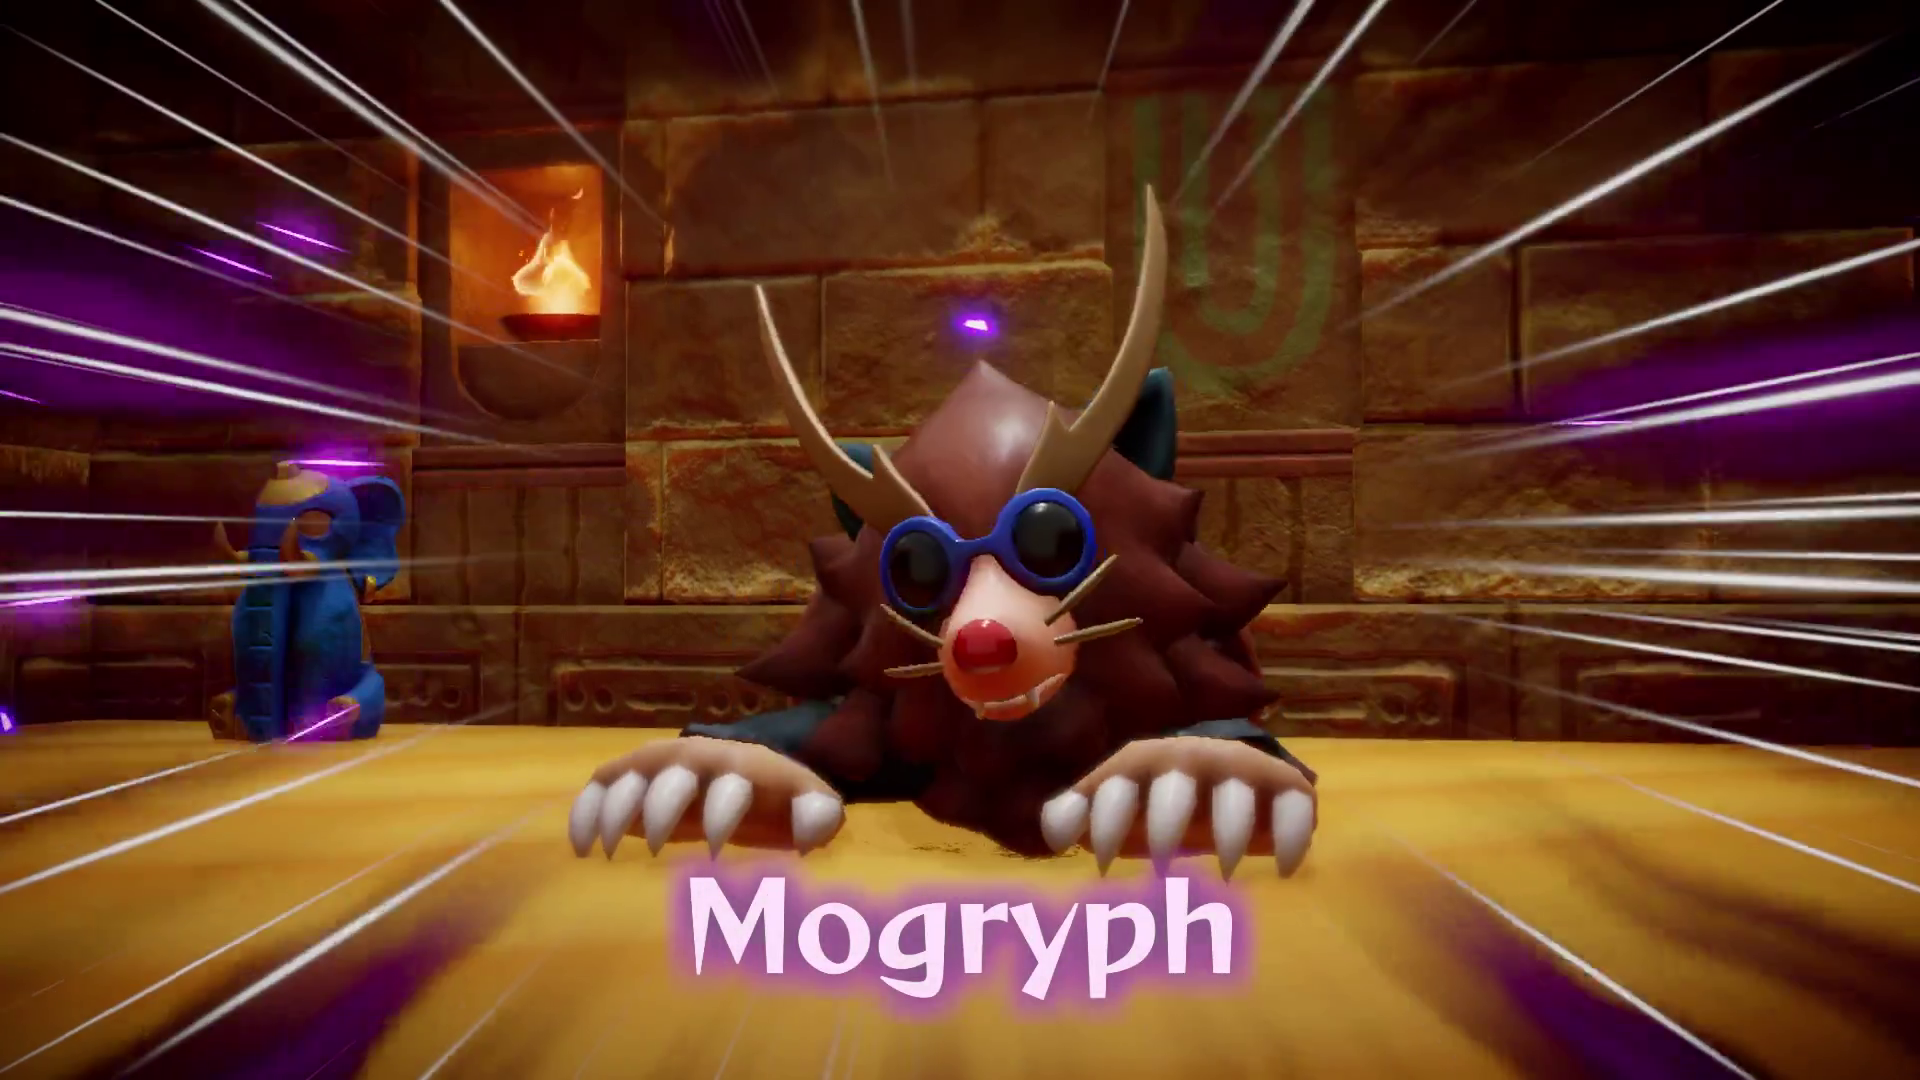
In the first phase of the fight, Mogryph has two attacks:
- Mogryph stops moving and then charges straight towards Zelda. Bait him into charging into a statue. The statue will break and Mogryph will be stunned, allowing you to get several good licks in.
- Mogryph raises his paw and fires off a blast of sand forward. He stands still for a split-second after firing off the blast, so nearby enemies can hit him and Zelda can fire off an arrow at him.
Keep in mind that you can replenish your swordfighter energy by busting open the piles of sand throughout the fight.
After you do enough damage to it, phase two will begin and most of the room will turn into quicksand with four safe platforms to stand on. (If you bought the Gerudo Sandals from the shop in Gerudo Town, this is no problem for you. Otherwise, stay on the safe platforms.) The “gryph” part of Mogryph will now make its debut as the boss will now sport a pair of wings. It’s new attack patterns are as follows:
- Mogryph fires off tornados and roars after, giving you a second of opportunity to hit it with arrows.
- Mogryph dives back into the sand and repeats its attacks from phase one, though now it’ll fire multiple blasts of sand at consecutively.
At this point, the best way to take it down is to place any of the animal statue echoes you learned on the safe platforms and bait it into charging into them. For maximum damage, use your bow and arrow to fire off attacks at it while it’s in the air.
After repeating this, you will eventually best Mogryph, freeing some of Tri’s friends and earning yourself a Heart Container. Tri will also regain some energy, though the effect will vary depending on if you did this dungeon or the Zora dungeon first. Grab that Heart Container and peace out of here, getting ready to move on to the next part of the game.
After you celebrate with the Gerudo, several side quests will open up, and you’ll either need to head to the Zora or head to Hyrule Castle.