What’s all the rage in PC building right now? If you’d have said dual-chamber chassis with glass front panels, oh, do I have the dual-chamber glass front panel PC case for you.
It’s called the Havn HS 420. Unless you caught our story on this case from out at Computex, you won’t be familiar with Havn. It’s a new brand, head up by Pro Gamers Group (PGG). PGG is also behind Noblechairs, Ducky, Streamplify, Aerocool, and Endgame Gear.
The HS 420 is Havn’s first creation. This is a mid-tower, dual-chamber chassis with space for ITX/ATX/E-ATX motherboards and includes a few standout features to try and justify its starting price of $199/£200/€230.
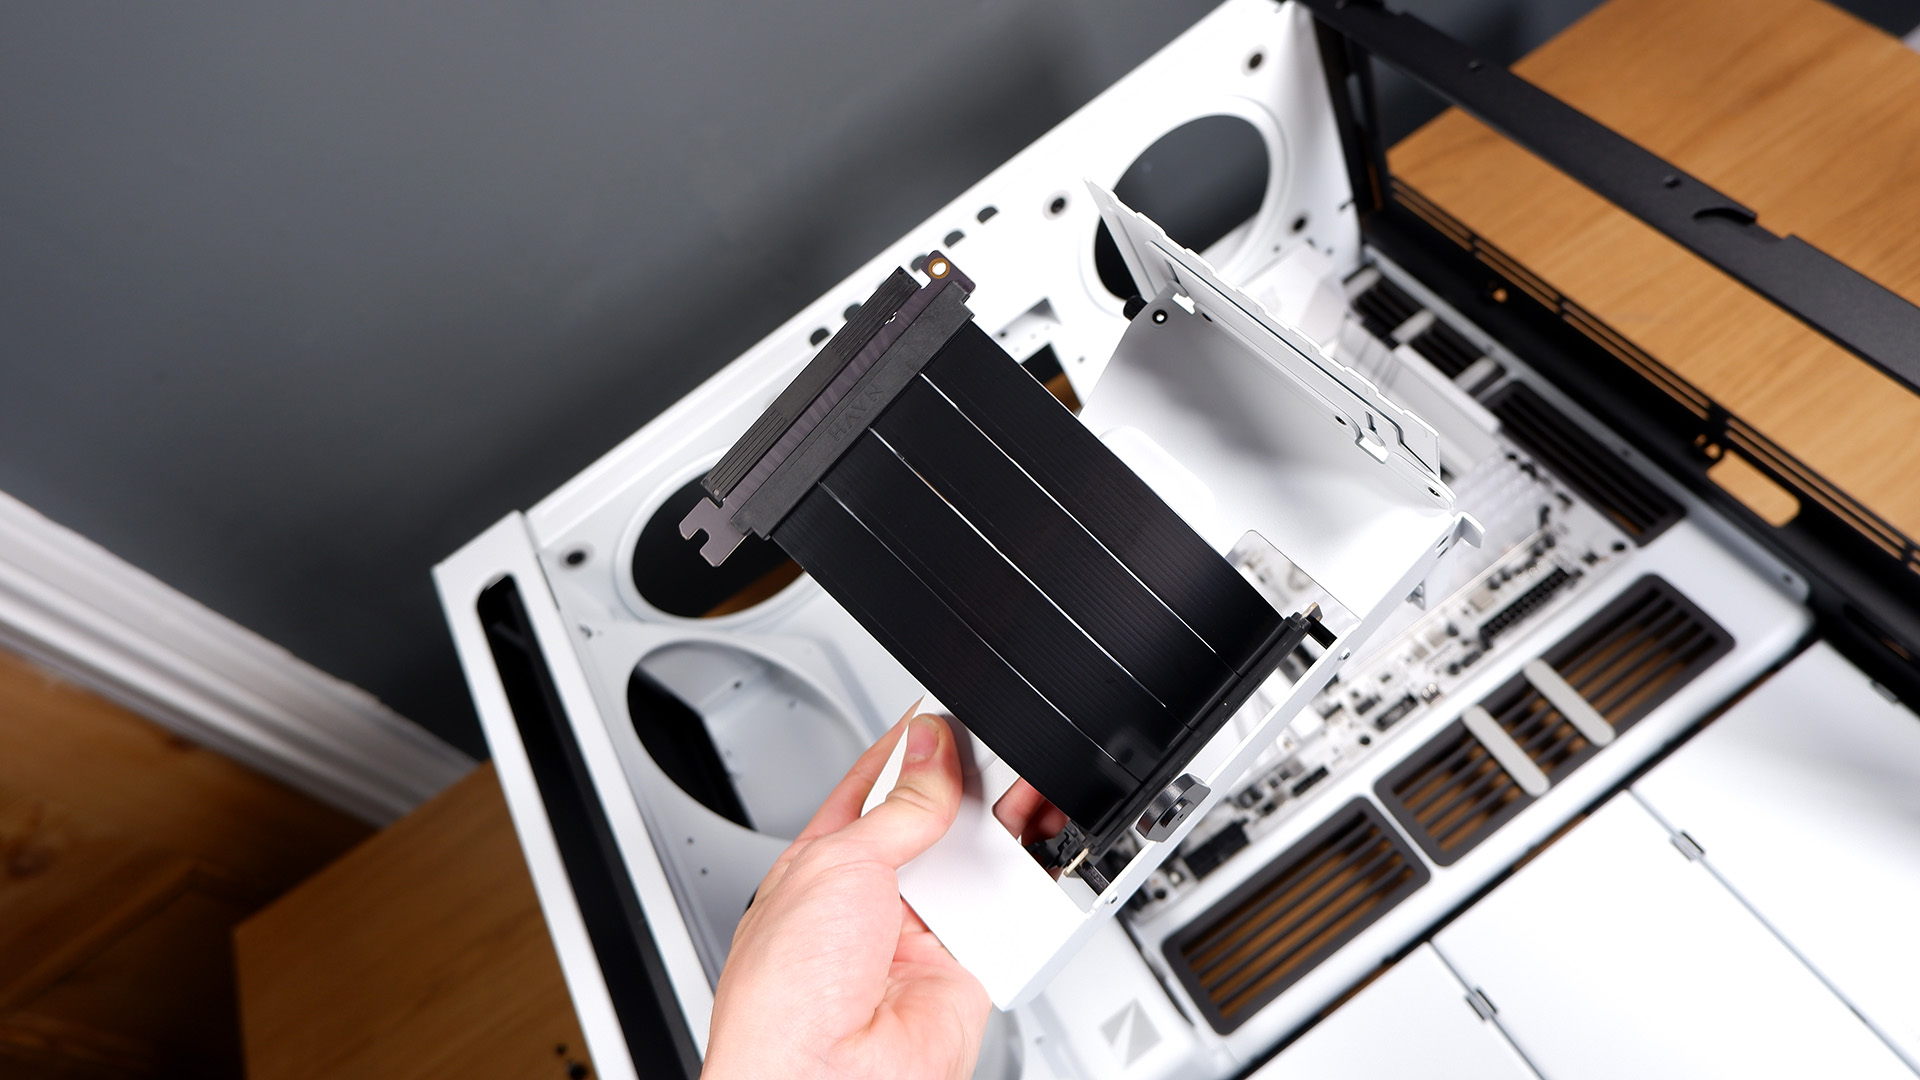
I say starting price, as the VGPU version I have here for review, and which comes with a mounting bracket, PCIe 5.0 riser cable, and fan mount to load up a graphics card vertically, costs an extra $70/£70/€60. That brings this case up to $269/£270/€290.
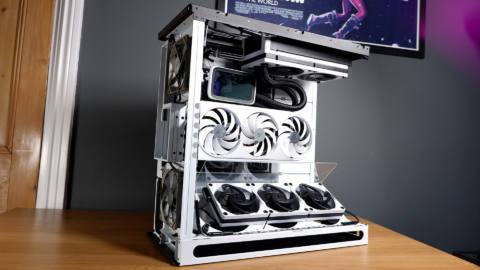
Form factor: Mid tower
Dimensions: 54.1 x 25.95 x 54.7 cm
Motherboard support: E-ATX (up to 277 mm wide), ATX, mATX, Mini-ITX
Expansion slots: 6 horizontal / 4 vertical
Front IO: 3.5 mm jack, 2x USB 3.2 Type-A, 1x USB 3.2 Gen 2 Type-C
Total fan support: 11
Fan count: 3x 120/140 mm TOP; 3x 120/140 mm RIGHT; 3x 120/140 mm BOTTOM; 2x 120/140 mm (max 30 mm thick) REAR
Radiator support: Up to 420 mm TOP; up to 420 mm RIGHT;
Graphics card support: 470 mm length; 195 mm width
Storage: 5 x 3.5-inch, 10x 2.5-inch (depending on set-up)
PSU support: ATX, SFX, SFX-L
Weight: 19 kg
Price: $269/£270/€290 (VGPU version) | $199/£200/€230 (standard version)
Let’s get into the nuts and bolts of the case, then. Because that’s a lot of money for a chassis. What’s most notable about it is the panoramic glass panel that wraps around from the side of the case to the front—the glass being a single sheet, heat-formed to fit. Of course, it’s a stunner. For a showcase build or just showing off all your RGB LEDs, there are few cases offering as much visibility into your PC’s innards as this.
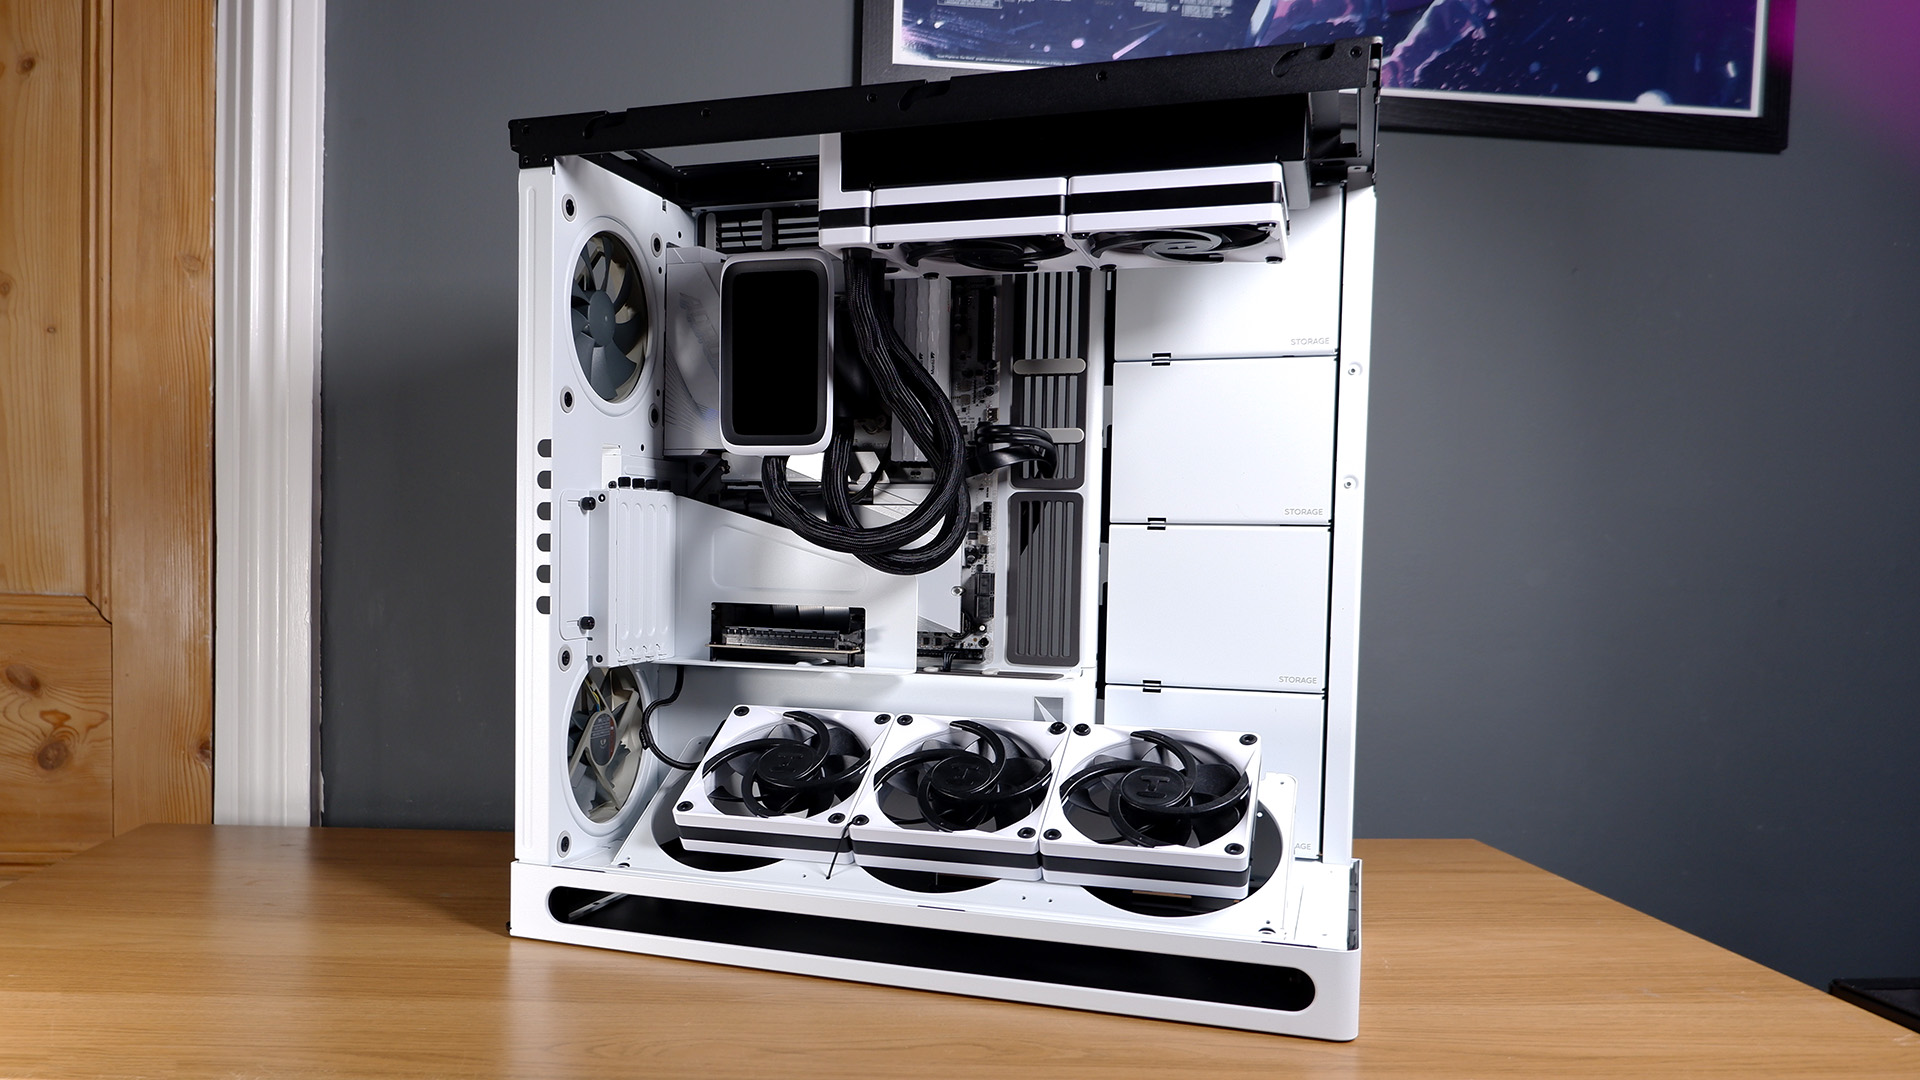
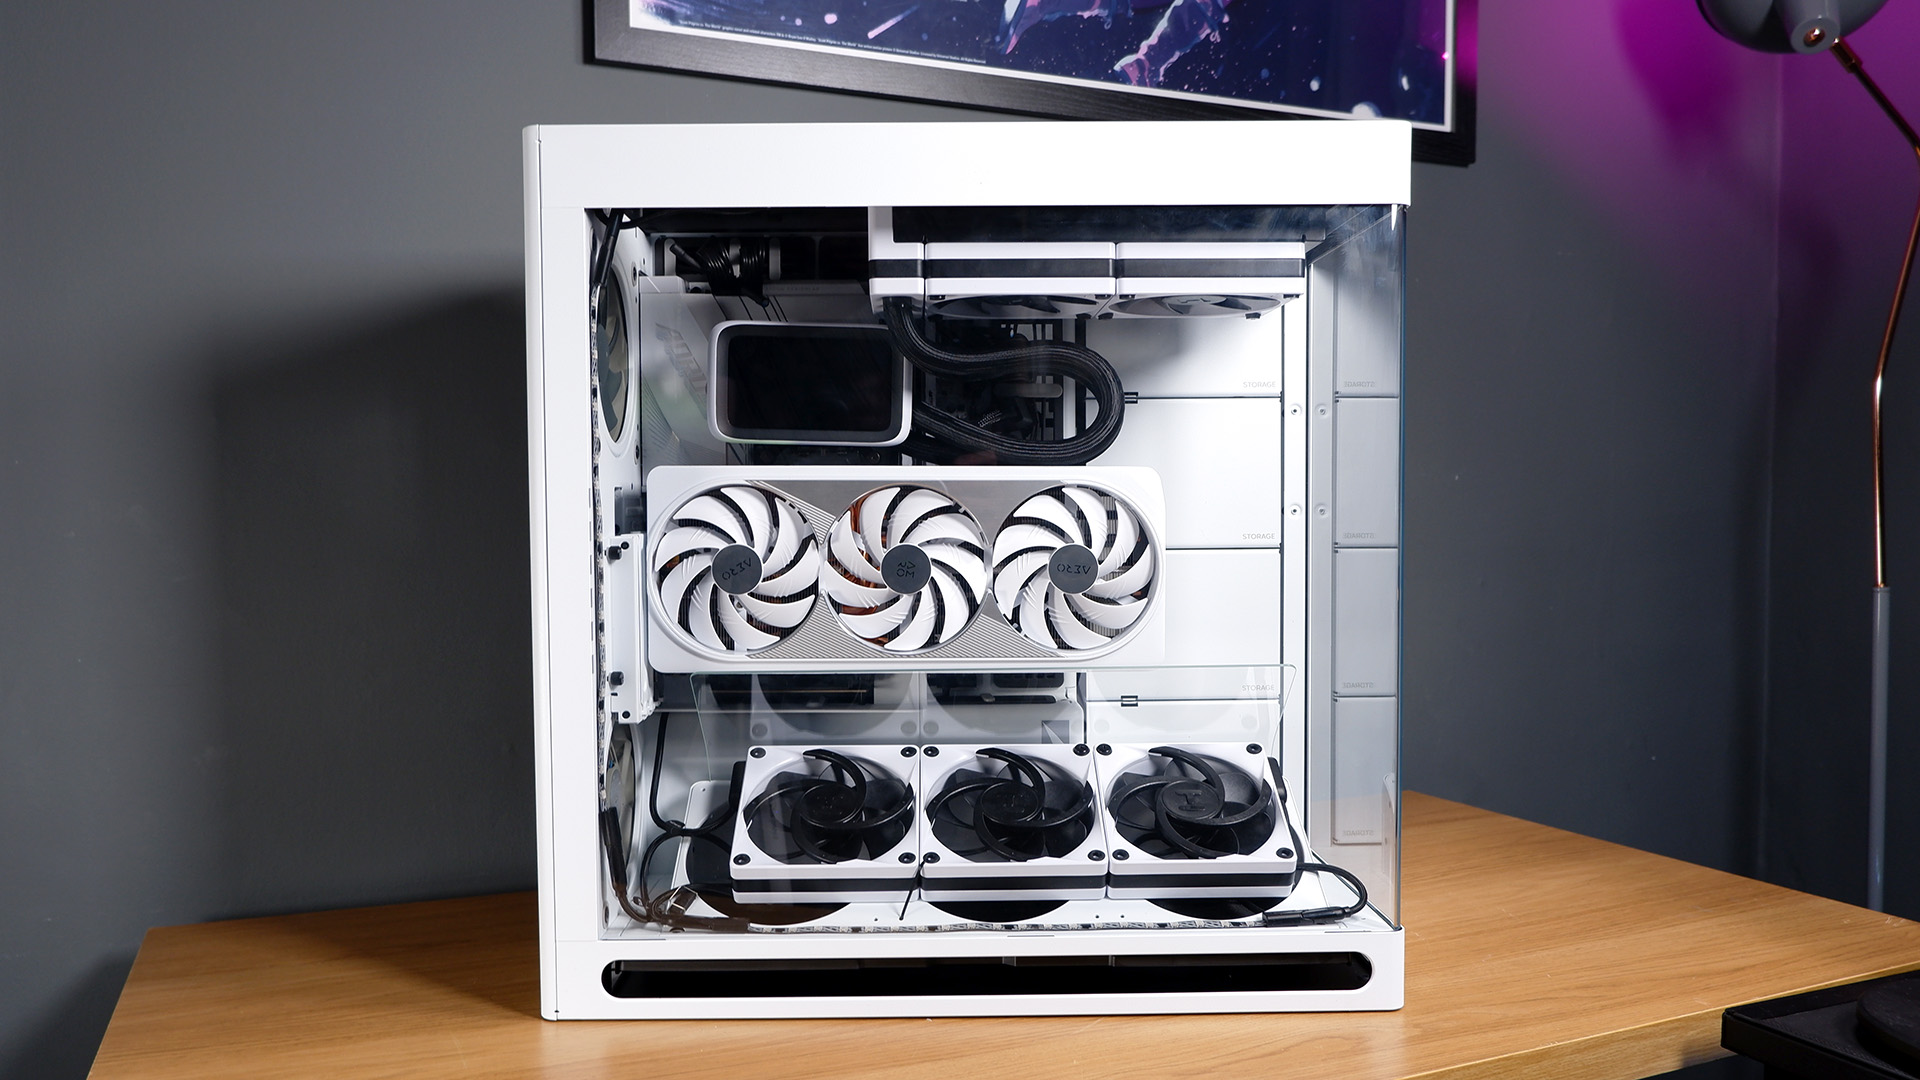
The VGPU version is even prettier in practice. This is the version I’ve had across my desk for review, and I took the opportunity to use almost exclusively white components within it. The glass facade offers a panoramic view of a colossally large Gigabyte Aero RTX 4080 Super I’ve tipped on its side and held aloft with the sturdy adapter provided. This mounting option looks absolutely superb with the parts I’ve picked, if I may say so myself.
This is a chimney-style case. That means rather than space to mount fans at the front, these sit on the bottom, sucking air through the vented base.
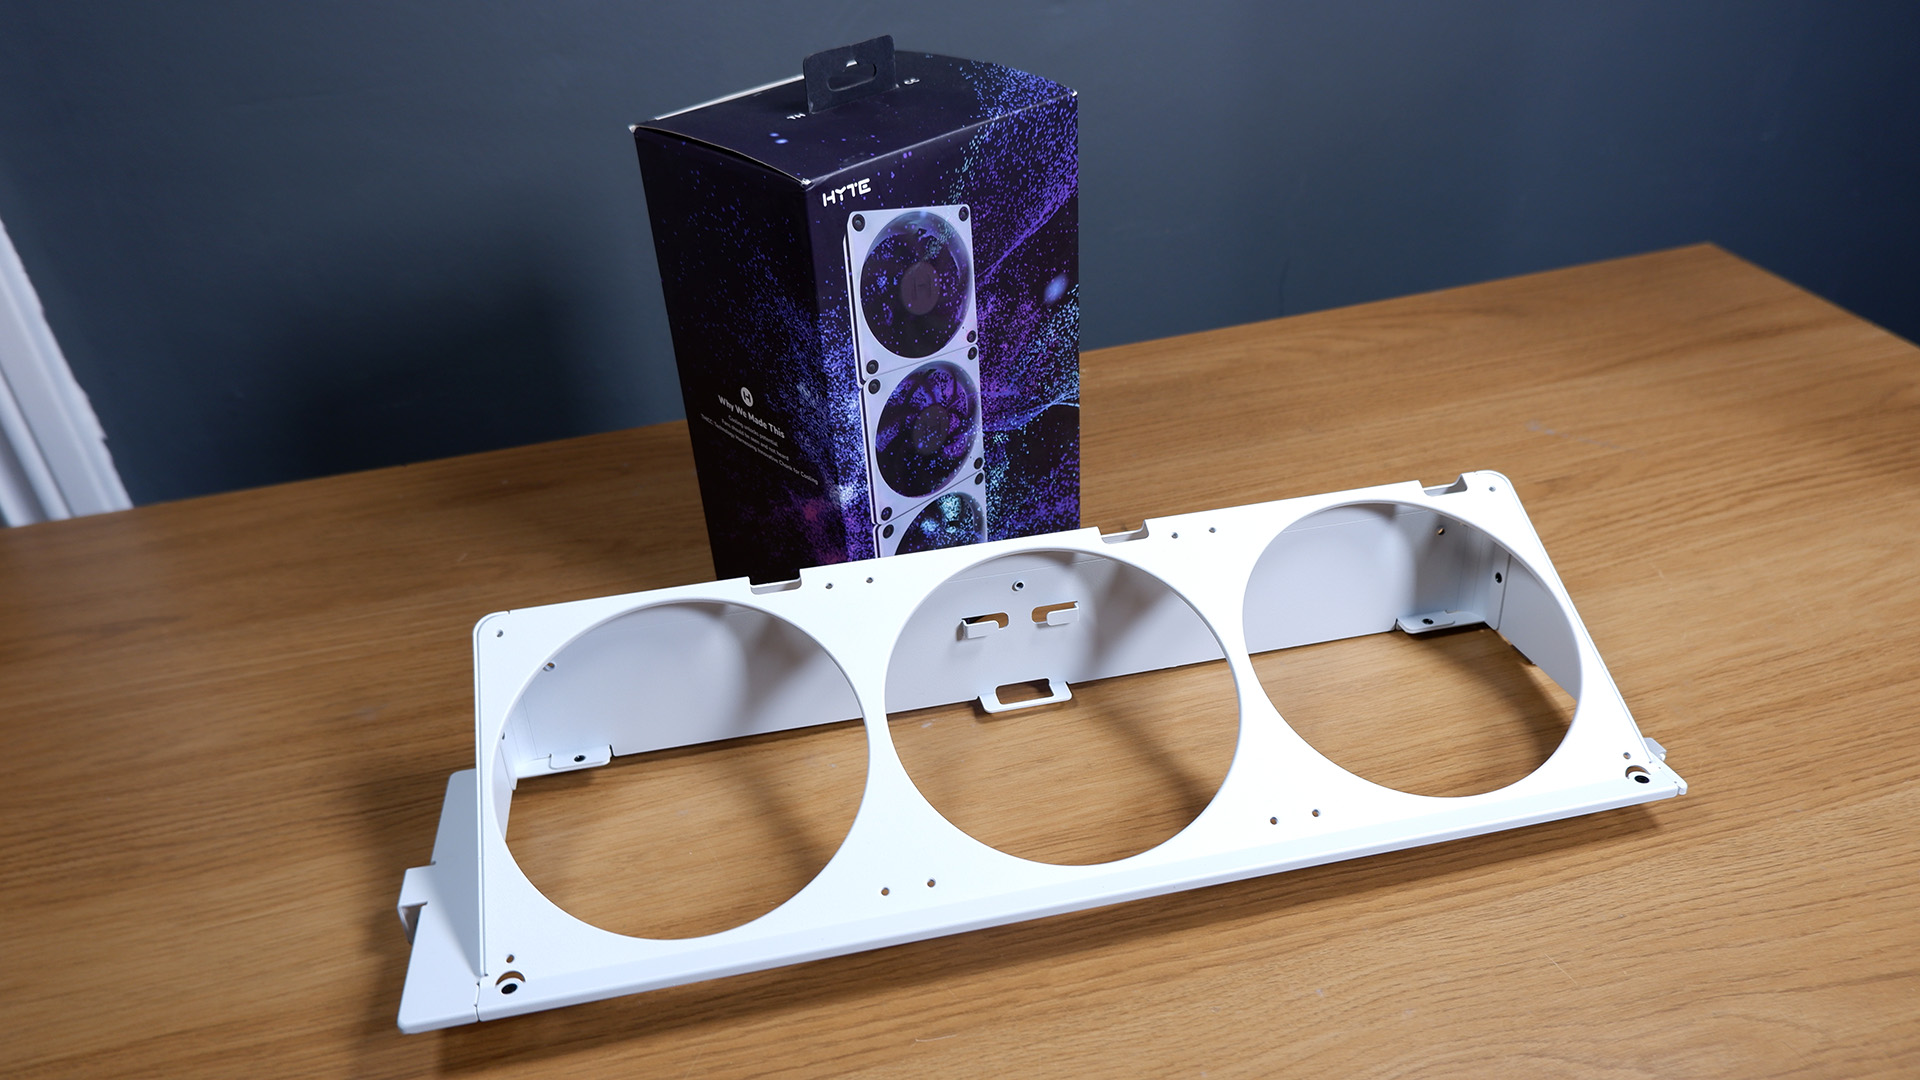
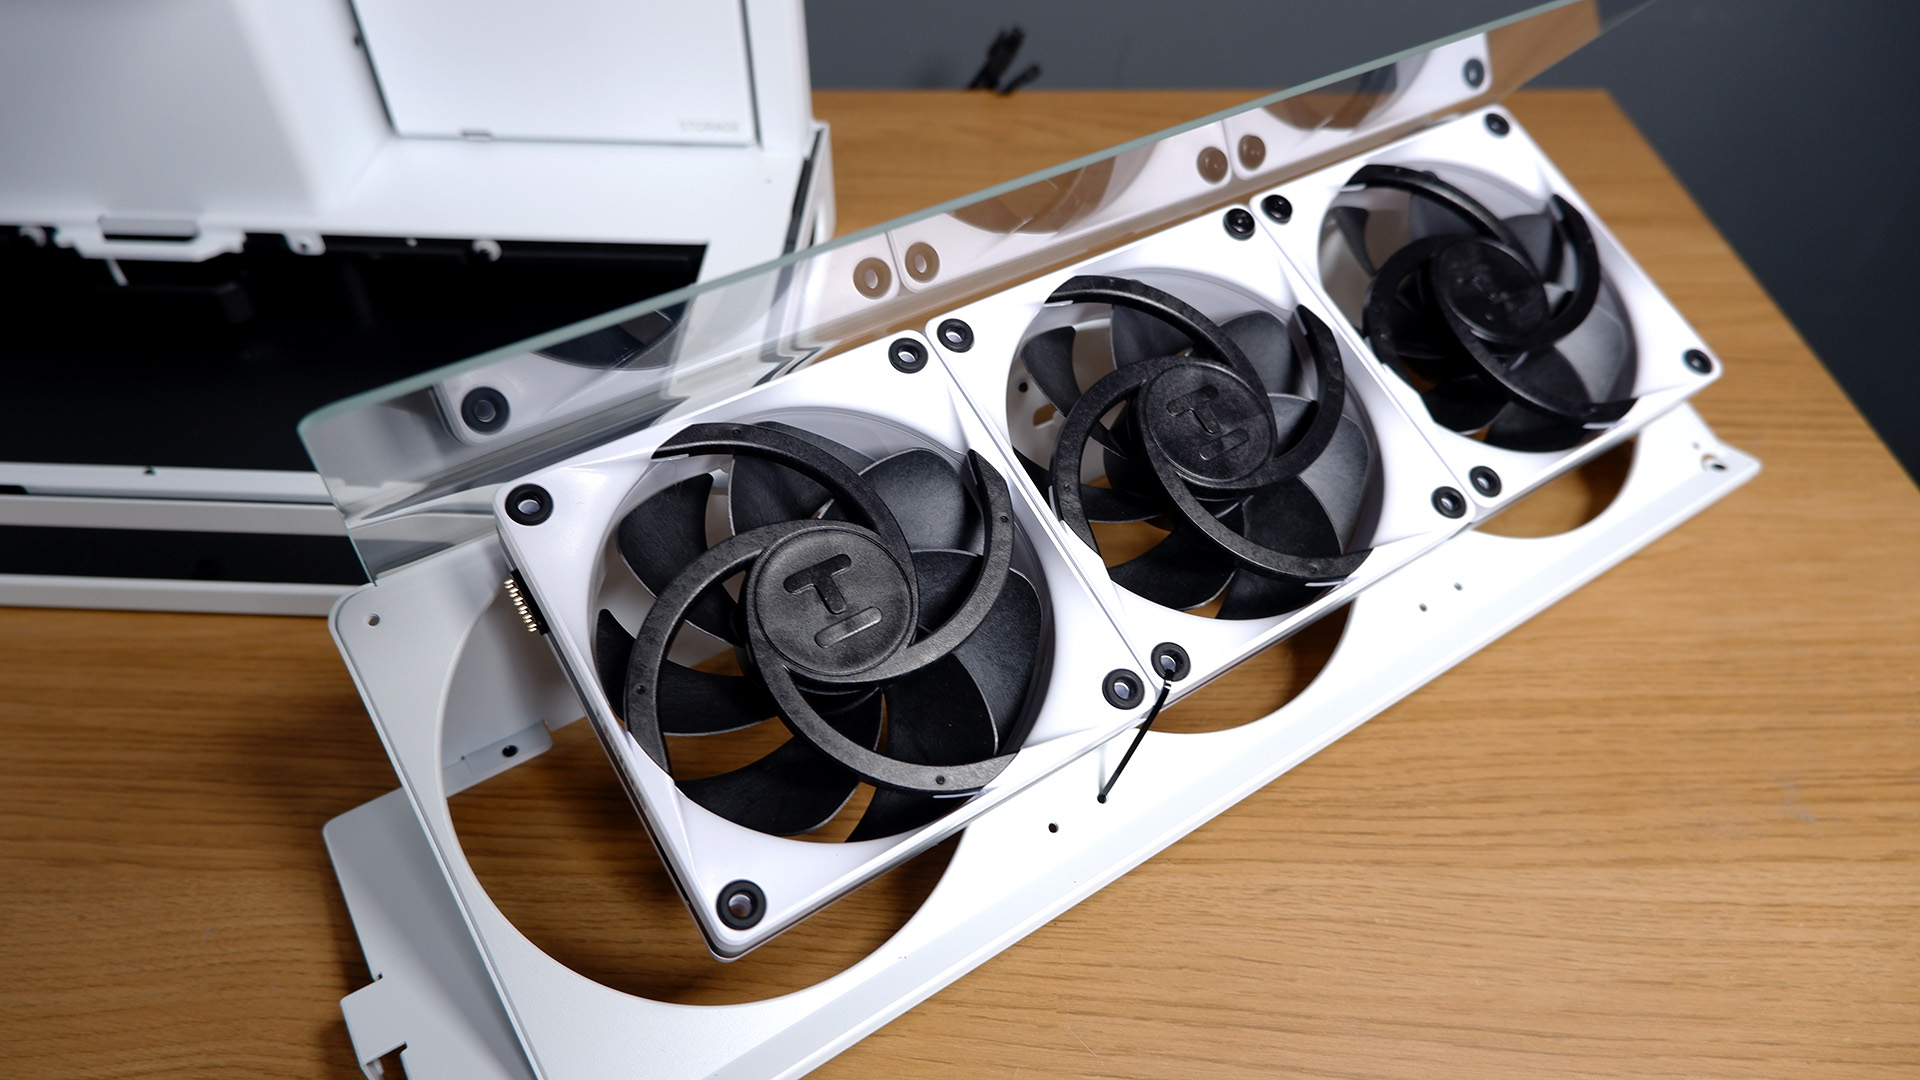
The VGPU version also includes a different fan mount to the standard version—this elevates three fans at a 45 degree angle and comes with a strange-looking piece of glass. This glass hangs in front of the fans, redirecting air away from the inside of the case and out towards the GPU fans.
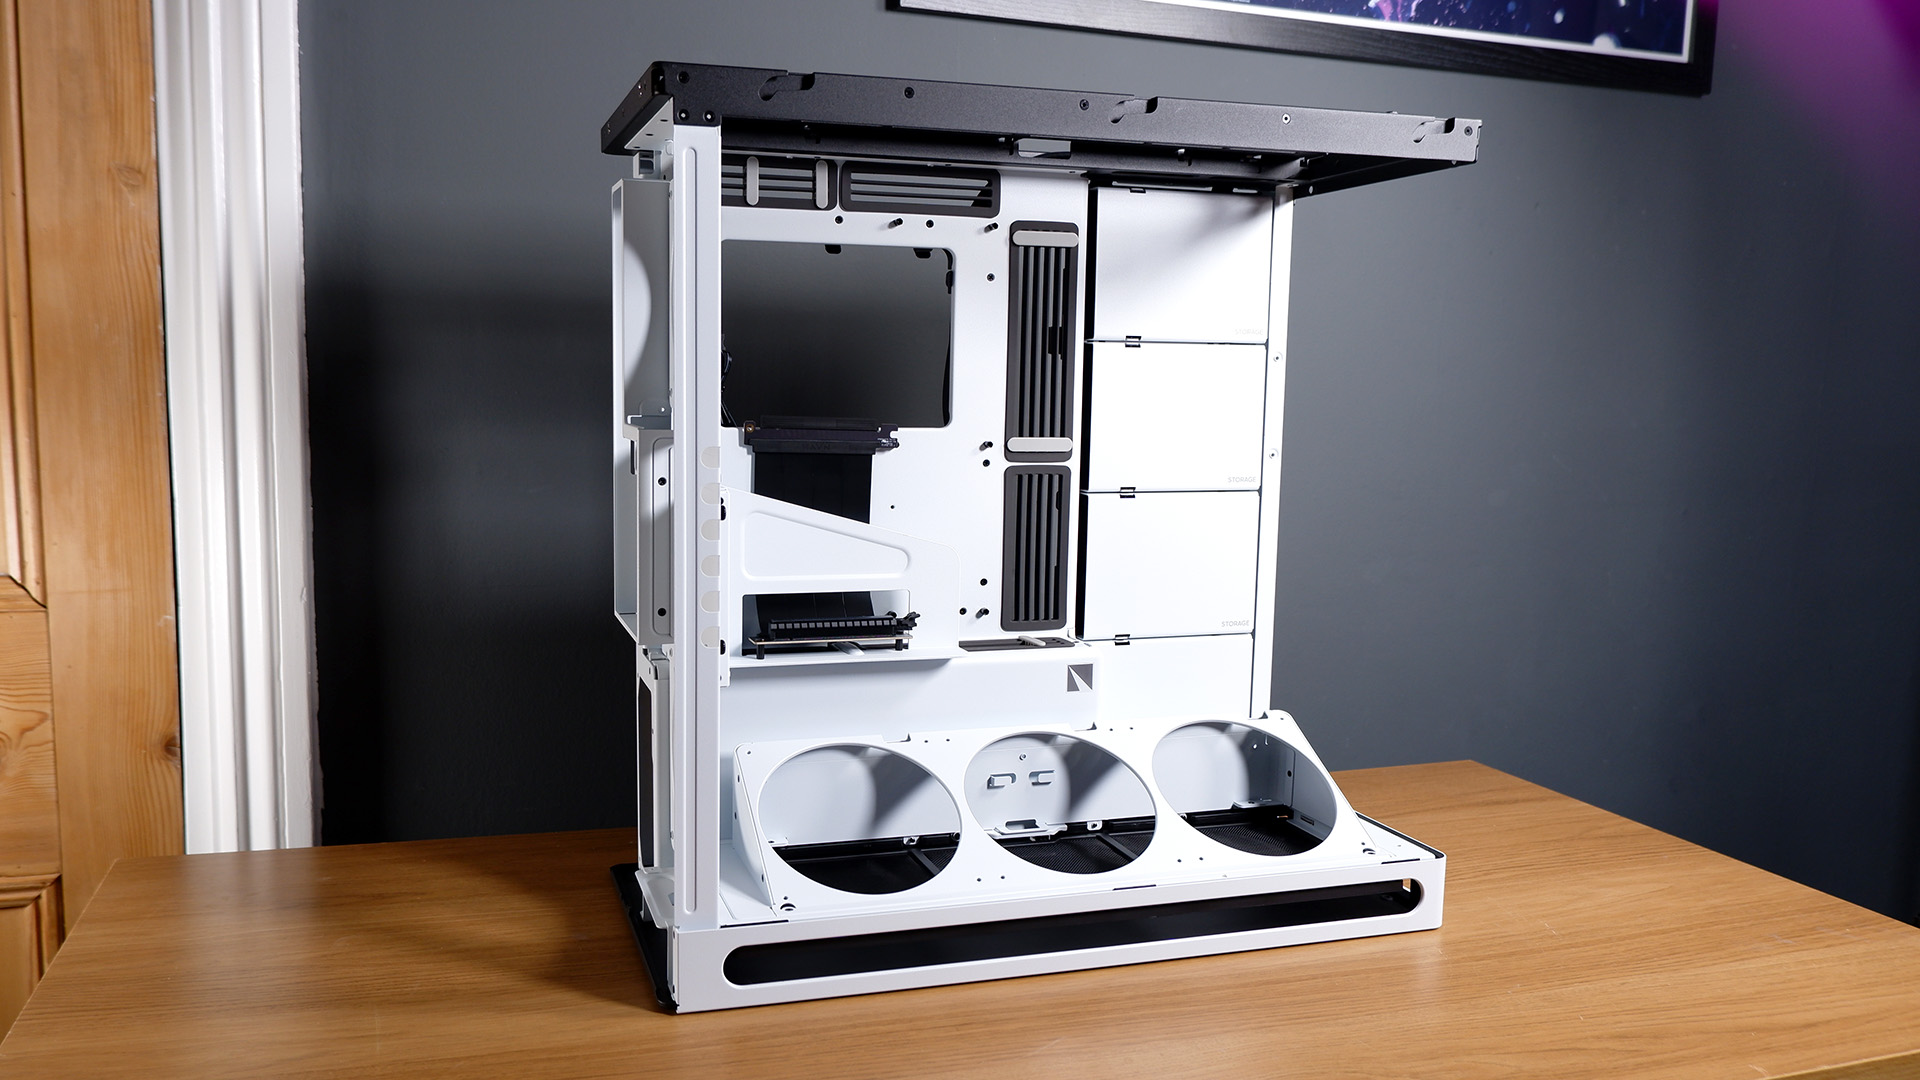
I’m told the glass is a pivotal piece of airflow management. Though, in the name of science, I took it out and ran some tests to see what difference it really makes. The answer: not much at all. I ran all our CPU tests with the cover off and temperatures were more or less the same. There may be some benefit to using it in some configurations or with certain components but don’t be afraid to ditch it.
With everything up-and-running, I measured the airflow from outside the case with an anemometer. This is a handy test for how much the dust filters or case design affect airflow in and out of the case. Since this case uses a chimney design, I can’t measure the intake this way, but I did check the exhaust side of the top, above where the Hyte Thicc Q60 liquid cooler I’ve installed for testing sits. I measured airflow of 1 m/s without the dust filter and 0.9 m/s with—that’s pretty good.
The CPU got a little toasty, which is somewhat expected from the Q60 in my testing with the 14900K, though is something to consider if you’re buying brand new parts to go into this case.
In hindsight, I should’ve run a 360/480 mm radiator in the top spot. The VRM stayed reasonably cool, anyways, as did the RTX—the chimney design does a pretty good job of keeping the vertically-mounted GPU fed with cool air.
Flourish charts here
If you have no concerns about spending significant sums of money, a custom liquid loop would be ideal in the HS 420.
Mounting the GPU vertically inside this case did cause me a few headaches, namely in compatibility with the components I’d earmarked for the build. I was building the machine before I’d received the case to check compatibility, so most of that’s on me, though sticking a GPU in front of your motherboard does not make for easy tweaks once assembled.
You have to pull the fans out to access the GPU, and once the GPU is gone you need to remove the VGPU bracket to really have any chance of plugging a cable in or adding an NVMe SSD. Though I guess the VGPU mount is for the aesthetic of it all, not convenience.
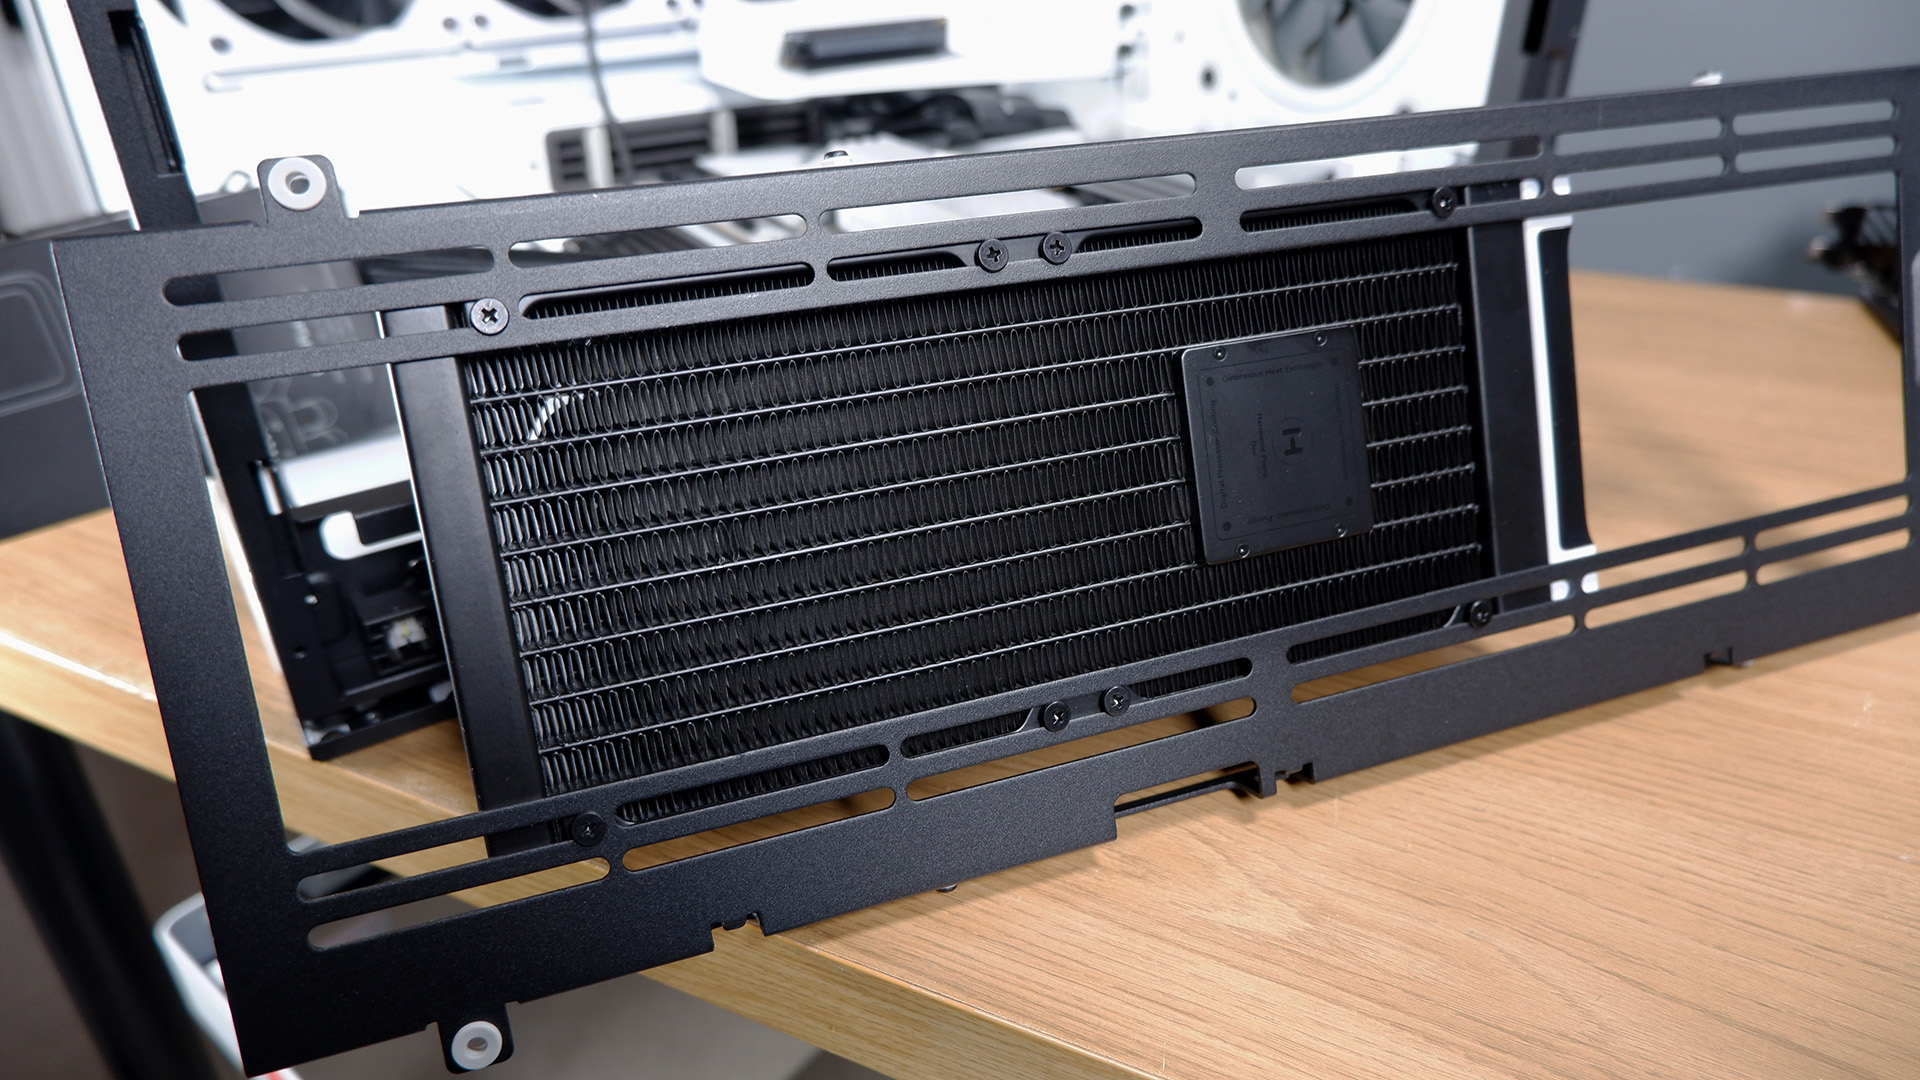
The worst picks of the lot are the Q60 and Thicc FP12 fans. Needless to say, neither really fit as intended. With the hulking Gigabyte graphics card hogging most of the space above the motherboard, the screen loaded onto the Q60—admittedly a guilty pleasure and a wild thing to stick on a CPU cooler—is too large to sit portrait as intended. Since it’s not possible to rotate the widgets for the Q60 as of yet (Hyte tell me that might change in the future), I’m stuck with putting pretty pictures on the screen instead.
But that’s more of a cooler issue than a case one—it’s just something to think about if you’re planning out a build to sit inside the HS 420.
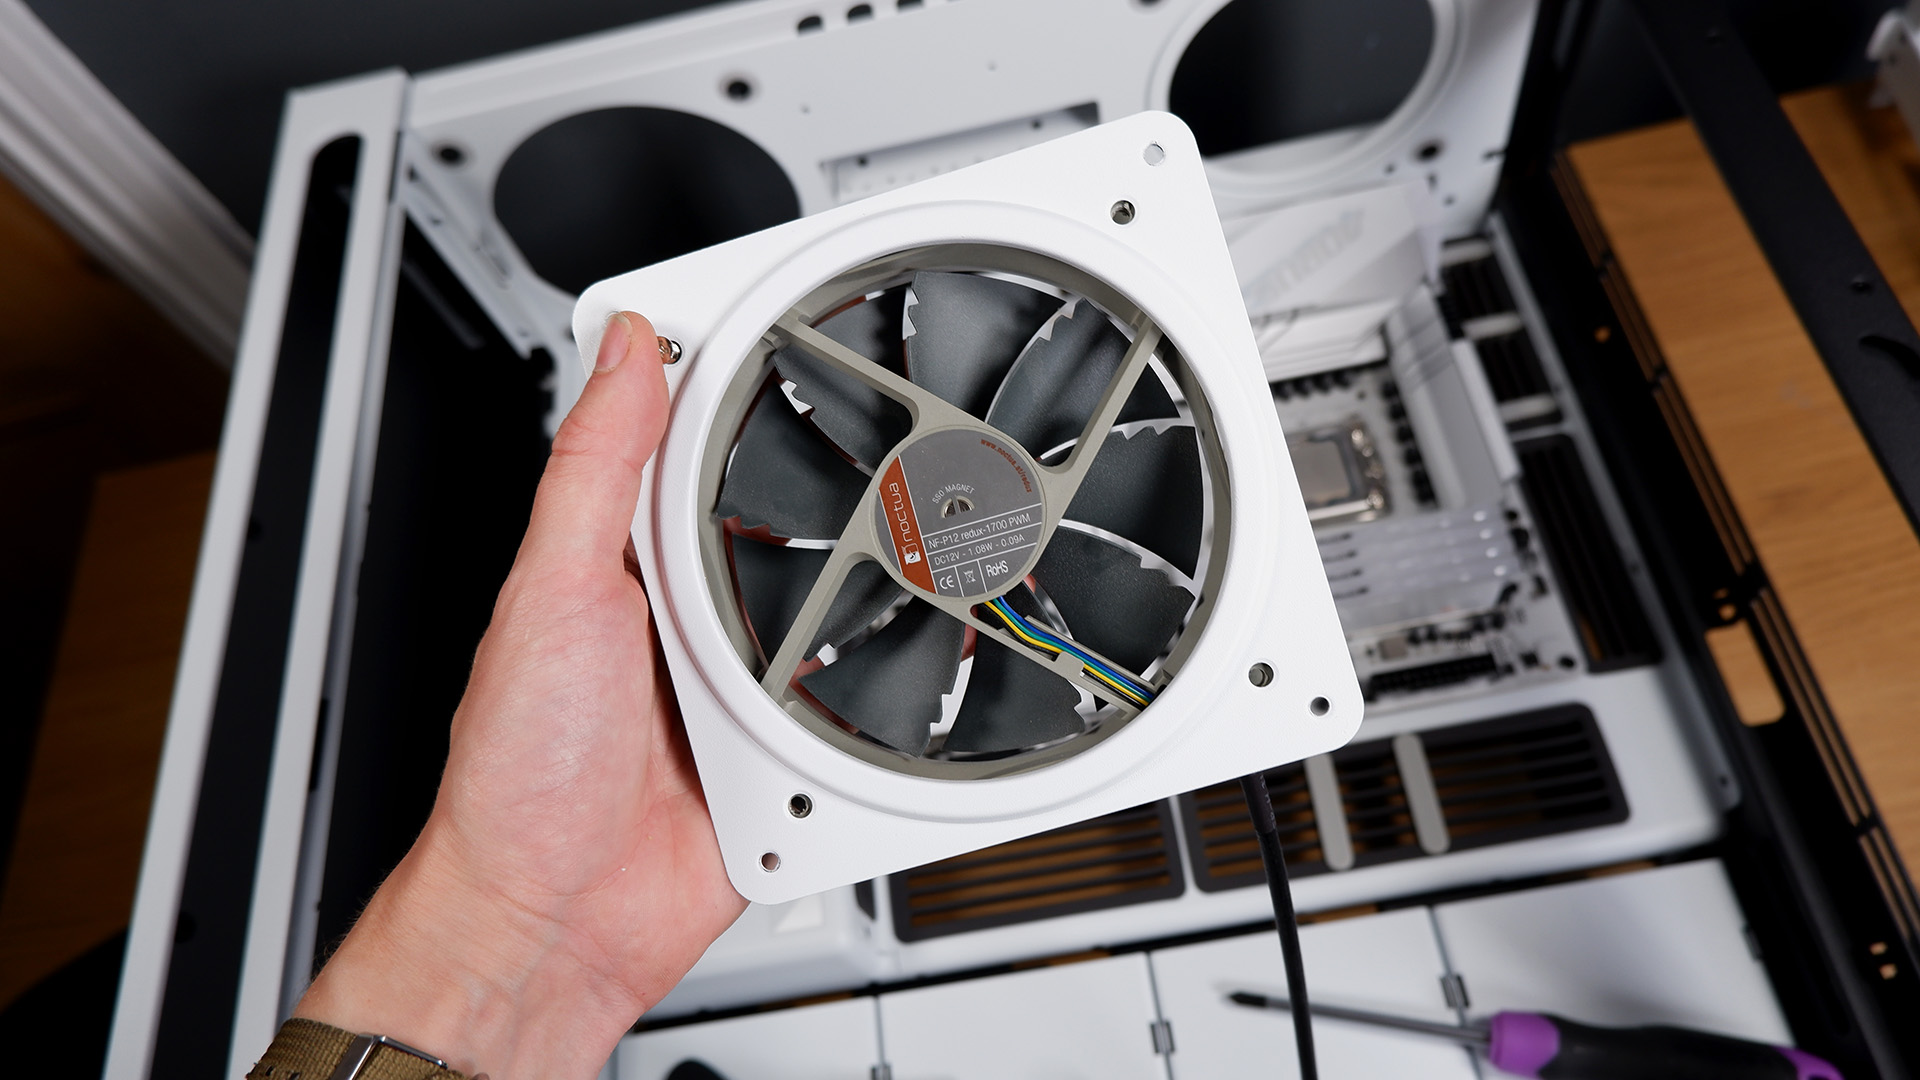
The three 120 mm fans also didn’t fit the VGPU fan mount. I could put a couple of screws in the holes intended for the 140 mm fans, but had to zip tie the rest. They’re pretty secure, but not quite as clean cut as I’d like them to be. Plus, the specs sheet did suggest 120 mm fans are fine. I’ve spoken to Havn and the specs should state 140 mm only by the time this case is actually released.
Otherwise, the process of building into the HS 420 was made extremely easy by some of the best cable management I’ve ever used—dedicated and labelled channels that run around the rear of the motherboard. There are also sliding guides that can be moved into the best location for whichever motherboard is fitted.
There are also a lot of options with storage here and the case is a breeze to build in with lots of clearance (without the VGPU bracket installed) and easy to access screws.
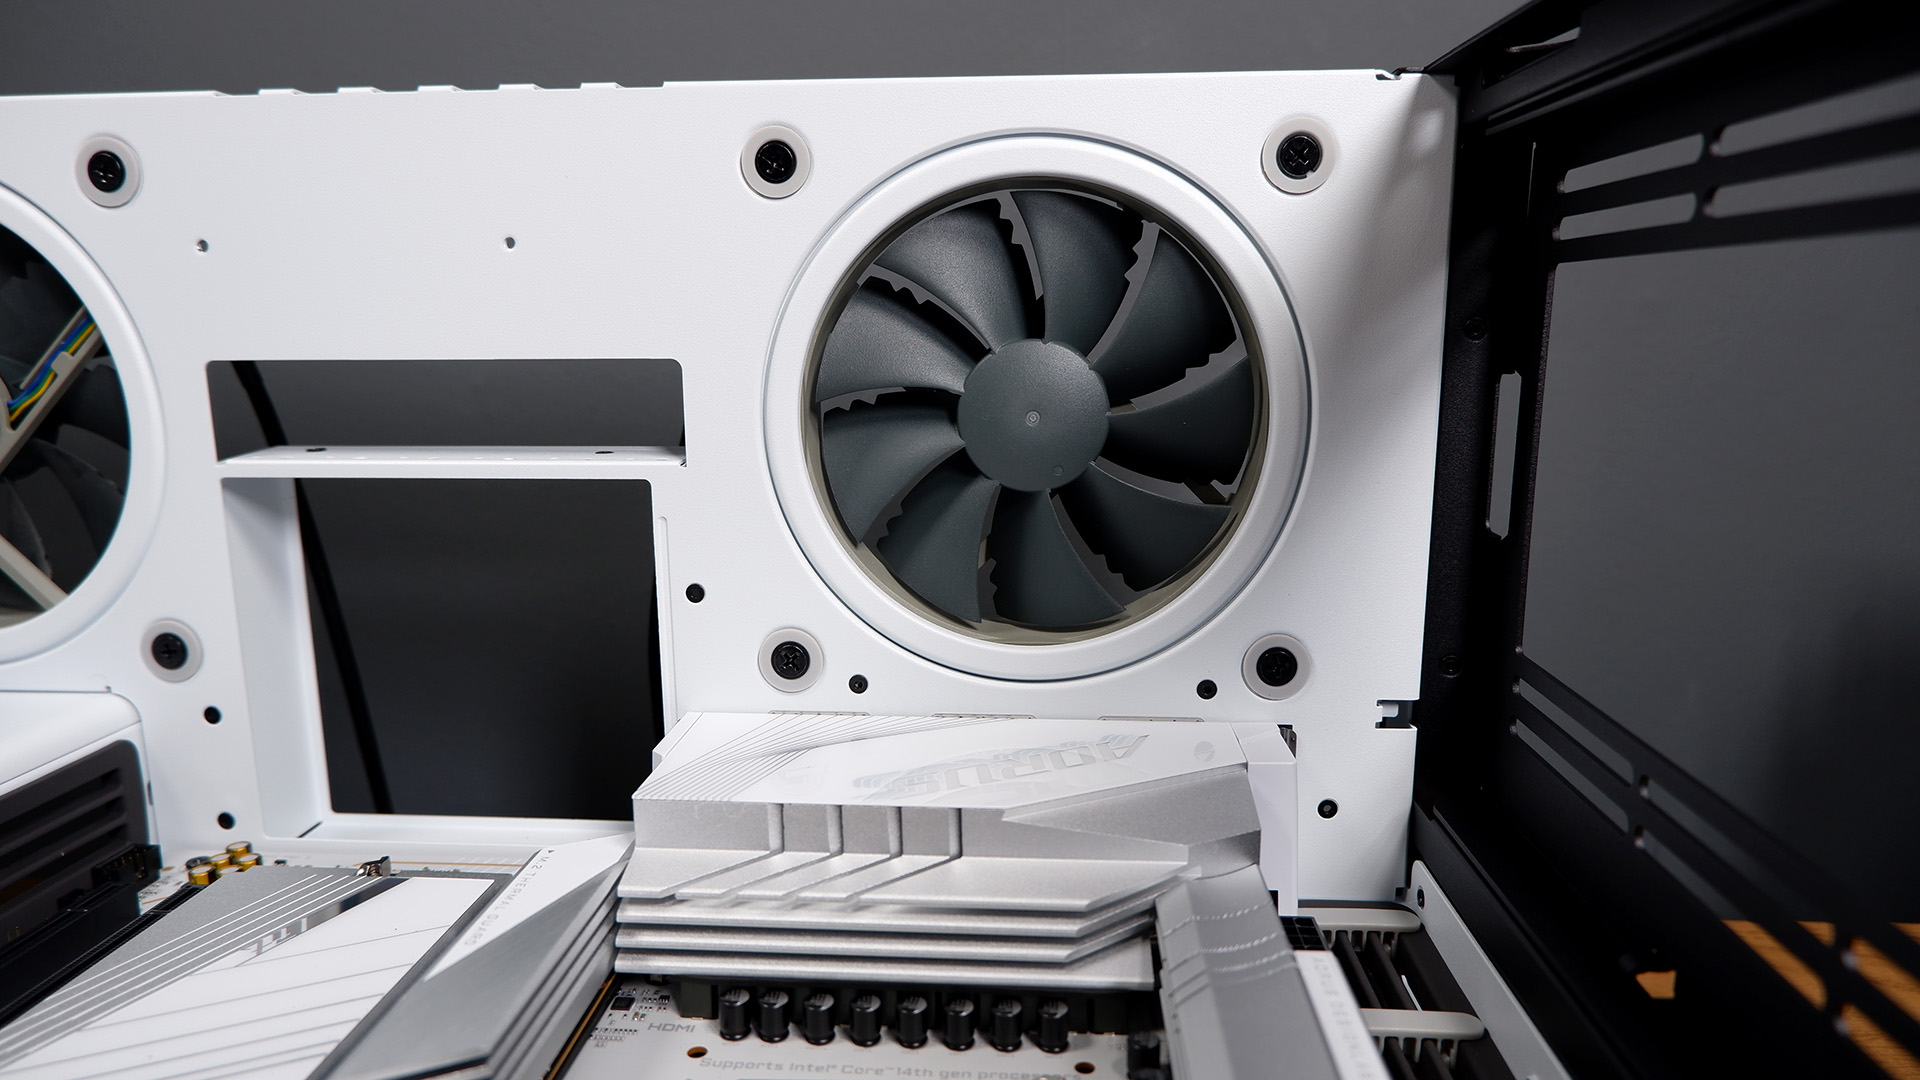
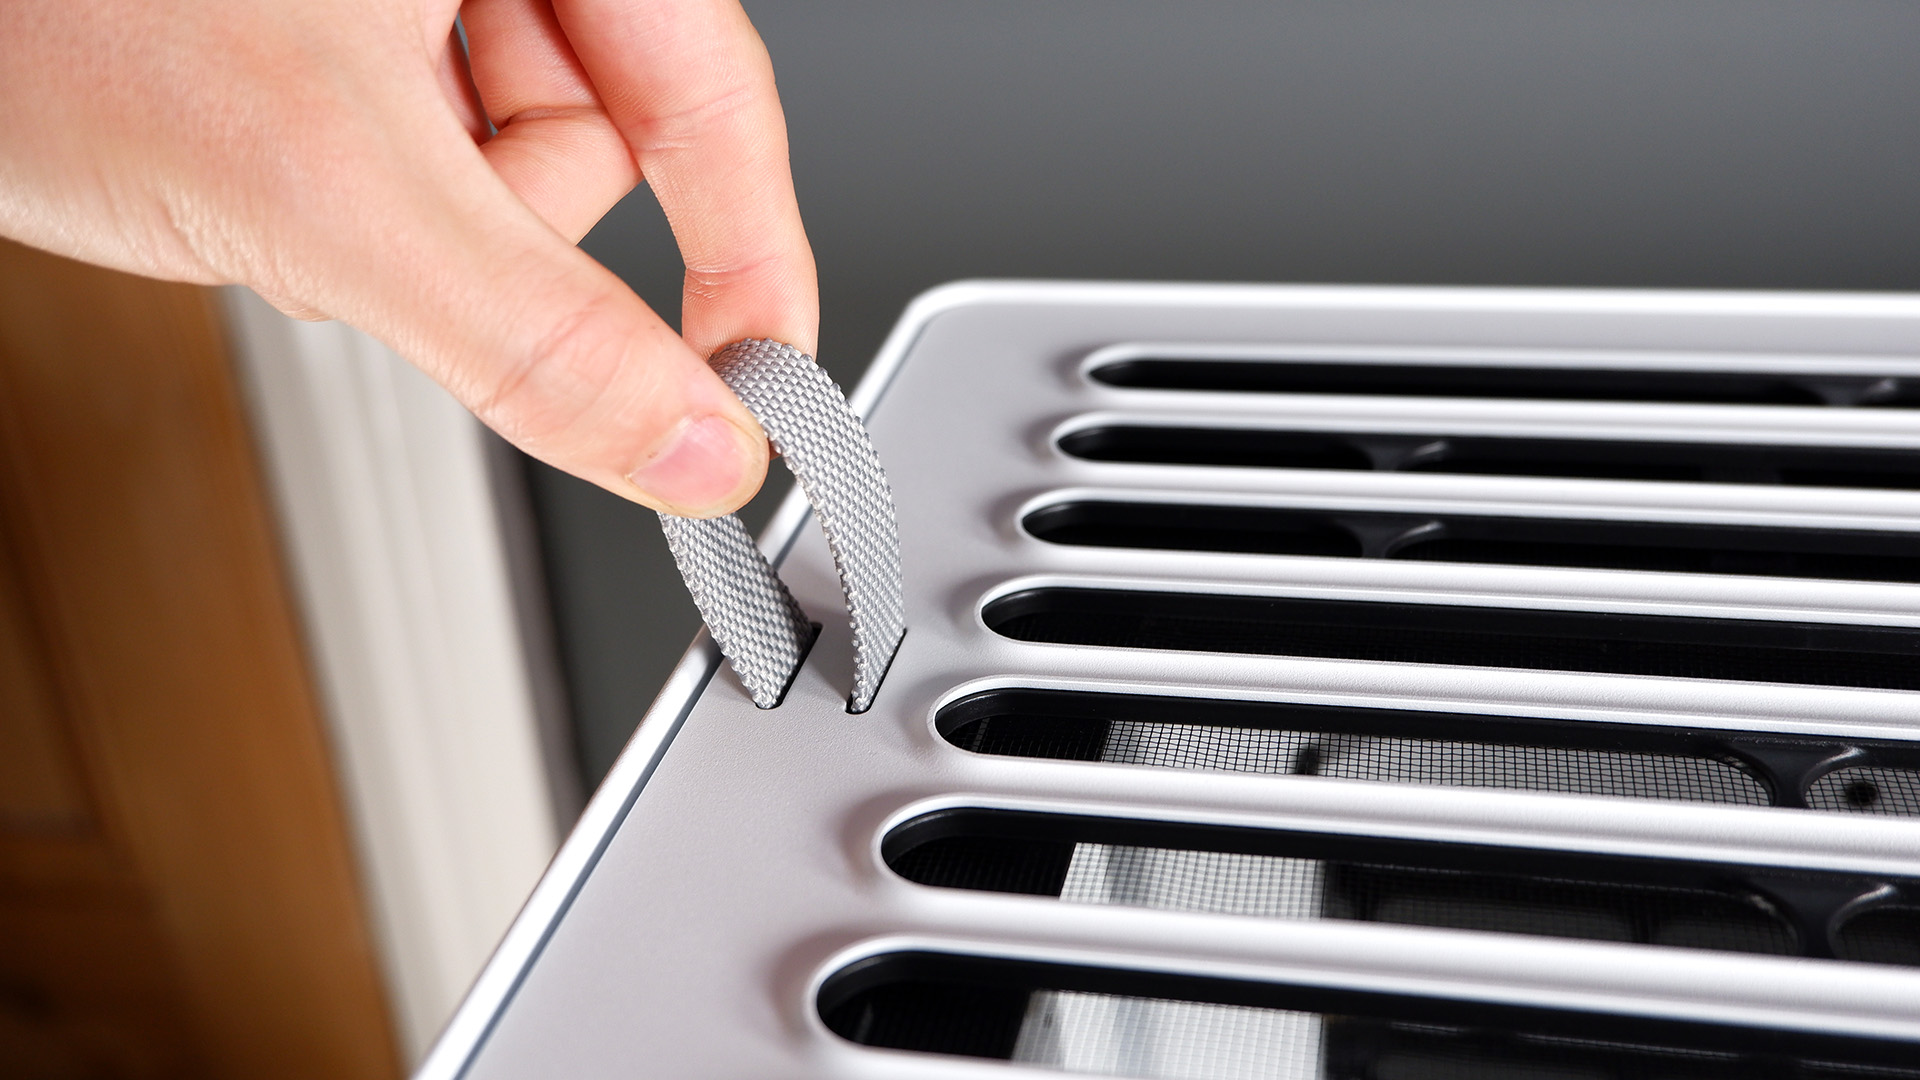
I opted for three fans pulling from the underside of the case, along with one intake fan on the rear and another exhaust fan up by the CPU. Up top sat the chunky radiator of the Q60. Though there are a lot of options. Remove the white panels down the right-hand side of the motherboard and there’s space for three fans or a large radiator. There’s quite a bit of flexibility, as there are two fan controllers in the rear for neat communal control. Also there are dust covers for the underside, top, and optional rear intake.
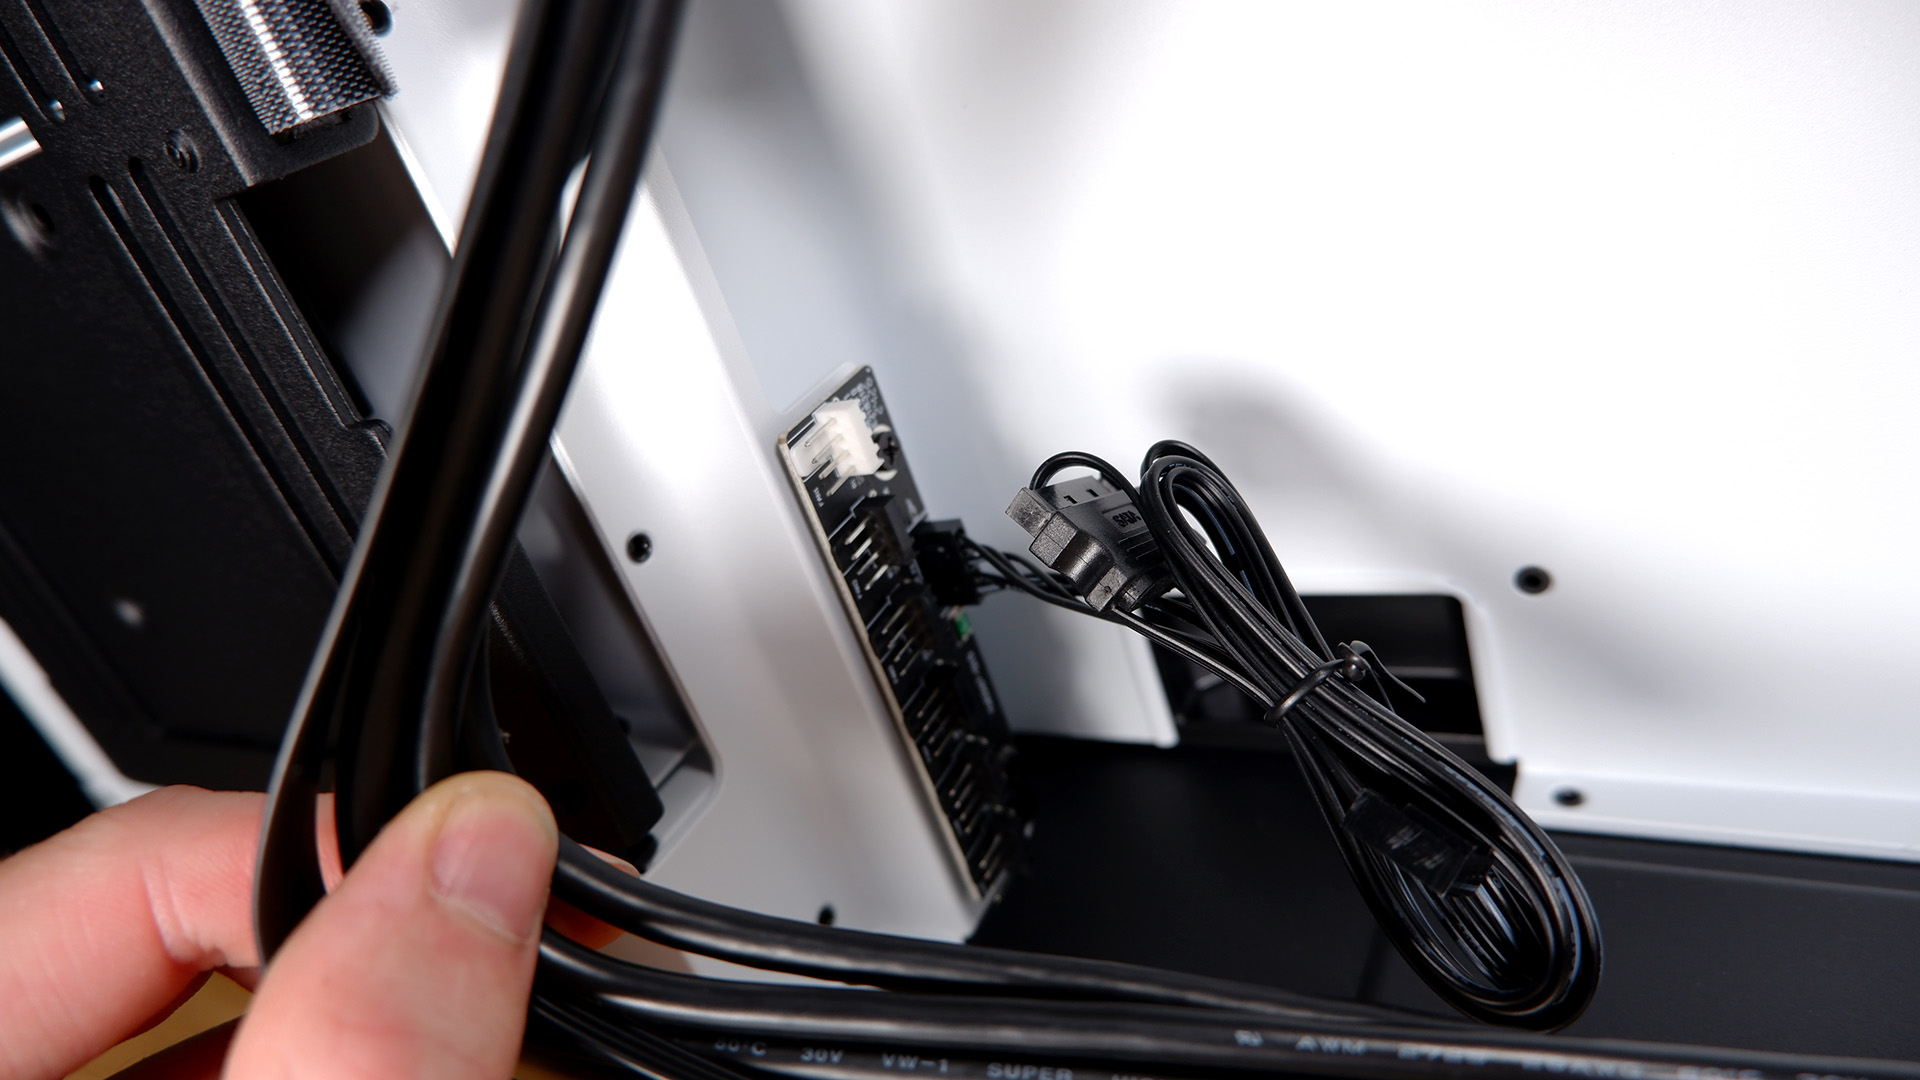
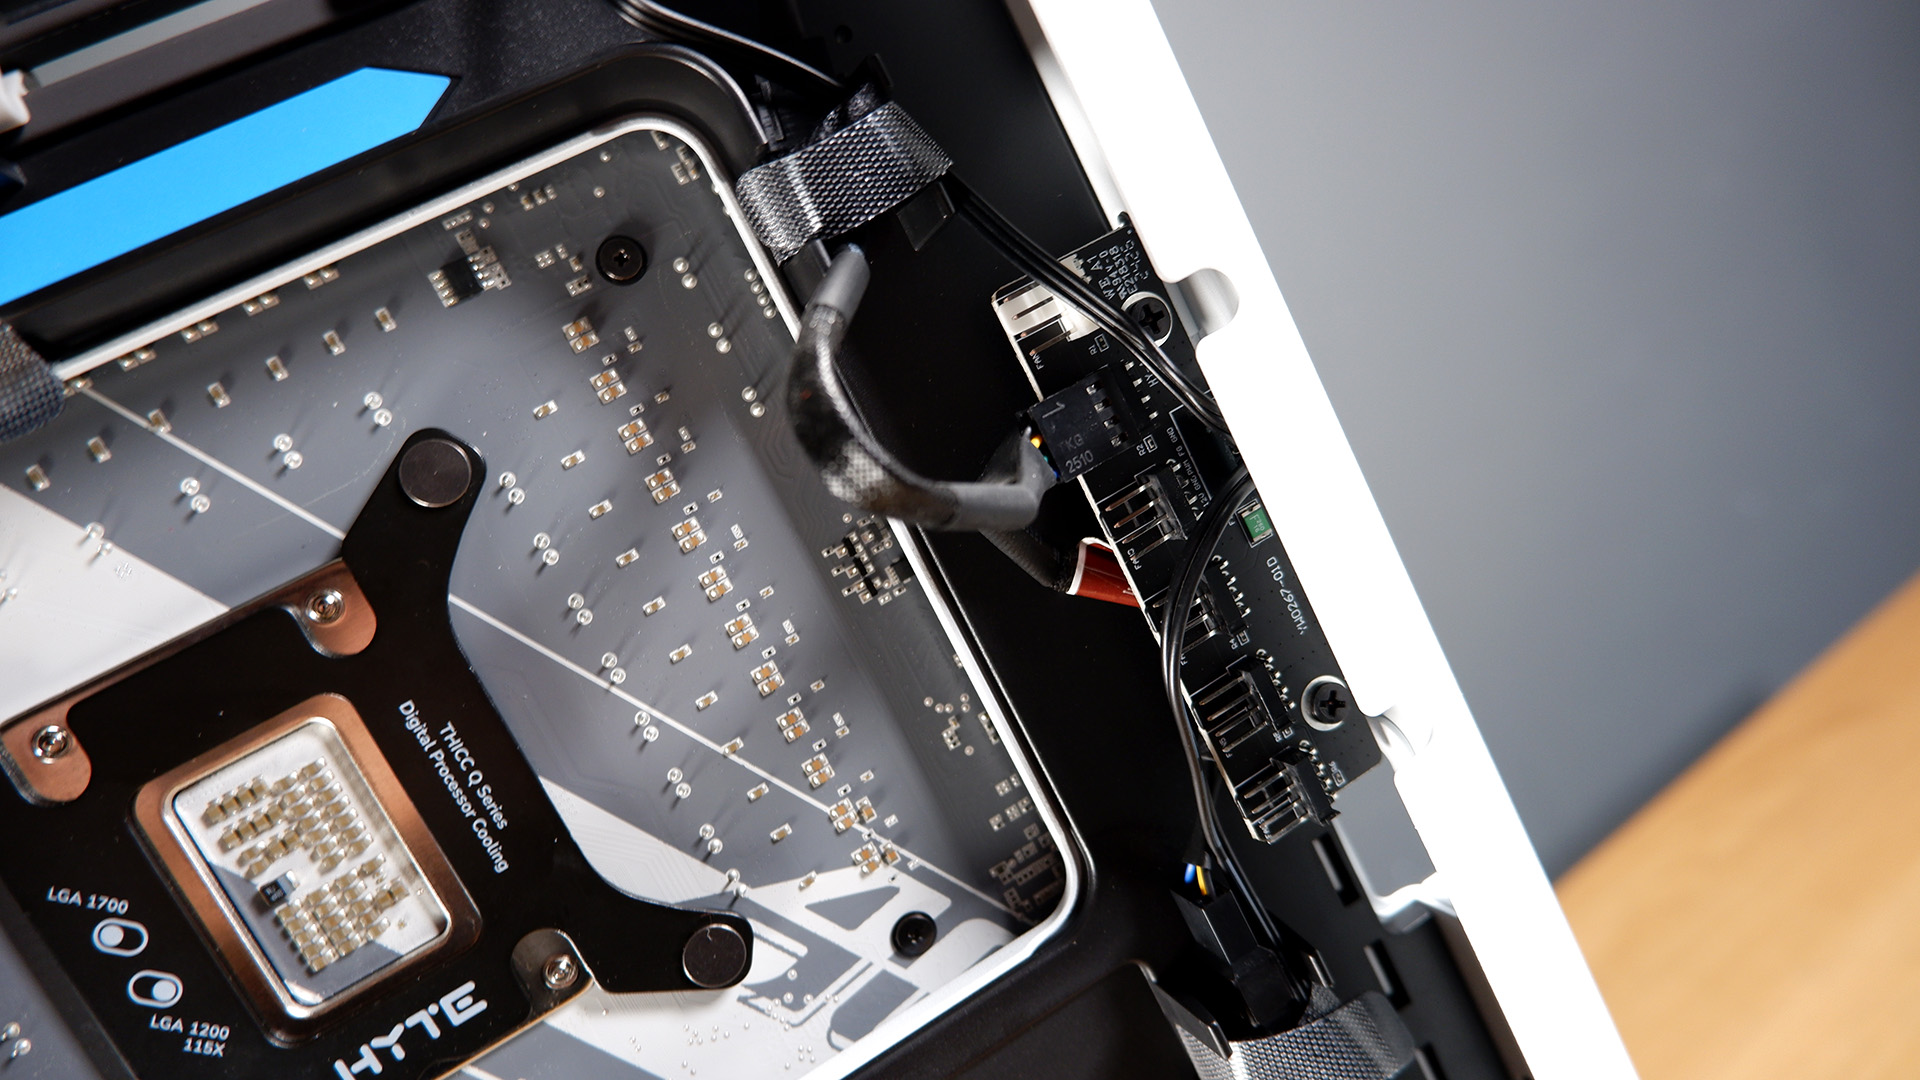
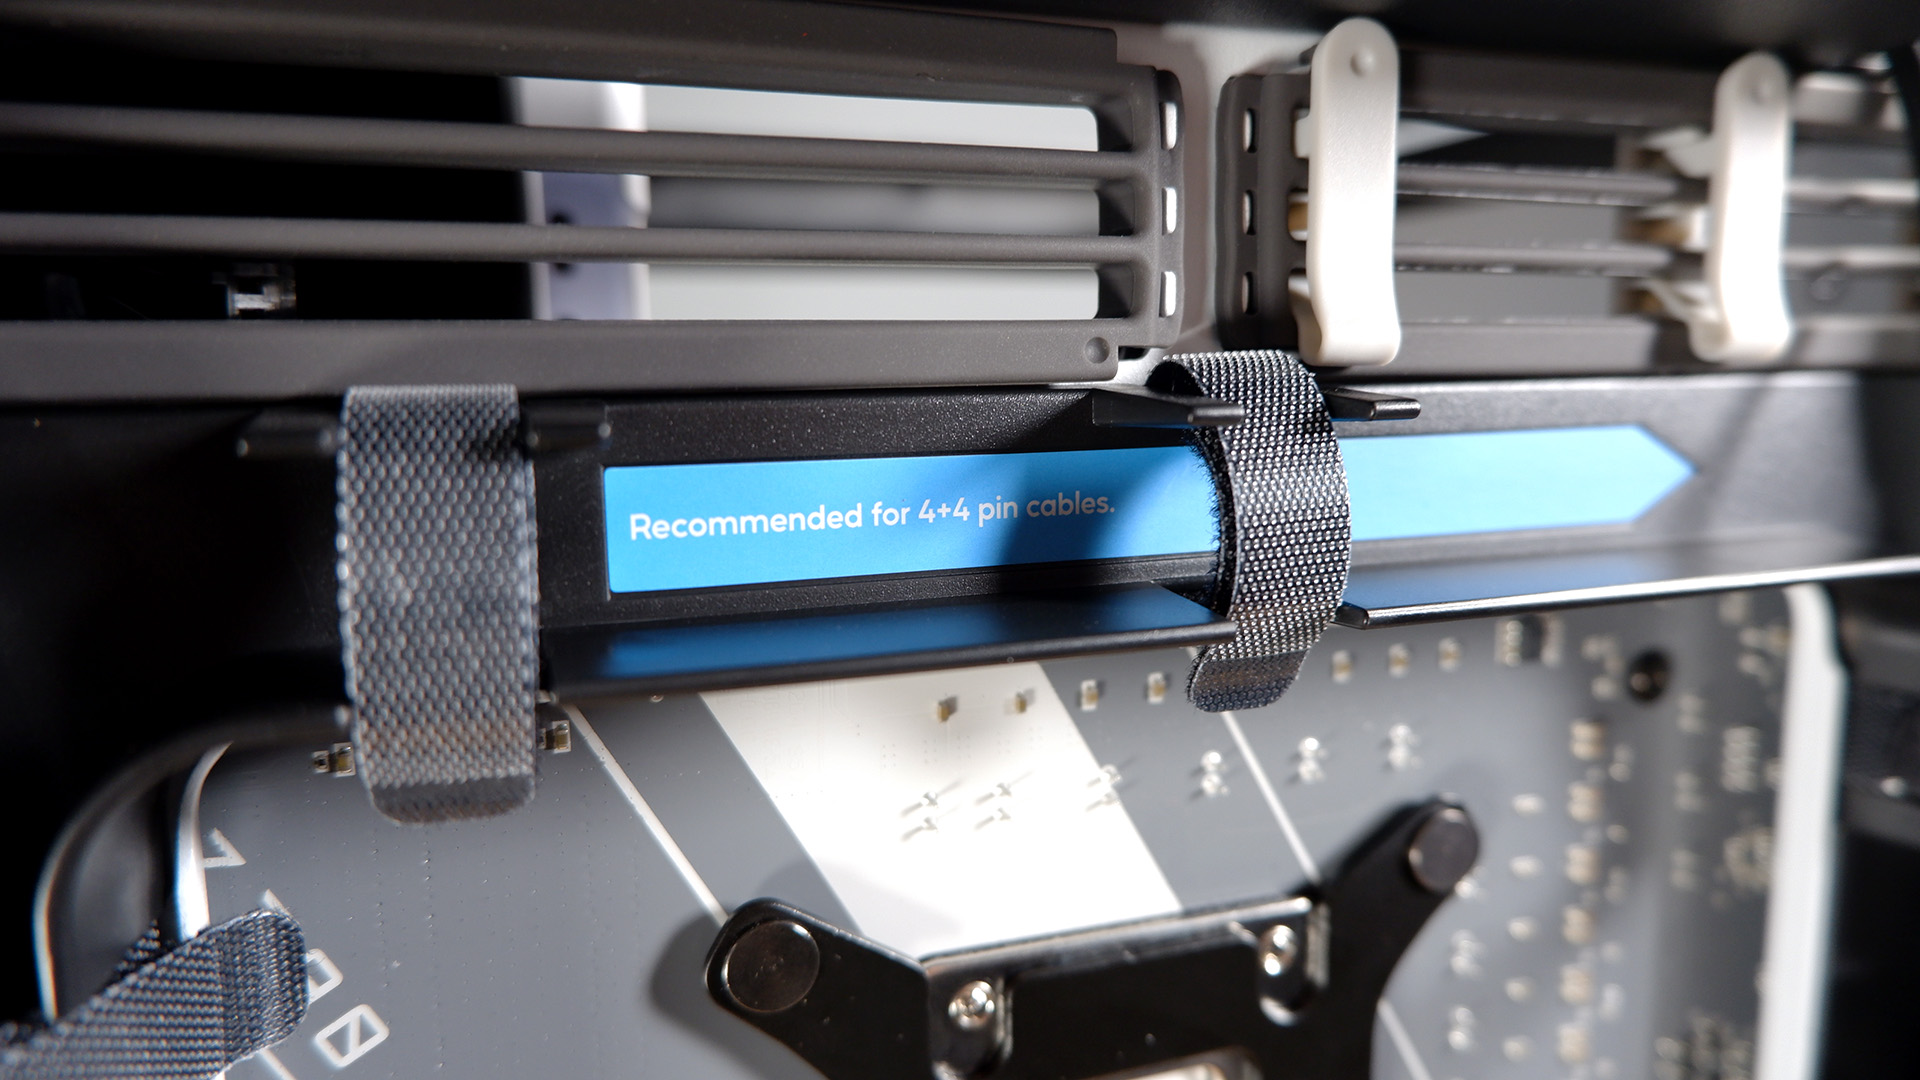
A single screw holds in the VGPU fan mount, which cleverly clips into place, and the VGPU bracket is held in with a couple of thumbscrews that make for easy adjustment.
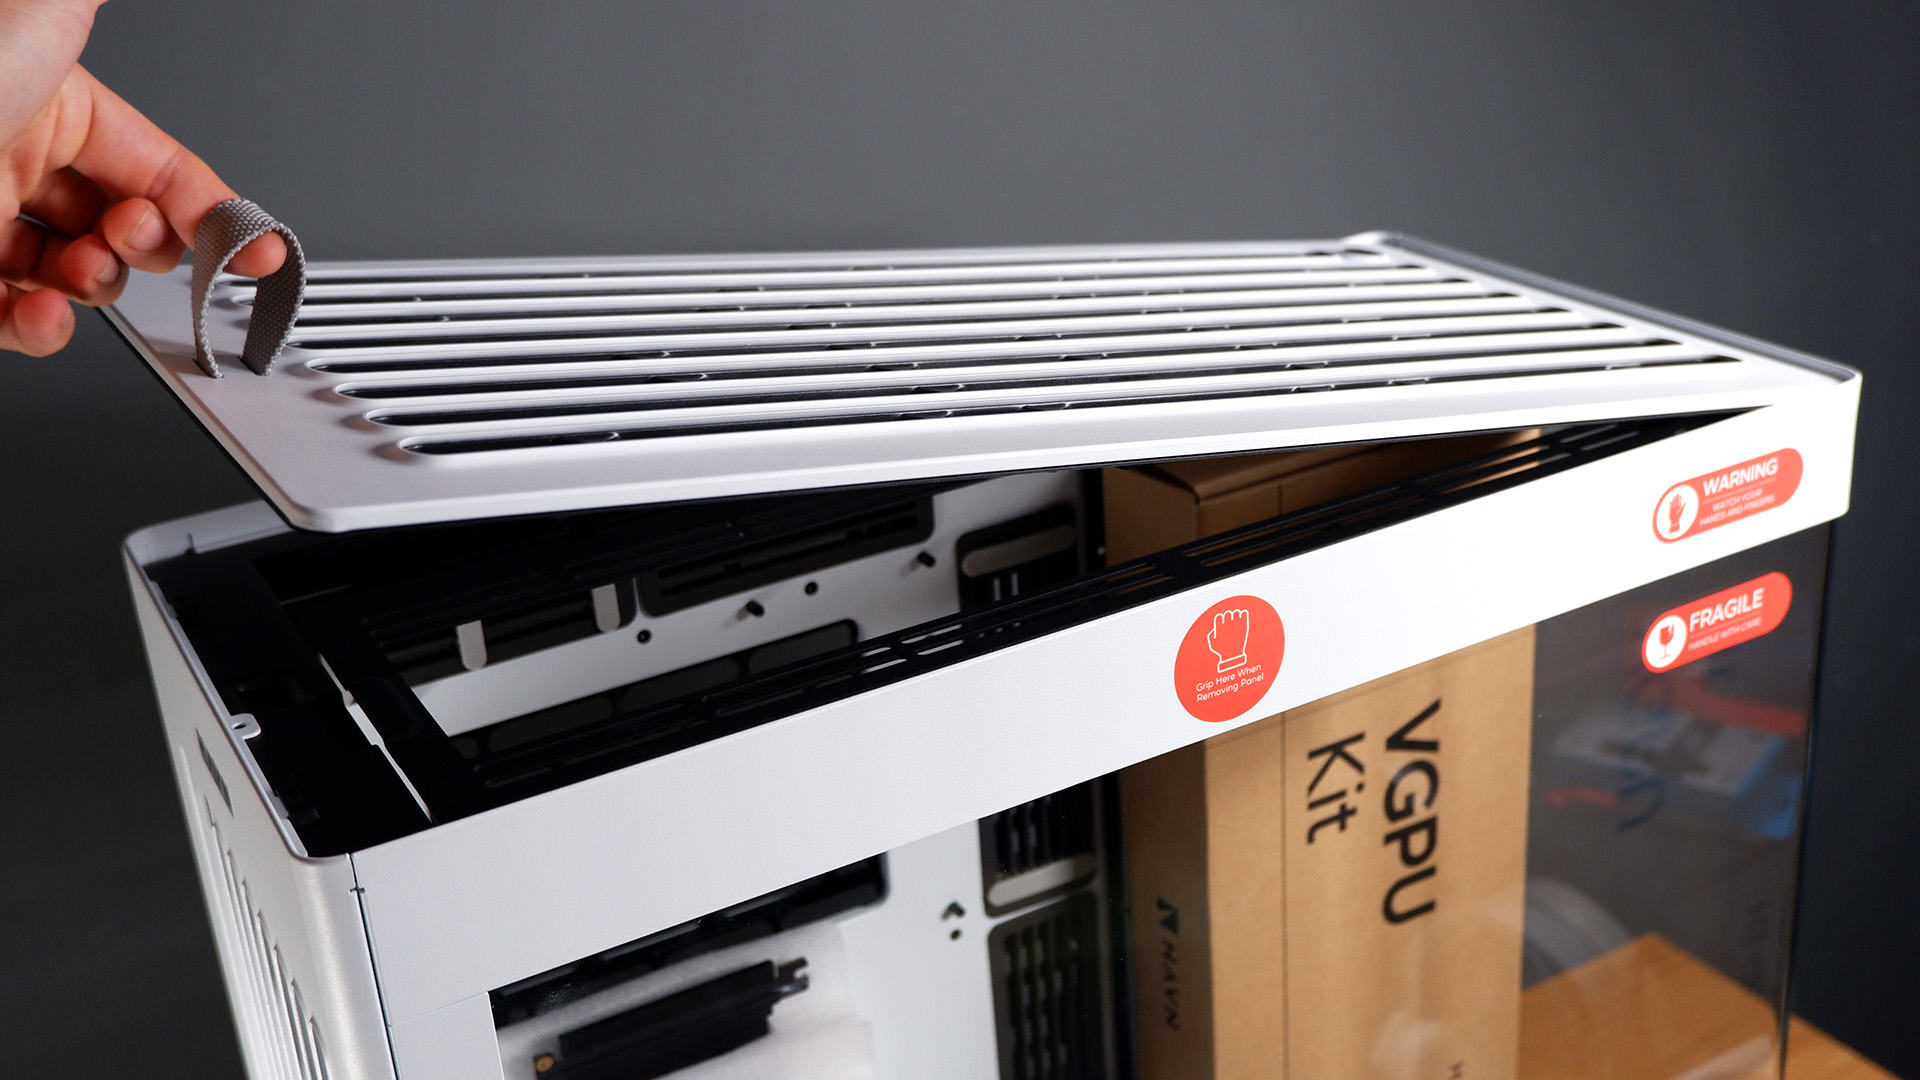
The weighty glass panel glides comfortably into place, too, and is held in place with four screws and the magnetically attached vented cover on the top. This top cover also wraps around the front I/O, more like top I/O, including a 3.5 mm jack, two USB 3.2 Type-A, and a USB 3.2 Gen 2 Type-C.
✅ You want to show off: With curved glass exposing two sides of this case, you can brandish your best components.
✅ You want to hide/organise your cables: The cable management on the HS 420 is a high point, with sliding guides and generous cable channels.
❌ You might have to move your case every so often: The weight of this case does make it a bit of a pain to move around.
❌ You want to use an air cooler: It depends on the air cooler, but with the GPU on its side, you might end up with weak airflow through a heatsink.
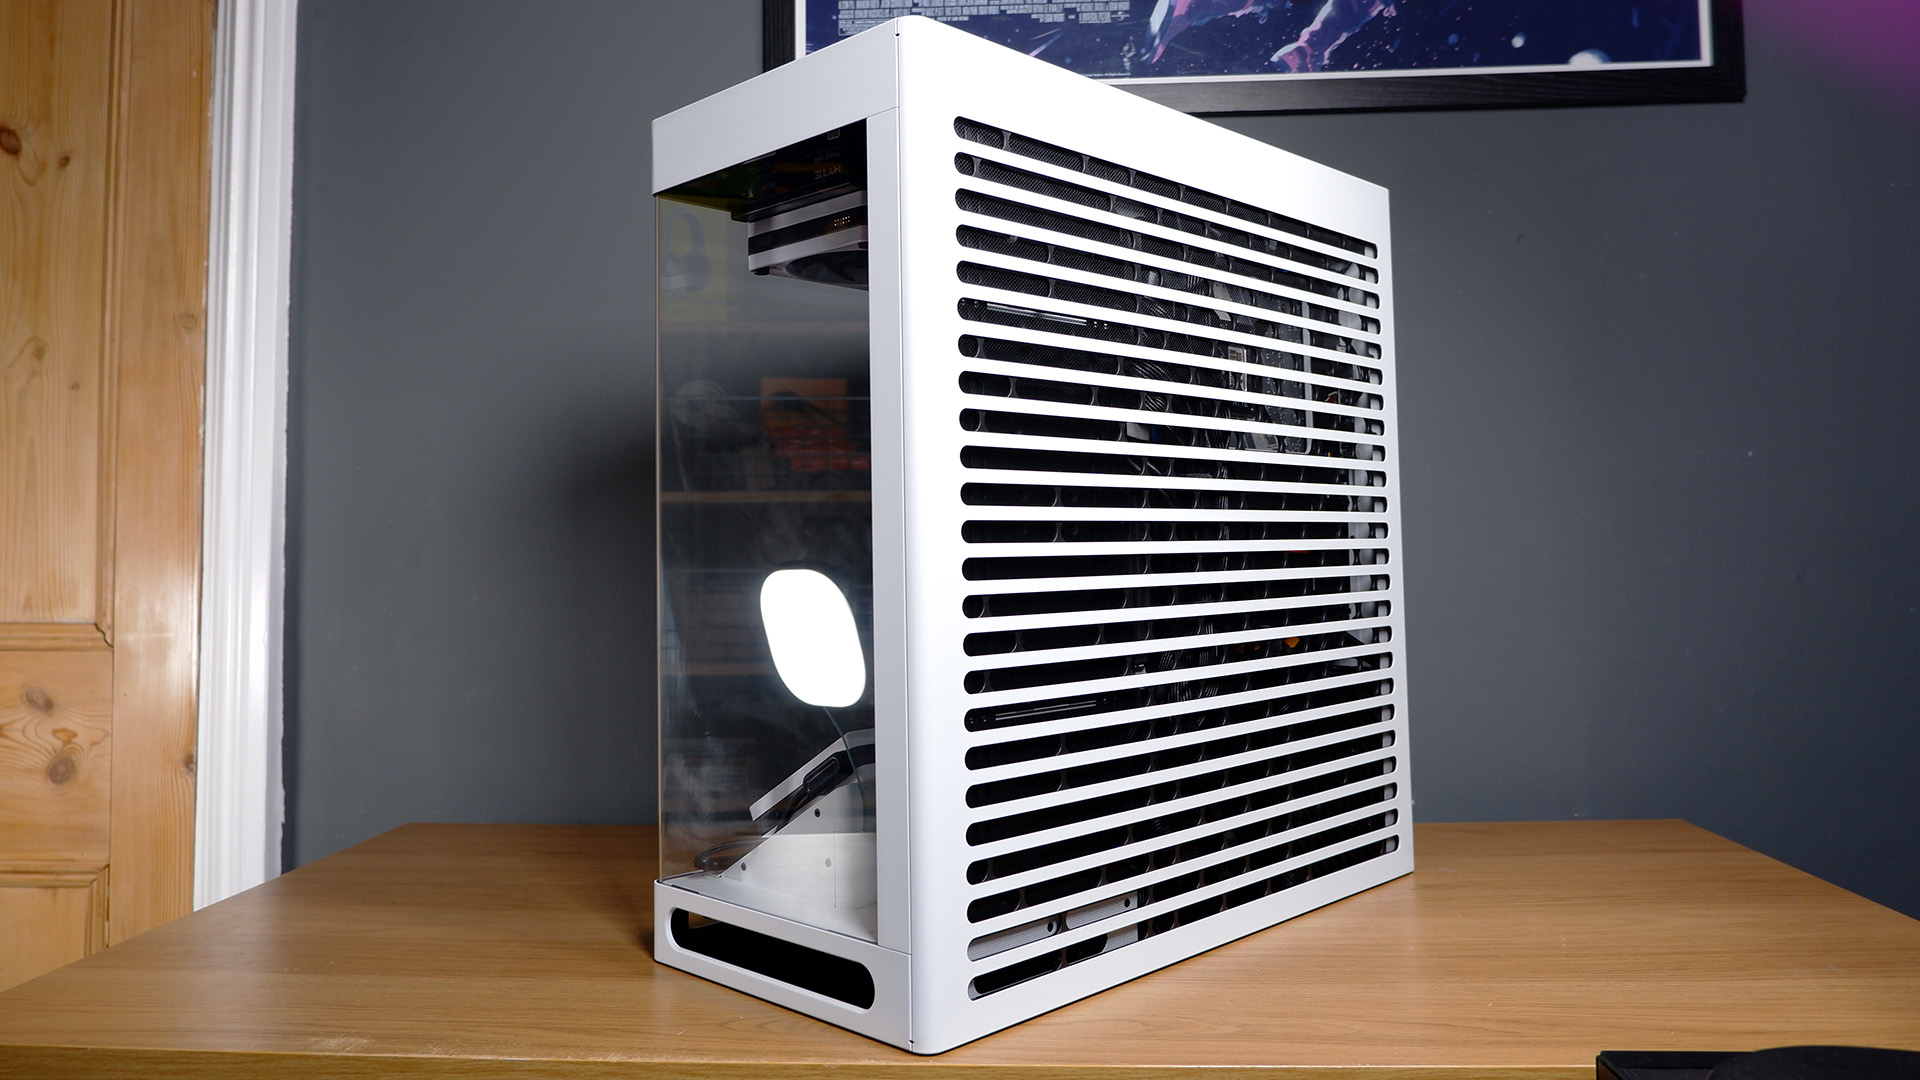
The off-side panel leaves plenty of clearance for cables from the PSU, which is nestled away from prying eyes in the dual-chamber design. It’s even one of the more striking off-side panels I’ve seen—the striped ventilation proving both practical for any fans mounted down the right-hand side of the motherboard and aesthetically pleasing.
I encountered no sharp edges during the entire build—it’s pretty well put together like that—and ended up with no bleeding fingers. That’s a win in my book. I’m thoroughly impressed by the build quality on the Havn altogether.
It is a pretty heavy case, however. I don’t have any scales capable of measuring this much weight but Havn puts it at a net weight of 19 kg.
The Havn has been one of the easiest cases I’ve built with in some time. It’s a combination of its size, dual-chamber design, simple screws, and generous cable management system. The few moments of frustration arose from the VGPU mount and how little of the motherboard is accessible with it in place, though that’s a pretty common theme among vertical mounts—they’re completely form over function.
Combine this with a stunning overall appearance and Havn is onto a winner with its first creation.


