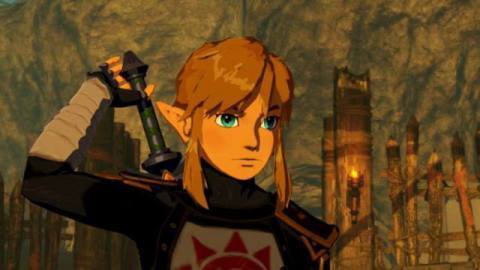
So, you’ve gone and got your hands on Hyrule Warriors: Age of Calamity and you’re looking for some tips to getting the best out of the game from the get-go? You’ve come to the right place!
Koei Tecmo’s combat-focused Dynasty Warriors series is renowned for its fast-paced hack-and-slash action which might be quite different to what you’re expecting from game so directly linked to The Legend of Zelda: Breath of the Wild. We’ve put together this little guide to help you adapt to Age of Calamity’s systems and combat as quickly as possible, and get the most out of this latest adventure in Hyrule.
Hyrule Warriors: Age of Calamity Guide – Age of Calamity Tips
Below you’ll find various nuggets of advice for getting the most out of your time with Hyrule Warriors: Age of Calamity.
Switch between characters!
This may seem obvious, but make good use of the characters you’ve unlocked. Each fighter has unique moves and a different feel — you can experiment using each of them in the Meditative Training ‘dojo’ which unlocks in the opening stages of the game (hit ‘L’ to skip to the Services tab and it’s the third option on the list), and we recommend heading there with each character for a minute or two to experiment and get comfortable with them. Practice makes perfect.
Beyond that, it’s often much more convenient (not to mention time efficient and necessary at higher difficulties) to switch characters who are across the map rather than to waste time traipsing your high-level Link across the entire battlefield while the rest of your team takes a beating. Best take a note from your favourite Nintendo console and get switchin’.
Pay to level up characters and avoid grinding
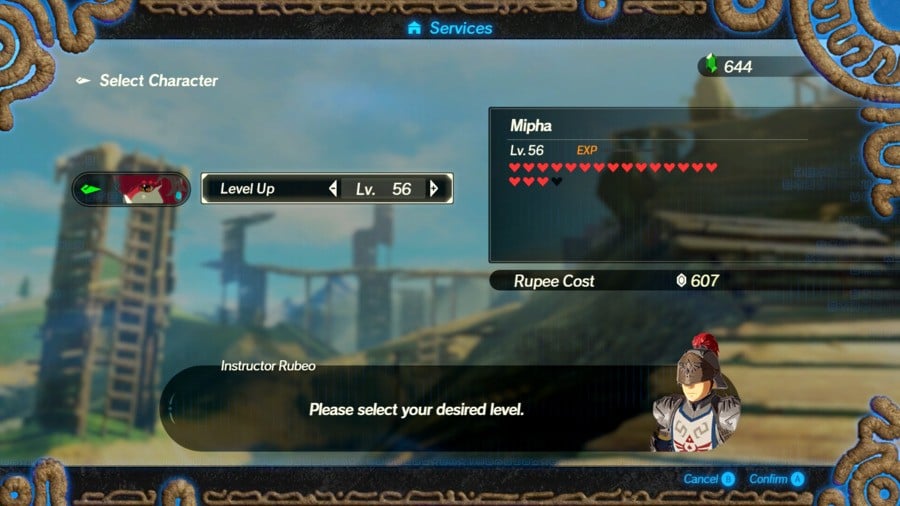
The fighter you’re using will accrue XP through battles and level up naturally, but you can also pay Rupees to level up any combatant you’ve unlocked at the Military Training Camp (once you’ve unlocked that service). The going rate is surprisingly reasonable and there’s no benefit to grinding an under-levelled character ‘manually’ through battling, so make use of the Military Training Camp — that’s what it’s there for.
Think about your button mashing
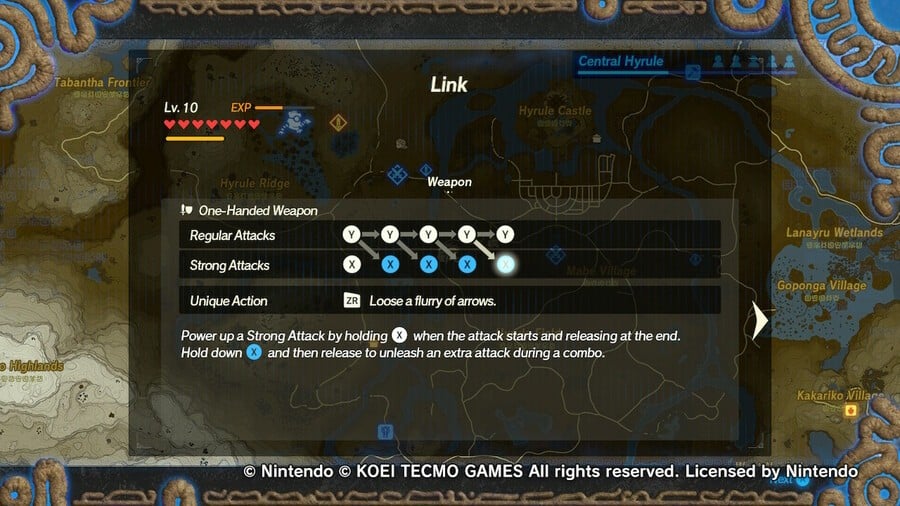
It’s easy — and enjoyable for newcomers — to simply mash the ‘Y’ and ‘X’ buttons willy-nilly, but you’ll get much more out of the combat if you pay attention to the combos. They’re not complicated; hit ‘X’ after a succession of regular hits and you’ll unleash a strong attack that varies depending on the number of button presses that came before.
Again, you can freely experiment in the Meditative Training area so go there to test out moves as and when you unlock them and find which combos you like best. It’s not just about hacking-and-slashing, you know — it’s about hacking-and-slashing in style!
Use the Sheikah Slate rune abilities
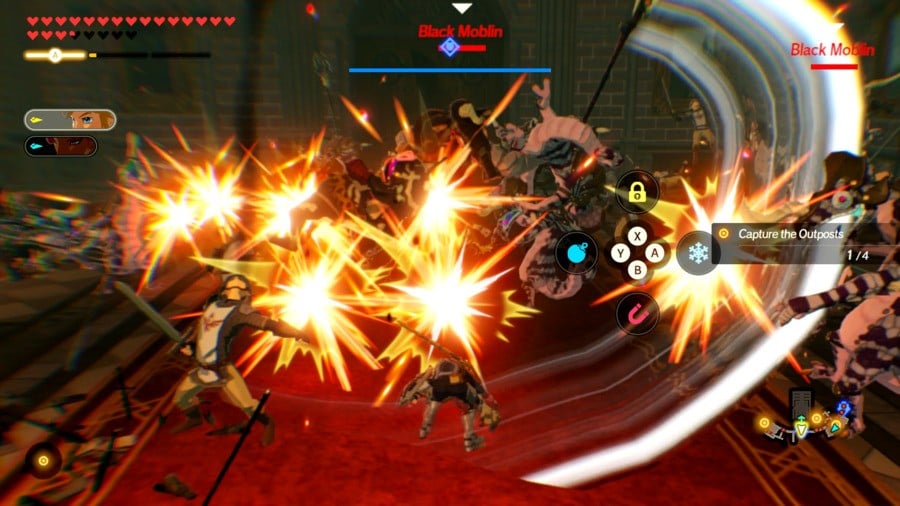
The Sheikah Slate is a powerful little device. Holding down ‘R’ will slow time and let you choose between the four rune abilities:
- Magnesis (‘B’) — use a magnetic ability to throw metal debris and redirect enemy weapons back on them
- Cryosis (‘A’) — create a block of ice to aid you in combat
- Remote Bombs (‘Y’) — whip out some glowing blue bombs to break down enemy defences
- Stasis (‘X’) — ‘freeze’ an enemy to a spot and charge up a massive kinetic attack through multiple strikes
You can’t just spam these attacks thanks to a short cooldown meter that appears between uses, but they’re powerful tools in your arsenal. While enemy vulnerabilities to these rune attacks are signalled with icons, remember that you can use them at any time — they’re a great way to chip away at a baddie’s health bar at any time, so don’t forget about them.
Use your Special Attack strategically
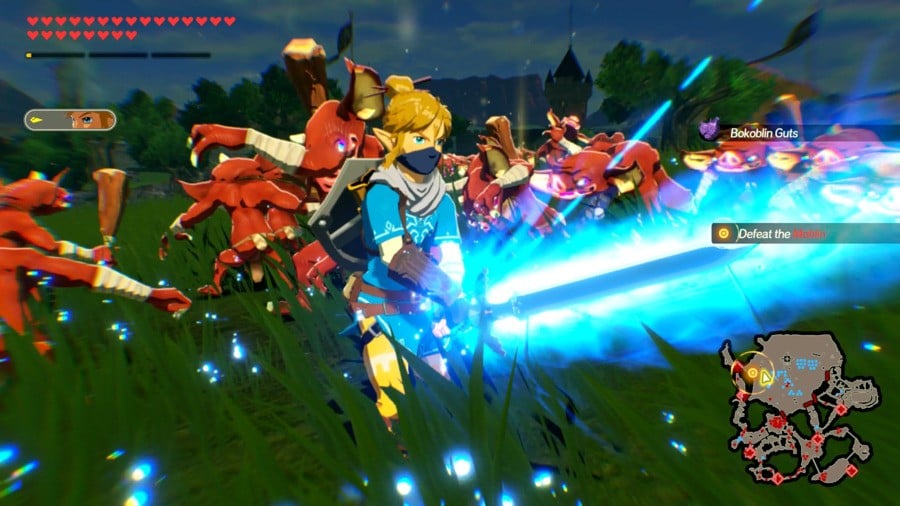
Keep an eye on your Special Attack meter(s) in the top left corner of the screen. Once you’ve wasted enough grunt enemies it’ll illuminate with an ‘A’ in the middle and pressing the corresponding button will initiate a big ol’ screeb-clearing Special Attack.
Judicious use of this can make short work of even the toughest foes, and with a little strategy you can use it to avoid deadly attacks, too. Activate a Special just as a Guardian fires its laser at you and you’ll take no damage as the wind up attack animation plays out.
Don’t forget that you can parry
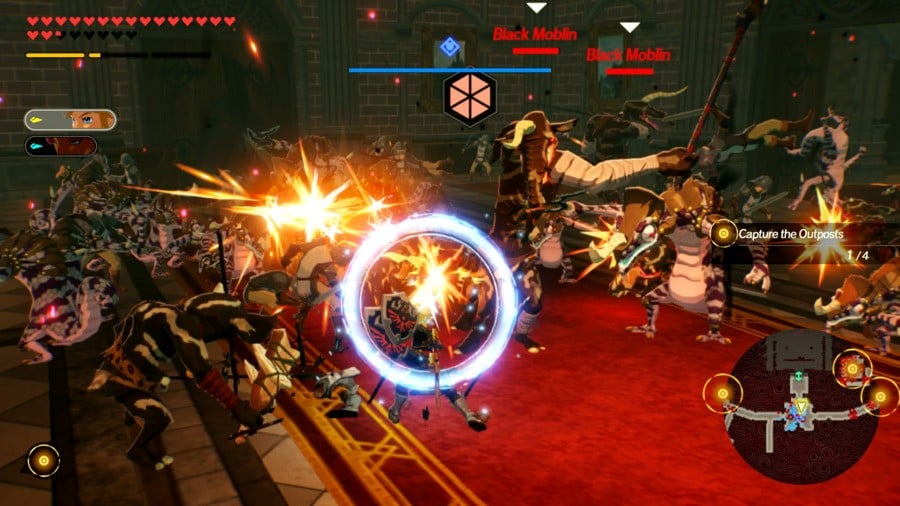
Remember that Link and certain other characters can parry, and it may be a lot quicker or easier to parry a strike and open up an enemy’s weak-point gauge than to dodge an attack (which opens up the Flurry Attack option) or wait for a signalled opening for a Rune attack.
How do you parry in Age of Calamity? Hold down ‘ZL’ to shield and hit ‘Y’ as an opponent’s attack is about to hit. The enemy will be stunned and their weak-point gauge exposed. Get stuck in.
Break every box and crate…
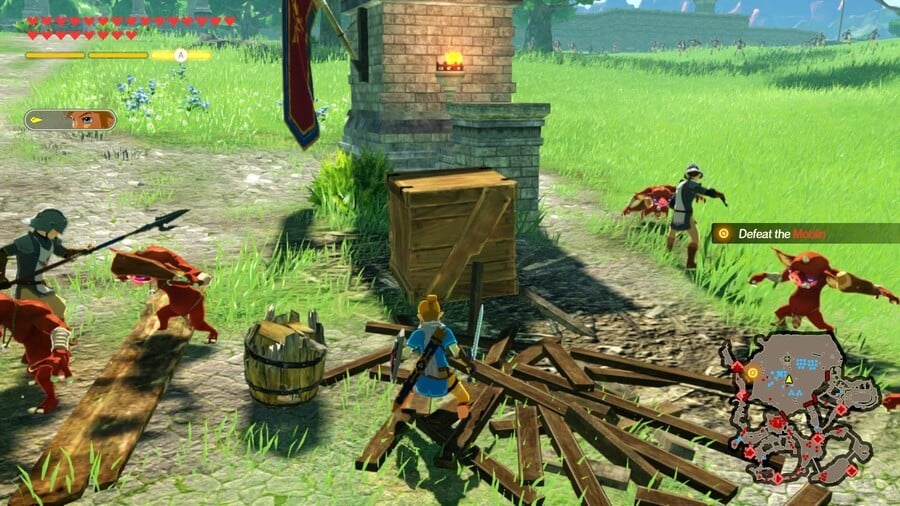
Around every level you’ll see breakable boxes and barrels — it’s worth going a little bit out of your way to break a few, especially if you enjoy fusing weapons. The Blacksmith is happy to take on whatever project you like, but he’ll want coin for his services. Actually, he’s not interesting in coin — he only accepts rupees, and the currency found in crates will come in very handy, especially at the start of the game.
You might also find a Korok hiding in a crate, too.
…but don’t bother running to collect spoils
Although the button prompt to open chests will appear, you can safely ignore it and all the goodies held within will magically escape and go into your pocket. This goes the same for the rupees in boxes and any items dropped by enemies or through environmental destruction. All those items will automatically home in and chase you wherever you go, so don’t waste time running to collect them.
Some chests — ones specifically hidden that you’ll stumble across every so often — are the exception to this rule and will need to be opened manually with ‘Y’. Otherwise, let the spoils come to you.
Fuse weapons to make them stronger
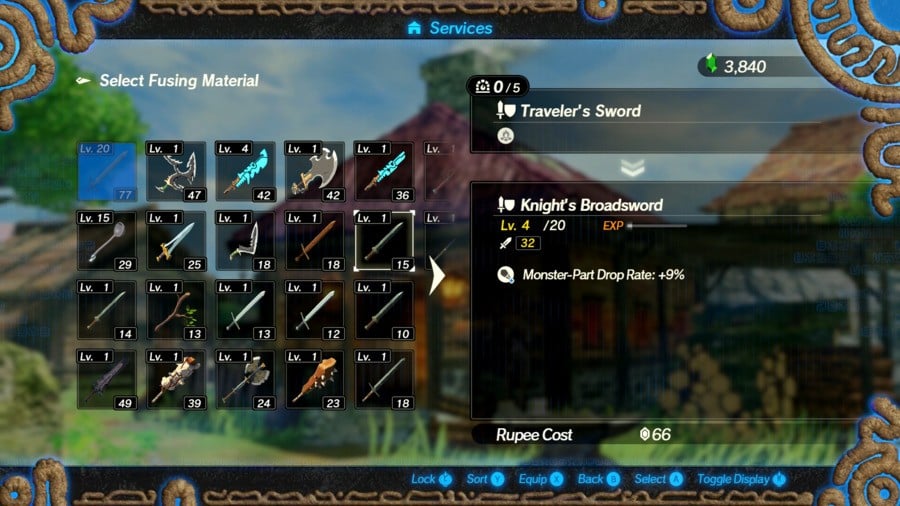
Weapons, like characters, can be levelled up. Simply head to the Blacksmith’s and he’ll offer to fuse any of your weapons together to make your base choice stronger.
You can also match weapons with the same perks (indicated by special icons or ‘Seals’) and improve your favourites with special buffs.
Accidentally added a Seal you don’t like, or want to replace it with an improved version? No problem — later in the game you’ll unlock the ability to remove all the Seals (or selected ones), so you’ll be able to fashion the perfect blade, club, spear or other stabbing weapon. Boom.
Remember your elemental rods
If you can see Wizzrobes on the map, it’s invariably worth hunting them down and defeating them to refill your elemental rod meters. A quick blast from your Fire Rod can make short work of ice enemies, and it can be a great way of taking down larger enemies in no time.
Cook meals for pre-battle buffs if you’re having trouble
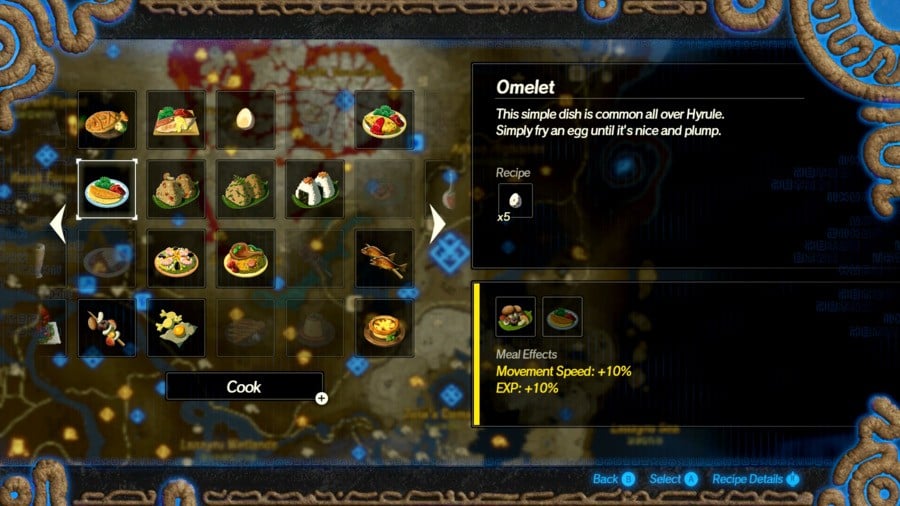
By completing Quests you’ll unlock recipes that can be cooked before a battle and which offer percentage buffs on movement speed, attack strength, cooldown speeds and many other variables. On normal difficulty you may not need them, especially earlier on, but in some of the later challenges and difficulties you’ll need every edge in battle you can get.
When the going gets tough, remember: never go into battle on an empty stomach.
Alternatively, knock the difficulty setting down
There’s no shame in knocking the difficulty level down if you’re having real trouble. To do this, head to the Options section of the title menu and switch to an easier setting. You can also check the difficulty level you’ve completed a task on by checking the Battle Info on the main map screen (hit ‘X’ once you’ve selected a Subchapter or Challenge to access it).
Use the ‘L’ and ‘R’ buttons to access Services, Chapters, Challenges and Quests on the overworld map screen
At first, you’ll have no trouble seeing flashing icons on the overworld map of Hyrule, but before long you’ll have more icons littering the map than you’ll be able to keep up with.
Fortunately, hitting the bumper buttons (‘L’ and ‘R’) cycles between menus enabling you to access Services, Chapters, Challenges, and Quests much more easily. These are handily subdivided via Recommended Level and Character, and they also show as ‘Completed’ once you’ve ticked them off. So, don’t bother straining your eyesight looking for a tiny symbol on the map — hit those bumpers and get where you need to go fast.
Use your Sheikah Sensor to find the materials you need
You’ll soon unlock the ability to locate spoils needed for Quests by using the Sheikah Sensor. By hitting ‘X’ over a Quest icon you wish to complete, locations and Challenges that provide the necessary materials are highlighted in green. This means you don’t need to search to find the rewards you need one-by-one. You can even unlock the ability to use the sensor on more than two target Quests. You’ll also get a notification mid-battle when you’ve collected the requisite materials. Handy!
The Sheikah Sensor does have its limitations, though. Certain common materials may be found in many different locations, and activating the Sheikah Sensor may result in dozens of icons ‘pinging’ green, especially if you’re using it for two or more Quests. Still, it can be very useful for tracking down a rare material.
Remember you can buy materials from Stables and other merchants, too
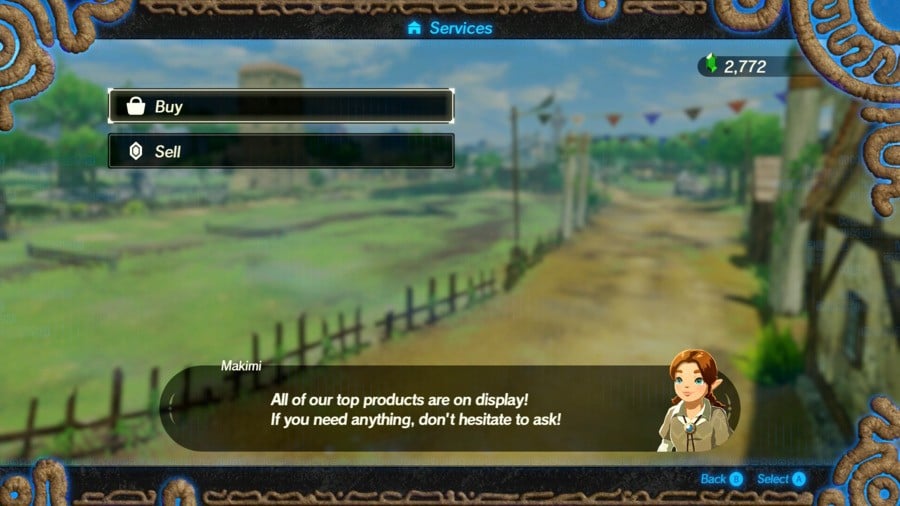
It’s also worth remembering that you can often buy the materials you need from suppliers across the overworld map rather than head into battle for them. This is perhaps most true with food items — Tabantha Wheat, Hylian Rice, Fresh Milk, Fish, etc — but you’ll also find Keese Wings, Octo Balloons, precious gems and much more for sale.
Fighting is the primary way to build up your stock of these materials, but remember that you can purchase many of them with rupees and it’s often much quicker to buy a couple that you’re missing than head into a lengthy battle just to grab some Hyrule Herb.
The Sheikah Sensor will highlight any unlocked merchant on the map carrying materials you need, so put that to use.
Get free materials from amiibo
You can scan up to five different amiibo figures every day from the main menu screen for randomised rewards. Every little helps, right?
That’s it for our Zelda: Age of Calamity beginner’s tips. We hope they’ll give you a solid foundation in your battle against Calamity Ganon. Let us know below if any of the above helped you out, and good luck!
