The galaxy has one last adventure in store for the crew of The Unreliable. Murder on Eridanos is the final story DLC for The Outer Worlds, where you step into the shoes of an inspector trying to solve the murder of superstar actress, Halcyon Helen.
With all of the densely interwoven twists and turns throughout the story of Murder on Eridanos, there are more than a few times where a walkthrough could help push you in the right direction: where to start the DLC, how to get the best ending, and ultimately, who to accuse as the murderer.
The Outer Worlds: Murder on Eridanos Walkthrough
Across this lengthy walkthrough, we’ll guide you through the entire main quest of Murder on Eridanos, as well as most of the major side quests which appear as part of your interactions with the major players.
There are more side quests that you can complete on the planet, but they won’t give you any extra clues. Completing the ‘good’ ending will allow you to go back and finish them at your leisure.
- How to start the Murder on Eridanos DLC
- A Momentary Taste of Purpleberry
- The Pool Where Horror Dwelt Part 1
- Strange Disappearance of a Watchman
- Faithful to thee, Rizzo’s, In Our Fashion
- The Man Who Chafed
- The Pool Where Horror Dwelt Part 2
- Lord of Blight
- The Prince of Tossball
- The Two Rogues
- The Productivity Queen
- An Unfinished Accusation – Who should accuse?
- Naked Hunch – How to get the best ending in Murder on Eridanos
- Ending 1 – The Bird Drug
- Ending 2 – The Story of Two Disasters
How to start the Murder on Eridanos DLC
Like with many DLC expansions, you’ll first have to download the separate files from the listing on your storefront of choice. For example, on PlayStation or PC, search for Murder on Eridanos on the PS Store or Steam, then make sure you’ve downloaded the files there before you start The Outer Worlds.
The recommended player level for the DLC story is 30.
Then, to start the Murder on Eridanos DLC in-game, head to the interior of The Unreliable and ADA will remark that she’s just about to watch the aetherwave.
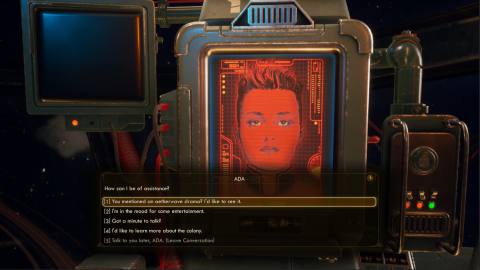
For this to trigger, you need to have completed Radio Free Monarch, left the planet, spoken to Phineas, and landed at Byzantium.
Then speak to ADA and bring up the aetherwave drama, and it will bring up the starting cutscene for Murder on Eridanos.
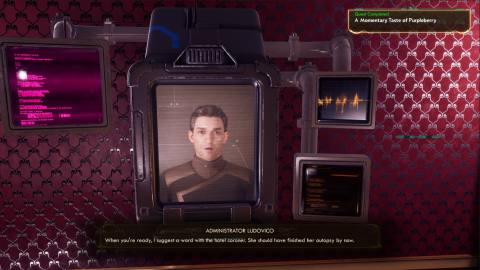
When it’s finished speak to Administrator Ludovico, of the Rizzo’s corp, and learn about the tragic news.
Along with Sedrick Kincannon and Constable Keene, you’ll go through a conversation setting up the DLC story, where you can respond as best fits the role play of your character.
With that done, interact with the star map and make your way to Eridanos in the top-left corner of the screen.
The Last Role of Halcyon Helen
On the landing pad, speak to head Bellhop Norville and get the lay of the land.
Pump him for information, then make your way forward towards the Grand Colonial hotel.
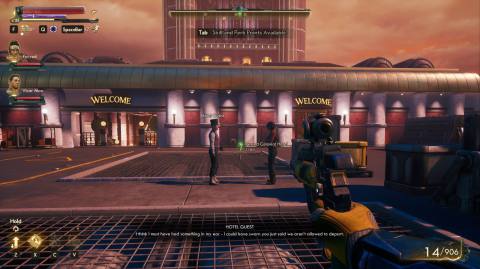
Go through the check-in lobby, then the garden to the front door of the hotel.
Transition inside, then go through the lobby to the grand ballroom on the other side.
Here you’ll find a police line and the waiting crime scene.
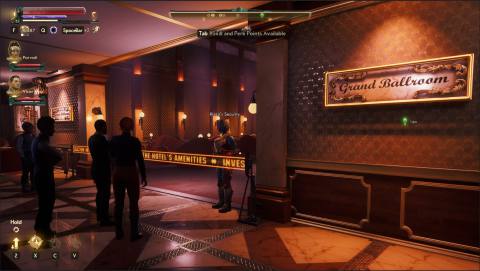
Speak to Constable Keene and Dr Goodnight, and they’ll run down a few of the facts for you.
Eventually, Dr Goodnight will give you the Discrepancy Amplifier – a powerful technological gizmo that can help you to detect clues in your surroundings.
Equip the Discrepancy Amplifier in your inventory, then survey the crime scene.
By Keene, you’ll see some footprints which you can analyze. Discuss the clue with your new investigative partner and exhaust the conversation options to learn everything you can. Your lead is the resort’s purpleberry orchards.
You can speak to Dr Goodnight and Keene come more if you wish, but before you head off to check into your suite, analyze the broken bottle by Halcyon Helen’s hand.
In the brown liquor, she’ll have written a clue, Monty Burns style, across the floor. Is it a B? A streaked 3? A tossball stick? Curious.
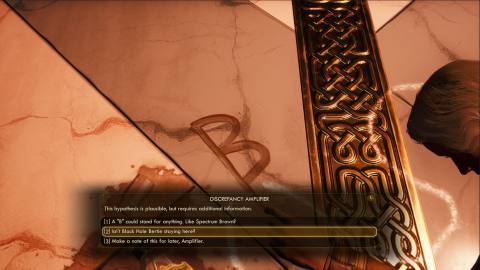
With that analysed, it’s time to get cushy.
A Momentary Taste of Purpleberry
Return to the lobby and speak to Concierge Halston on your left. She’ll be able to check you into the penthouse suite, but also trade some gossip.
Ask her about Halcyon Helen, her hot-and-cold boyfriend Black Hole Bertie, as well as Helen’s co-star, Woolrich.
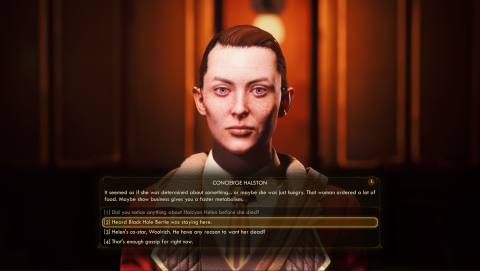
Now go to the elevator and speak to the conductor. Ask to go to the penthouse.
When you arrive you’ll see that you’ve been given a base for your companions. Whenever you want to switch companions, return here and you’ll be able to swap when you leave.
Before you do leave though, there are a couple of clues to sniff out.
First, speak to Administrator Ludovico using the terminal. Ask him to grant you access to the purpleberry orchards as per your lead.
When he agrees your objective will change, but there are a couple things to spy yet.
In the dining room with Felix, you’ll find a helmet which increases the range and effectiveness of the Discrepancy Amplifier.
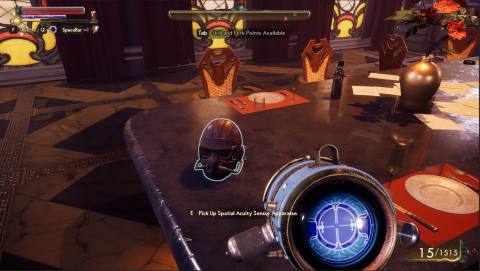
Then in the bedroom on the other side of the suite, you’ll find another clue: Halcyon Helen’s iconic handgun, the Needler, is missing.
Take the audio log from the dresser and listen to the incoherent message from Bertie.
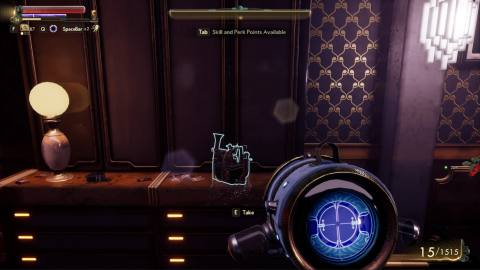
Finally, use the terminal on the desk. Read the messages and you’ll get an extra objective to seek out the Prophet of Profitability, who was at odds with Helen.
Go back down to the lobby, and exit on the southern side of the building.
You should find yourself in the pool area.
The Pool Where Horror Dwelt Part 1
Speak to the pool guard, Dolph McAllister. Say you want to investigate the pool and grill him about why it looks weird and there are so many armed guards around.
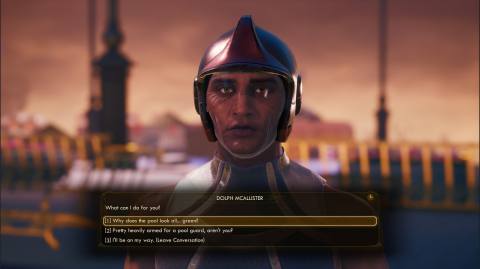
With high perception you’ll pick up that the pool went green just before the Spectrum Brown launch.
Exhaust the conversation options, learning that the usual pool minder was found dead by a suspected overdose, then take a look around.
Judging by the dead sprats, something is very odd about the pool.
Analyze the water with your amplifier, and you’ll find that it’s contaminated with fertilizer from the purpleberry orchard. Another arrow in that direction.
Examine the pool machine on your right, and you’ll see it says: “Irion was here”.
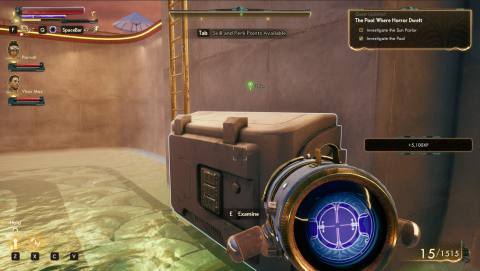
Now make your way to the bridge over to the purpleberry orchards.
Strange Disappearance of a Watchman
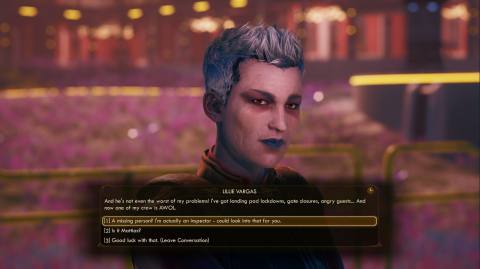
Talk to Lillie Vargas and say the pool guard sent you. She’ll say that one of her best guys is missing, and as the dashing investigator you are, agree to find them.
You need to search for Evan O’Connell at the Wilderness Checkpoint – but you’ll find better clues soon.
Back to the task at hand. Head over the bridge to the adjoining loading dock and you’ll see it’s been overrun by outlaws.
Defeat them, and you’ll be able to analyze the bodies of Rizzo’s security that succumbed to the assault.
Inside the hut to the left of the bridge over to the orchard, there’s an audiolog you can listen to on the bed inside. This updates the Strange Disappearance of a Watchman quest to search room A2 in the lower level of the hotel.
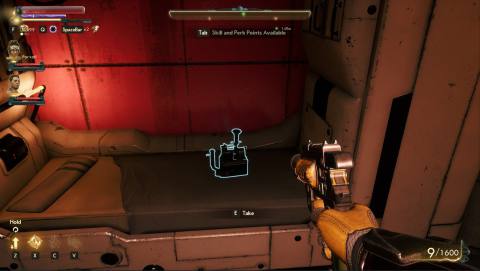
With that in hand, continue over to the other side of the bridge to the orchard.
On the other side, look left and speak to the cashier at the nut hut. There’s a terrifying THING in her neck, and with 45 medical you can attempt to take it off.
She won’t let you, and it seems like it showed up while she was working in the orchards.
Faithful to thee, Rizzo’s, In Our Fashion
Back away, then go to the office over the other side of the path and speak to Dewitt Hathaway.
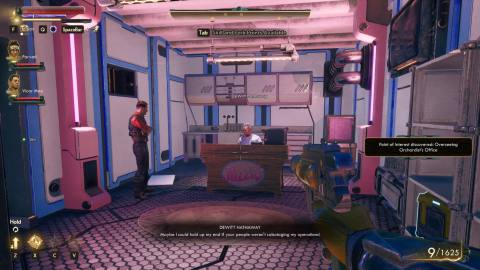
He’s locked in an argument with Clyde Eaton, and when you state your business you can move to asking him about sabotage.
Offer to help, and you’ll uncover yet another side quest, Faithful to yee, Rizzo’s.
Exit the office and turn right towards the orchard. You’ll see your objective marker is “disturbed ground”.
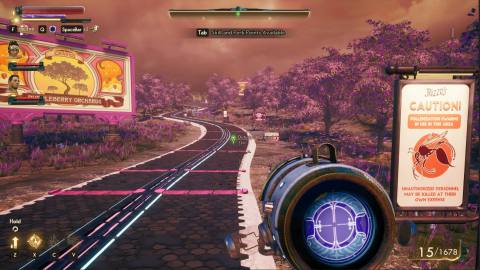
Whip out the discrepancy amplifier and you’ll see some interesting footprints at the marker.
They appear to match the ones in the ballroom and belong to Halcyon Helen.
A little further up the path, speak to Jacob – another worker afflicted with whatever is infesting the orchard.
Ask him about Halcyon Helen and mention her being shot and poisoned.
Then say that you’re following her footsteps and he’ll let you know she was with Dr Blossom – a lead of someone to talk to.
Ask about a murder weapon and he’ll mention Waspquitos – and that they can be returned to the hive by the tech there.
Continue further up the path for two more clues, both showing more of Helen’s footprints.
At the crossroads, continue south towards the hive.
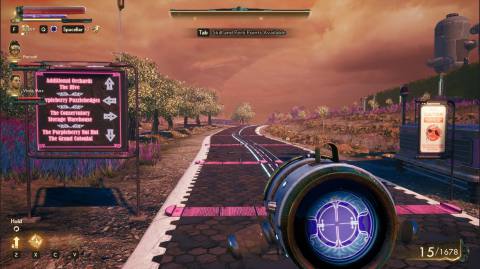
Follow the path and eventually you’ll see more of Helen’s footprints. Look left and there will be the hive surrounded by “host” enemies and more of Helen’s footprints.
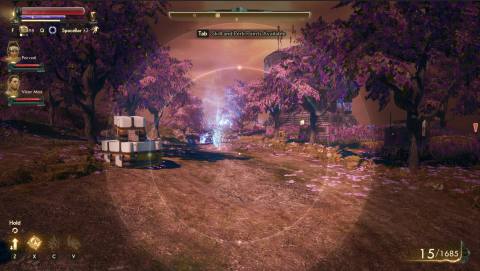
Follow the new dirt path and defeat any enemies you come across.
At the crest of the hill, you’ll find a dead sublight thug and a drunken hunter. Follow the footprints and defeat the hunters.
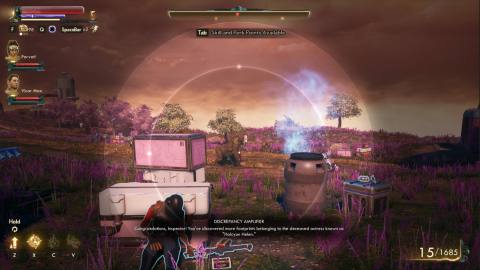
The footsteps continue southwest towards the telescope.
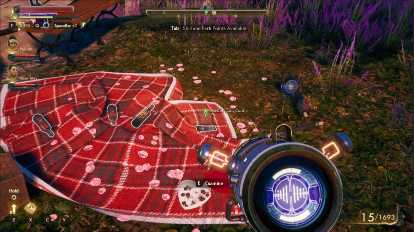
When you get there use the amplifier to analyse the picnic blanket and tossball stick. Looks like Helen and Black Hole Bertie were here, and Bertie got angry about something. Could it have driven him to murder?
Now pick up the RR and DD keycard and look for the marker to the northwest. This is the RR and DD building where you need to go.
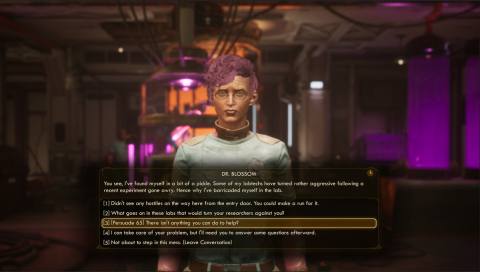
Transition into the lab then go through the door and look left to speak to Dr Blossom.
Say you’re investigating Halcyon Helen, and she’ll ask you to clear the lab before she answers any questions.
With Persuade 65 you can ask for a bit of a hand in the form of some supplies in now-unlocked storage cupboards.
She mentions a non-lethal method in the utility office, but you’re going to have to do some tough sneaking to get there.
At the bottom of the elevator, go out into the hall and look right – you’ll see two hosts blocking your path. Use the debris as cover to get close to them, then sneak through the door on the left when they’re looking the other way.
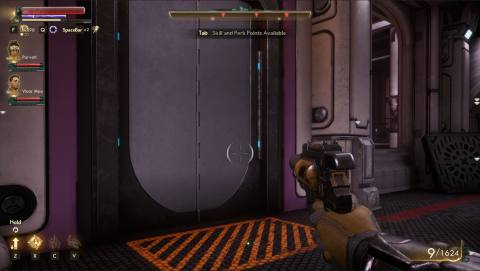
In this next room, bear right and use the tanks to shield yourself from the vision of the weird worm enemy and the other host.
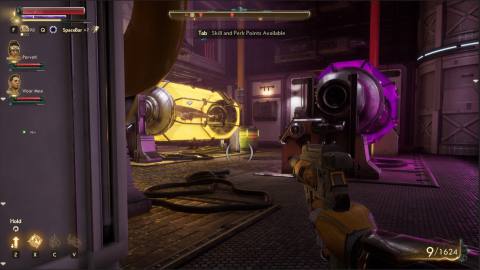
There’s a door on this top side of the room, open it, then sneak past the host just outside into the room across the hall.
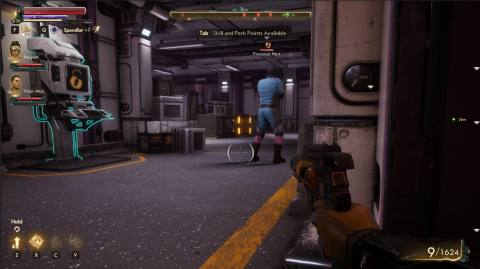
In this more opulent room, take the doorway on your right and you’re at the other end of the first corridor with the hosts.
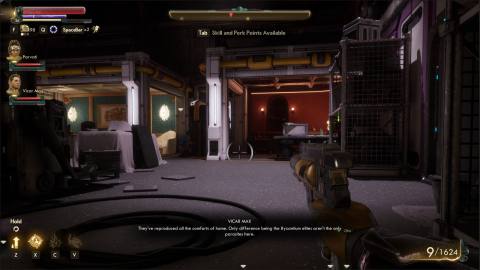
Walk across to the other side of the hall, past the terminal, then turn right into the lab.
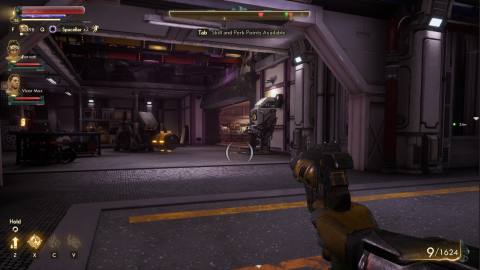
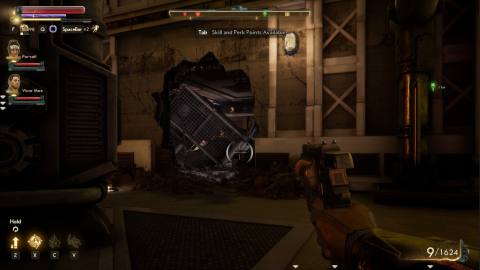
Hug the right hand wall and sneak past the three enemies in here, then slip through the hole in the wall.
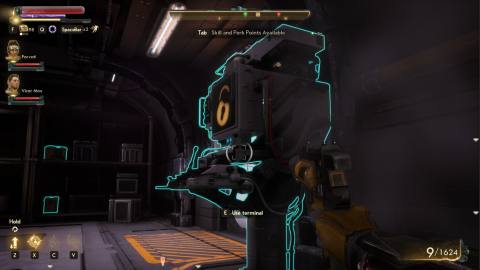
Use the terminal in front of you and release the gas – then return to Dr Blossom.
As you approach, your efforts will be foiled by someone familiar to the doctor, but unknown to you.
Equip the discrepancy analyser and head into Blossom’s office.
Take the keycard from her body, then use her terminal. When you go to download the files, you’ll find them missing – stolen by the assailant.
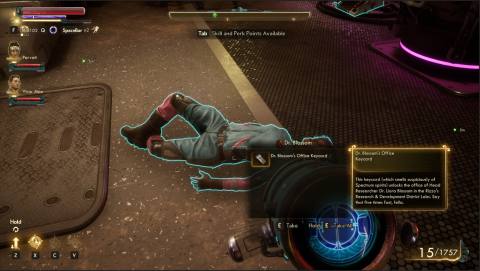
You can read through the messages, and hack 65 to get some more information on the parasites.
Next to Blossom is a new quest for a Spectrum Vodka gun where you have to collect all 8 flavours, but the clues you’re looking for are one of the dead assistants – who seem to have been instantly killed with no blood or bullet casings present – and the vent in the next room.
Examining the vent leads you to believe that you’re dealing with someone dextrous enough to squeeze through the vent and with enough know-how to tamper with the circuitry of the lab doors.
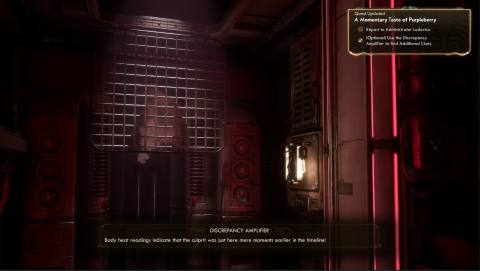
All that’s left now is to report your findings to Ludovico at the penthouse.
As you leave, it quickly becomes apparent that someone has set the waspquitos to pollinate with you still in the orchard.
Rush to your right to turn off the terminal. On the other side of the electric fence, you’ll not only have to deal with the wasp swarms, but the exterminator drones will be sicced on you as well.
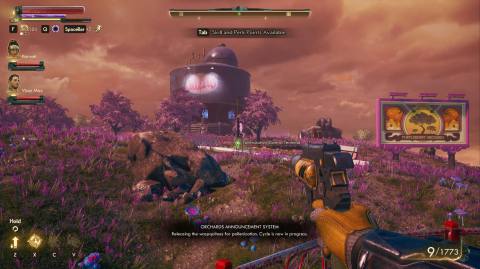
When they’re dealt with, whip out the analyser and inspect the area around the terminal.
You’ll find a SLUG multi-tool – insinuating that whoever laid the trap for you was a SLUG employee, or had access to one or their tools.
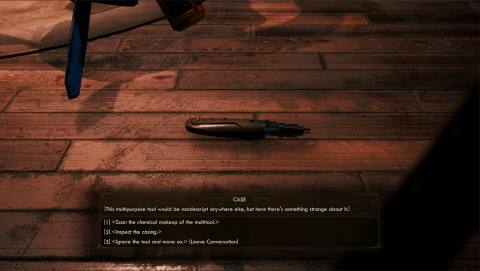
Either way, now is a good time to investigate the disagreement between the orchard manager and the SLUG agent.
Just outside the electric fence inspect the dead saplings with your amplifier – it’s a tank that’s been sabotaged with vinegar.
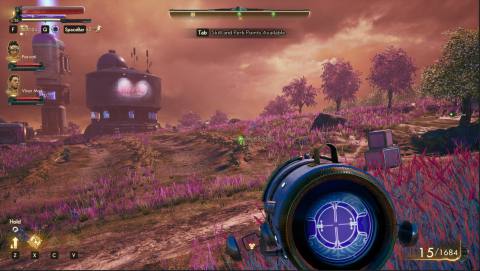
They’re usually found in nursery storage. And it looks like wooly cow dung was added with the vinegar.
Head a little to the north and you’ll see the hedge maze. Inspect the fried console inside.
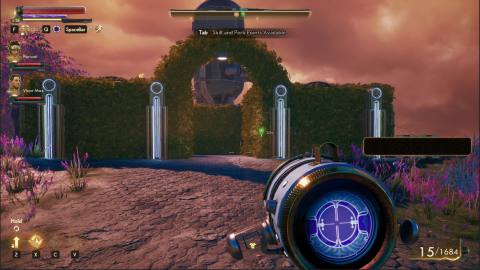
Before you return to Dewitt, there are plenty more clues to find.
Pay a visit to the nursery storage in the centre of the area.
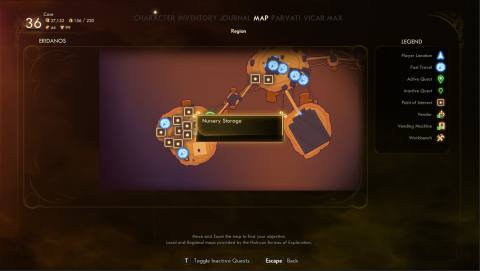
Here you’ll find a terminal which advances the spectrum vodka quest, but also Anna Summers, who you can ask about the spiked watering tank if you ask her if she’s been causing trouble.
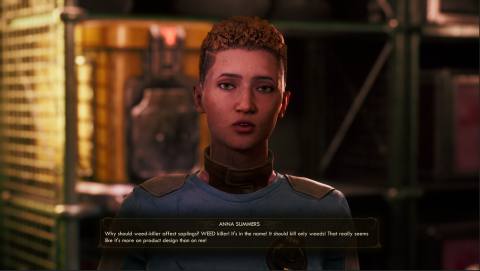
Turns out the destroyed console and ruined saplings were her fault and are unrelated to the main mystery.
Now return to Dewitt. After you relay your findings, you can either tell him to pay up, or pass a 65 persuade check to resolve things until Rizzo’s Brown has been launched.
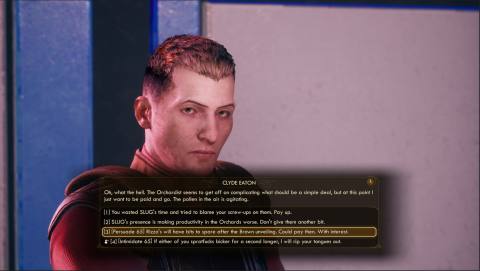
They’re both happy with that Persuade check, which is quite easy with Parvati and Felix if you don’t have 65 persuade on your own.
This completes the quests.
Before you leave the area for good, speak to the nut hut vendor about spectrum as per the vodka gun quest – she says there are a few bottles around and if you set the quest as active, you can hunt down a couple of bottles. However, the easiest way to complete this quest and get the gun is to go to the Rizzo’s distillery in the northeast of Eridanos and you can find all 8 flavours at a testing booth in the bar there.
With that in mind, return to the hotel and head inside.
While you’re on the ground floor of the hotel, now’s a good time to visit room A2 and look for Evan, the missing guard.
Go through the employee’s only hallway on the north side of the building, then through the locker room to the bunks.
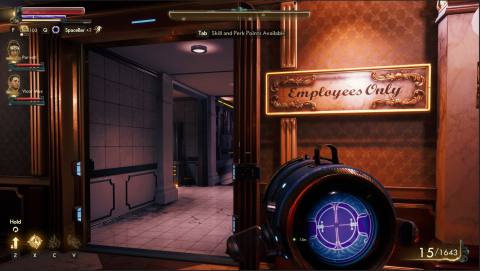
There’s a light-up sign showing you the way to A where rabid sprats will attack you.
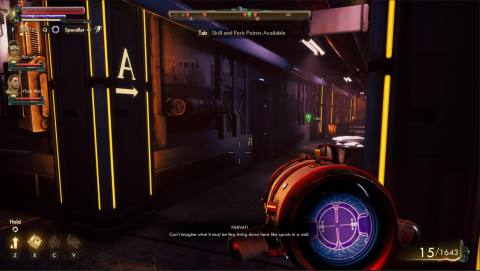
The door to A2 is locked, but inspect it with your amplifier. This reveals a panel where you can find the key.
Open the door, then use your amplifier on Evan. He’s not only dead, but suspicously dead.
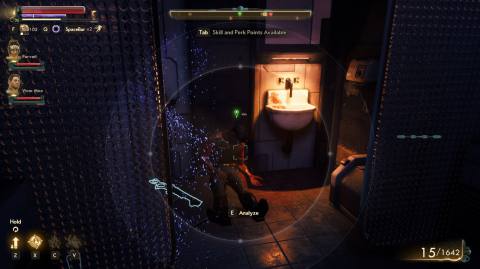
He has someone else’s blood on his hands and died via a blunt force wound where he hit the floor.
Store that in mind for later, then take the elevator up to your room.
When you get up to report to Ludovico however, there’s something else to attend to.
Confront the intruder in the bedroom. With an easy 45 intimidate you can force him to spill.
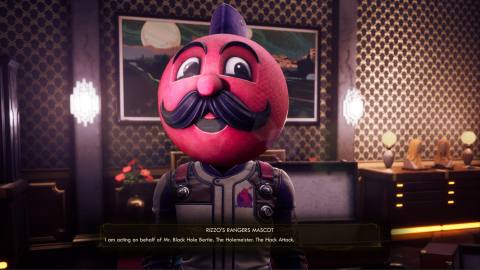
After you press him, he’ll ask you to meet at the Pilothouse later. You can intimidate him again, but you’ll have to meet him there.
With that, report to Ludovico. Tell him about Dr Blossom, that she knew her killer, that Helen insisted on a tour of RR and DD, that she had a picnic and that data was stolen from the terminal.
With perception and 65 hack, you can tell that the hacker had expensive means.
Ludovico says to speak to the coroner, and you can ask him about the mascot in your room if you wish.
The Man Who Chafed
Return to the lobby, go up to the 2nd floor and find Dr Goodnight in the Medical Centre.
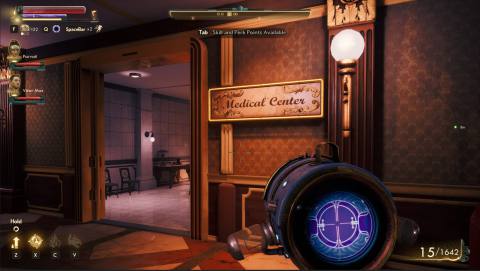
Look at her terminal and you can read the autopsy report without having to speak, but you can hear it from her too.
Your next lead on the poisoning before her shooting is the actor, Spencer Woolrich.
Speak to the Concierge and ask to go to the VIP floor to talk with him. It’s a cheap bribe or an easy speech check.
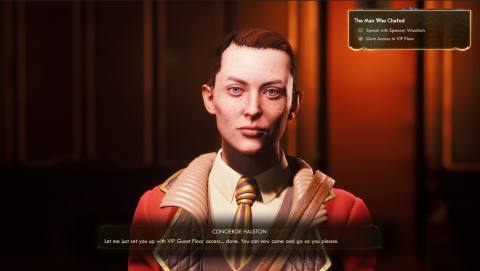
Now take the elevator up there.
There’s a lot to find on this floor, so before you speak to Woolrich, head left and open the first door on the right.
Inspect the hungover cow and you’ll learn that all of the Rizzo’s Rangers – expect Black Hole Bertie – were there.
At the end of the hall, take a right and open the door here. This is Black Hole Bertie’s room.
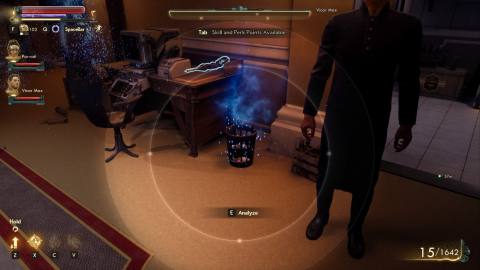
First analyze the trash can, where you find a message to meet at a similar location to where the mascot told you to.
Next inspect the footprints next to the safe – this again points to the Pilothouse.
Back across from the cow, you can interrogate Zeke Harrington.
He says that Bertie was separated from the rest of the team and that the Prophet of Profit didn’t like her.
Now go over to the other side of the VIP area. There’s not much of interest in the locked doors, but in the bottom room you’ll find the acting robot, Burbage 3001.
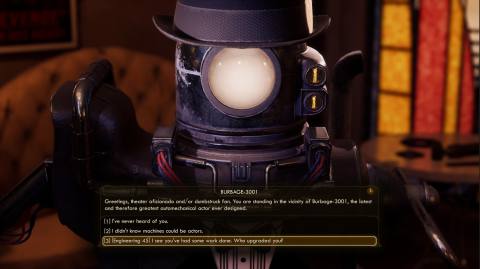
With 45 Engineering, you can find out that Woolrich upgraded Burbage 3001.
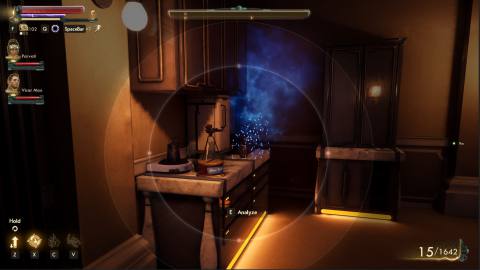
Go into the top room, which belongs to Spencer Woolrich. Before you talk to him, look to your left and there’s a bottle to inspect. It’s an empty vodka bottle which you can tell was spiked – probably the source of Helen’s poisoning.
Talk to Spencer, and after some banter, say that you’ve learnt about his activities.
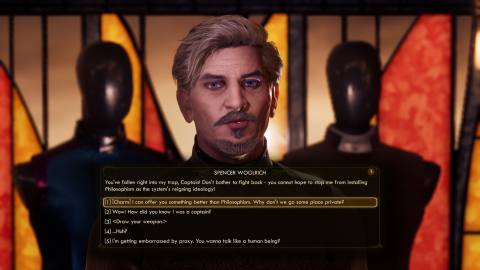
Now ask about he was poisoned, and he’ll accuse Chef Anwar.
Go back around to the start of the conversation tree, then ask him about the murder.
He’ll ask how she was killed. Tell him, then ask about his whereabouts. He’ll say that he’s been working with the Prophet of Profitability.
After you’ve exhausted all the dialogue options with Woolrich, return to the lobby to talk to Anwar.
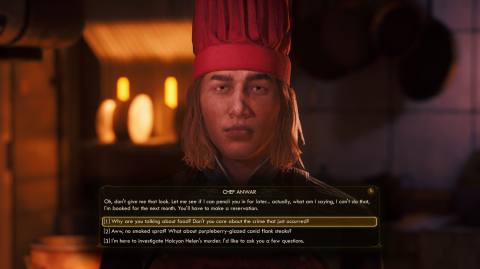
He’s in the employee area, and when you get there examine the cooker next to him, which is a fire hazard.
Talk to him, state your purpose, then ask about Helen’s food.
He says that he didn’t have eyes on it at all times. Bellhop Owens and the kitchen security tapes are your next leads – but if you have 95 in a speech skill you can ask Anwar why he’s being evasive for some extra dirt.
He was drinking while he was making Helen’s meal and that’s why he didn’t notice anything strange.
Now leave the hotel. Your two objectives point in completely different directions, but now is a good time to visit the sun parlour in your quest to find why the pool is green.
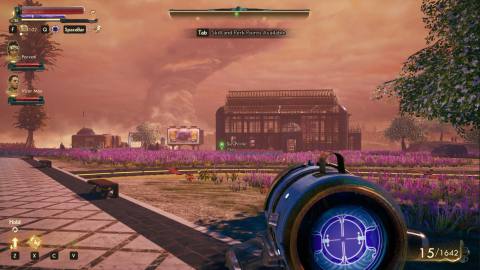
The Pool Where Horror Dwelt Part 2
Inside the Sun Parlour, which is on the northwest side of the hotel, read the note next to the machines, then look on the blackboard for the pool cleaner recipe.
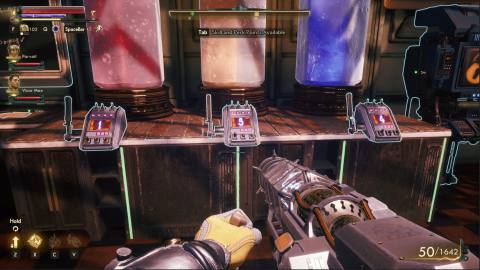
The solution is 1-5-4. Mix them at the terminal on the right.
Now go to the marked hotel balcony overlooking the pool and speak to Donovan Matthas. Say you read the note, and he’ll let on that he wants to sour the relationship between SLUG and Rizzo’s for the good of Spacer’s Choice.
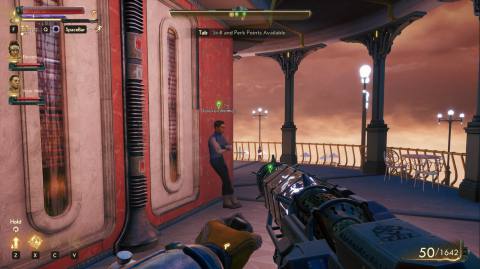
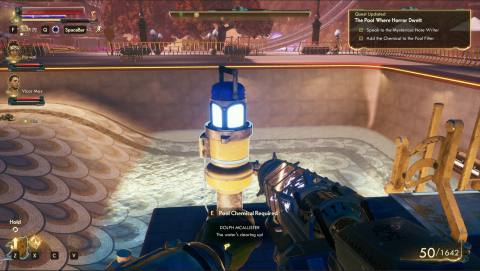
If you sabotage the pool by returning to the sun parlour and mixing a different – ie poisonous – canister of ‘cleaner’, you get 1250 bits. But if you go through with fixing it with the cleaner you’ve already mixed, you get a better reward – the SLUG storage key – and with 65 in a speech skill you can get the same amount of bits too – so it’s more profitable to repair the pool.
Now head to the Constabulary in the southeast to get the footage from the kitchen.
Contract Sedrick at the gate and he’ll let you in.
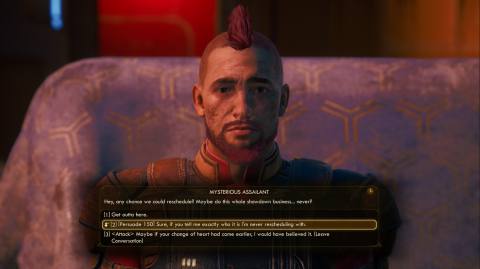
Transition inside, and you’ll be stopped by a thug. With 150 persuade, you can get them to tell you who sent them, but they don’t know.
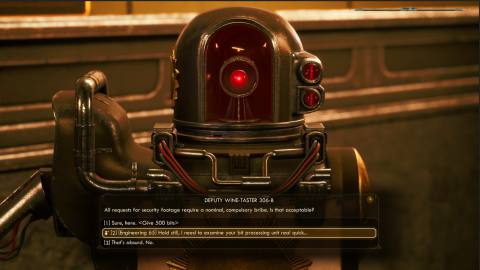
The constabulary is on your left – speak to the bot on the desk. For the footage, you either need to bribe him or have 65 engineering.
With 65 engineering he’ll just give you the footage, but there’s more to be found here either way.
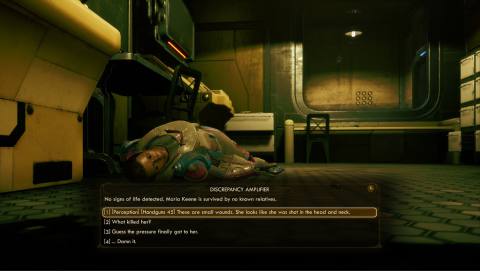
Go through to the back of the building and you’ll kind Keene has been murdered too.
This time it’s been with a handgun, but there are casings, which is different to Helen and Dr Blossom.
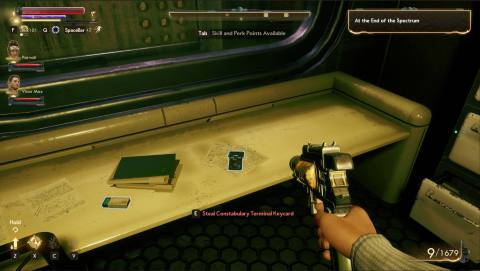
Next to her is a rare flavour of Spectrum Orange, and the keycard to the security terminal is on another desk – take it and hack the terminal you passed earlier to get the footage if you don’t have it already.
Now you need to go to the Wildlife reserve in search of Bellhop Owens.
Fast travel back to the central area, then head towards the wilderness. Defeat the attack raptidons, then cross the bridge.
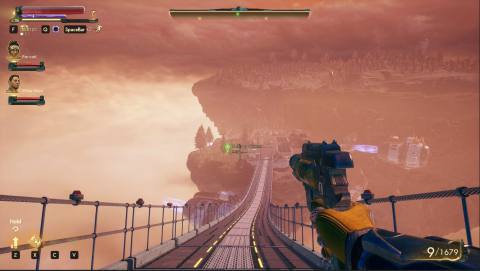
Halfway towards the wilderness, look left and you’ll see the bellhop, dead.
Search his body and your objective will update that Woolrich is the most likely culprit in the poisoning.
Return to the VIP to speak to him. You now have the video evidence, the bellhop’s invoice which shows he asks for the gland used to make the poison, and the empty bottle you scanned earlier in his room.
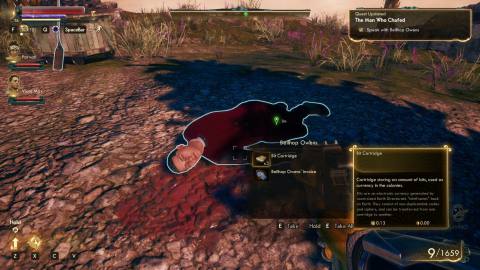
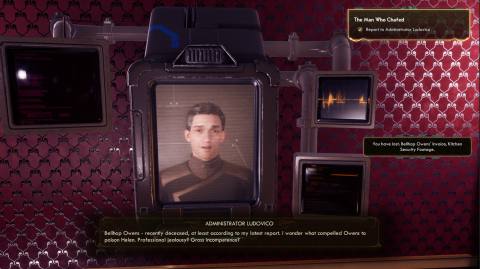
As it’s obvious that Woolrich’s part in this was an accident, return to the Penthouse and speak to Ludovico.
With 45 lie you can keep Woolrich’s name out of it – if you want to that is. It was an accident, but he is an ass.
Lord of Blight
Your next lead is back to speak to Sedrick – and I’d recommend taking Parvati with you if you don’t use her already.
Fast travel back over to the Piraeus Spaceport and transition inside.
You’ll find Sedrick in the harbormaster’s office, around to the right.
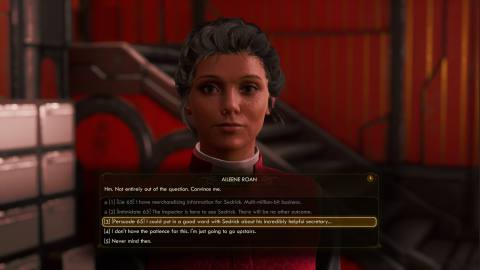
Enter the building and speak to Aileen Roan on the desk. Say you need to speak to Sedrick, and she’ll say you need an appointment – you need 65 in any speech skill, or just walk upstairs.
Before you speak to Sedrick Kincannon, there are a few clues of interest to mull over first.
On the left-hand side of the room, there’s a hollowed-out book with a bug inside. Speak into it and you’ll find that the receiver is not far away and that it was placed recently.
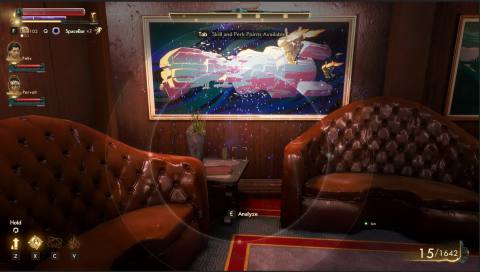
Next, on the right hand side of the room there’s a display case full of plasma weapons – similar to the kind Halcyon Helen was killed with.
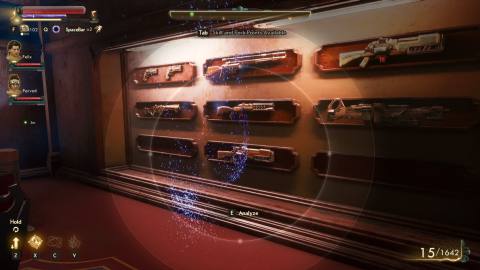
What’s more a fingerprint suggests it was opened or closed recently. The gun is calibrated for Sedrick’s specifications, but you also consider that the case could’ve been opened with gloves.
Now speak to Sedrick.
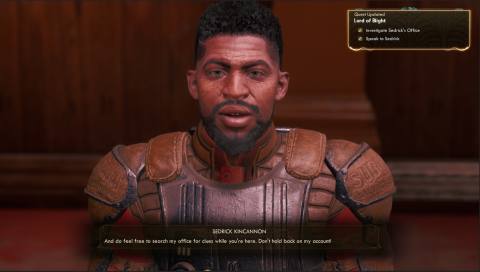
First, grill him about the mysterious assailant from earlier. He says that SLUG gear goes missing from the hotel laundry regularly, and suggests that someone is trying to frame SLUG in a bad light.
In the next section of the conversation, he says he was torturing Elliot Nasser on the night of the murder. But they can’t confirm because they’re dead. He’s being shifty and overconfident – but he’s right that his motive is unclear.
He says he has yet another mystery of his own to solve – missing SLUG cargo – and that it might be related to your main case.
Seeing as you were ambushed in the orchards by someone using a stolen SLUG multi-tool, getting to the bottom of who has access to their equipment might very well work in your favor.
Before you go, ask him about Constable Keene’s death and whether he was involved.
He seems genuinely upset by the news, and then you can move on to discussing his relationship with Rizzo’s.
Sedrick reveals that he tricked Ludovico into ceding some control of Eridanos to Sublight, and that’s why the two are often at odds.
His long-term goal for the merc group is to take a seat on The Board, and that means he needs to seem like he’s on the straight and narrow.
Finally, ask about Helen’s death, and he’ll suggest that there’s something bigger at play. He thinks that Helen’s actions in the lead-up to her murder don’t mesh with that of an actor who’s just in town for a corporate launch.
An interesting idea, especially considering she was buying hacking tools in bulk.
With that taken care of, head over to the receiver location underneath the general store.
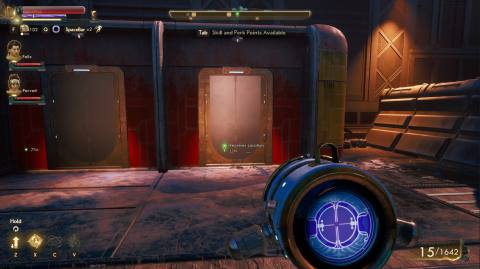
In the toilet, scan the book with your amplifier. Take the bug, then wander off to speak with the foreman.
Transition inside the Storage and Processing Facility and speak to the SLUG security.
They’ll buzz you through and you can walk into the main hangar.
Look to your right and go into the security room.
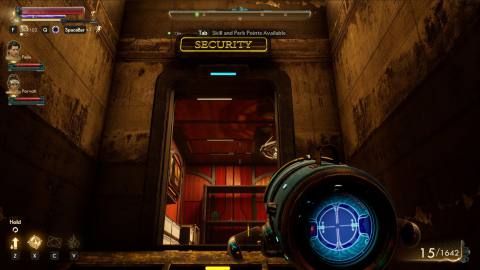
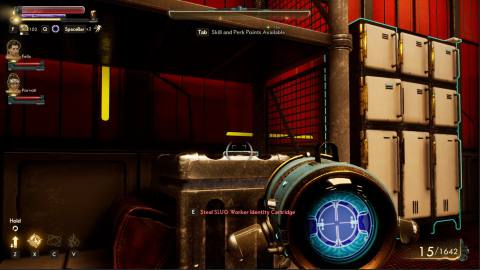
Crouch into a sneak stance and swipe the SLUG worker ID cartridge from the box on the shelves. This will come in handy for perusing the restricted areas you might have seen around the harbor.
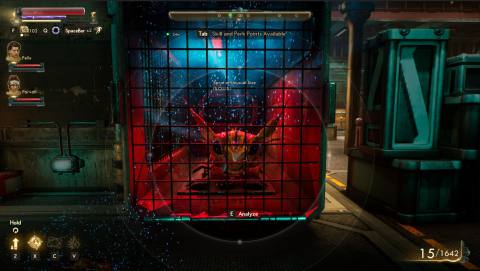
Now go to the east wall and analyze the Sprat of unusual size. Not only is the sprat seemingly immune to parasites, but it looks to be bred for cage fighting.
Upstairs, talk to Ella Tinsley in the office. The thefts are seemingly random, and there’s something going on with the shipping yard automechs.
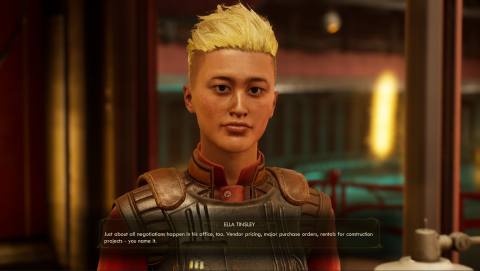
When you’ve exhausted the conversation, she’ll give you a keycard to her terminal. Here you can view a full list of what’s missing.
Now, as you leave, since you grabbed the ID badge earlier, you can exit through the restricted door on the right.
Go over to the hacked automech on the other side of the area and scan it with the amplifier.
Someone’s tampered with the mech to attack anyone who tries to find what’s wrong with it, but talk to it anyway.
With 45 inspiration, ask Parvati to deal with things – or with 105 lockpick, open the mech yourself.
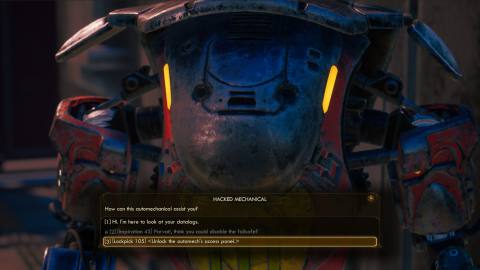
Don’t worry too much whether you can access these checks or not, because the mech will still let you get what you need, it’ll just attack you afterwards.
If it starts to attack, say that you have questions and it will stop and tell you what you want to know.
The tampered datalog is a command to move one specific shipment – 6875 – outside of the shipping yard, along with random shipments at various intervals.
Based on the shipping list from Ella, you know that shipment 6875 contained 25 cases of blasting agent and some dark matter chocolate.
Return to Sedrick. Tell him that he has a serious security issue, and that the automechs were hacked. Tell him that there was one shipment that was the target, and the rest were random.
Next, show him the listening device, which Ella told you could have been used to snoop on discussions of where the cargo was being held.
And then for a kicker, he says that the bug was given to Halcyon Helen.
He’s very angry about the development – which you can play as giving him motive for the murder.
With more questions than answers, it’s time to report to Ludovico again. It doesn’t seem like Sedrick is the murderer, but he definitely had more of a hand in it than he’s letting on.
Back at the Penthouse, speak to Ludovico and tell him that you couldn’t learn much about Sedrick.
Say that he doesn’t have a motive, and your Sublight rep will increase.
At this point, you’ll be able to name a murderer, but it’s far, far too early to do so.
You still have two leads: Bertie Holcolm and the Prophet of Profitability.
The Prince of Tossball
After your earlier encounter with the mascot, it’s time to take him up on his offer.
Leave the hotel and make your way to the meeting spot in east of the region, the Pilothouse.
At the bridge, you can pick up another old lead Amanda Stilwell in the case of Evan, the missing SLUG.
Speak to her, and with persuade 100 you can get her to spill the beans.
Turns out he was afflicted by the parasites that are turning people into happy zombies.
Leave Amanda be and report to Lillie Vargas, who’s now in the security area next to the spaceport.
You can tell her whatever you like about the incident, but at the resolution, you’ll get your fee of 1,250 bits.
Now head back to the pilothouse bridge. On the other side, go to the meteorological control station as directed. It’s on the south side of the area.
Inside, you’ll find the mascot has met an unfortunate end.
Whip out your Amplifier and survey the scene. Not only does it look like he’s been hit by whatever bugs are infesting Eridanos, but he’s been shot too – with Halcyon Helen’s special (and missing) handgun, The Needler.
Before you go, you can steal his clothes, because why not. Then grab the Noggin’ and vending machine cables next to him too.
On the way out, there’s another bottle to scan. Looks like there’s someone brewing antiseptic moonshine at the SLUG port, so it’s time to fast travel over there again.
The Two Rogues
Head to the bar underneath the general store, and you’ll be hailed by Dash Whitlock. He’s a friend of Hawthorne’s, and needs some help. He needs you to liaise with Cassidy Mills in the constabulary jail to find his cargo before he can move it.
Speak to her in the last cell on the right and with 105 persuade you can advance the quest straight away. Otherwise you have to go back to Dash.
The goods are in the shipping yard in the northeast corner of the area. You already have the disguise to get you in from earlier.
Go around the back and grab the package, then return to Cassidy. Now take the package to the owner of the general store. He’ll play dumb, but you’ll have a few options to make him fess up.
Join him in the back room, and you’ll unlock the black market and get a load of bits.
You can browse his wares before returning to Dash. He asks to split the payment three ways to get Cass out of prison – but you can stiff him and take it all for yourself if you like.
Either way, that’s the quest complete.
Back to Bertie, who’s sat in the corner wearing a bellhop hat.
Talk to him and advance the conversation towards the mystery at hand.
He says he was getting drunk with the rest of the rangers, then went to the wildlife reserve for a cow, before splitting off to go to the pilothouse.
Press him on whether anyone else was with him at the pilothouse, like the mascot, but eventually he’ll say he saw Orick West – who you can find nearby.
Finally, ask to see the datapad and he’ll hand it over.
When the conversation tree goes back around to the start, say you have more questions, then ask about the mascot. He confirms that he sent him there, but nothing comes of him being dead.
Now pop over and talk to Orick, who quickly confirms Bertie’s story.
Your objective now switches again to speak to Ludovico, so head back to the Penthouse.
Report on Bertie, and you can say that it doesn’t seem like he’s guilty and that he’s agreed to lay low at the hotel.
Last on your list is the Prophet of Profitability.
The Productivity Queen
Make your way north to the Wilderness Reserve.
Defeat the Canids and take the elevator up to the main area. On your left, speak to Mildred Lennox at the hunting store and agree to find her Milkmech.
As you continue along the path, you’ll also see Isabella Essary and Lawrence McLaughlin who want the missing room keys of some guests who were lost in the wilderness.
Either way, follow the path towards the Prophet’s residence. When you make it through the canids and raptidons, transition into the abandoned Rizzo’s bunker.
Inside, go towards the Prophet’s tent. When you enter the room, look to the right and go and read the terminal on the wall. It’ll show that Helen tried to make amends with the Prophet after she damaged her business.
Now go into the tent and take out your amplifier. Look to your left and scan the herbs.
Next, speak to the Prophet and ask her about Helen’s death. She’ll deny any animosity, but say that you’ve read the terminal and press her.
Now ask about the herbs. She deflects that they could cause anyone any harm.
Then move onto the next dialogue about whether she and Helen had any more contact, and she’ll lie again about what you said on the computer.
The conversation tree should now reset. Speak to her again, say you have questions, then ask where she was at the time of the murder.
To investigate the alibi, speak to Aliyah Mason outside the tent.
Ask her about Helen’s murder, then the feud between Helen and the Prophet. Aliyah says there was a recent high-profile visitor, but she won’t say who – perhaps the Prophet was lying that Helen never showed up?
As you wind down the conversation, Aliyah says the prophet was dragging an oddly human-shaped bundle away from the bunker and your objective changes to look for it.
Leave the bunker, and just to your left outside you’ll pick up the trail.
Follow the footprints until you find the imprint in the dirt, where a body lay until whoever it was got up again.
Armed with this new information, return to the Prophet.
When you speak to her, she admits to killing her by mistake after doubling the number of herbs in her smoke mix.
Little does she know, that firstly the body got up, secondly, that Helen was shot with plasma, and thirdly, it wasn’t in the hotel ballroom.
The Prophet now thinks you’re trying to trick her, but it genuinely looks like she didn’t do it.
Your objective now turns to Ludovico, so head back to the penthouse.
Speak to him about the Prophet and how she likely wasn’t the killer.
An Unfinished Accusation – Who should accuse?
Your leads have been exhausted and you’re at a dead end. The only question left is who should you accuse of Halcyon Helen’s murder?
In the penthouse, go into the room where Felix stands and you’ll find a board where you can analyze and review the evidence.
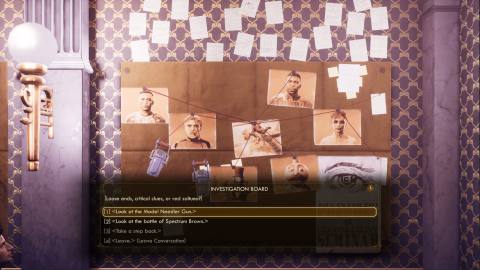
Of the suspects you’ve interviewed, Bertie has a temper, but tried to control it and dearly loved Helen. Spencer Woolrich poisoned Helen, no doubt, but he only wanted to make her ill for the launch so he could step in. Burbage 3001 is a robot with little to gain. And the Prophet of Profitability believed she killed Helen, but definitely didn’t.
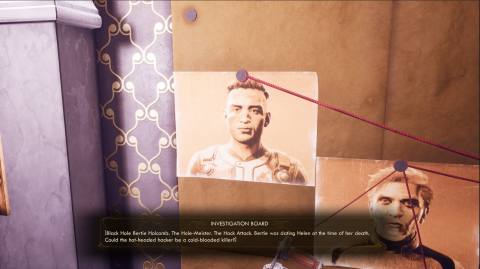
It all doesn’t make sense. You’ve investigated everyone and everyone’s clean.
You may have another theory about who killed Halcyon Helen, but all that’s left to do is call Ludovico and pick option 5.
Naked Hunch – How to get the best ending in Murder on Eridanos
With that revelation make your way over to the distillery, fast. It’s in the northeast of the region.
You’ll find the outside beset by hosts and spawnlings, defeat them and run around the left-hand side of the building.
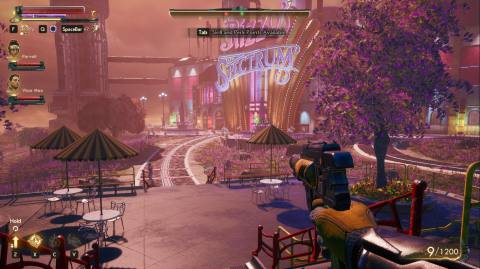
With some more hosts down, transition into the side elevator.
Before scrolling down further on this page, watch the cutscene and continue a little further to avoid spoilers!
After the cutscene, the revelations will continue. Just as Sedrick predicted Helen was on Eridanos for more than just a product launch.
Spectrum Brown was a host for the terrible bugs that have been affecting people throughout the resort all along!
As you continue through the conversation, things will start to make more sense – Helen killed people who were complicit in the plot, like Dr Blossom, Keene, and the Rangers mascot.
You now have two choices; help Helen stop the symbiotes or aid Ludovico in infecting the whole colony.
If you help Helen: This will start you on the path to Ending 1. You’ll aid her in taking down Ludovico and try to save the planet from symbiote control.
If you want to help Ludovico: This will start you on the path to Ending 2. Throw your lot in with Administrator Ludovico and you’ll fight against Helen and her allied characters to infect everyone on the planet with symbiotes.
Both of these endings will resolve the story line in their own way – but loosely – you can consider Ending 1 the ‘good ending’ and Ending 2 the ‘evil ending’.
Ending 1 – The Bird Drug
Say that you’re siding with Helen in the conversation to begin her ending. Run through the collapsing facility rooms when Ludovico seals you in, and you’ll come up with a plan to release an airborne pesticide to kill the bugs and spare the people.
Meet her back at the Penthouse and begin your plan.
To make the anti-parasitic you need a few ingredients, but with 45 persuade, you can ask to borrow the Needler from Helen.
She also says to recruit Sedrick to help get rid of Ludovico.
First up then head to the spaceport for Sedrick and the Foreman. They’re found in the SLUG shipping hangar.
Talk to Sedrick and ask him to help take down Ludovico. Now take the essence of sprat off of Ella’s desk upstairs.
With both of those in the bag, go to the abandoned Rizzo’s bunker.
Inside, take a left at the door to the Prophet’s room then go down the stairs at the end of the hall.
In the next room there will be some hosts to defeat, then bear right and you’ll find a lever that calls an elevator.
Ride the elevator up to the cave system. The egg pod is right by the cave opening on the right.
Get out of the range of any hostiles and fast travel back to the penthouse to use the centrifuge.
Once again exit the Grand Colonial and head to disperse the chemicals at the Pilothouse.
Either fast travel, or take in the scenery and amble your way over to Phaeton through the waves of hosts and spawns.
Transition into the navigation deck, then walk forward and load the antiparasitic into Phaeton.
The Beast that shouted love at the heart of the world
With the symbiotes taken care of, it’s time for the mastermind.
Make your way to the distillation station, again by fast travel or the shoelace express, and transition in through the main entrance.
Defeat the hosts inside, then go through the “no trespassing” door and down the elevator.
At the bottom, walk forward into the distillery vat room and there will be two doors: one on the left, one on the right.
If you have 65 lockpick and 105 hack, you can take the right door and hack the terminal inside to increase the valve pressure levels and take out the enemies ahead of you.
Otherwise, take the left door and battle your way through.
When they’re down, you have two options to advance. Go through the door on the far right side of the room, and in the side room on the left, you’ll find a unique weapon. Then you can fight through another set of hosts and spawns.
Or you can go through the room at the top of the stairs towards the pink-lit room, where you’ll fight some more goons.
Either way, you’ll end up in this pink room.
Defeat the enemies here and either loot the locker room on the north wall with 65 lockpicking or continue down the elevator through the door on the east wall.
At the bottom of the elevator, walk forward and defeat the enemies in your path, then go over to your right.
Go through the door on the west wall at the top of the next room then follow the corridor.
Open the door in the next room and you’ll trigger a cutscene.
After the conversation, you’ll fight a new enemy. They’re not that difficult, there’s a lot of cover in the room so just keep your health high and fight constantly until they’re defeated.
When that’s done, go over to Administrator Ludovico’s body and loot his access card, unique armour, and unique weapon – the rifle used to kill Halcyon Helen in the first place.
Go home, Captain
Now go over to the side of the room where Ludovico was standing to unlock the exit elevator.
As you enter the office there’s yet another set of unique armour in the box on your right.
Speak to Harwell and he’ll unlock the exit. Take the elevator out, then it’s time to say your goodbyes.
Make your way to the luxury landing pad and talk to Halcyon Helen. She’s still mourning the loss of her sister and Ludovico being eaten by brain slugs doesn’t make that any easier.
Next, speak to Sedrick and he’ll have some quick words of congratulations.
Wave goodbye to Eridanos and transition into the interior of your ship. Speak to ADA and the final quest will end.
Ending 2 – The Story of Two Disasters
To side with Administrator Ludovico and see an alternated series of ending quests, say that you’re with Ludovico in the conversation, then run through the collapsing facility and whip out your amplifier when you reach the control room.
Analyze the bomb in the top left of the room, then advance through the options to defuse it.
Speak to Ludovico on the intercom, and you’ll come up with a plan to use the atmospheric system to infect everyone with symbiotes.
Exit the building then fast travel back to the Penthouse and talk to Ludovico on the terminal.
Go over the plan and Ludovico will ask you both to flip the switch at the Pilothouse to disperse the larvae and deal with Helen should she appear.
Make your way to the Navigation Deck and transition inside.
Turns out it won’t be so easy, and SLUG will step in to try and stop you. With 105 Lockpick you can burst straight through to Phaeton, or you’ll need to battle through the museum to reach the platform.
Speak to Phaeton and it will say you can’t release the compound until the reactor is stable.
Take the elevator below the door you came in through and you’ll be close to the reactor quest marker.
Go around to the left, then over to the right and fight your way through a few more SLUGs and then Sedrick himself before flicking the reactor switch.
Retrace your steps back to Phaeton, and another conversation will start.
At its end, you’ll have another fight on your hands.
It will be over quickly, and you’ll be able to pick up a cure formula and The Needler.
Disperse the compound from Phaeton, and Ludovico will ask to see you at the distillery.
Be aware, this path will fail all uncompleted side quests on Eridanos.
For a Breath | Tarry
Make your way to the Distillery and transition inside.
Fight through the still hostile hosts and go through the “no trespassing” door in the top right of the room behind the reception desk.
Go down the elevator and walk through the door in front of you at the bottom.
In the vat room, you can either go through the door on the left and fight through the hosts and spawns there, or with 65 lockpick and 105 hack go through the right hand door and use the terminal to defeat most of the enemies without a fight.
Either way, when the enemies are defeated you have two options on how to move forward. The right hand door at the bottom of the stairs leads to another room full of hosts and spawns, but also a unique weapon in a locked box.
While the left hand door leads to a pink-lit room where you’ll find the elevator that’s your objective.
Both paths eventually lead to this pink room, so it’s up to you.
When you reach the pink room, either loot the locker room on the north wall or advance straight down the elevator through the door on the east wall.
At the bottom of the elevator, fight through the room of hosts and spawns, then make your way over to the right.
Open the door in this last room and a cutscene will trigger.
After the ensuing conversation, a boss fight will start. It’s not too hard, there’s a lot of cover in the room – just continually fire on the target and it’ll go down soon enough.
If you’re a non-combat character, there are terminals in the corners of the room use can use to end the fight without the shooty bang-bang.
When the battle is over, go over to Ludovico’s skeleton and loot his access card, unique outfit, and unique weapon – the rifle used to kill Halcyon Helen at the start of all of this.
Now go into the office behind where Ludovico was standing during the cutscene, speak to the assistant to unlock the exit elevator, then leave the building.
With Eridanos left in an incredible mess, all that’s left to do is high-tail it back to your ship and speak to ADA, thus finishing off the storyline.
The post The Outer Worlds: Murder on Eridanos Walkthrough | Who to Accuse, How to get the Best Ending appeared first on VG247.


