The best Warrior build for the early game in Path of Exile 2 takes one aspect of the class’ possible loadout options and focuses on it. While you can play a Warrior as a defensive, shield-based fighter or sacrifice other stats for armour, the class lends itself well early on to builds based around high-damage, explosions, and regaining health in the middle of a fight. With this setup, one hit can kill tens of enemies to open up an escape route, and allow you to better deal with monster hordes.
The Warrior's passive skill tree is set up to accommodate a high-damage playstyle, and this is likely what drew you to the class. Here I'll run through my best starter build for the Warrior, explaining powerful early skills to grab and focus on. I also touch on key support gems and passive nodes to unlock. Beyond the early game, though, it's up to you how you ascend as a Warrior and round out your build as you progress further.
Best Warrior skills and support gems for the early game
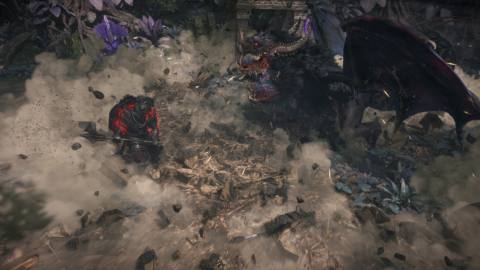
These are my recommended Warrior skills that are key to this build. I've also listed my suggested support gems below each:
Rolling Slam
- Fist of War: Supported skills are ancestrally boosted no more than once every six seconds
- Unbreakable: Supported skills have 200% more stun threshold
Rolling Slam is the first main skill you get beyond the basic attack the Warrior has. This is a set of two powerful slams that deals damage in an AoE, while each slam can be targeted individually, and you can dodge out of the second slam if needed. This is your main method of attack when taking on groups and Fist of War will provide an overall buff to your slams every six seconds. Unbreakable is also worth taking here to boost your stun damage on enemies, allowing you to make use of some of the other skills I'll mention below like Boneshatter and Infernal Cry.
Boneshatter
- Concentrated Effect: Supported skills deal 40% more area damage. Supported skills have 50% less area of effect.
- Impact Shockwave: Supported skills create an aftershock when they heavy stun an enemy, dealing the same damage to enemies within 1.4 meters
Boneshatter amplifies your ability to deal damage to several enemies. When using it on an enemy which has been primed for stun, you'll cause a heavy stun attack, which sends out a large shockwave and deals damage to all enemies in the vicinity around the enemy you hit. Enemies are primed for stun when they reach 40% stun buildup, with a 60% threshold for magic enemies.
Concentrated Effect boosts the damage, but at the cost of shockwave size when you trigger a heavy stun. While this is drastic, enemies are often so closely bunched up, you won’t need to worry too much, especially when you combine it with Infernal Cry (which I detail a little further on).
Additionally, the Impact Shockwave support gem offsets this by effectively creating a ripple effect whenever you trigger this shockwave, passing it on from enemy to enemy, giving you some of that range back which you lose from the Concentrated effect.
Shockwave Totem
- Aftershock: Supported skills have a 20% chance to create an aftershock
The Shockwave Totem is one of two key zoning and crowd control abilities that you'll need to learn how to use effectively early on. You can summon these out of the ground near an enemy you're looking at or attacking for 12 seconds. They deal damage every three seconds, giving you four free and powerful additional shockwave attacks that can pick off enemies. Additionally, they serve as a distraction, allowing you to heal as enemies attack them. Pair this skill with the Aftershock support gem, too, and you'll get a chance of additional shockwaves that do even more damage.
Earthquake
- Jagged Ground: Supported skills have a chance to create patches of Jagged Ground.
Earthquake is the second of these zoning and crowd control abilities. The effect is similar to Shockwave Totem, but concentrated on one big explosion that happens a few seconds after you slam the ground. This explosion occurs in the spot you slammed with your weapon when using the skill, so it does require some planning if enemies are charging at you. Alternatively, you can guide an enemy around the area so it walks over it as the explosion happens. This explosion will also leave a Jagged Ground AoE for four seconds, which drastically slows enemies, and can be enhanced with the support gem of the same name.
Infernal Cry
- Corrupting Cry: Supported skills inflict Corrupted Blood on enemies in their area of effect.
Infernal Cry is the skill that ties this entire build together. You perform a warcry, empowering and buffing all attacks following it and setting enemies in a large radius around you on fire. These enemies combust upon death and explode, which combined with your totems, Earthquake explosions, and Boneshatter shockwaves, creates a massive chain reaction that can wipe out dozens of enemies attacking you, as all the different effects ricochet off of each other.
Prime everyone with Infernal Cry, place a totem or Earthquake, reach an enemy's Stun Threshold, and then detonate with Boneshatter or Rolling Slam to make short work of any larger enemy or horde. Adding the Corrupting Cry support gem will also imbue every enemy you hit with Corrupted Blood, dealing physical damage over time, potentially allowing you to kill some enemies without even landing a hit, which will trigger more explosions.
Warrior stat priorities
These are the stats I recommend you prioritise via your gear and passive skill tree:
Strength is the most important stat for the Warrior, since by levelling it, you're constantly upping the quality of gear you can equip. This means you'll get progressively higher armour and energy shield stats to help in survivability. Additionally, you'll also want to focus a bit on intelligence too. The Warrior playstyle is centered around spamming your abilities to maximise damage, and more intelligence grants you more mana with which to use said abilities.
As mentioned, evasion isn’t a priority for the Warrior. Instead, pump most of your defensive stats into armour and energy shield. The former reduces all physical and magic damage you take, which is handy since you'll be the vanguard tanking enemy attacks.
Energy shield, on the other hand, is found on gear mostly and gives you a regenerating shield that can tank some initial hits before you start taking damage. This grants you that extra bit of survivability. Some small improvements to your movement speed can also give you a bit more flexibility to evade attacks or get out of tricky situations. Most of your movement speed boosts will come from the gear you equip, but it is available through passive skills, too.
Beyond that, to stay alive and constantly regenerate your health in the middle of the fight, you want to focus on improving health regeneration and maximum life. In the early acts, both of these stats are vital to staying alive and being confident enough to jump into the thick of it. These stats can be the difference between life and death, especially in boss encounters where you have a lot more downtime and can dodge attacks to regenerate your health.
Unsurprisingly, physical damage and critical hit chance are your two priorities here. You want the most damage possible and also the highest chance of boosting that damage. The better the weapons and armour you can find with these stats, the more effective you will be. Additionally, since stunning enemies is key to this build, you'll want to boost your stun threshold, too.
Best Warrior passive skills to grab early
These are passive skill nodes that I'd suggest getting due to their strength:
Most of these skills lead directly down the main path from where the Warrior’s section of the tree begins. However, Prolonged Fury is slightly off to the right.
Best Warrior gear
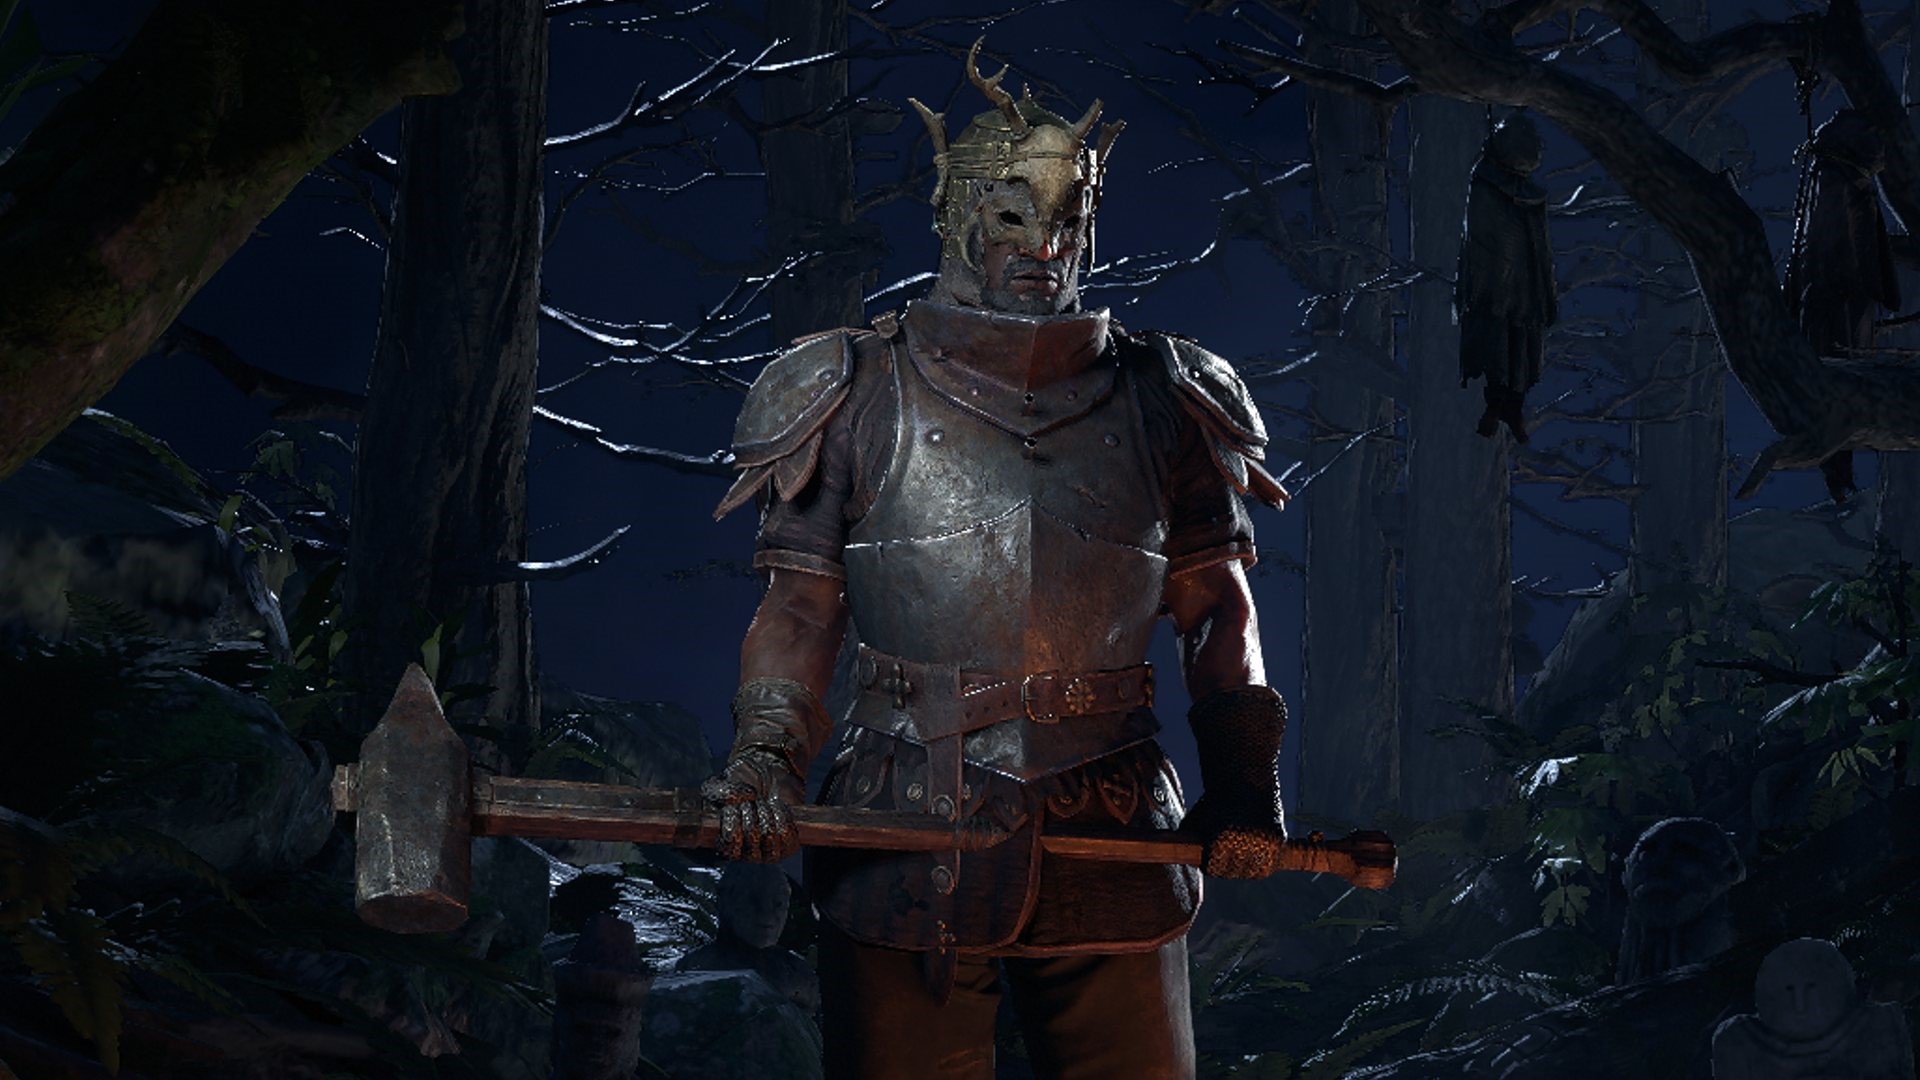
For the Warrior, you want gear that has high health regeneration rate, alongside some energy shield too. Two-handed weapons are far better for damage early on, so I'd suggest them instead of a one-handed weapon and shield. Some of the early gear that's worth keeping hold of includes:
- Greathammer
- Forge Maul
- Augur’s Horned Crown
- Rusted Cuirass
- Amulet of Excitement
- Ring of the Lizard
Armour is highly dependent on the stats you roll, but the Augur’s Horned Crown comes with high energy shield and armour stats. The Amulet of Excitement enhances your mana regeneration rate, while the Ring of the Lizard improves physical damage.
On the weapon side, the Oak Greathammer or the Forge Maul are your most effective options over something like a two-handed club, which can be weak in comparison. When it comes to this build, shields and one-handed maces aren't too effective.


