
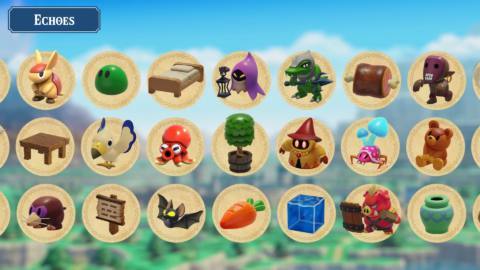
The Legend of Zelda: Echoes of Wisdom is all about — you guessed it — echoes, clones of items that Zelda can make with Tri’s help. There are 127 echoes in total, varying from inanimate objects and traps to bad guys, each with their own unique abilities.
Below, we list out some of our favorite echoes to use in the early hours of Echoes of Wisdom. Following that, we’ve provided a list of all echoes in the game, with details about where to find them.
Best echoes to get early in Zelda: Echoes of Wisdom
Of the 127 echoes in Echoes of Wisdom, some are immensely helpful in the early hours. Prioritize getting the following six as soon as you’re able:
- Trampoline Echo
- Water Block Echo
- Bombfish Echo
- Flying Tile Echo
- Crow Echo
- Any bed echoes
Make sure to grab these, as they will radically improve your ability to scale cliffs, cross gaps, and solve puzzles.
Trampoline Echo
The humble trampoline, which you get in Suthorn Village soon after starting your adventure, will help you reach most cliffs that are just out of Zelda’s jumping range. While her jump will upgrade later on in the game with the right accessory, this helps get over some early-game humps near immediately and shouldn’t be counted out.
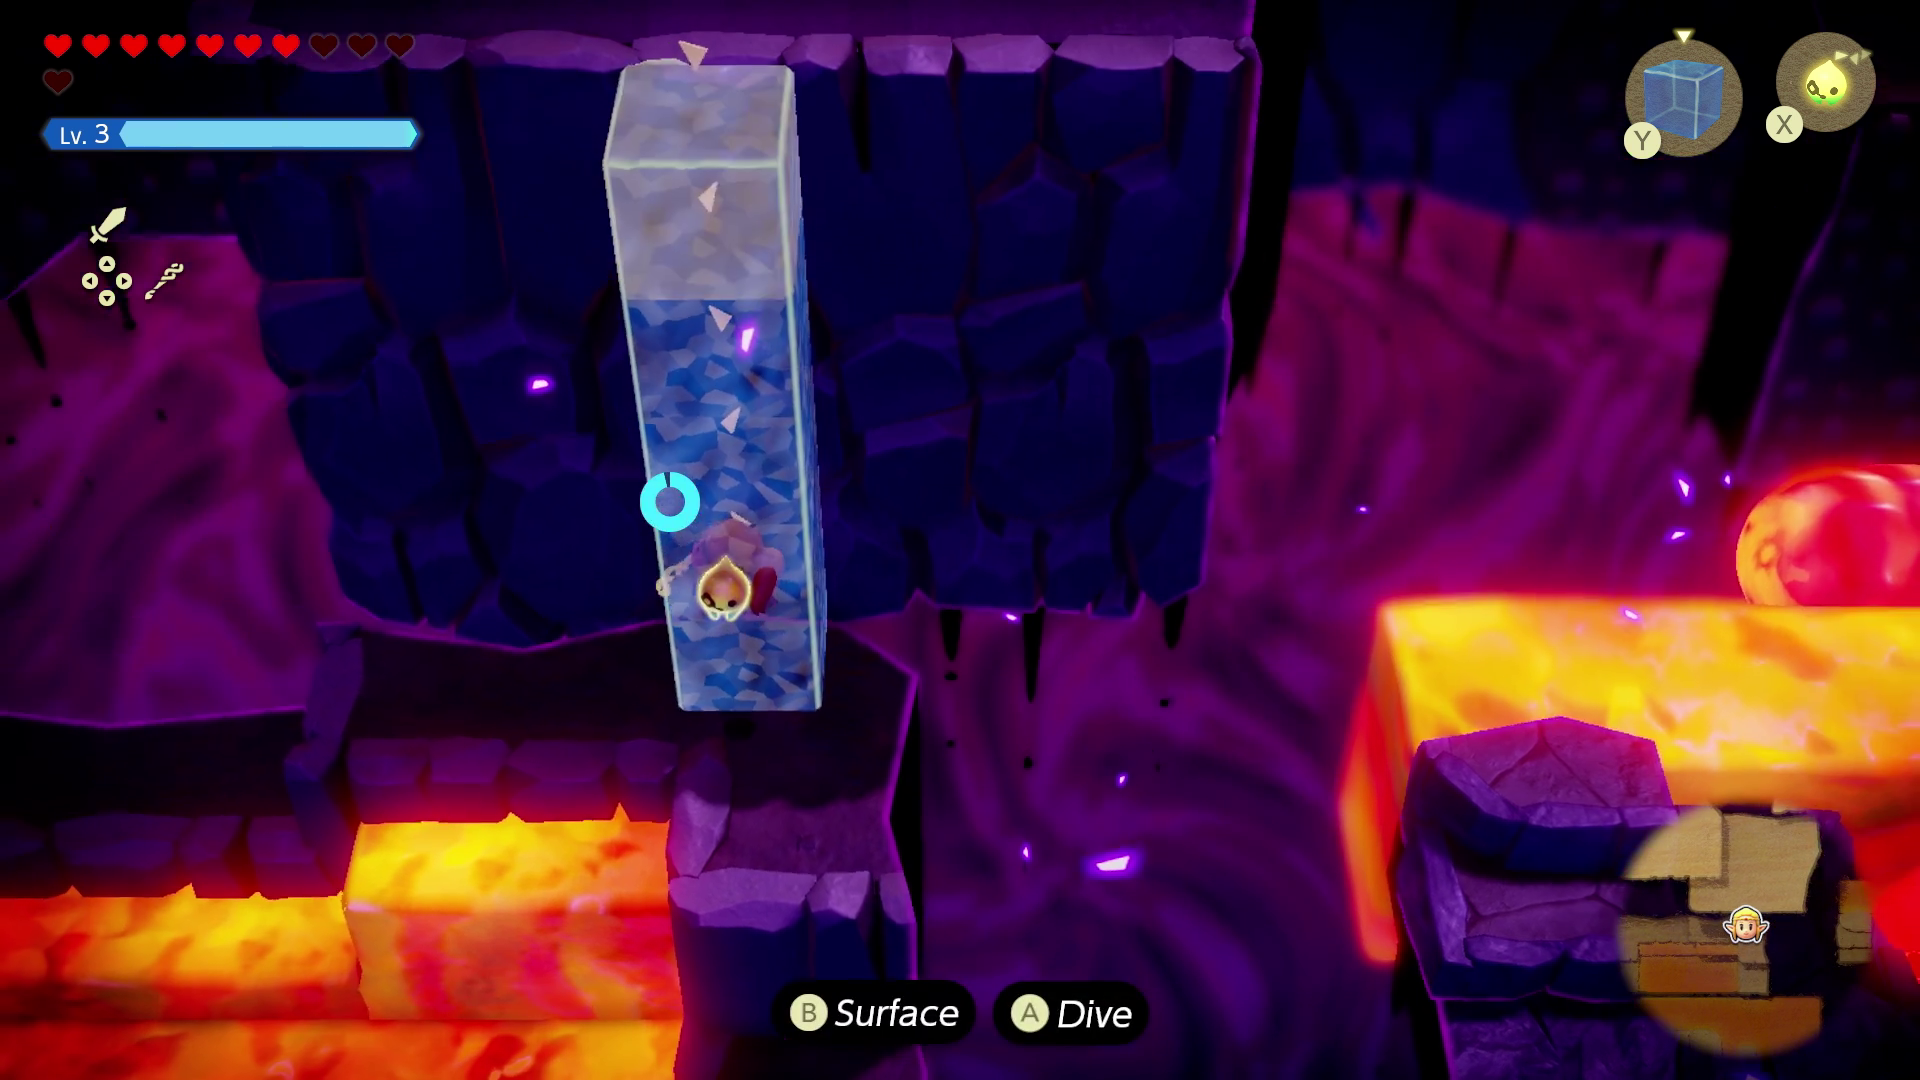
Water Block Echo
Obtained during the Jabul Waters portion of the game, this echo trivializes any vertical obstacle. They stack on top of each other easily — you don’t have to jump and place them, just stand and keep pressing Y aiming at the same spot and they’ll stack nicely. They also only cost one Tri energy to place, which means the stronger you get, the taller towers of water you can build. Yes.
Bombfish Echo
While there are bombs later in the game, the Bombfish Echo (you also get in Jabul Waters) will carry you until you get proper bombs. Even when you get the bombs, the bombfish is still great, as it doesn’t cost any Swordfighter energy the way your item bombs do.
Flying Tile Echo
You get this echo in the Gerudo Desert portion of the game, and while you can skip it by accident, you need to have this to make this game significantly easier. The flying tile will carry you across large horizontal gaps, so you won’t have to build janky bridges anymore.
Crow Echo
You’ll find crows everywhere in Hyrule Field and these greedy little birds help with rupee farming and are just great to use as allies. The first time a crow hits an enemy, rupees will explode out of the enemy, making 5-10 rupees per enemy. They also only cost 1-2 Tri energy (depending on how far you are in the game), so you can have an army of crows to help distract and take down enemies.
Bed echoes
Yes, even if you don’t necessarily need the bed anymore to make staircases and bridges, it’s still one of the more useful tools in the game. Sleeping in the bed allows Zelda to regain health. The comfier the bed, the faster she restores her health, so make sure to keep your eyes peeled for bed upgrades along your journey.
There’s also something hilarious about just taking a little nap in the corner during a boss fight to restore some HP.
All echoes list in Zelda: Echoes of Wisdom
Below, we list all of the echoes, along with where to find them. Some echoes are in multiple locations, though we prefer to list the more permanent locations to find them. (For example, you may find one echo in a Stilled area, but after fixing the rift, it will be inaccessible in this location, so we’ll list another more permanent place to find it.)
We also opt to use named locations when we can over generic locations — so this means that though you may be able to find the Wind Cannon Echo in an unnamed cave in the desert, we opted to note that you can find it in the named Cryptic Cavern.
The locations below may not be the only place to find them, but they were the easiest place to access for us to quickly backtrack missing echoes.
| Echo | Energy cost | Location |
|---|---|---|
| Table | 1 | Hyrule Castle Underground |
| Old Bed | 1 | Hyrule Castle Underground |
| Soft Bed | 2 | Gerudo Town |
| Zelda’s Bed | 3 | Hyrule Castle |
| Decorative Shrub | 1 | Hyrule Castle Underground |
| Wooden Box | 1 | Hyrule Castle Underground |
| Pot | 1 | Hyrule Castle Underground |
| Hyrule Castle Pot | 1 | Hyrule Castle |
| Gerudo Pot | 1 | Gerudo Town |
| Boulder | 1 | Hyrule Castle Underground |
| Rock | 1 | Hyrule Castle Underground |
| Lava Rock | 4 | Eldin Volcano |
| Ice Block | 1 | Hebra Mountains |
| Snowball | 2 | Hebra Mountains |
| Sign | 1 | Hyrule Field |
| Grilled Fish | 1 | Seesyde Village, requires “Deliver the Grilled Fish!” quest |
| Meat | 1 | Suthorn Forest |
| Rock Roast | 1 | Rock-Roast Quarry, Eldin Volcano |
| Stuffed Toy | 1 | Graveyard north of Hyrule Castle |
| Carrot | 1 | Carrot Field north of Hyrule Castle, requires “Impa’s Gift” quest |
| Water Block | 1 | Jabul Ruins |
| Elephant Statue | 1 | Gerudo Sanctum |
| Hawk Statue | 1 | Gerudo Sanctum |
| Cat Statue | 1 | Gerudo Sanctum |
| Snake Statue | 1 | Gerudo Sanctum |
| Ancient Orb | 1 | Eternal Forest |
| Trampoline | 1 | Suthorn Village |
| Wind Cannon | 2 | Gerudo Desert, Cryptic Cavern |
| Flying Tile | 3 | Gerudo Sanctum |
| Cloud | 2 | Lanayru Temple |
| Spiked Roller | 4 | Cave east of Kakariko Village |
| Beetle Mound | 3 | Gerudo Valley, northern cave west of the quicksand area |
| Fireworks | 2 | Goron City, “The Fireworks Artist” quest |
| Brazier | 2 | Eastern cave entrance in Suthorn Forest |
| Zol | 1 | Suthorn Beach |
| Ignizol | 2 | Gerudo Desert, Ancestor’s Cave of Rest |
| Hydrozol | 2 | Faron Wetlands, Deku Scrub Lockup |
| Buzz Blob | 3 | Faron Wetlands |
| Spear Moblin | 1 | Hyrule Field |
| Spear Moblin Lv. 2 | 4 | Camp west of the Eastern Temple |
| Sword Moblin | 2 | Hyrule Field |
| Sword Moblin Lv. 2 | 4 | Eternal Forest |
| Sword Moblin Lv. 3 | 5 | Eternal Forest |
| Club Boarblin | 2 | Gerudo Desert |
| Club Boarblin Lv. 2 | 4 | Gerudo Desert |
| Boomerang Boarblin | 2 | Gerudo Desert |
| Boomerang Boarblin Lv. 2 | 4 | Gerudo Desert |
| Lynel | 6 | Eternal Forest |
| Lizalfos | 3 | Eldin Volcano |
| Lizalfos Lv. 2 | 4 | Lizalfos Burrow, Eldin Volcano |
| Lizalfos Lv. 3 | 5 | Faron Wetlands |
| Darknut | 3 | Suthorn Ruins |
| Darknut Lv. 2 | 4 | Stilled Hyrule Castle |
| Darknut Lv. 3 | 5 | Faron Wetlands, cave east of Scrubton |
| Armos | 2 | Faron Temple |
| Ball-and-Chain Trooper | 4 | Hyrule Castle dungeon |
| Gibdo | 3 | Gerudo Sactum |
| Gibdo Lv. 2 | 4 | Gerudo Desert |
| ReDead | 3 | Gerudo Desert |
| Fire Wizzrobe | 5 | Eldin Temple |
| Ice Wizzrobe | 5 | Northeastern water area of Hebra Mountains |
| Electric Wizzrobe | 5 | Faron Wetlands |
| Caromadillo | 2 | Suthorn Forest, cave southwest of Suthorn Ruins |
| Caromadillo Lv. 2 | 3 | Gerudo Desert, cave east of where the Stilled Desert Temple Ruins was |
| Rope | 1 | Hyrule Field |
| Tornando | 2 | Gerudo Desert |
| Ribbitune | 2 | Along the river north of Hyrule Castle Town |
| Drippitune | 3 | Faron Wetlands |
| Torch Slug | 3 | Eldin Volcano |
| Freeze Slug | 3 | Hebra Mountains |
| Holmill | 3 | Gerudo Desert, Ancestor’s Cave of Rest |
| Wolfos | 3 | Hyrule Field |
| White Wolfos | 5 | Lanayru Temple |
| Keese | 1 | Suthorn Beach Cave |
| Fire Keese | 4 | Eldin Volcano |
| Ice Keese | 4 | Hebra Mountains |
| Electric Keese | 4 | Faron Wetlands |
| Mothula | 3 | Gerudo Sanctum |
| Mothula Lv. 2 | 5 | Faron Wetlands |
| Needlefly | 2 | Faron Wetlands |
| Albatrawl | 2 | Above the sea in Jabul Waters |
| Crow | 2 | Hyrule Field |
| Beakon | 3 | Faron Wetlands |
| Guay | 3 | Hyrule Field |
| Octorok | 1 | Hyrule Field |
| Fire Octo | 2 | Eldin Volcano |
| Ice Octo | 2 | Hebra Mountains |
| Sea Urchin | 1 | Suthorn Beach |
| Sand Crab | 1 | Jabul Waters beaches |
| Biri | 2 | Jabul Waters |
| Tangler | 1 | Jabul Waters |
| Tangler Lv. 2 | 2 | Jabul Waters |
| Bombfish | 4 | Jabul Waters |
| Chompfin | 4 | Jabul Waters |
| Piranha | 2 | Faron Wetlands |
| Sand Piranha | 2 | Gerudo Desert |
| Deku Baba | 2 | Suthorn Ruins |
| Bio Deku Baba | 3 | Jabul Ruins |
| Deku Baba Lv. 2 | 3 | Faron Wetlands |
| Peahat | 3 | Cave south of Suthorn Ruins |
| Giant Goponga Flower | 4 | Faron Wetlands |
| Zirro | 3 | Eldin Volcano |
| Ghirro | 2 | Stilled Hebra Mountain |
| Mini-Moldorm | 2 | Eldin Volcano |
| Strandtula | 2 | Faron Temple |
| Crawltula | 3 | Faron Temple |
| Baby Gohma | 2 | Faron Temple |
| Beetle | 1 | Gerudo Desert |
| Aruroda | 2 | Gerudo Desert |
| Tektite | 2 | Western Hyrule Field |
| Tektite Lv. 2 | 3 | Lanayru Temple |
| Hoarder | 3 | Faron Wetlands |
| Poe | 4 | Gerudo Sanctum |
| Moa | 3 | Lanayru Temple |
| Goo Specter | 3 | Faron Wetlands |
| Ghini | 1 | Graveyard north of Hyrule Castle |
| Ghini Lv. 2 | 3 | Graveyard north of Hyrule Castle |
| Leever | 2 | West of Condé’s house in Hebra Mountains |
| Pathblade | 1 | Gerudo Desert, Cryptic Cavern |
| Gustmaster | 3 | Stilled Hyrule Castle |
| Tweelus | 2 | Eldin Temple |
| Temper Tweelus | 3 | Lanayru Temple |
| Freezard | 3 | Hebra Mountains |
| Snomaul | 3 | Hebra Mountains |
| Spark | 2 | Eastern Temple, east of Hyrule Castle |
| Platboom | 3 | Cave directly above Gerudo Town |
| Beamos | 3 | Faron Wetlands, cave east of Scrubton |