For any who didn't play the original, the sheer number of Stratagems in Helldivers 2 might seem a bit overwhelming. There are so many different flavours of destruction that you can bring to bear on the battlefield against bugs and bots that it's hard to know what you should prioritise spending your precious credits on when unlocking them in Ship Management.
Another way to buff your squad is to unlock and equip a Booster in the Warbond store, though be aware that these don't stack, so having different ones active in a team is ideal. Either way, here are the best Stratagems in Helldivers 2. I've broken down my recommendations into the sections that you can purchase each of these in.
Patriotic Administration Centre

Stalwart
While the base Machine Gun is very strong, the Stalwart is a lighter version that removes that weapon's primary drawback with faster reload times. If you pair this with the Supply Pack early on, you can refill your ammo from the pack as you run out, and keep firing for days. It won't punch through armour, but it will kill just about anything else.
Anti-Material Rifle
This is your best early-game anti-armour option, but it also lets you pick off troublesome enemies at a longer distance than many of the other weapons if you switch to first-person view while aiming. Equally, if an armoured enemy is charging forward, you can also hip-fire at point-blank range and unload the entire mag to make quick work of it.
Recoilless Rifle
The best anti-armour option in Helldivers 2 for my money; while team weapons can be speedily reloaded if you let someone else carry the backpack, you can just carry it and reload them yourself. This takes around as long as the Machine Gun reload, but it's well worth it considering you get a weapon to deal with troublesome armoured enemies like Chargers. Just make sure you set up in a good position before you start firing.
Orbital Cannons
Orbital Gatling Barrage
The problem with most of the Orbital barrages in Helldivers 2 is that they have a very wide spread, often making them deadly to other members of your squad, while still not guaranteeing you'll actually hit the thing you want to. The Orbital Gatling Barrage is great because it has a very short cooldown and similar to the airburst, covers a focused area so you can use it in a more targeted way against enemies.
Orbital Laser
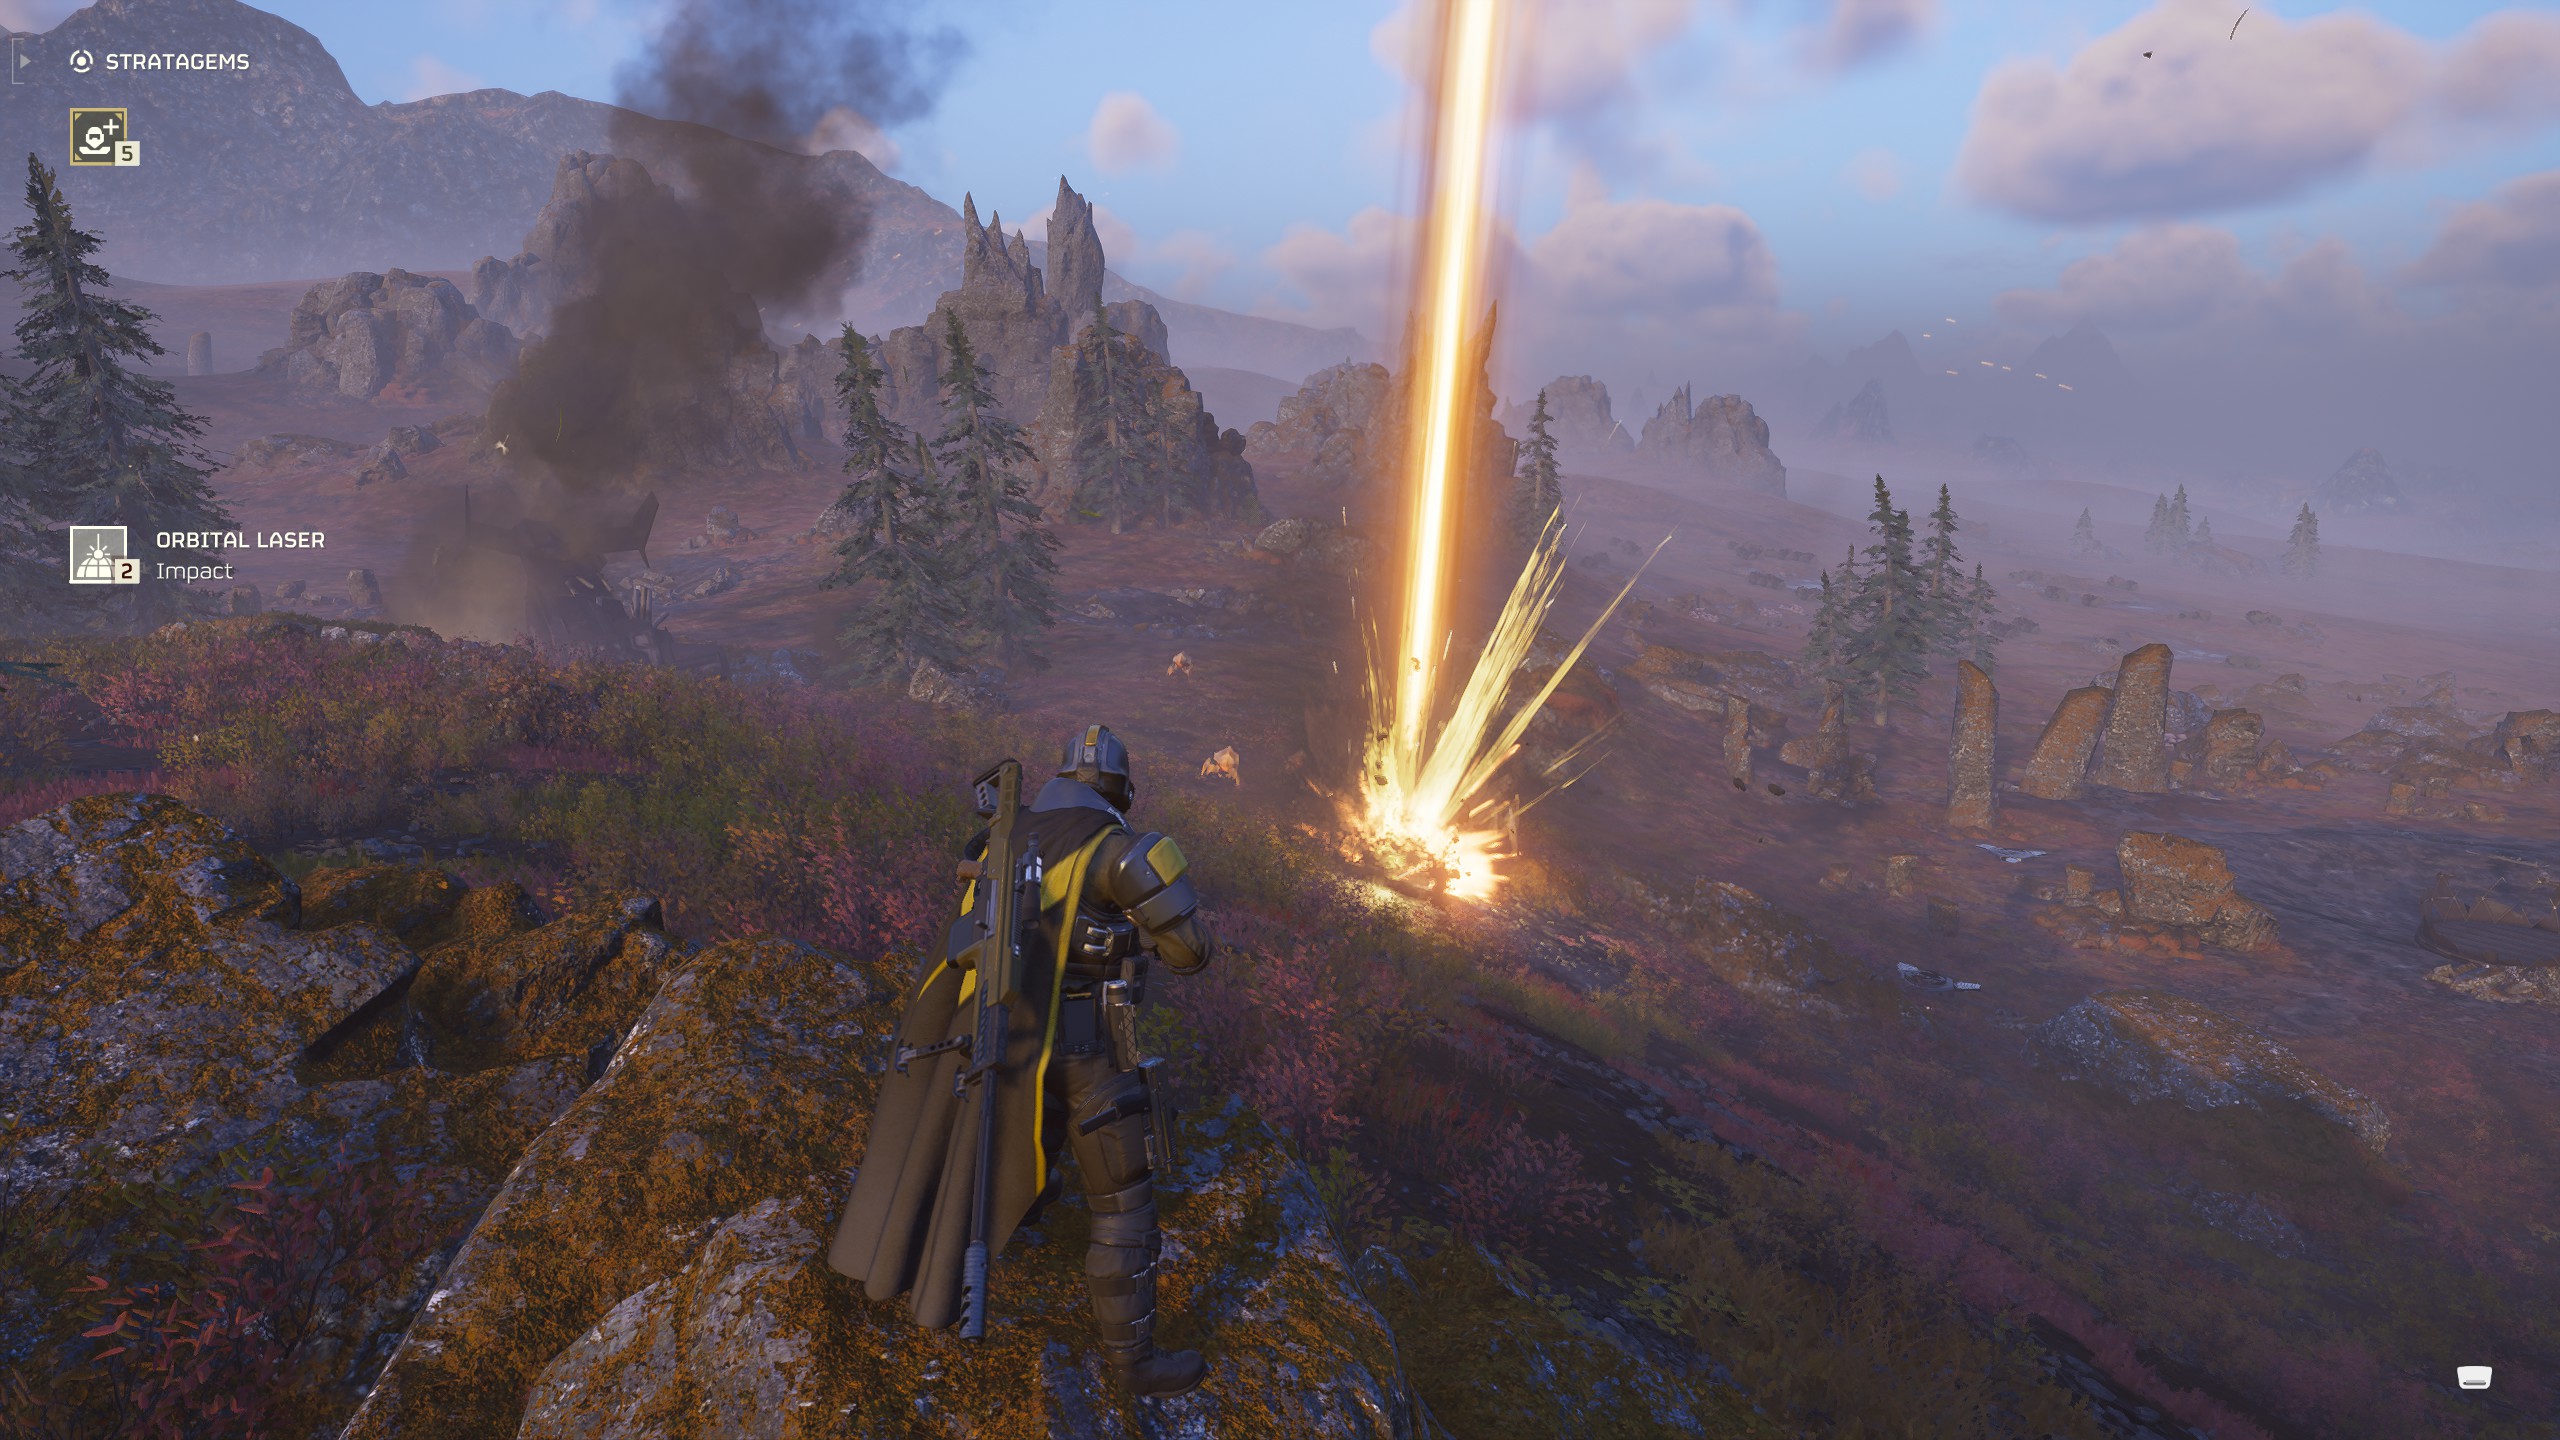
The Orbital Railcannon Strike is the best Stratagem for big armoured enemies, since it has unlimited uses, and automatically targets the biggest enemy in the area. However, I personally think the Orbital Laser is more versatile. This Stratagem fires a prolonged beam that moves between each enemy in the area, while also setting the ground on fire for extra damage.
It's the perfect ability to deal with a large armoured target, throw down a bug breach, or if you're running away from a swarm to extraction and need a fire-and-forget ability that'll cover your retreat. The only thing to watch out for is if you're standing between the beam and an enemy it wants to melt, but you can always dodge out of the way.
Hangar
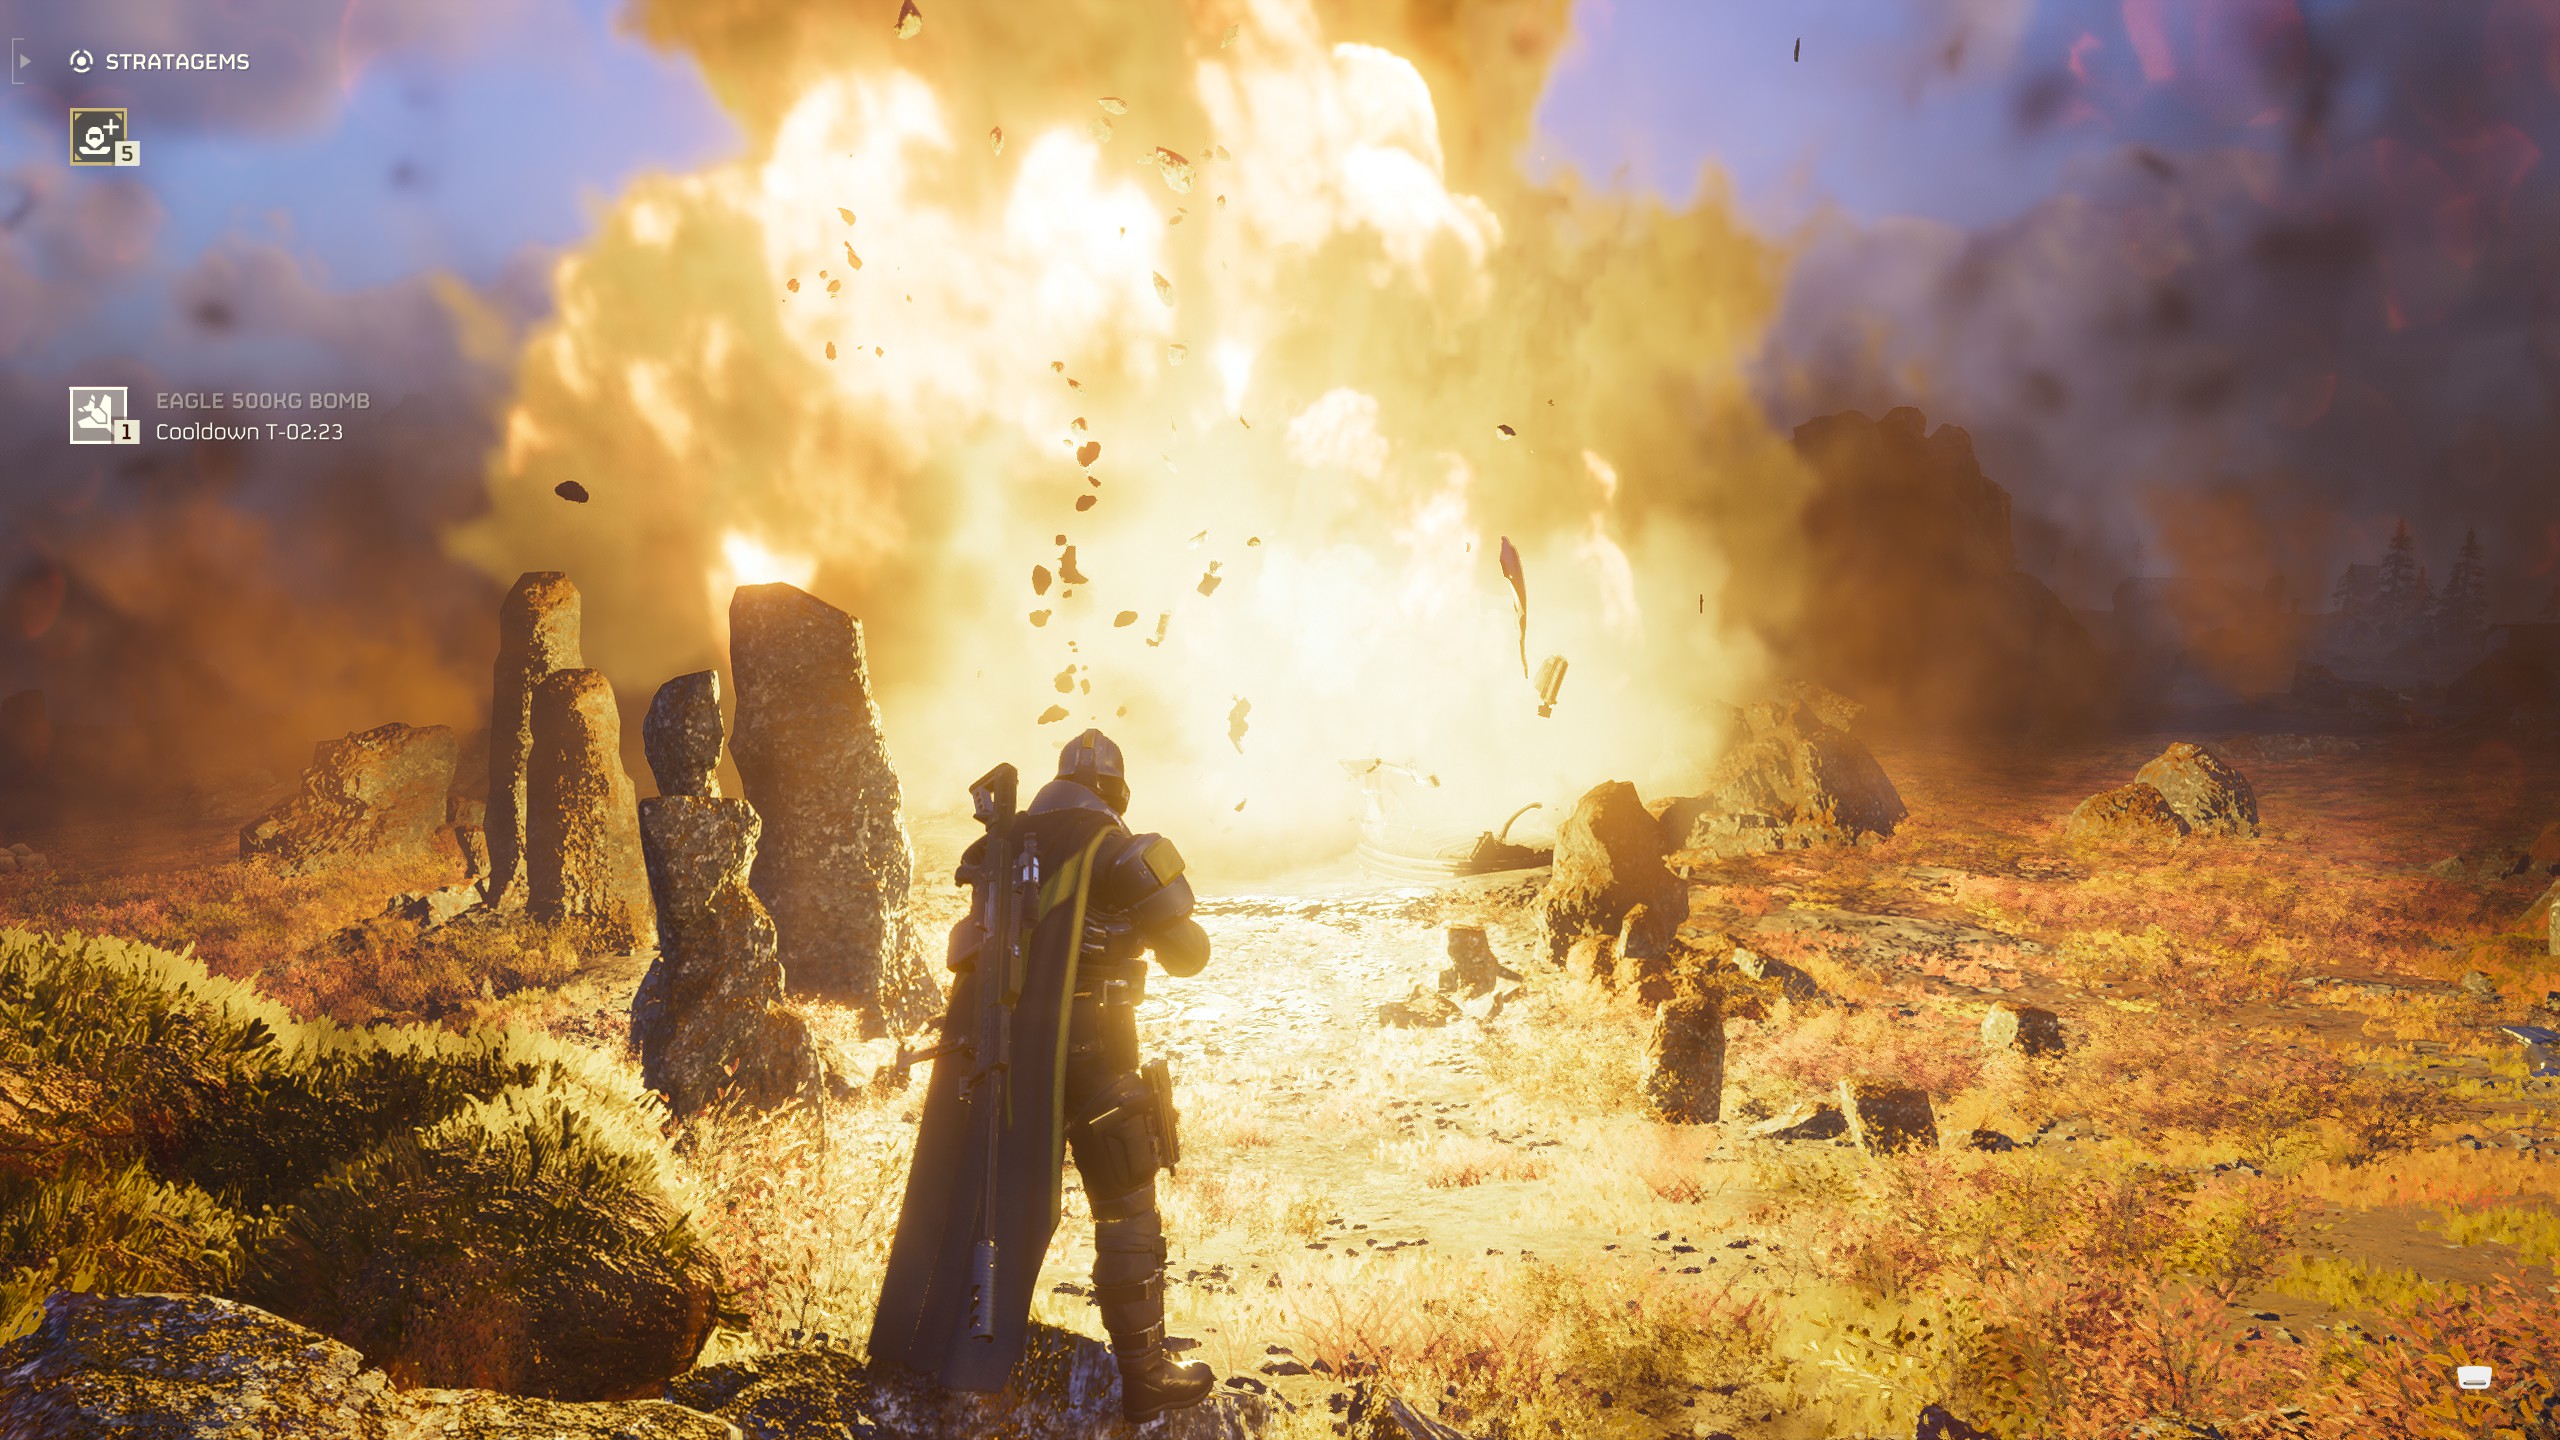
Eagle Cluster Bomb
This Stratagem is perfect for dealing with large groups of enemies, and since it's the only Eagle ability with four uses, you'll get more bang for your buck between each resupply. Admittedly, this Stratagem is annoying for teammates if you use it incorrectly, but you just have to consider that the bombs will drop in a line horizontally to where you throw the beacon. Just make sure to give it a little extra distance and you'll quickly be able to judge its AoE.
Eagle 500KG Bomb
Though pretty impractical, the 500KG bomb is very enjoyable to use. Throw down the beacon and a few seconds later a gigantic explosion will decimate anything in the area. Though its limited number of uses make it a poor choice in comparison to others, if you just want the biggest explosion in the game at your fingertips, it's a fun Stratagem to throw towards a large concentration of enemies or a big bug nest.
Bridge
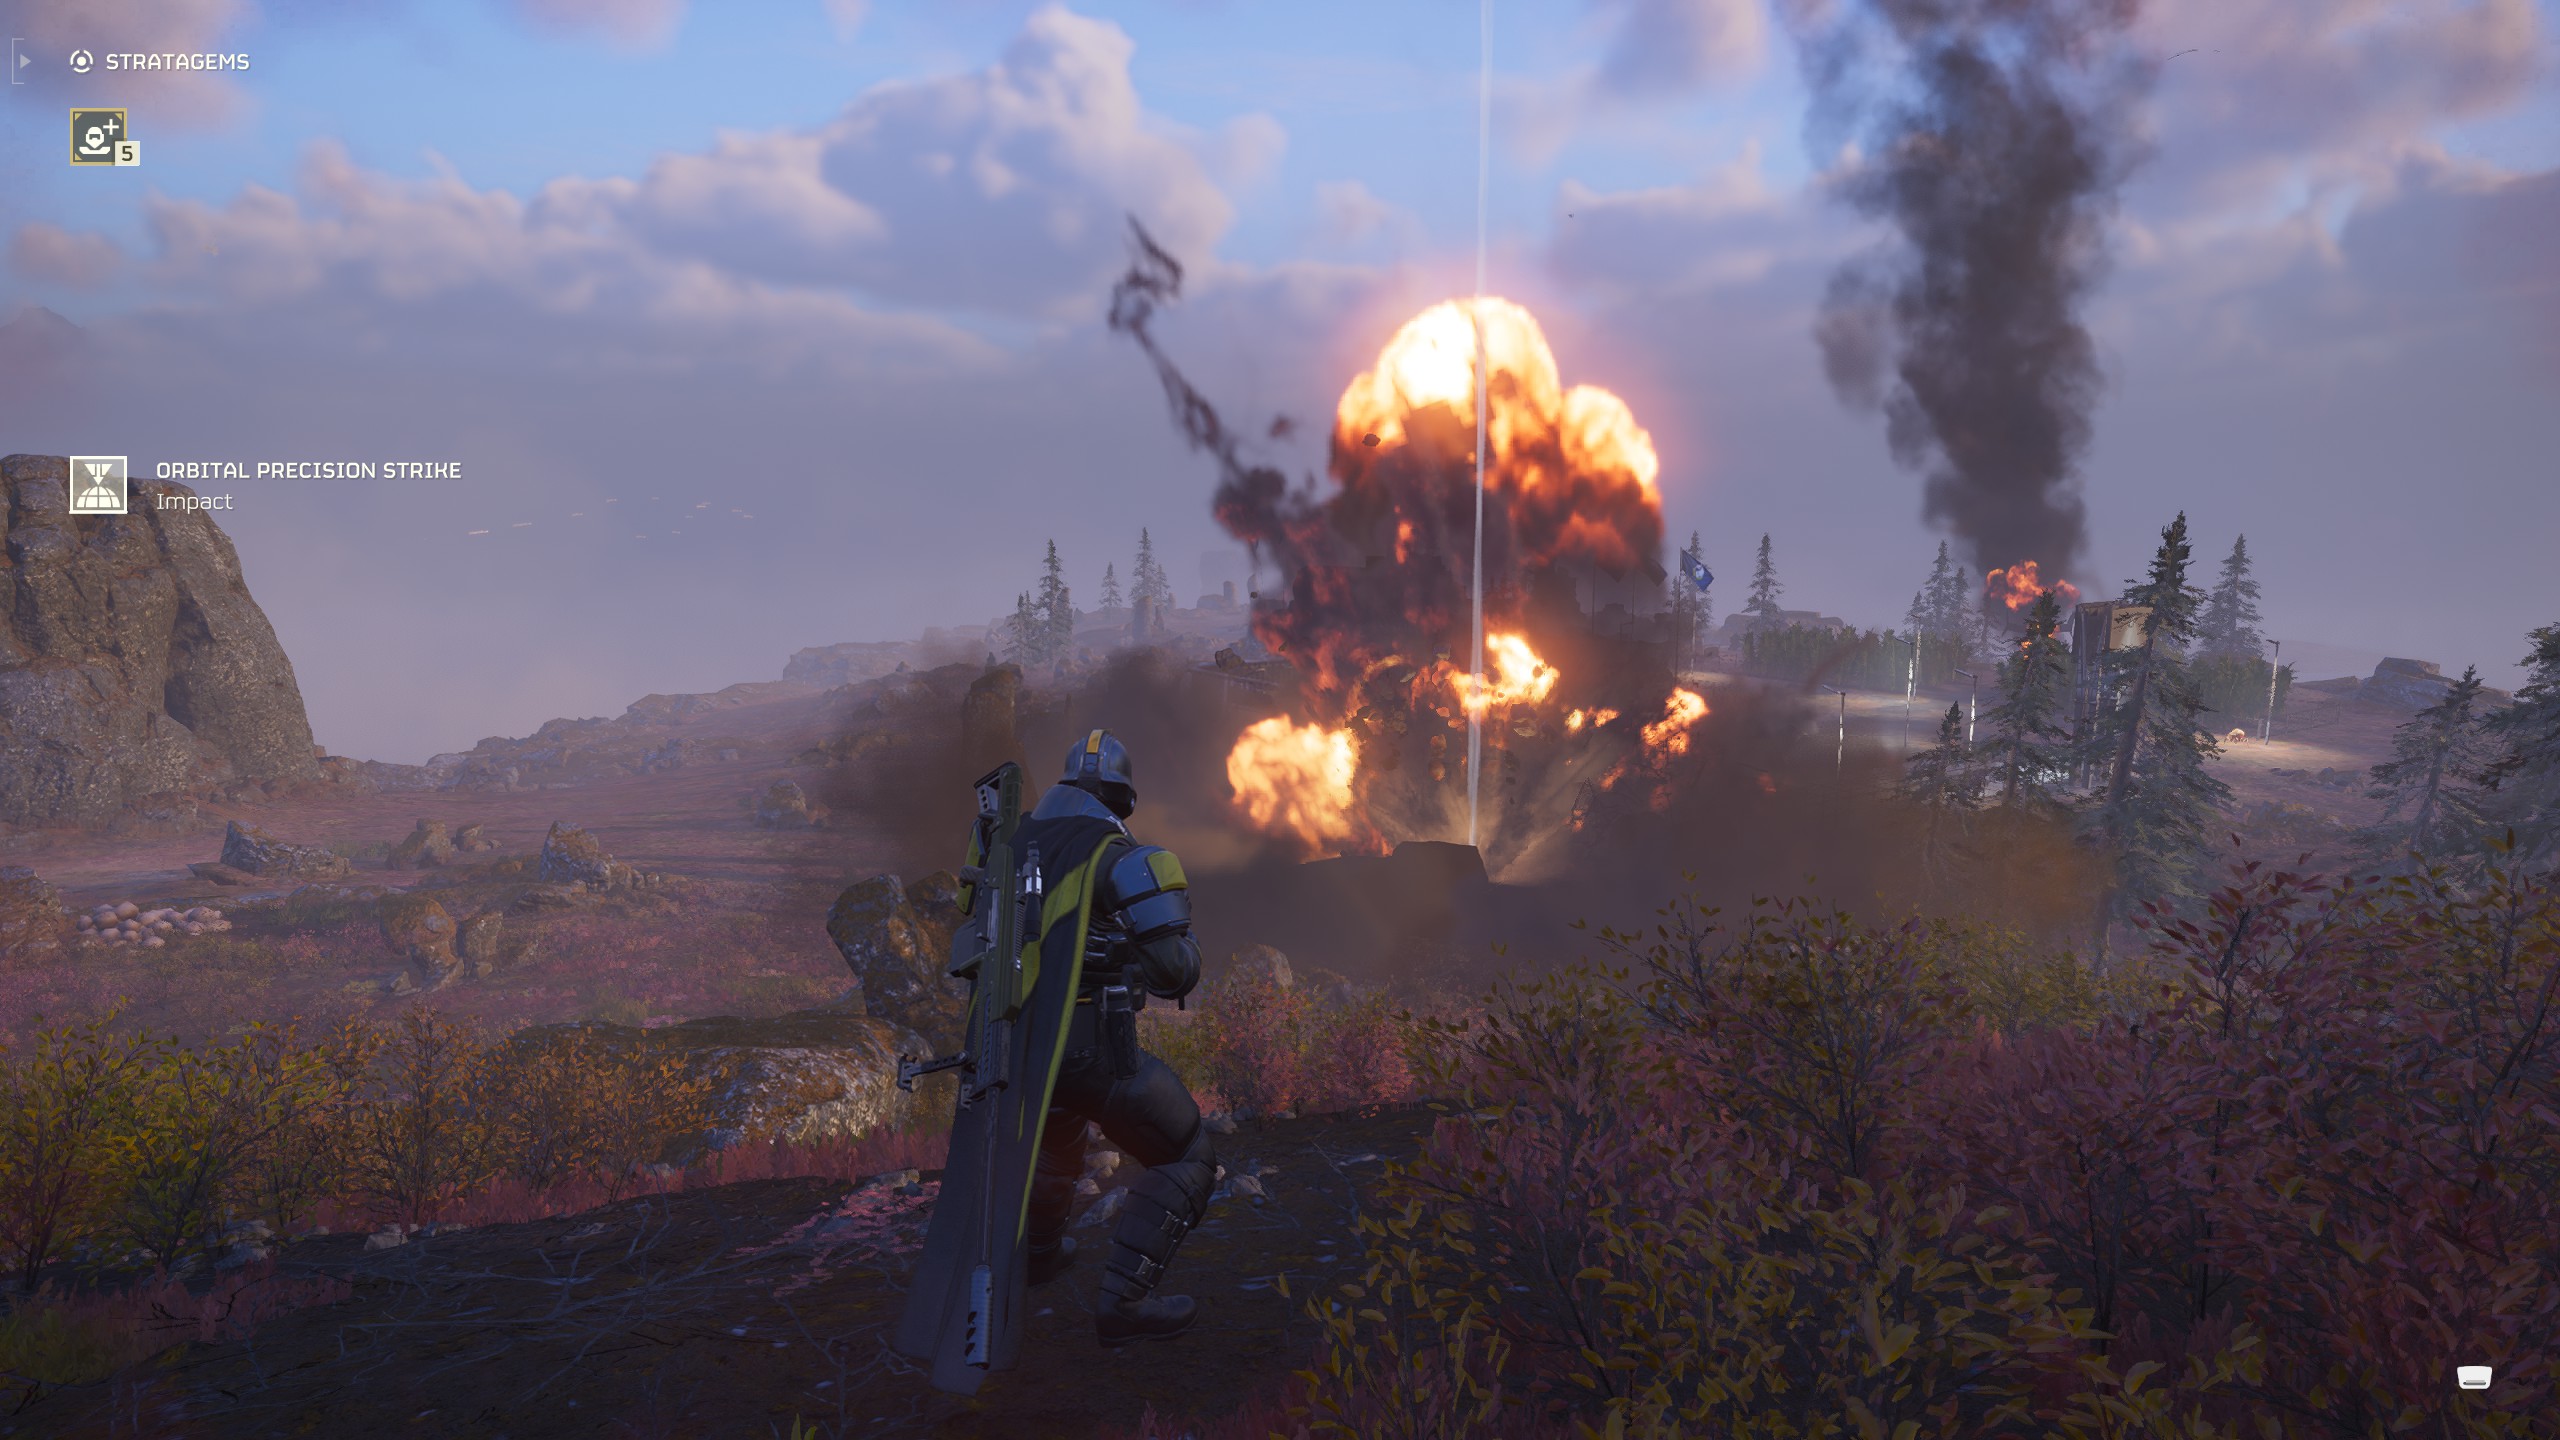
Orbital Precision Strike
Between its short cooldown and unlimited number of uses, the Orbital Precision Strike is the best Orbital bombardment. You don't need a massive area of effect with an Orbital Stratagem—you're usually either targeting a bug hole or a specific armoured enemy, and you're better off using the Eagle Stratagems if you want to deal with big groups instead. Rather than a giant rolling bombardment that stops you entering an area, kills your teammates, and still misses what you wanted to hit, this targeted strike is far better at getting the job done.
Shield Generator Relay
You can get a personal Shield Generator Pack for dealing with ranged fire in the Engineering Bay, but the Shield Generator Relay is a better option. It has a significantly shorter cooldown and provides cover for your entire squad, giving you all a brief moment of respite from the enemies firing at you.
Engineering Bay
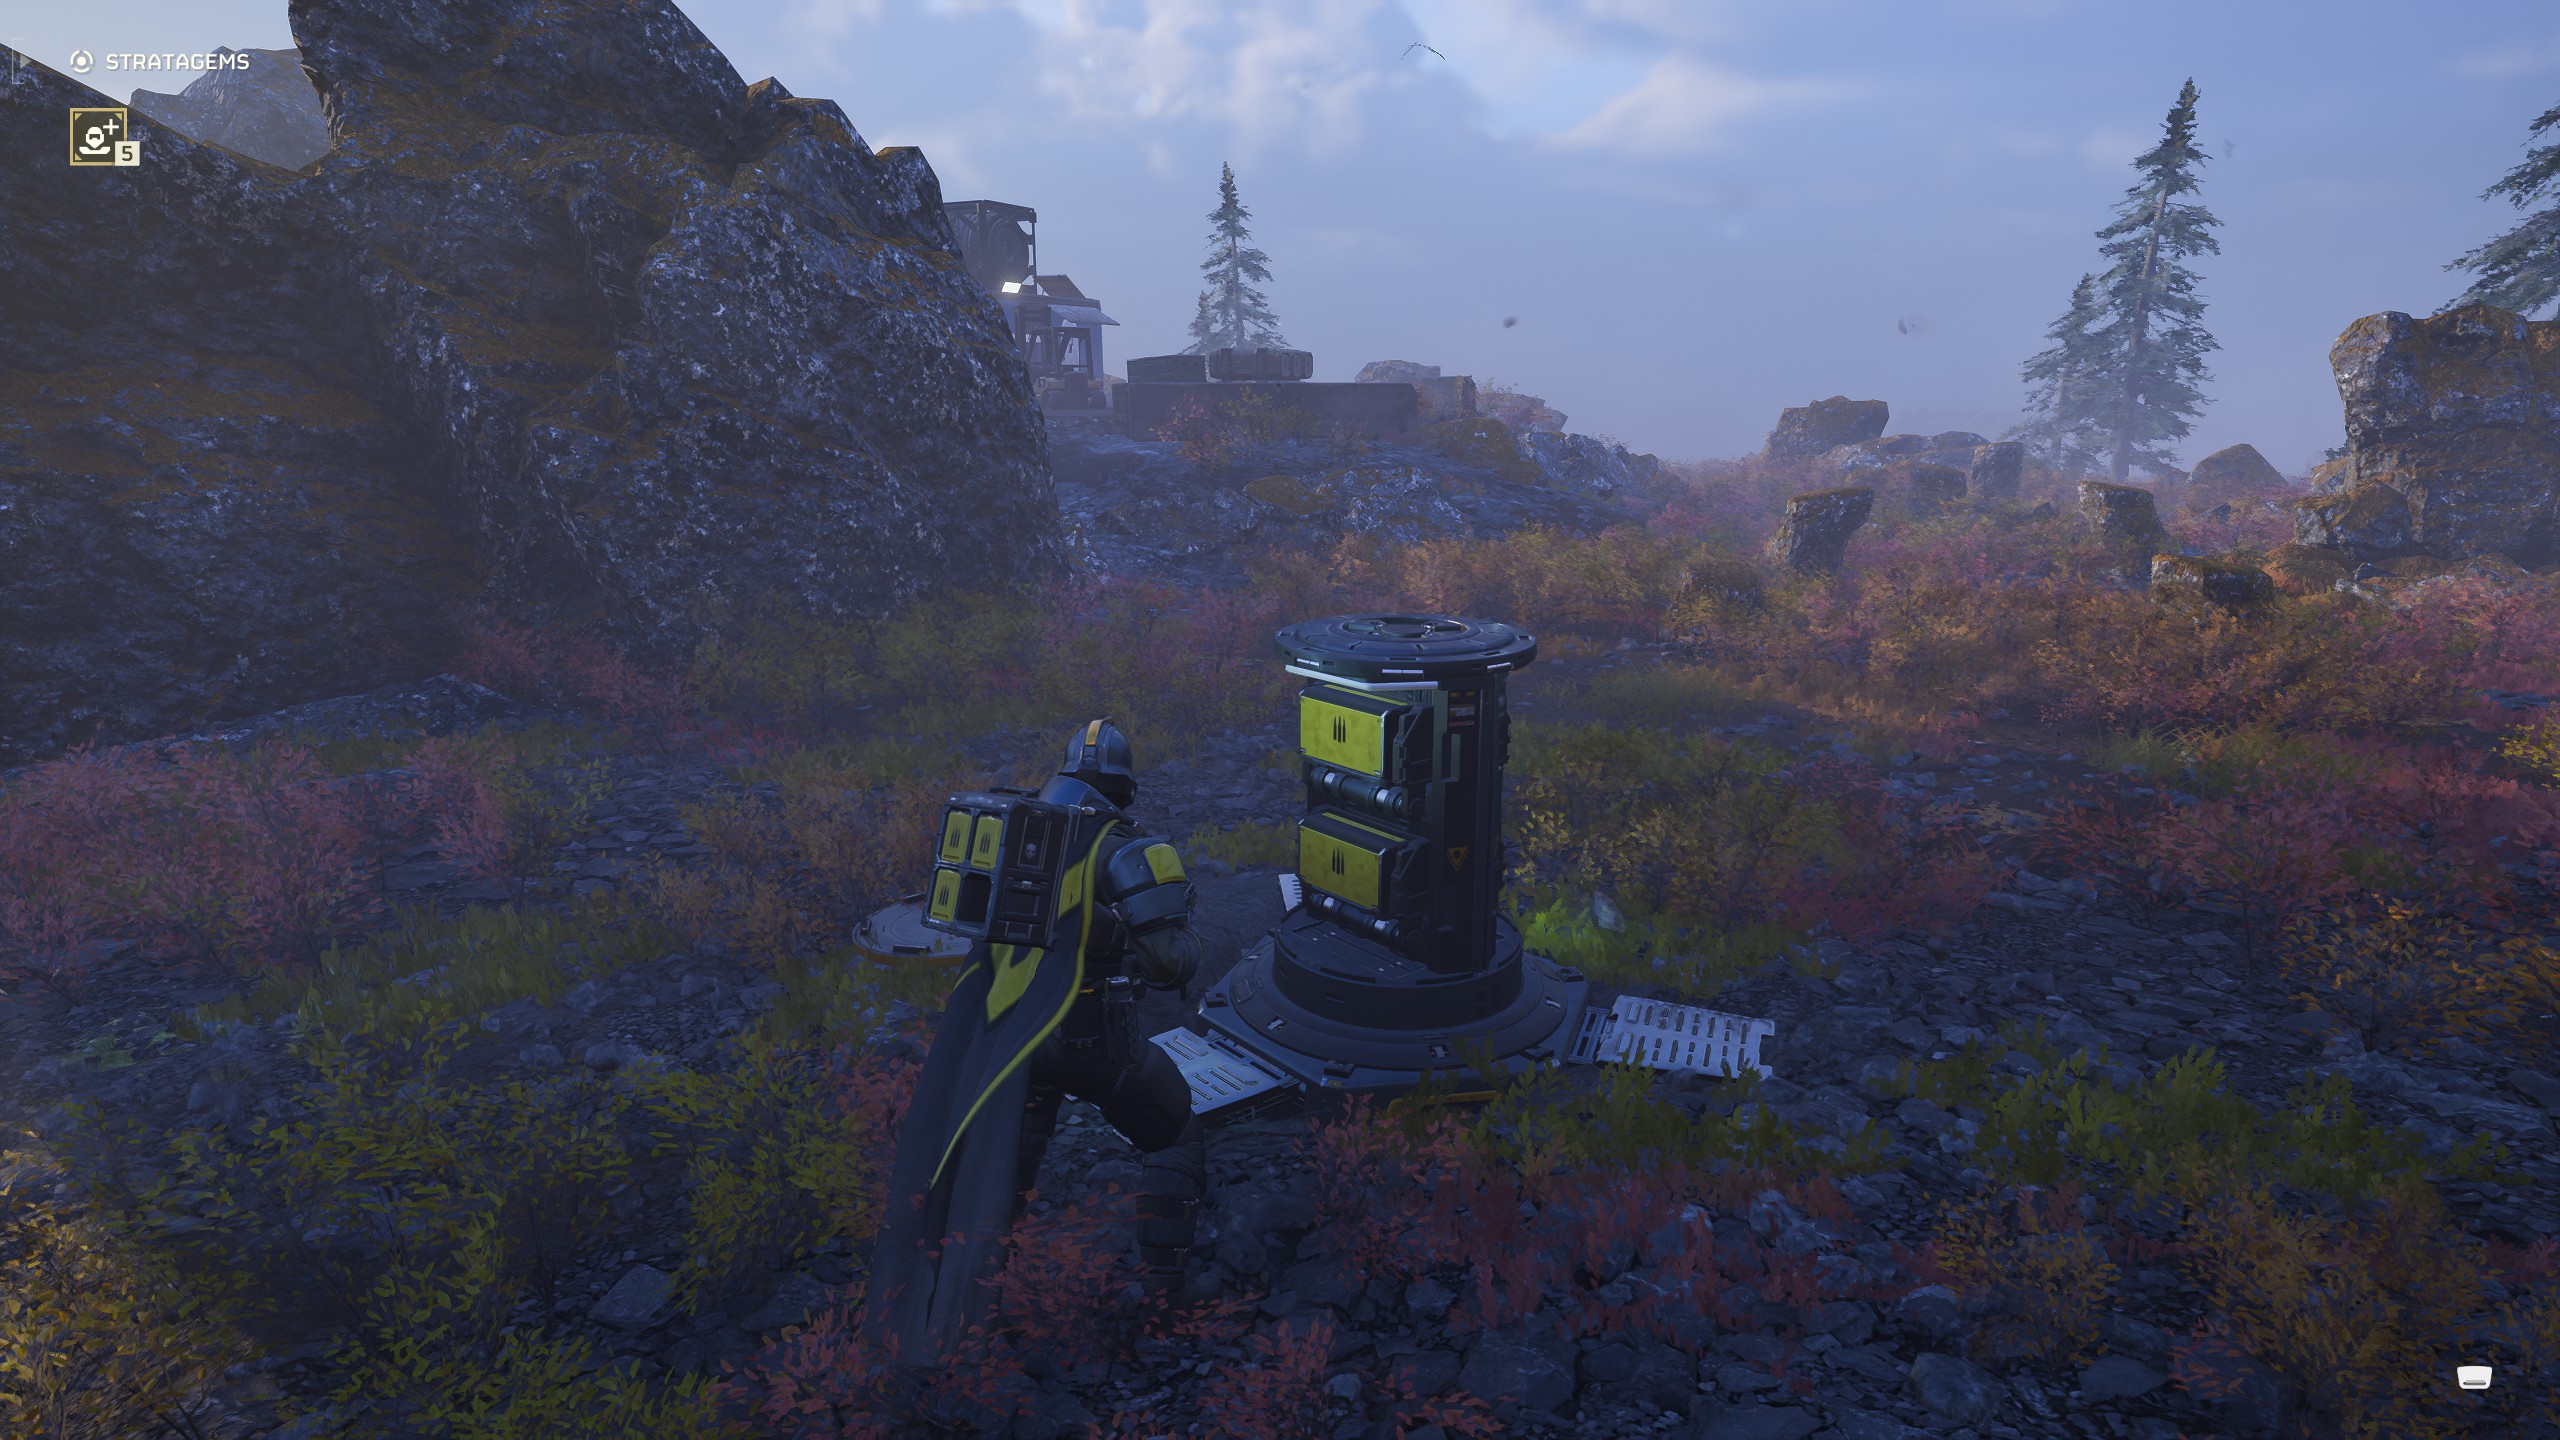
Supply Pack
Definitely one of the best Stratagems in the game; when your ability to kill stuff hinges on ammo, having more of it is never a bad thing. The Supply Pack carries four boxes that you can use to resupply your teammates, or yourself by pressing 5 or down on the D-pad on a controller. What's even stronger is that you can pick up ammo boxes to refill your pack, meaning Supply Drops never go to waste. If you're running a Machine Gun, this can be a potent combo as you refill your ammo from the pack and keep blazing away.
Grenade Launcher
While you've got to be careful firing this near teammates, the Grenade Launcher is well worth it even if just for its ability to close bug holes at a distance without having to eat into your grenades, resupply to get more, or use an Orbital Strike. You can also use the Grenade Launcher to destroy Spore Stalks or antenna arrays from far away, generally making it a no-nonsense tool for completing sub-objectives. It's really good at killing stuff, too.
Robotics Workshop
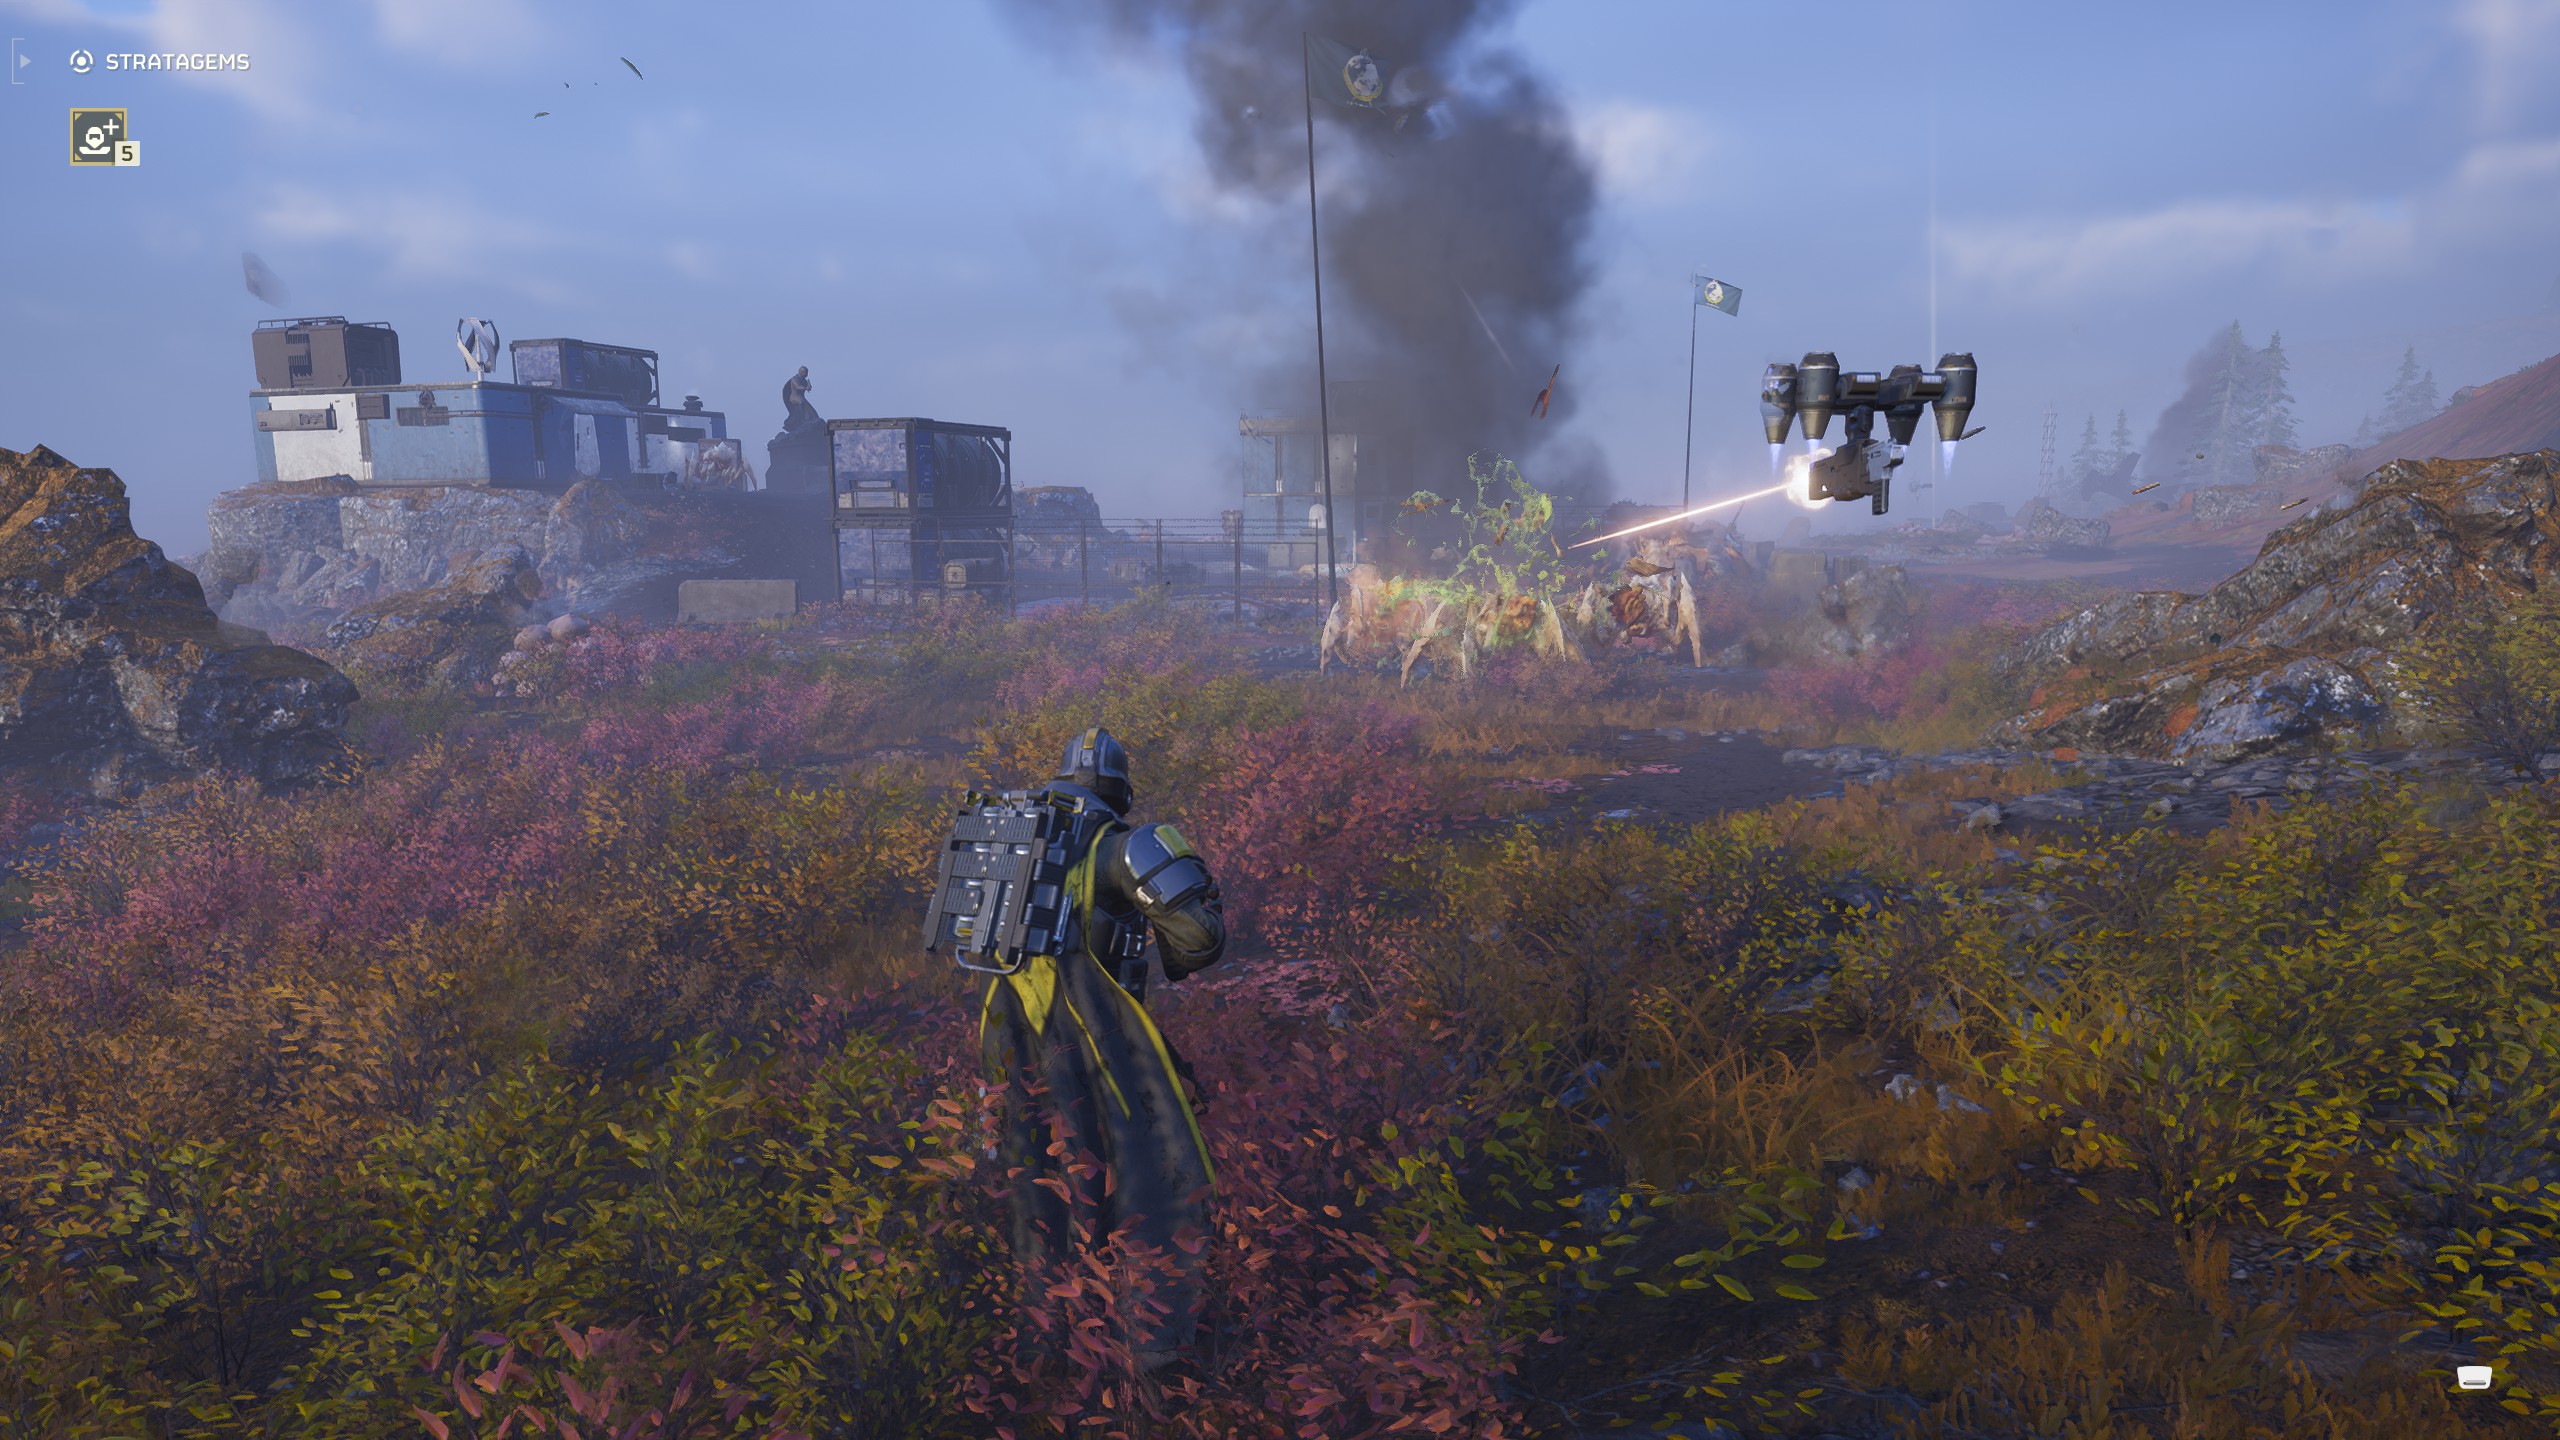
Gatling Sentry
There isn't all that much to say about the Gatling Sentry besides that it's a better version of the basic Machine Gun Sentry and has the exact same cooldown. Of course, placement is very important in terms of turrets, especially if you don't want to get shot in the back, so be sure to whack them down where they'll hit the enemy and not you.
“Guard Dog”
My personal favourite backpack; the Guard Dog is a drone that follows you around and gives you 360 cover, shooting anything that comes close when it's not on cooldown in your backpack. It's perfect for if you're reloading or running away from enemies. One thing I will note is that it's terrible if you're trying to be stealthy, since it'll shoot any enemies in range no matter what. If you'd prefer an energy weapon version, you can grab the “Guard Dog '' Rover in the Engineering Bay instead, but they're just different flavours of the same Stratagem.
Rocket Sentry
The Mortar Sentry is one of the most annoying Stratagems in the game for friendly fire. It's impossible to tell where those shells are going to land next. The Rocket Sentry is a much better option. While it will certainly hurt you if it spots an enemy standing right next to you and blasts it—as with any turret—the fact that it works based on line of sight means that you can place it in such a way that it won't murder you all.


