
What I’ve learned since setting up a NAS at home: I should’ve done this sooner. What started out as a plan to store a copy of my most precious data at home has evolved as I’ve found out what a NAS is actually capable of. I went in expecting accessible local storage, I’ve ended up with a personalised server with heaps of possibilities.
I’ve been wanting to ditch Google for a while. I’ve done the easy things: switching to Proton and using DuckDuckGo. But I don’t want to feed the beast anymore—Google is huge, powerful, rich beyond compare, and, in my opinion, wears it horribly. If I can avoid paying a monthly subscription into its already incomprehensibly large coffers, I should try to, even if it means paying a larger sum than I’d ever pay for cloud storage on NAS drives.
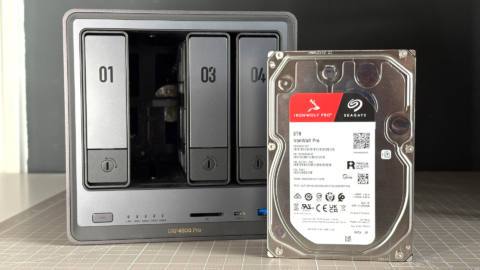
So, that’s what I’ve done. A couple of months ago, I purchased two Seagate IronWolf Pro 8 TB HDDs for a princely sum of £240 each. That’s one reason I wish I’d done this project sooner. These were available for £170 just a few years ago. They’re £300/$300 as I write this, however, so I guess I did alright. HDDs at 12 TB and above are even more ludicrously expensive. That’s really what I’d have preferred, but I couldn’t spare the cash.
There are slightly cheaper drives available—I’m just a sucker. I recently spoke to someone at Corsair who designs 3D printable cages for HDDs for the company’s cases, and stood next to their ample collection of hard drives, they told me the Ironwolf Pro was serious business and I made a good choice. This compliment alone justifies my frivolous spending in my mind. And, of course, the idea that these drives will last me many years to come without failure.
I just had to be sure to buy a proper NAS drive. One designed for the demands of an always-on box. A CMR (Conventional Magnetic Recording) drive, to be exact. These work exactly how you might expect a HDD to work—hence the conventional bit. Data is written to tracks laid side-by-side on the platter. It’s a big disc of very neatly arranged data.
Though not all drives work like this. Many consumer drives use what’s called SMR (Shingled Magnetic Recording), which uses overlapping tracks on the platter. That complicates things: Data is written to one track, but in doing so, necessitates rewriting the neighbouring tracks, too. SMR is not as reliable in this context and write speeds suffer. So, more expensive CMR drives it is.
Then I needed something to install these drives into. That’s where the Ugreen NASync DXP4800 Pro comes in, currently on sale for $676/£586.
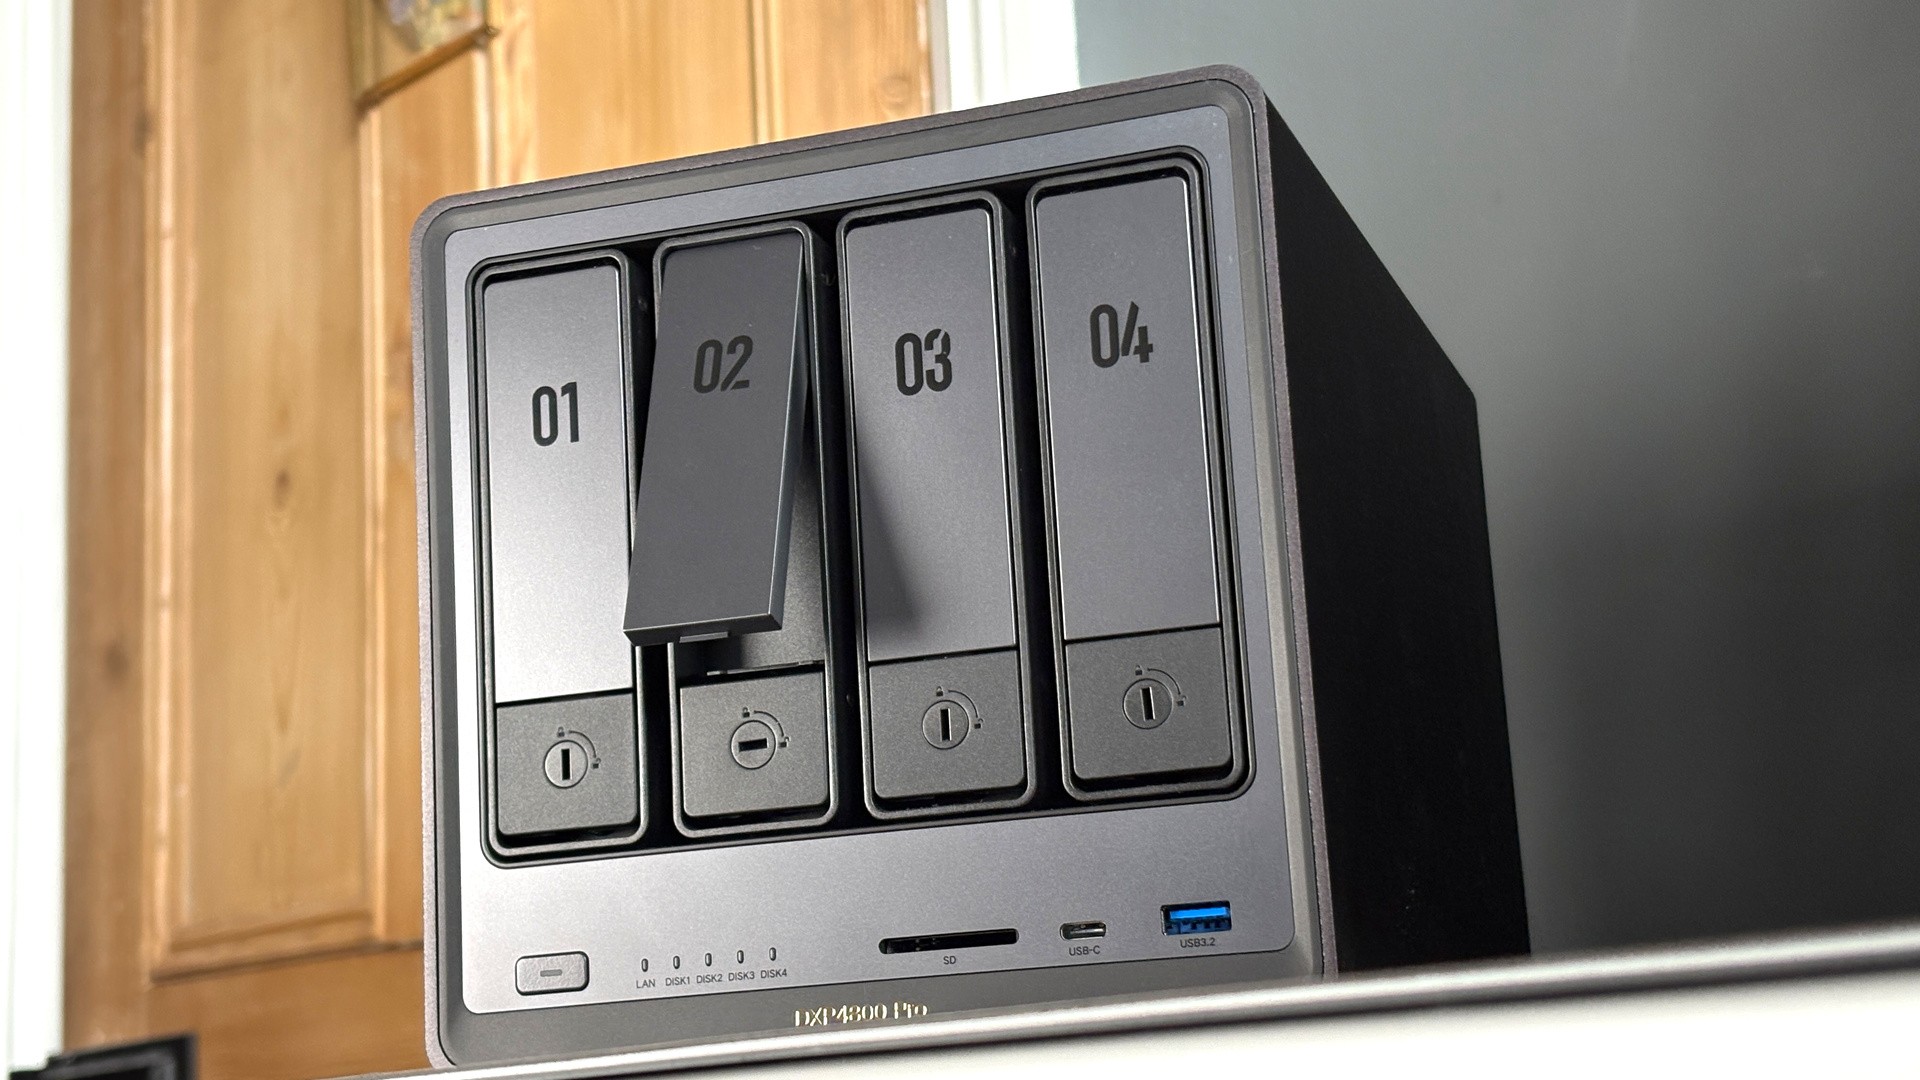
It’s a four-bay NAS with a pretty powerful CPU in it (by NAS standards): Intel’s Core i5 13 1315U. It won’t beat any Cinebench records with only two P-cores, but its four E-cores help make up for that. It’s rated to 15 W base power and 55 W turbo power. It’s a chip with plenty of grunt for the easygoing software I’m running here. A step up over a Pentium or Arm chip, anyways.
From my power measurements for the entire NAS at the outlet, it draws around 49 W with the HDDs in motion, up to a maximum of 76 W, if only briefly, during boot. It draws around 30 W once idle.
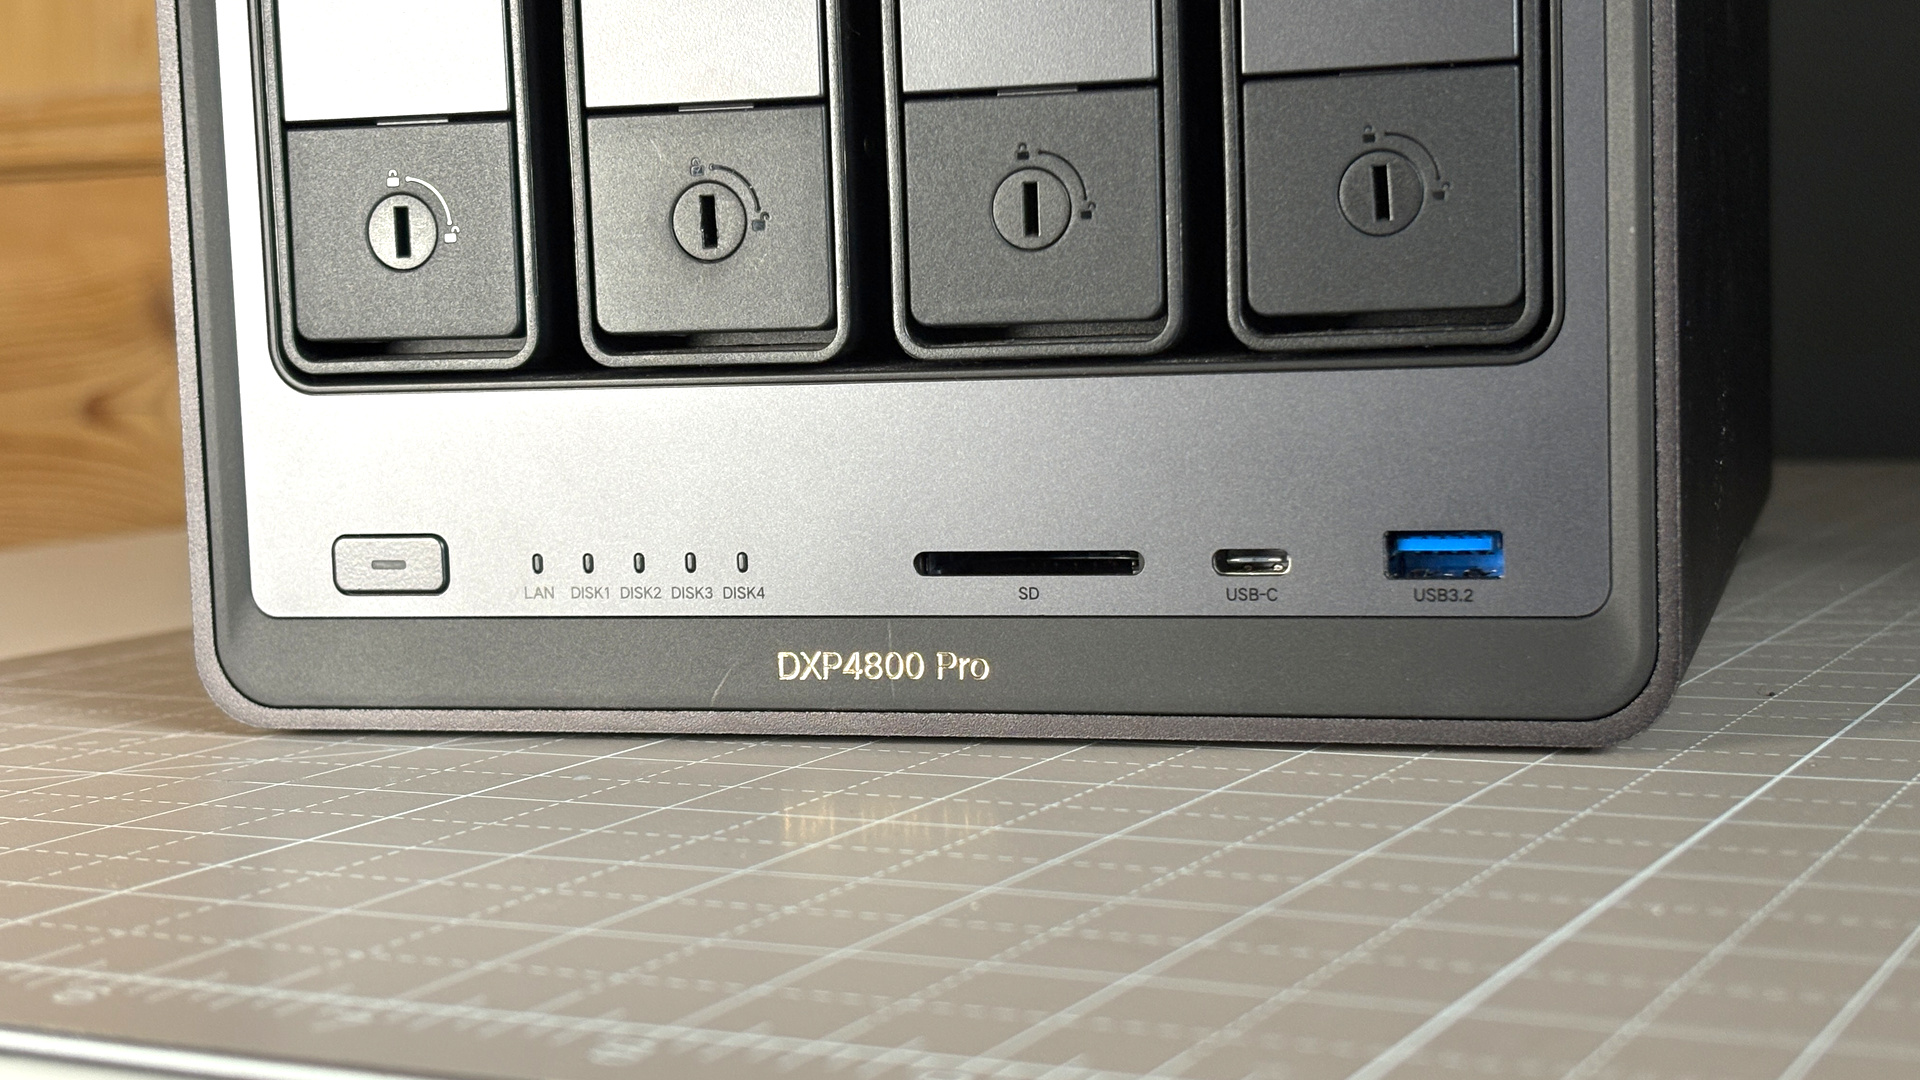
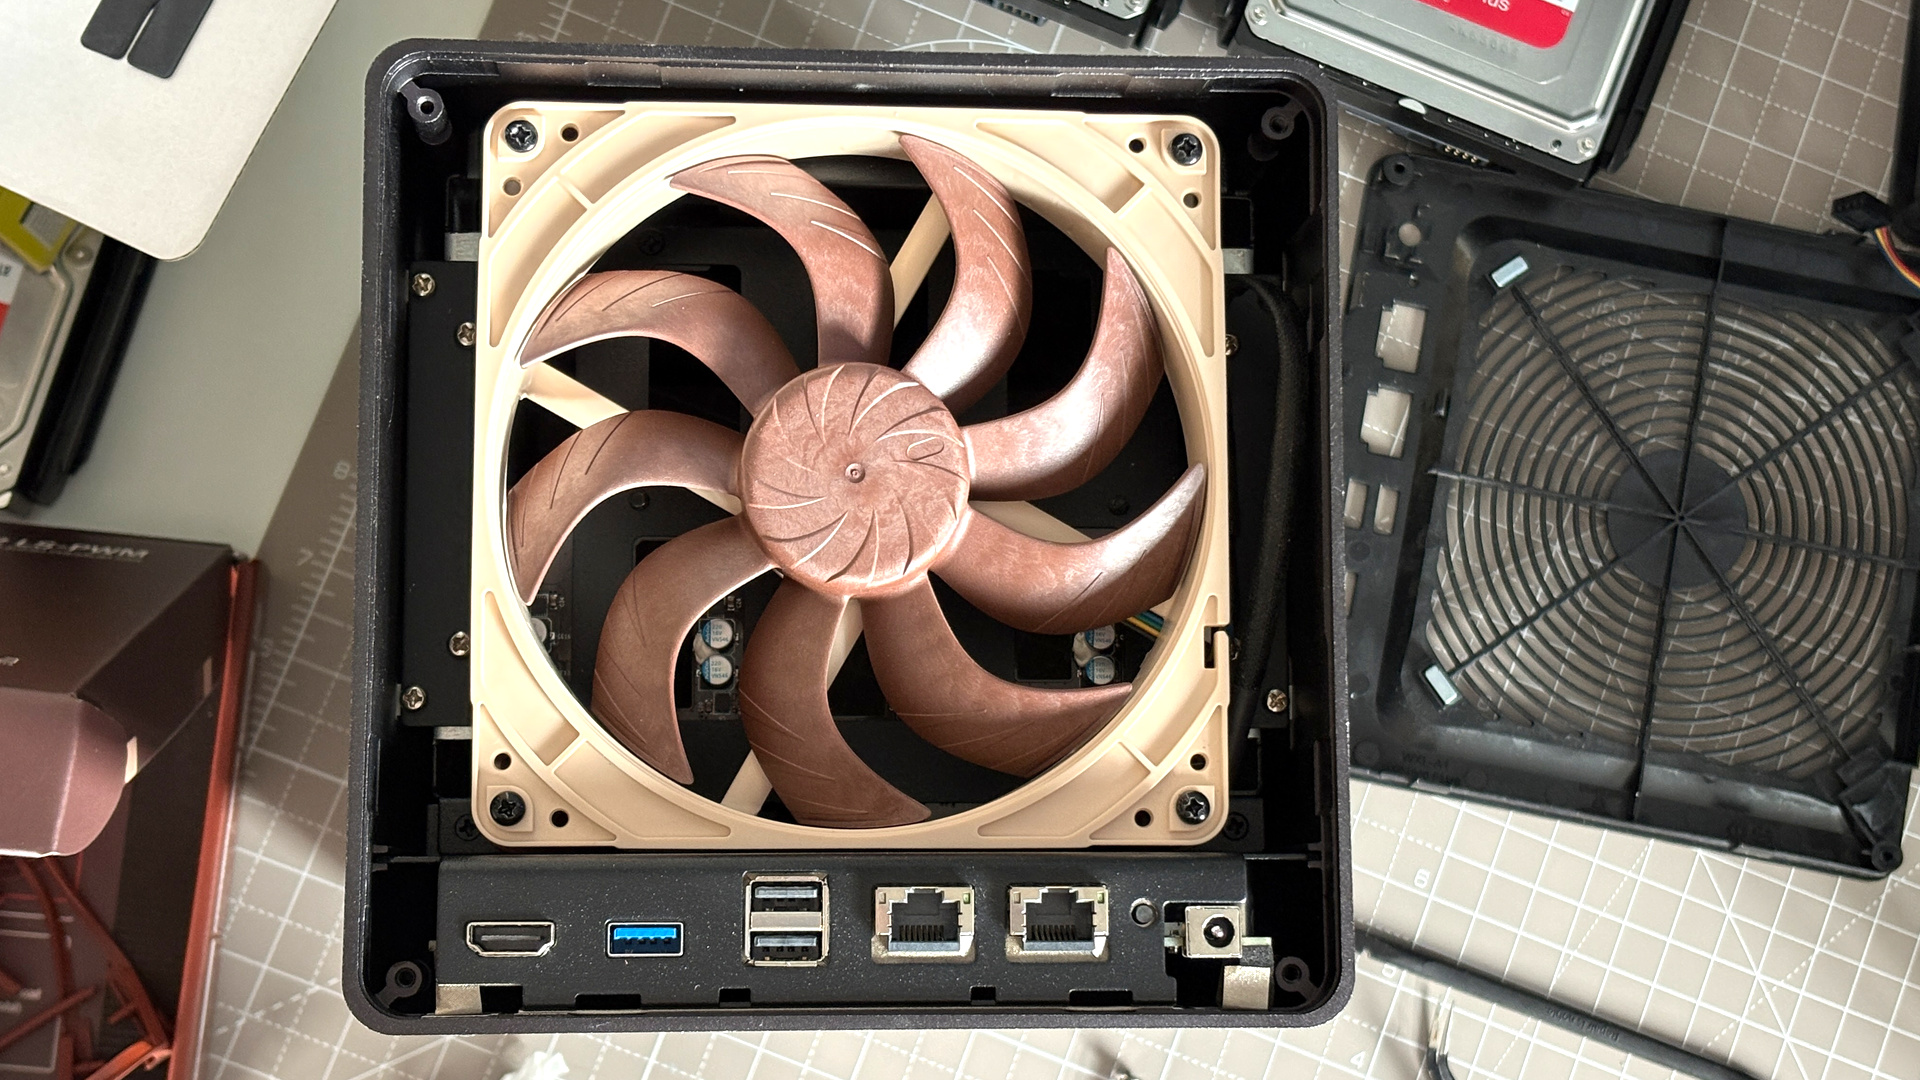
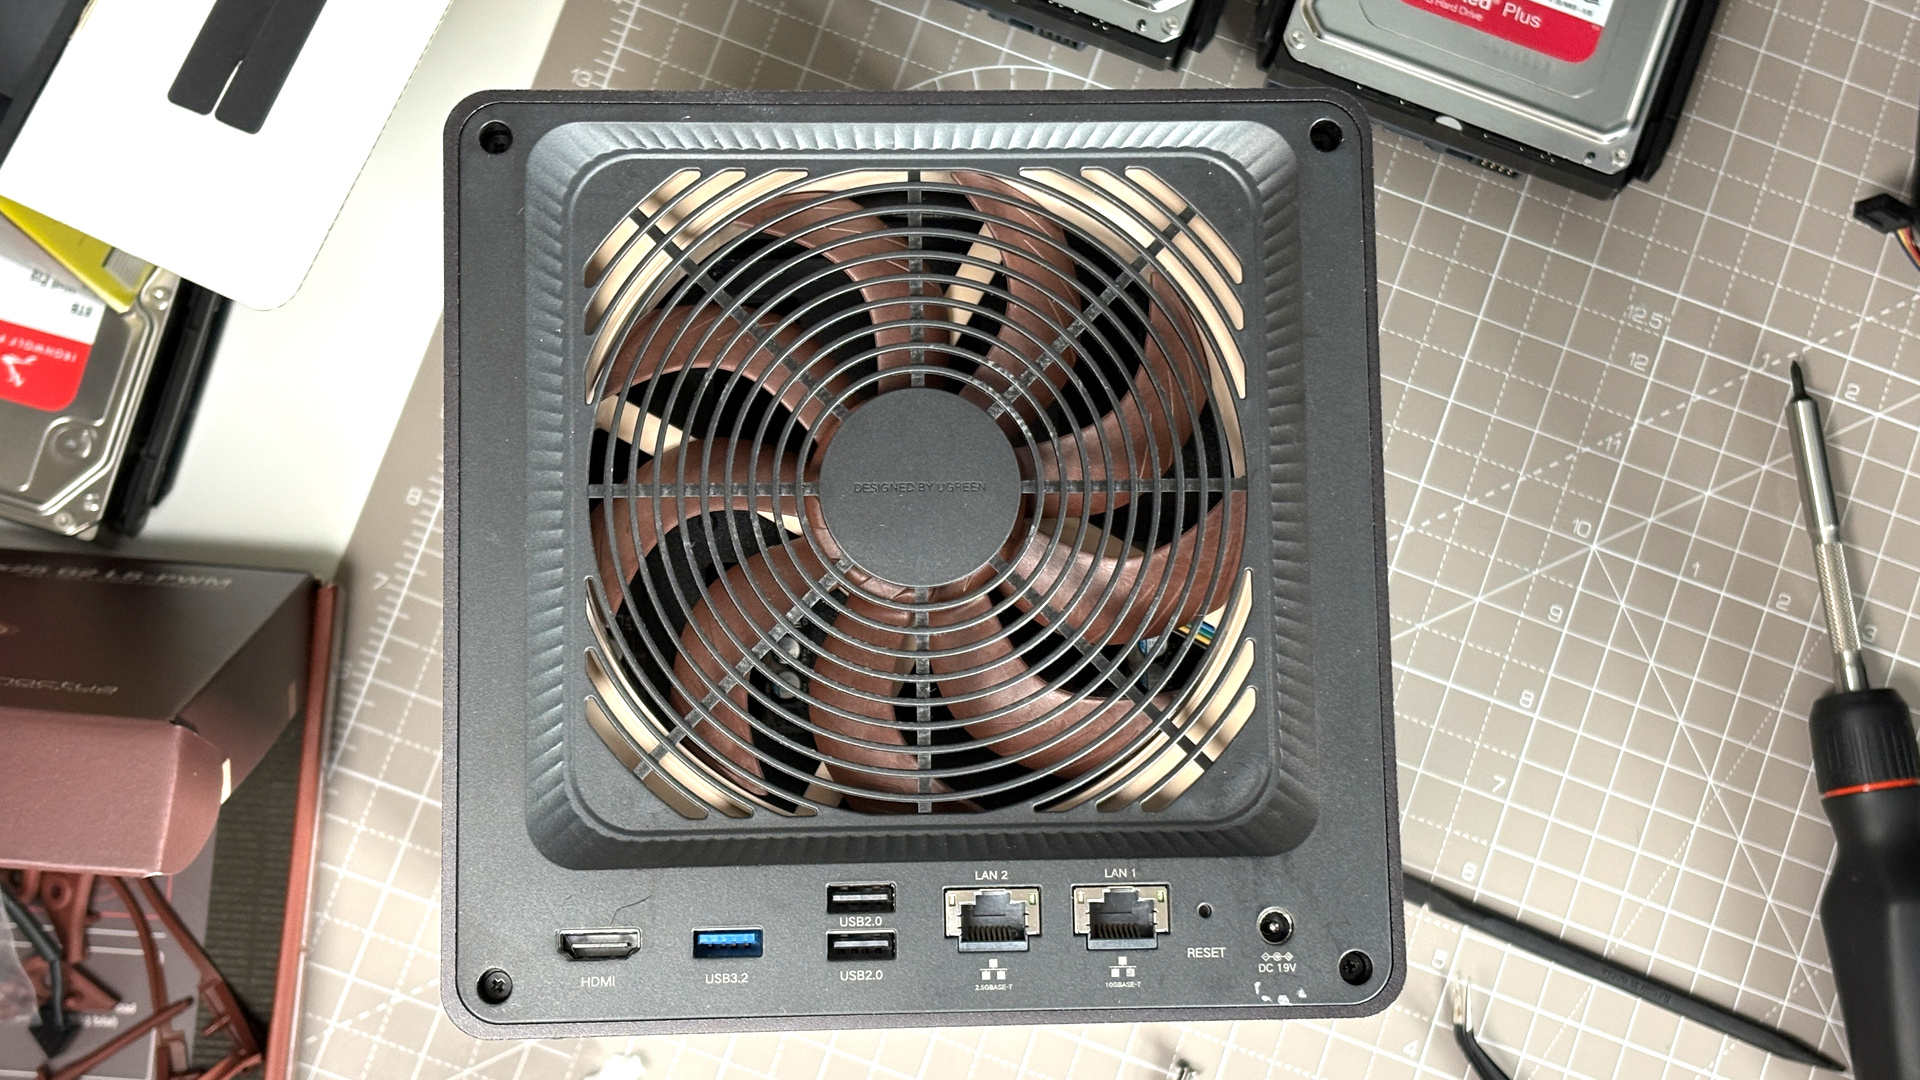
The DX4800 Pro comes with 10 gigabit and 2.5 gigabit ethernet ports in the rear, which I’ve hooked up to a Ugreen 2.5 Gbps network switch via an extremely long ethernet cable routed around my office. The DXP4800 Pro also offers USB 2.0, 3.2 Gen1, and USB 3.2 Gen2 ports, alongside an HDMI out and even an SD card slot.
It’s a handy box. It fits snugly on my shelf at 257 x 178 x 178 mm without imposing. Those IronWolf Pro drives are a bit loud when they’re spinning up, but I don’t notice the drives or NAS itself whirring (the NAS has two fans) during the day—and I sit just a couple metres away from it.
As someone that regularly builds PCs, I am aware that I’m cheating a little by grabbing a ready-made unit. But it’s compact and convenient. It doesn’t draw much power and the set-up took no time at all. I’m not as precious about these things since I’ve had time to tinker and learn about the NAS, but I was when I started this journey.
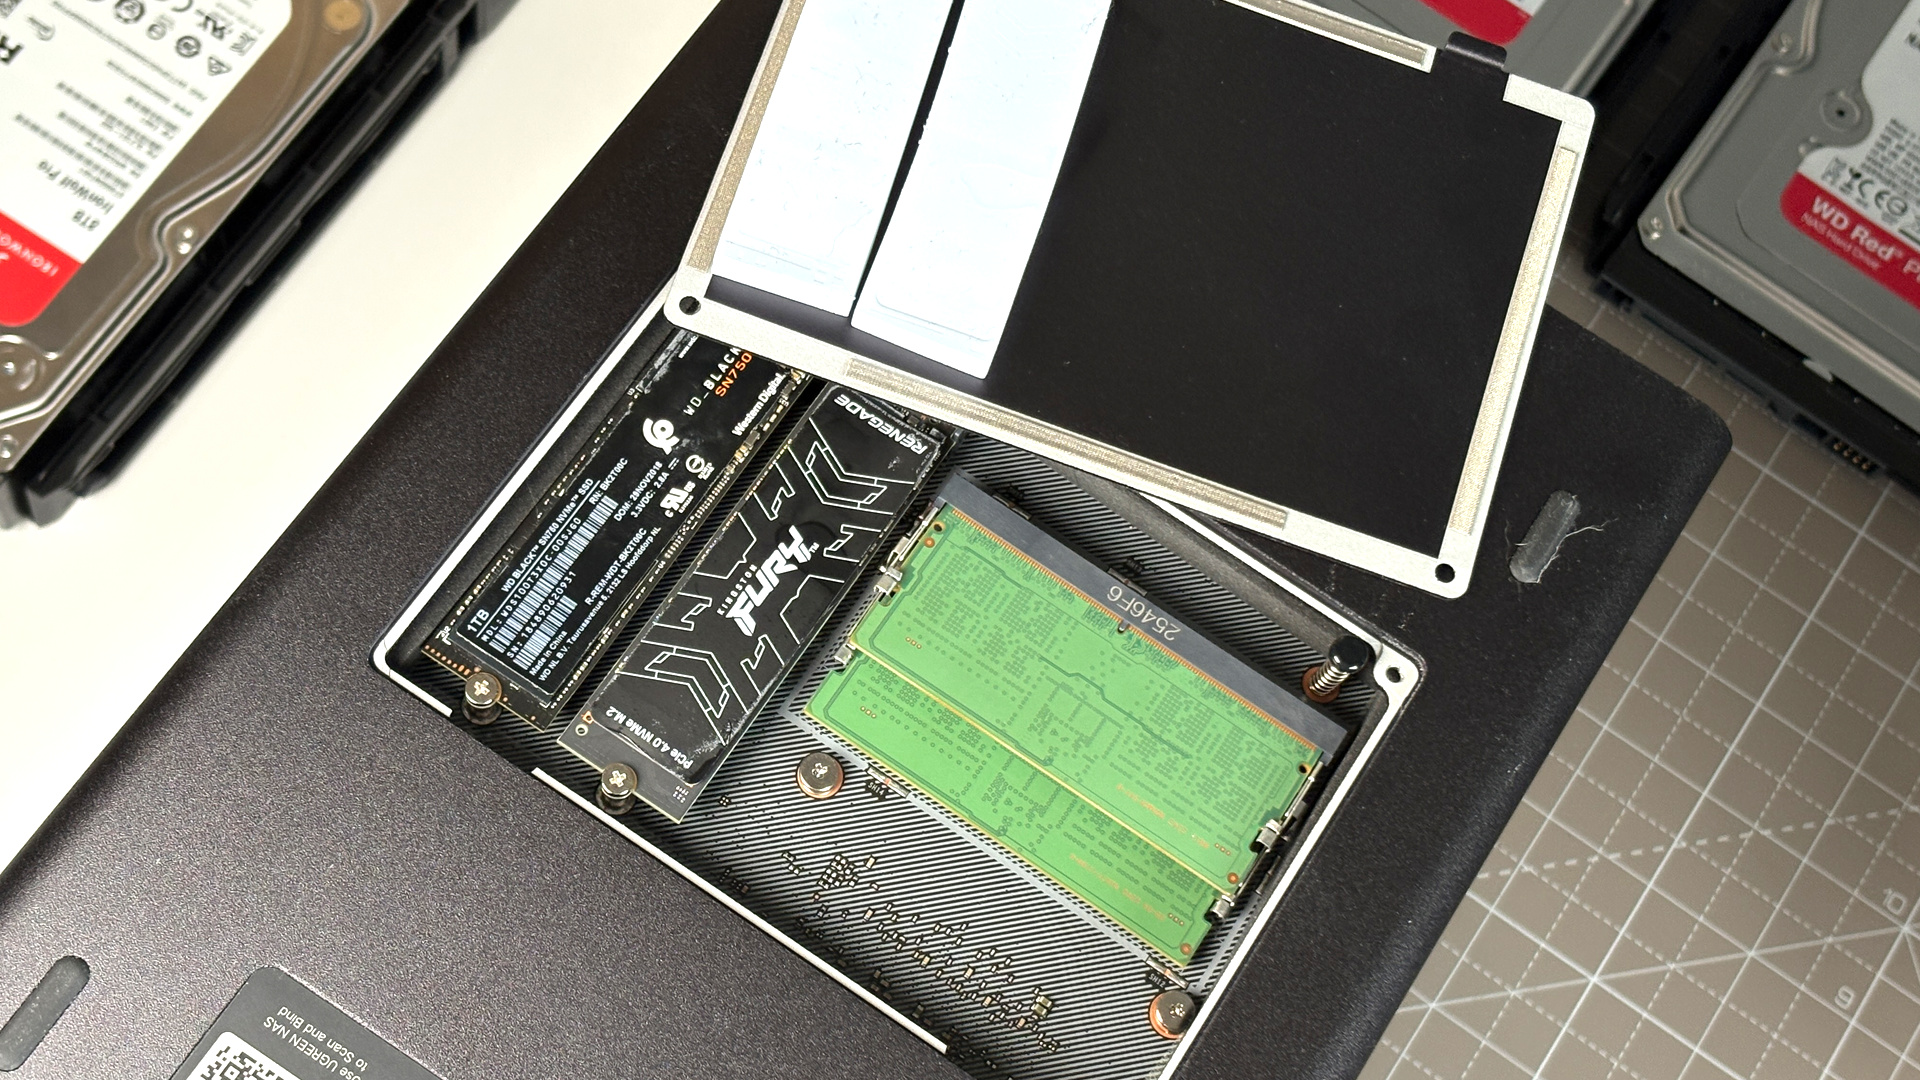
Though I did make a couple of adjustments to the DXP4800 Pro upon receiving it. I upgraded the memory, for starters. The unit comes with just 8 GB DDR5-5600 on a single stick. A Samsung DIMM. That didn’t feel like enough for my soon-to-be-realised home server aspirations, so I ordered another stick on eBay, which someone was selling from their own Ugreen NAS unit after upgrading. We’re in the midst of a memory crisis, so I spent more money than I’d care to admit on one single stick of slow DDR5—oh, fine, it was £50—but I felt this was an important upgrade. So I’ve got 16 GB of the stuff now.
But it really wasn’t that important. I’m running more on the NAS than I ever thought I would and I’m yet to see the system use more than 6 GB. Though at least I know I could run a lot more if I ever want to—and I almost certainly will.
Alongside the two 8 TB drives in RAID 1—ensuring I always have a backup of my most important data—I also added two NVMe SSDs, at 1 TB each, to the DXP4800 Pro. They’re older drives, nothing special or speedy, but they’re a damn sight quicker than a hard drive all the same. I had planned to use these as a read/write cache, but I did some research and few in the know recommend doing so. Instead I put them into their own volume, preferable for running containers and system applications from. This way, the HDDs don’t have to spin up as much. And often they’re completely idle.
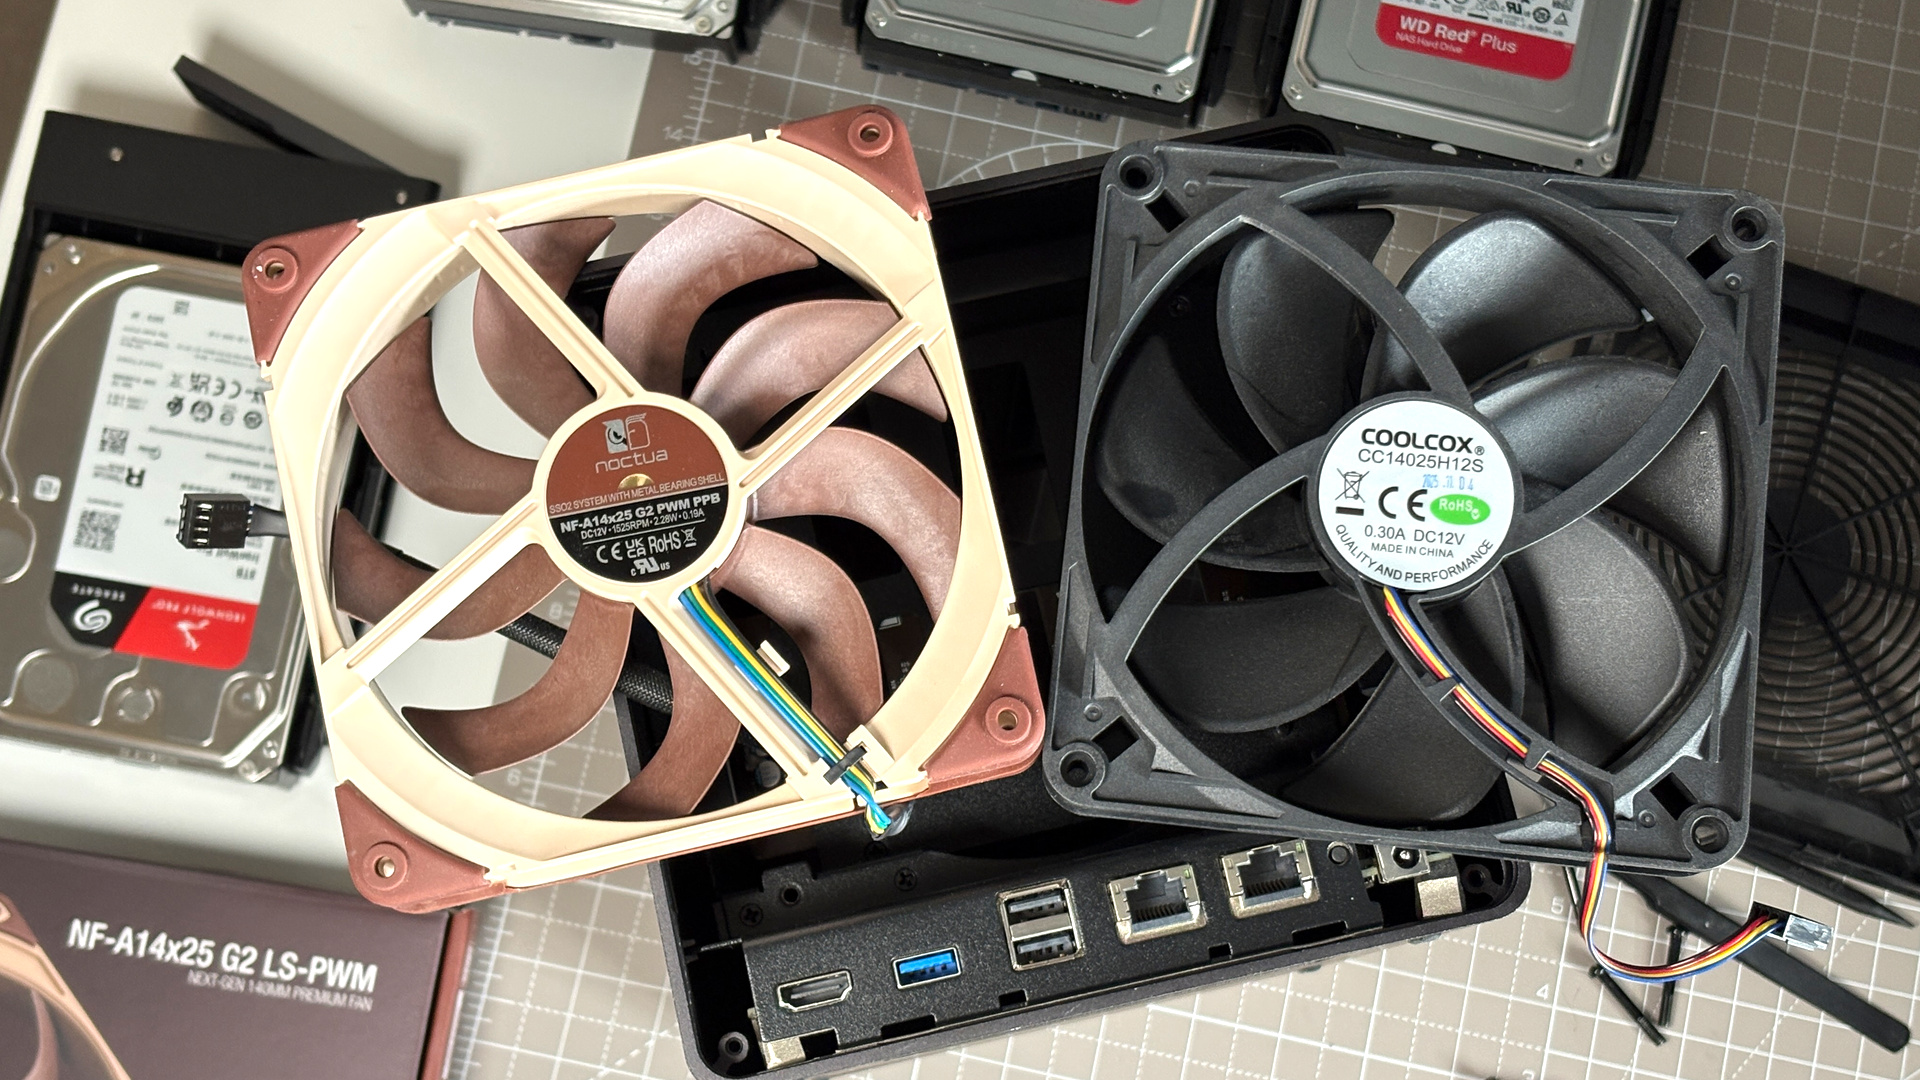
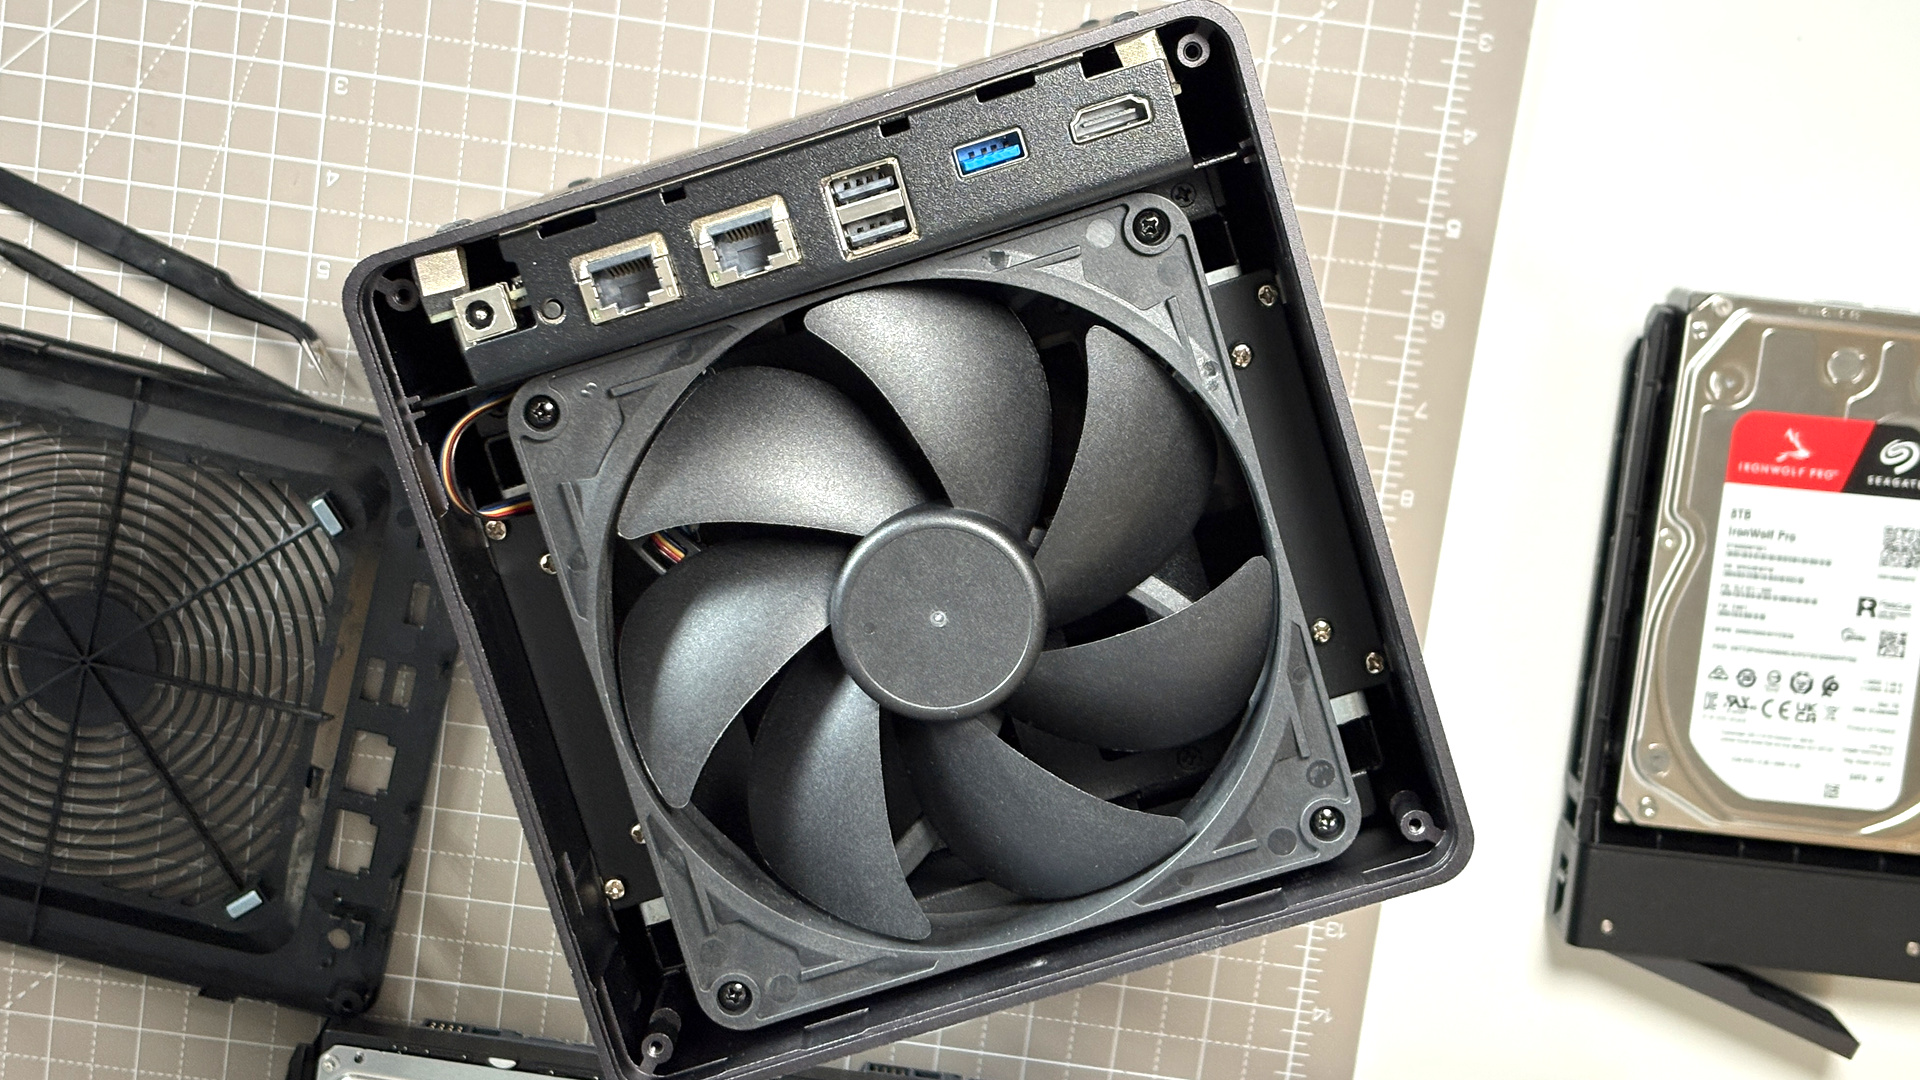
I also swapped out the 140 mm fan that cools the entire NAS, located behind the drive bays, with a Noctua NF-A14x25 G2. It makes little meaningful difference, as I couldn’t hear nor had any complaints regarding the pre-existing fan, but I had the Noctua as a spare, so why the heck not?
Data migration is straightforward. Drag the files, drop the files. I mostly use the Ugreen NAS application via Windows, which lets me access the UGOS Pro operating system as its own easy-to-use GUI. Though it’s just as easy to set-up access via Windows Explorer or even my Ubuntu system, though I haven’t bothered with all that just yet.
I add all my photos, important documents, and high-quality music from my CD collection. This isn’t a bit to prevent the FBI, or whoever, knocking at my door over piracy claims. I recently started buying my favourite albums as CDs and making copies, just in case streaming services implode or undersea cables implode or the internet as a whole explodes. I’m certain I’ll need a copy of The XX’s I See You should anything bad happen.
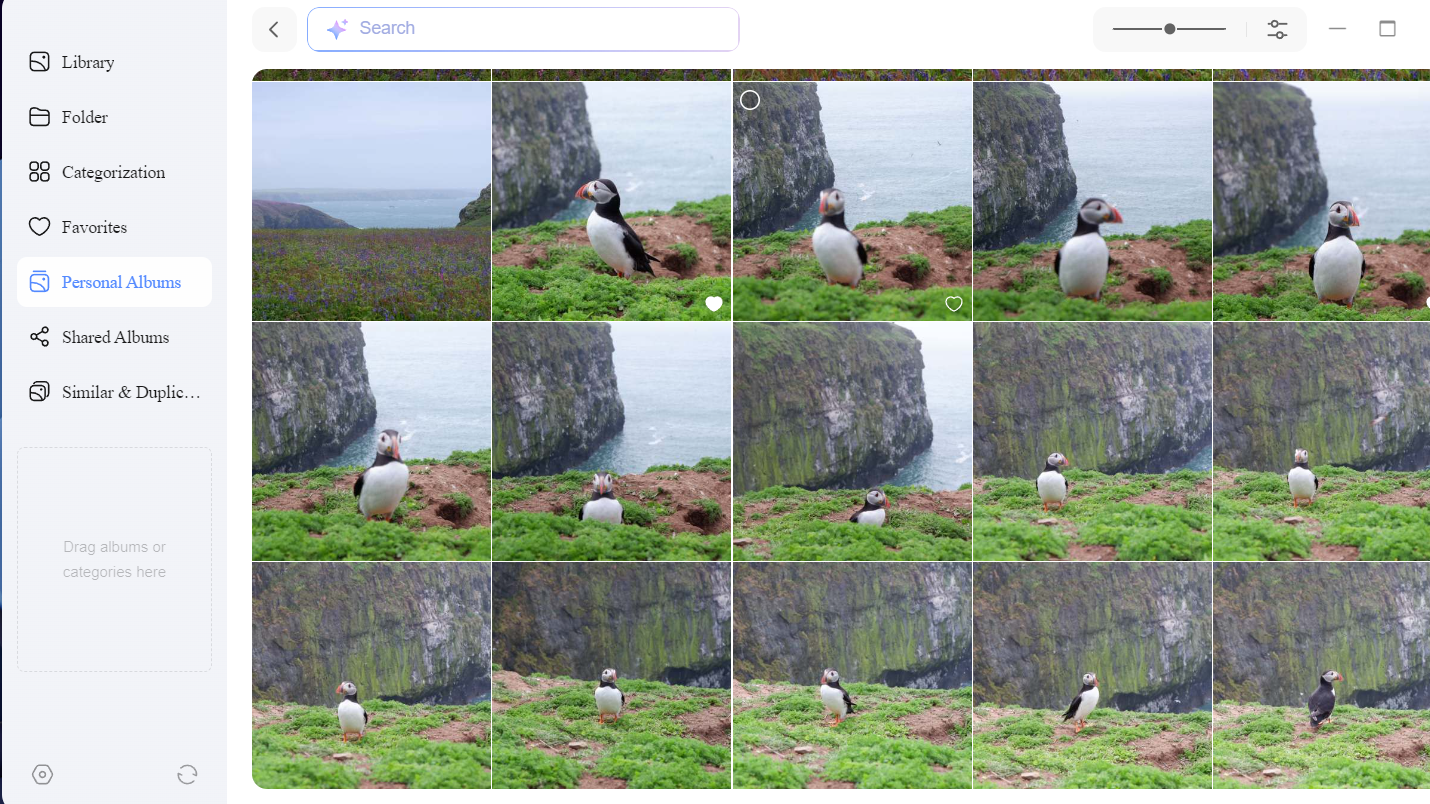
The built-in photos app operates much like Google Photos, with facial recognition and duplicate photo recognition, but instead uses local AI models. There’s also a video player that offers something akin to Netflix. So my fear of missing out on important features for going local are put to rest, and by stuffing all my files onto the NAS, I feel more in control of my data than ever. All these applications are accessible via the home screen, which runs on my phone, iPad, PC—whatever.
With my images, videos, and documents now on the NAS and out from under Google’s enormous shadow, I consider most of my work done here. This NAS box is a handy thing, alright, I think to myself. A good investment. Then I hit a snag. How do I get my videos to play on my Samsung TV? To do that, it turns out, I need an application called Jellyfin. And this is when I start to realise the potential that a NAS truly offers.
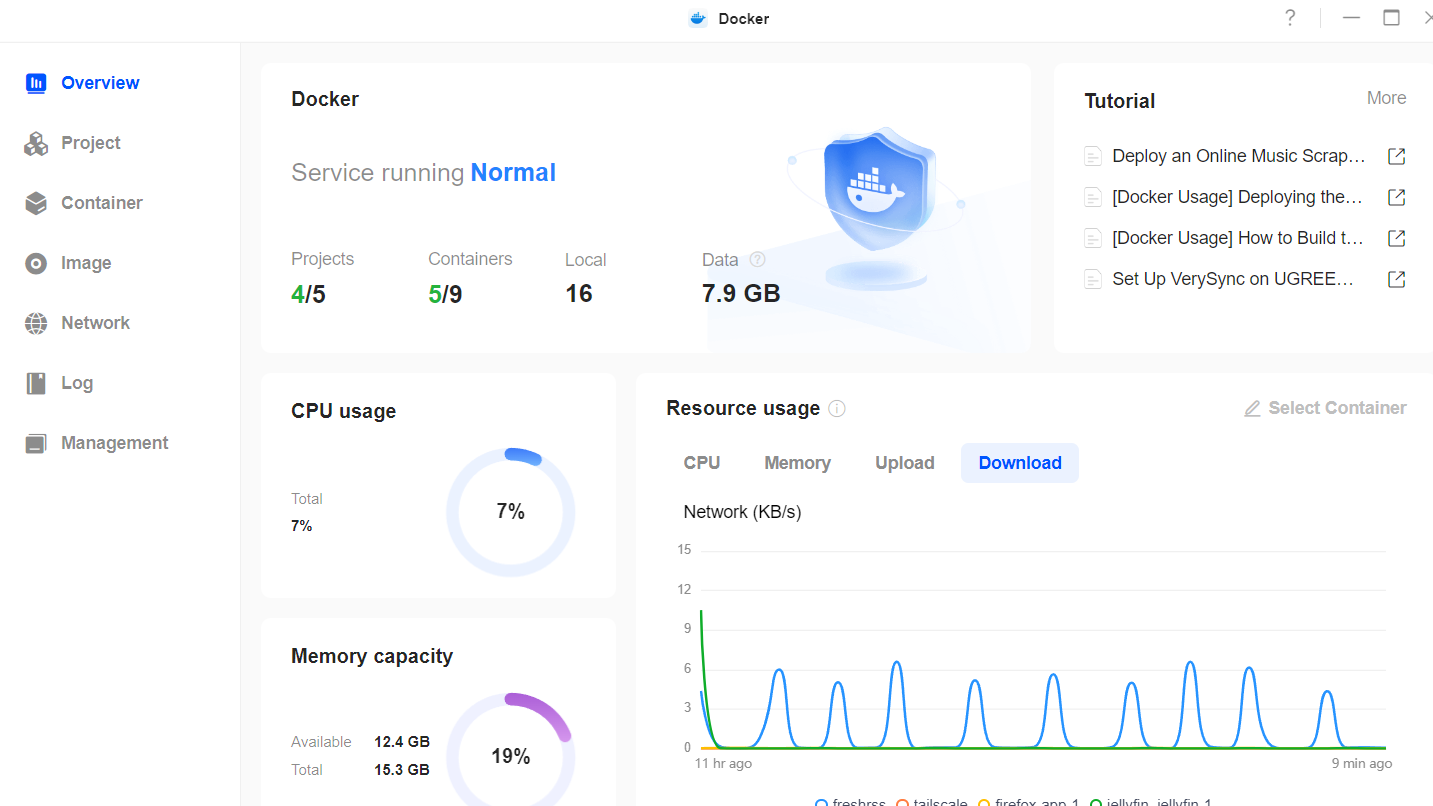
Jellyfin is volunteer-built media server software that’s easy to run on a range of devices, such as my Samsung TV, and keeps track of what’s been watched like Netflix. To install Jellyfin, I have to run Docker. And Docker is serious business. An open platform for running containers, said containers can contain all sorts of self-contained software. From media servers like Jellyfin to an RSS feed management service like FreshRSS, or even a version of Firefox.
When I’m setting up Jellyfin, I start to wonder if I could access my NAS while I’m out of my house—ya know, not on the local network. Ugreen has a simple solution for that called Ugreenlink. This simply lets one access their NAS over a remote connection. But the deeper I go in my research, the more I’m tempted by another solution: Tailscale. Tailscale turns out to be an excellent solution with full end-to-end encryption.
So I turn again to Docker to install and run Tailscale on the NAS. That’s easily done, as there are a number of tutorials on the web for this exact job.
Tailscale is a networking service that acts like a digital tunnel between devices. It’s a VPN, but rather than hiding my locality, it connects my devices over a private network, as if they were local, and even when they’re not. For my purposes, it means I can access my NAS securely from anywhere—even streaming video from my home in the UK to Taiwan, as I tested just last week. It’s incredibly capable, and when it works pretty much out of the box with very little fiddling, I’m super impressed.
I’m also offered some advice by PC Gamer’s own Wes Fenlon, who is a dab hand with this sort of thing, running Unraid on a box himself. That’s one thing I’ve yet to experiment with myself: trying an altogether different OS on the NAS.
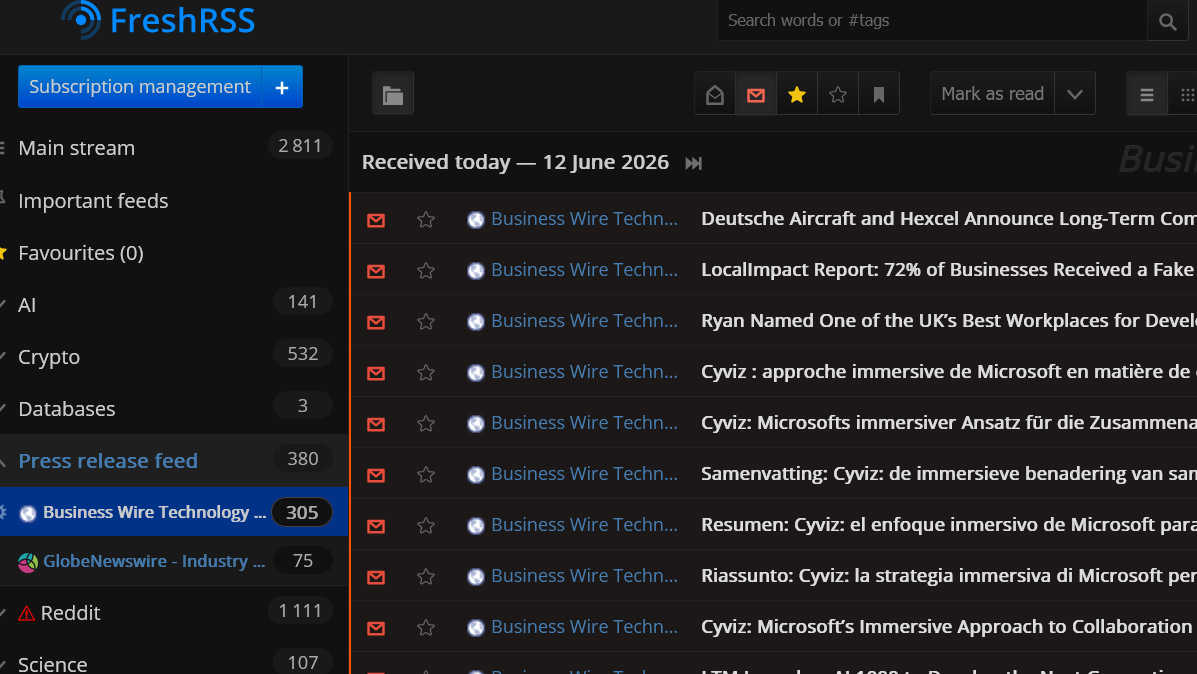
Though one useful tool I’ve taken up on Wes’ advice is FreshRSS. As someone that relies on RSS feeds for work and has used various web scraping tools in the past, FreshRSS seems like a dream. It combines the best bits of both, and makes easy work of tracking my interests across the web—and across locales and devices with Tailscale. It even works with cleaner, smarter frontend readers, but I’m yet to land on any one recommendation.
There’s a lot more for me to tinker with here, but from a relatively small amount of time with a NAS, I’ve begun to see the vision. Digital sovereignty—controlling my own data in how it’s used and processed— may be a difficult thing to fully achieve, but getting somewhere closer with a NAS feels to me like well worth the price of admission. Though I wouldn’t mind if HDDs came back down in cost—I could still do with a bit more storage space.


