
Calamitous Elder Dragons are the toughest bosses in Monster Hunter Stories 3. These legendary creatures only show up once certain conditions have been met, and you can even add some of them to your team once you’ve beaten them.
Each Monster Hunter Stories 3 region is home to one Calamitous Elder Dragon. You can make them appear by defeating a bunch of monsters at night. When you’ve beaten enough battles, a short cutscene will play to let you know that an Elder Dragon has appeared somewhere in the world.
You’ll need a strong team of Monsties and plenty of items to beat these Elder Dragons, but you’ll be rewarded with the best gear in the game for your efforts. Here’s how to beat all four Calamitous Elder Dragons in Monster Hunter Stories 3.
Namielle
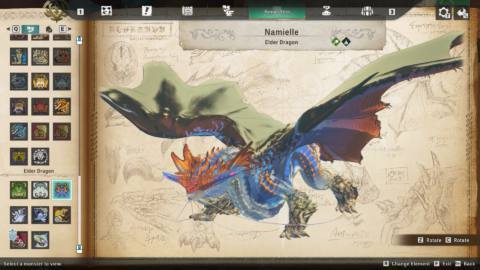
- Recommended Level: 75
- Elemental Weakness: Fire, Dragon, Ice
- Elemental Resistance: Water, Thunder
- Ailment Weakness: Poison, Burn, Blastblight, Darkness
- Ailment Resistance: Paralysis, Sleep, Bleed
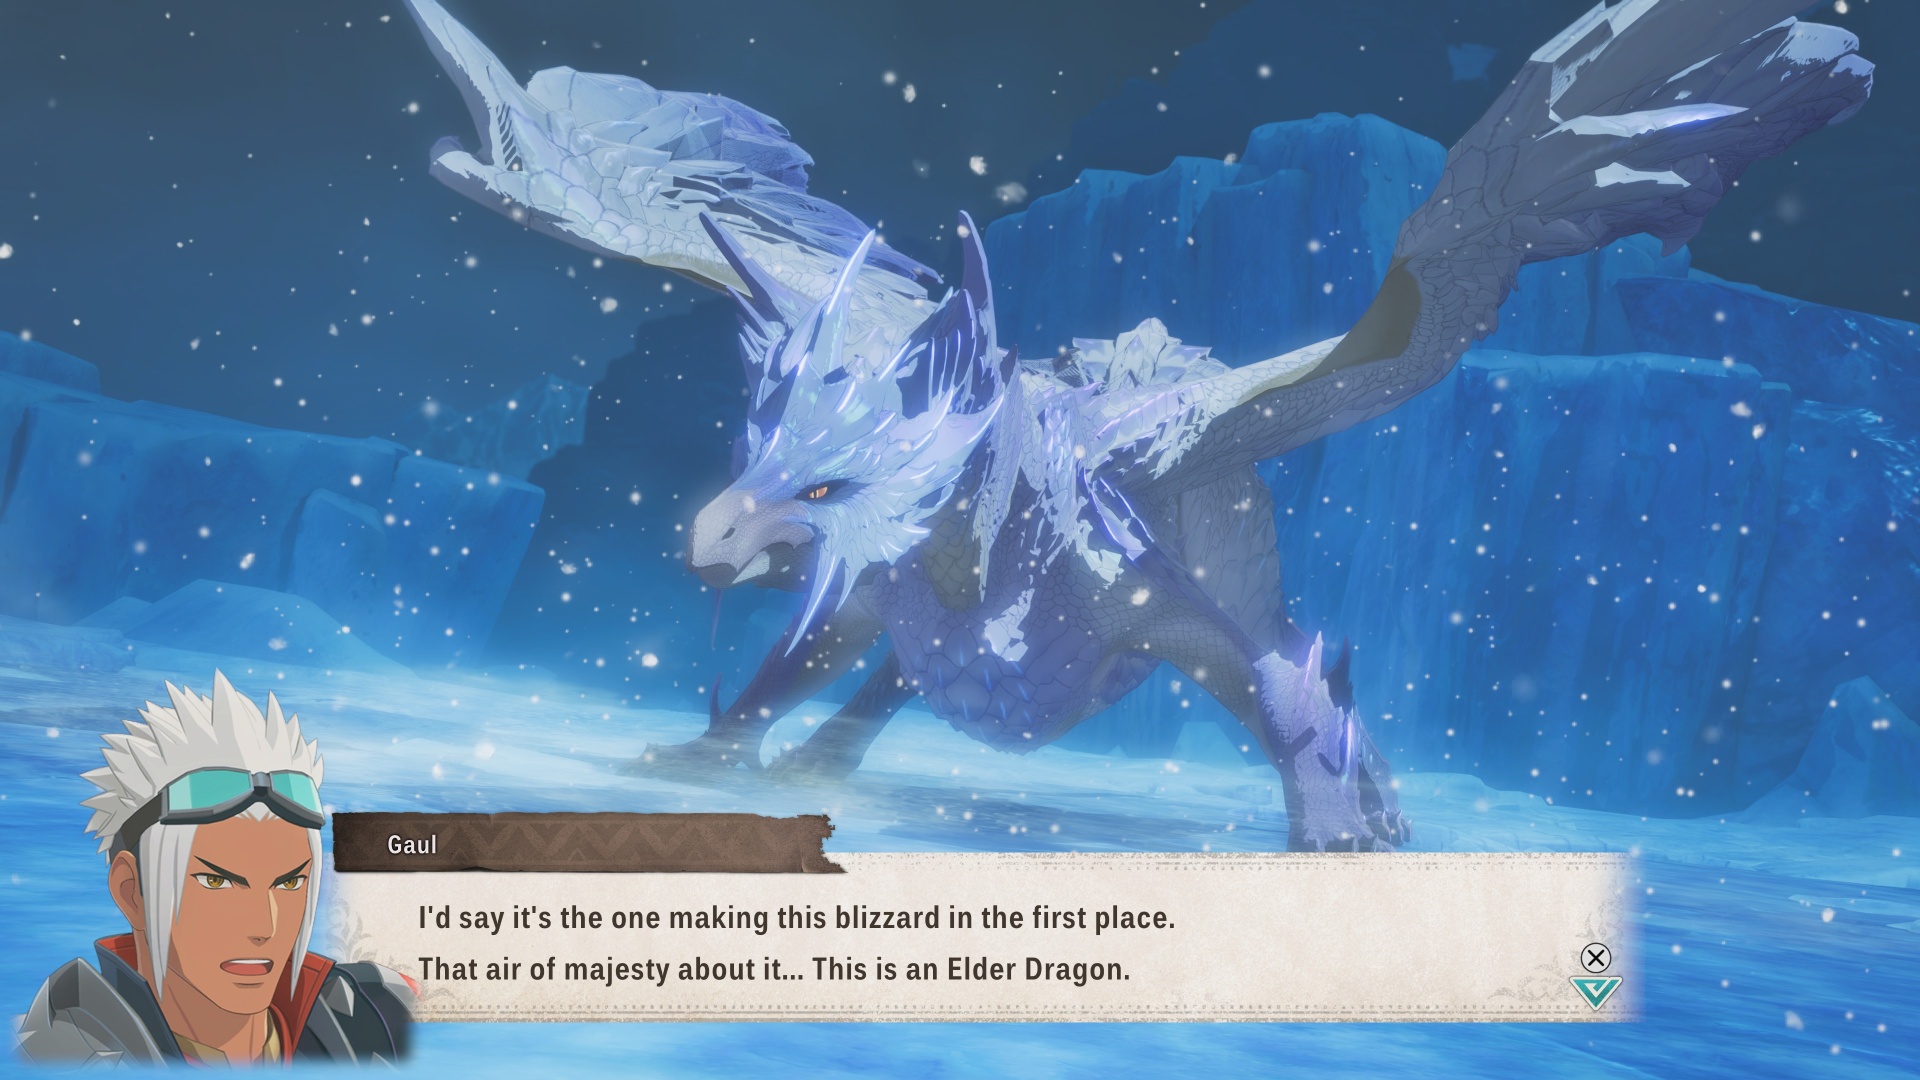
Introduced in Monster Hunter World’s Iceborne expansion, Namielle makes its Monster Hunter Stories debut as the Calamitous Elder Dragon threatening the kingdom of Azuria. You can find it flying above Mirror Lake once you’ve summoned it.
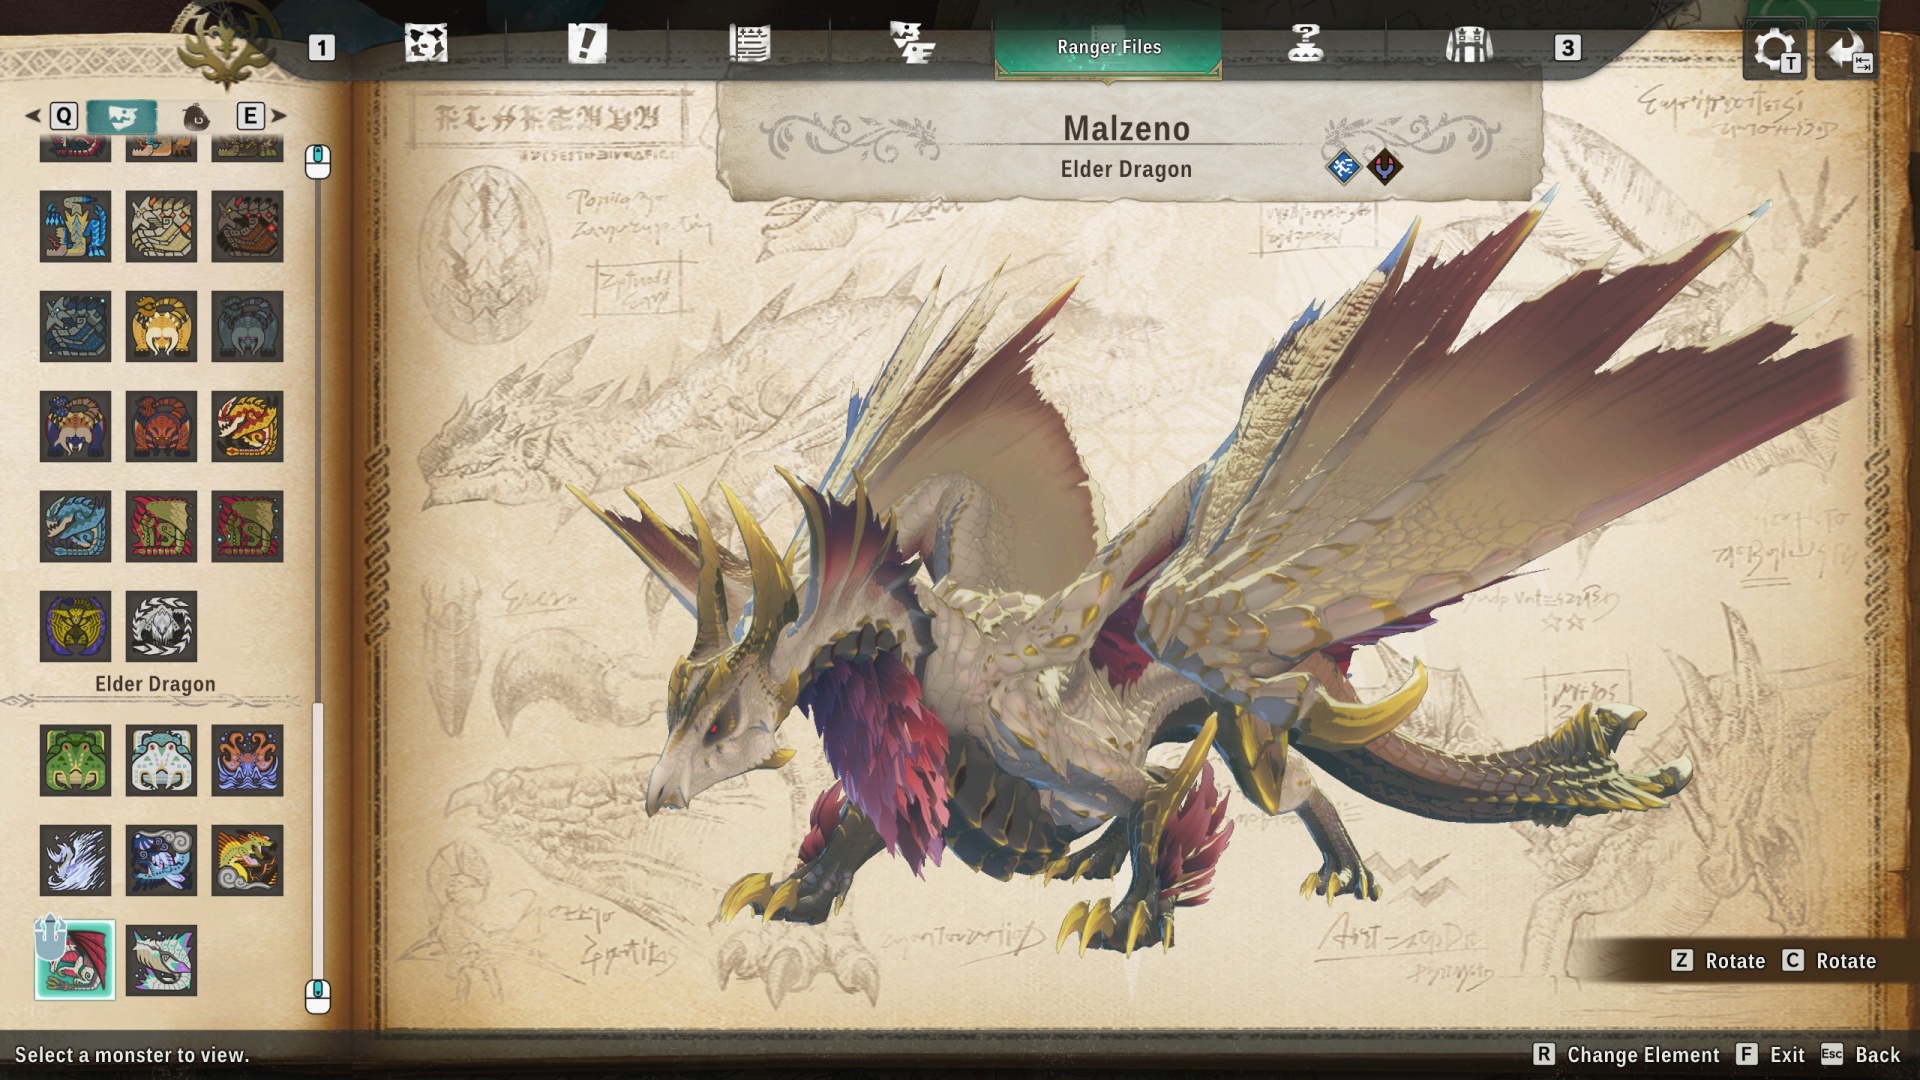
Malzeno is the best Monstie for this battle. It comes with powerful dragon attacks that’ll demolish Namielle’s health bar, and it resists Namielle’s electric and water attacks.
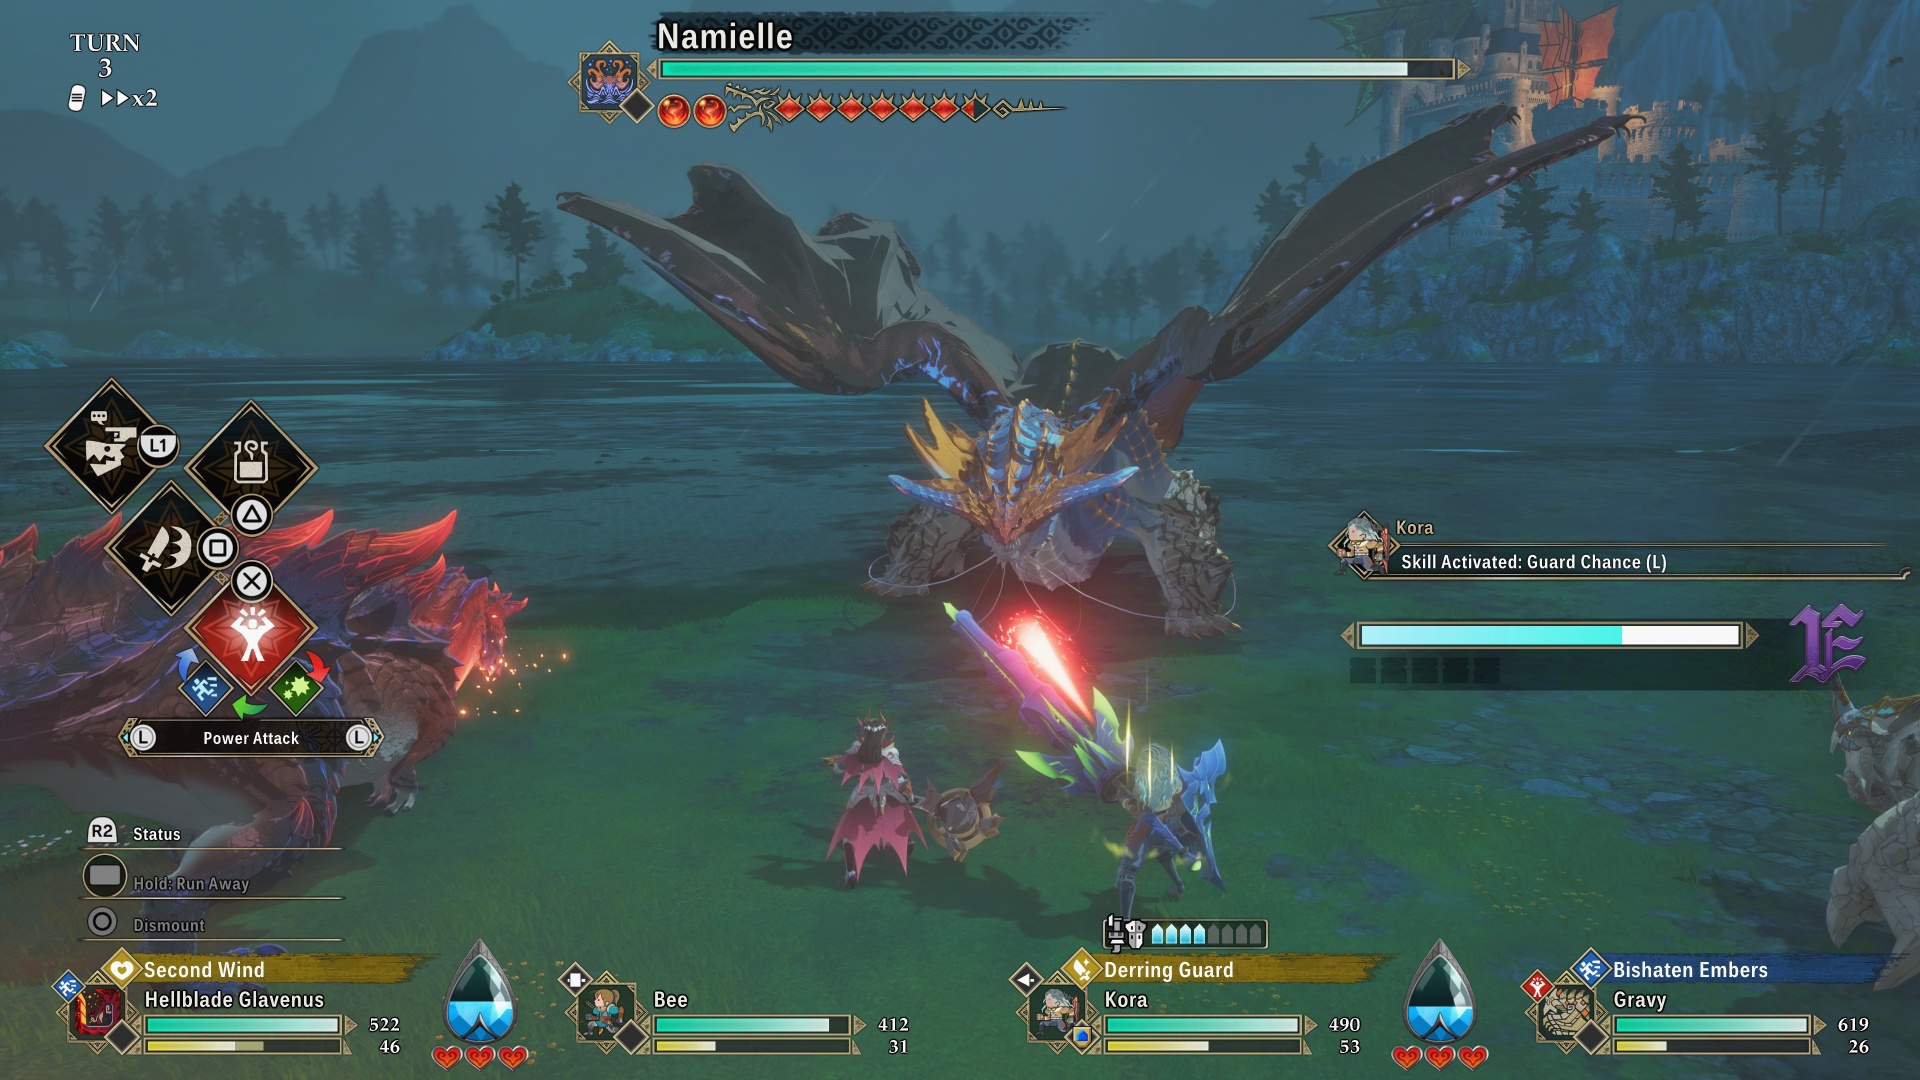
Namielle swaps between three forms during this battle. It begins with Water Mantle activated, so use red Power attacks to counter its green Technical moves. It’ll then swap to Abyssal Charge after a few turns, starting to use electric damage and swapping to blue Speed attacks.
Namielle will unleash devastating AOE attacks during Abyssal Charge, so buff your defenses and make sure your HP is topped off. If you survive Abyssal Charge, Namielle will enter its Water Depleted stage and become much more vulnerable. It’ll perform red Power attacks in this state, so win those Head-to-Heads with blue Speed attacks and try to whittle down its Wyvernsoul gauge.
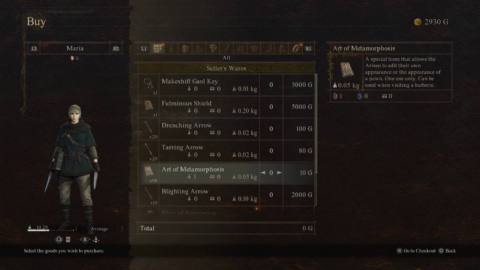
Make sure you come equipped with armor and decorations that reduce thunder and water damage to survive Namielle’s attacks. Namielle’s water attacks can inflict a status that stops your stamina from recovering, so bring Nulberry Elixirs to cure the ailment.
Yama Tsukami

- Recommended Level: 60
- Elemental Weakness: Dragon, Ice
- Elemental Resistance: Thunder, Fire
- Ailment Weakness: Darkness, Bleed
- Ailment Resistance: Poison, Paralysis, Burn, Sleep, Blastblight
After you’ve faced it during the main story, Yama Tsukami will be waiting for a rematch in Tarkuan. It’s one of the easier Calamitous Elder Dragons, but it’s still a tough opponent.
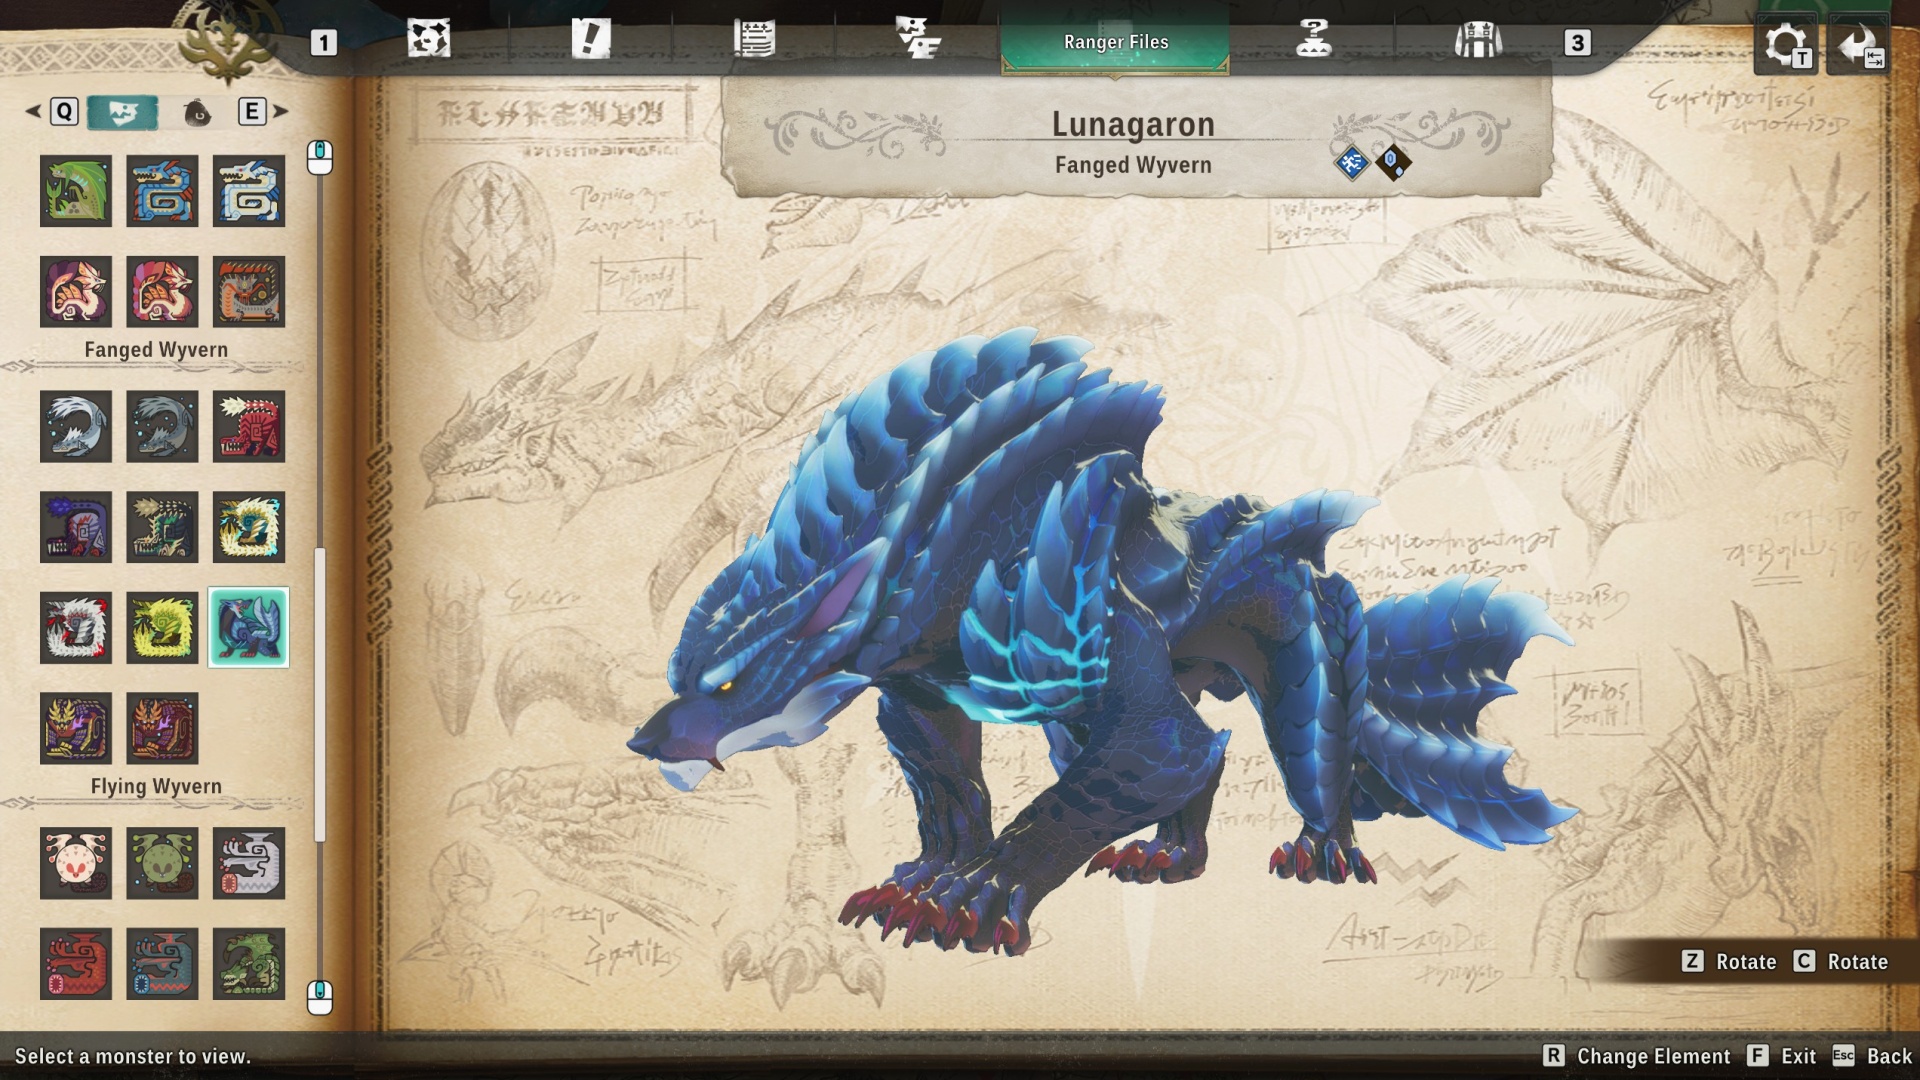
Malzeno is the best choice for this Elder Dragon, too. Its powerful dragon attacks are just too strong, and with genes like Self-Heal further boosting its parasitic heals, you won’t have to worry about this Monstie going down very often. Lunagaron or Aurora Somnacanth are also great picks.
In its normal state, Yama Tsukami will perform red Power attacks and slam its tentacles down on your part. Focus on breaking its tentacles and keeping everyone’s HP topped off. All of Yama Tsukami’s attacks deal normal damage, so bring armor and decorations that boost your defenses.
Once the tentacles have been broken, Yama Tsukami will open its mouth. After seven turns, it’ll perform a deadly AOE attack called Yama Tsukami Pull that’s basically guaranteed to wipe your party. You need to break its mouth before that happens.
At this point, just repeat until you either repel or defeat Yama Tsukami. This fight is a breeze as long as you can tank its tentacles and deal enough damage to the mouth to avoid the AOE.
Wind Serpent Ibushi and Thunder Serpent Narwa
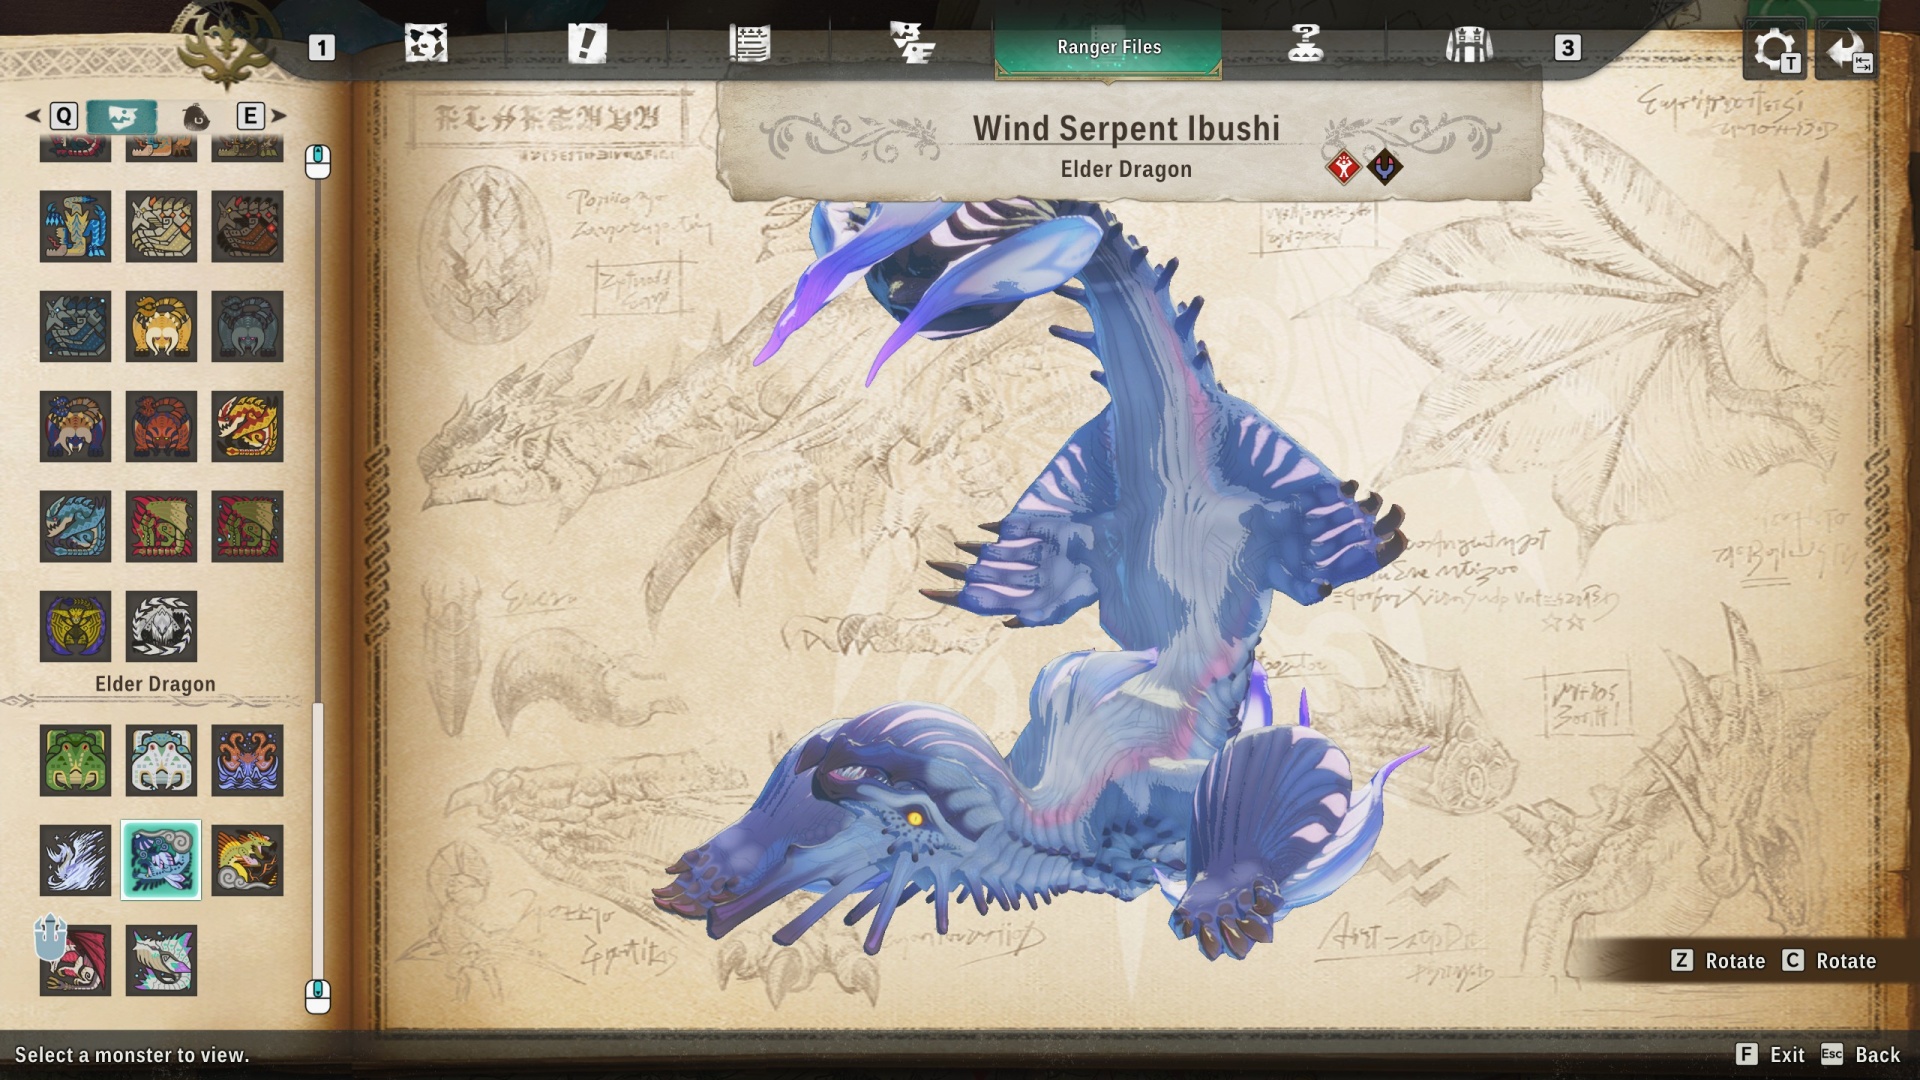
- Recommended Level: 85
- Elemental Weakness: Fire, Dragon (Ibushi) / Ice, Dragon (Narwa)
- Elemental Resistance: Ice, Thunder (Ibushi) / Thunder, Fire (Narwa)
- Ailment Weakness: Bleed (Ibushi) / Poison (Narwa)
- Ailment Resistance: Sleep, Paralysis, Blastblight, Burn
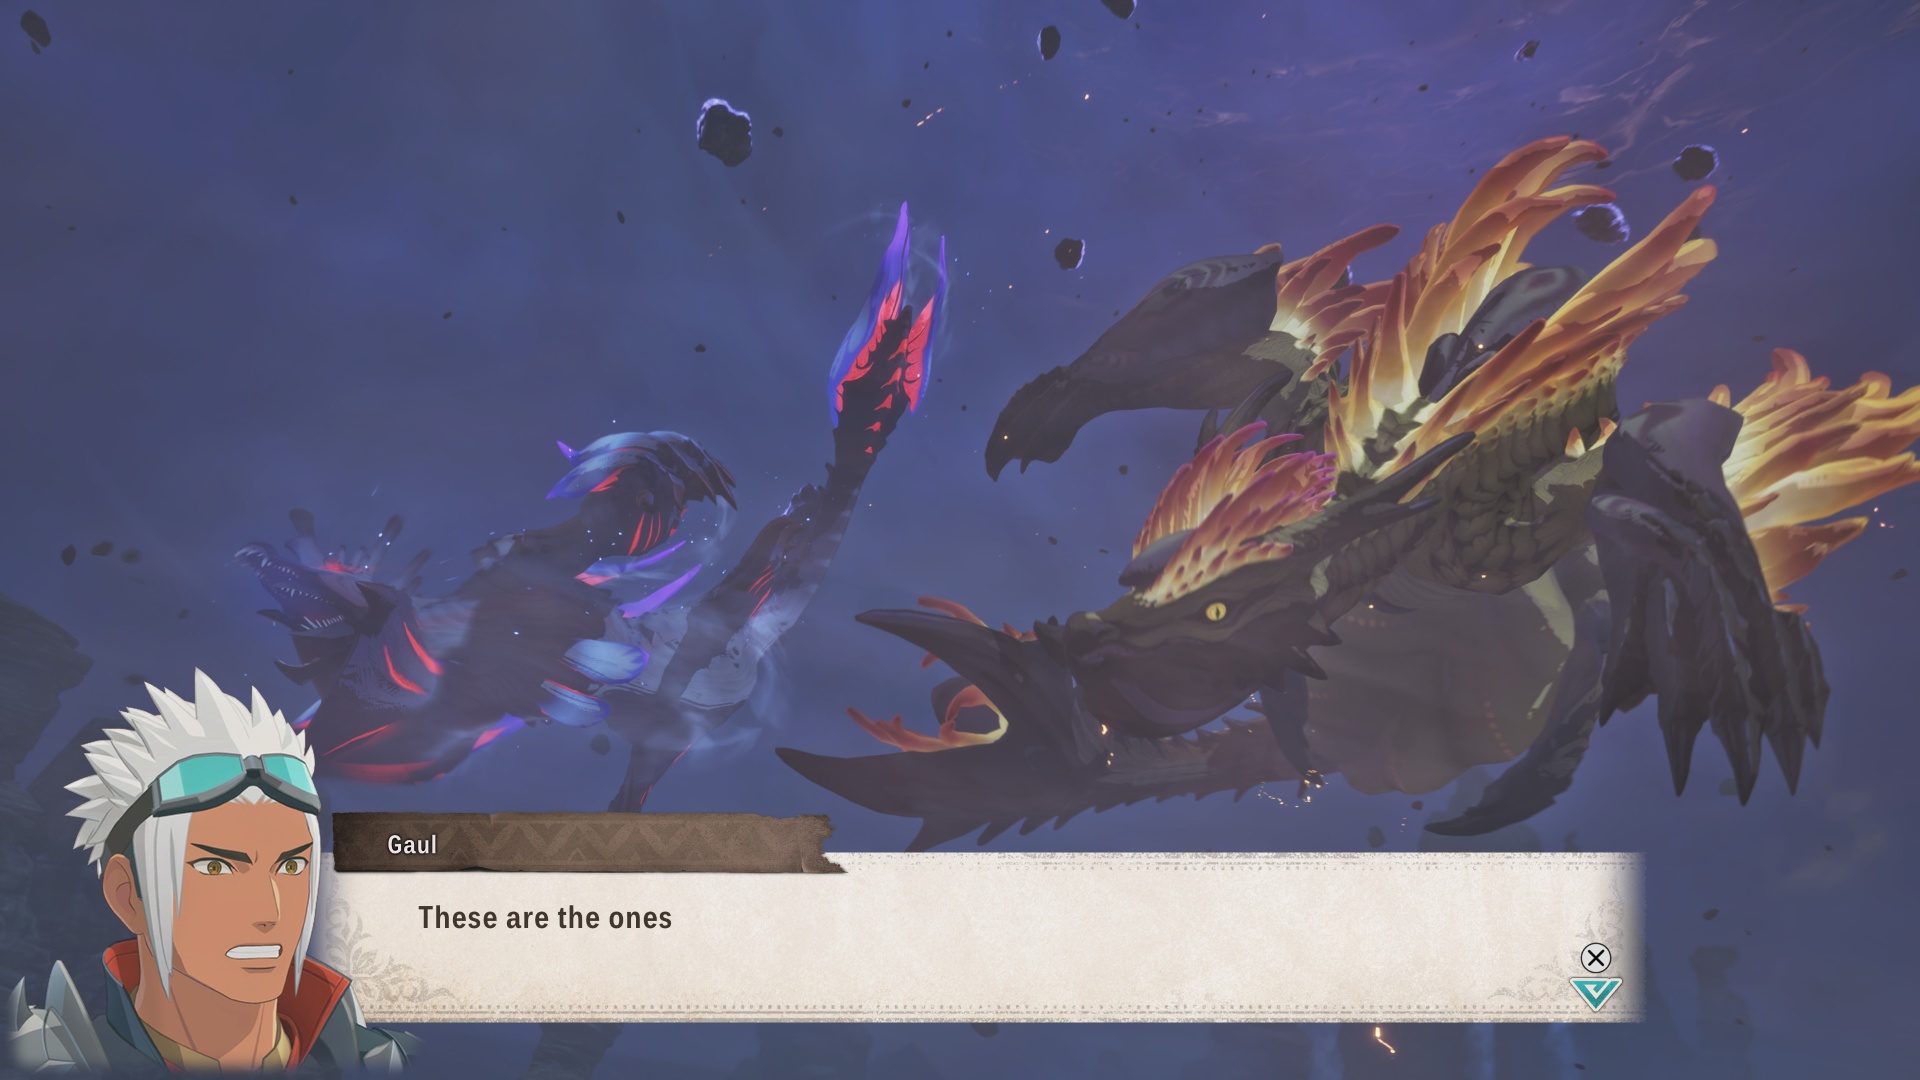
This is the hardest fight in the entire game. You have to face both Ibushi and Narwa simultaneously, and they both have one-shot kill attacks that’ll decimate even a max level team.
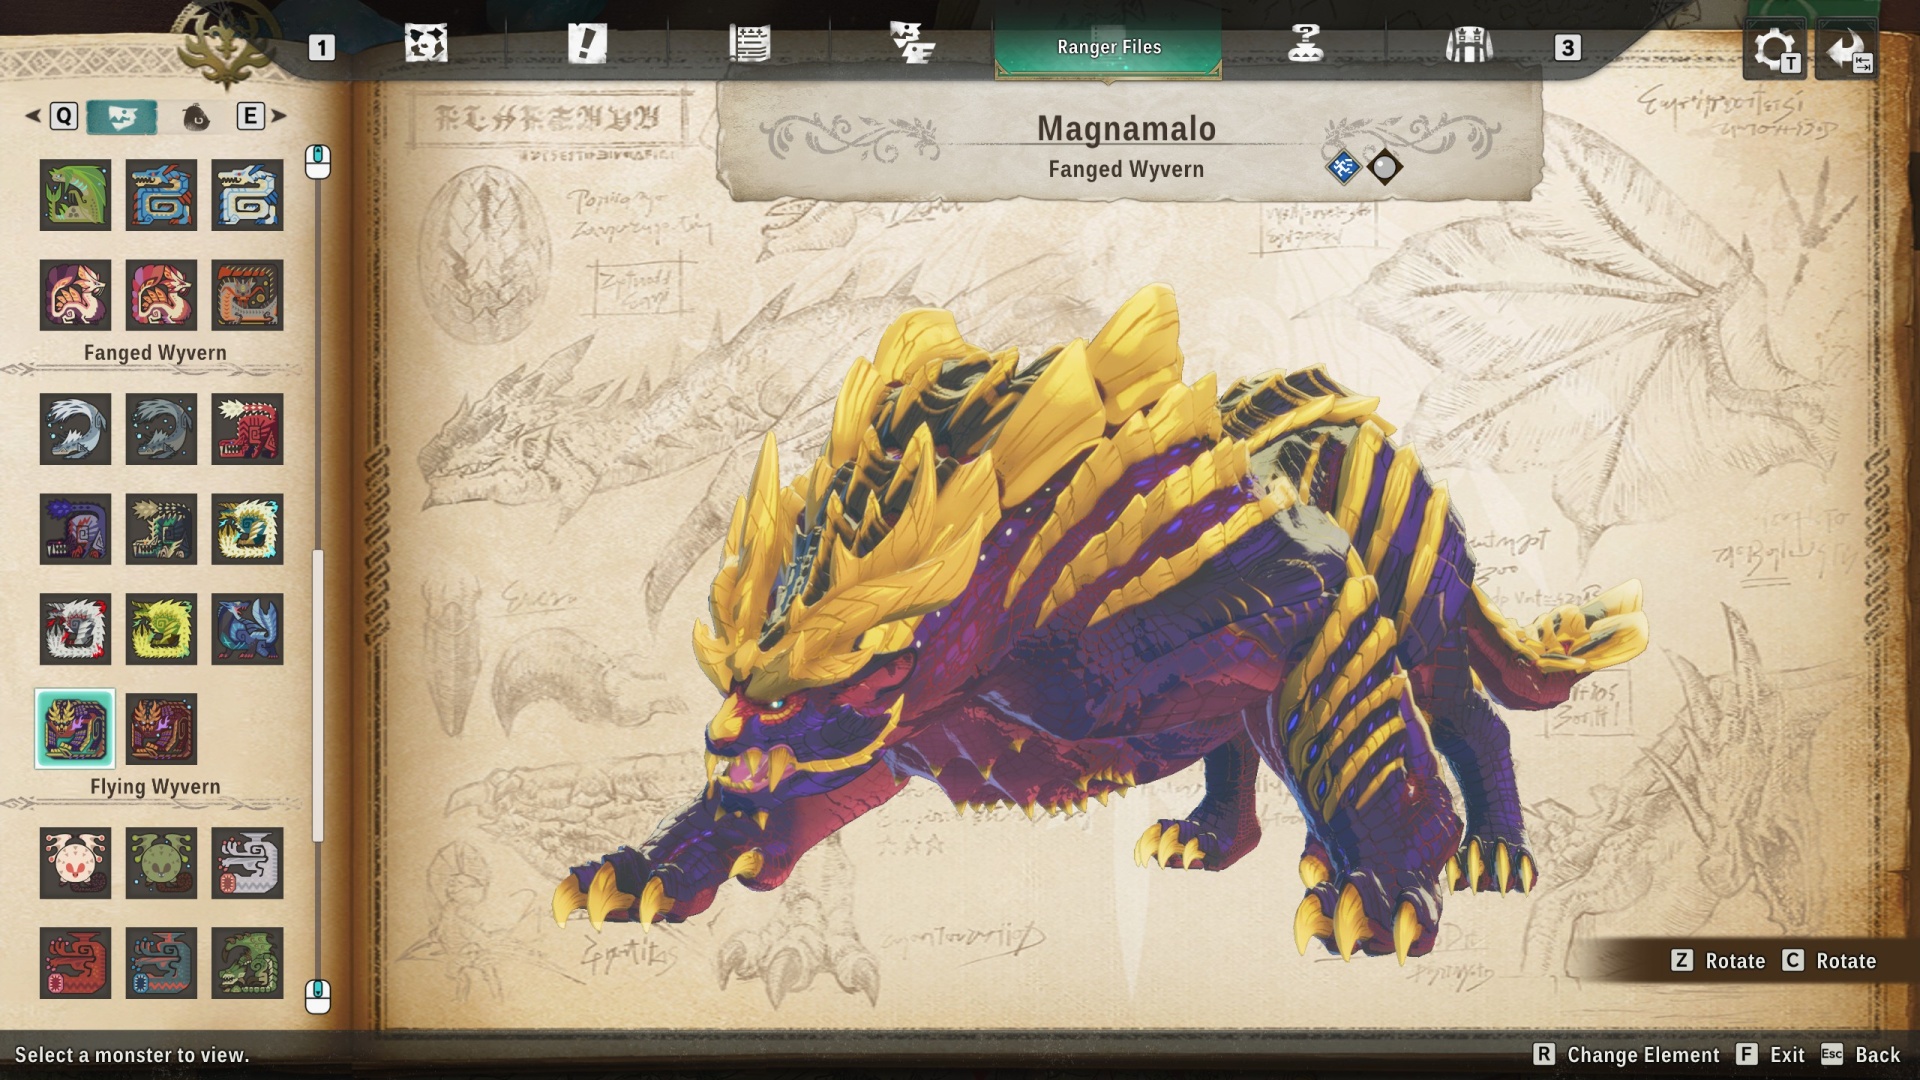
Fittingly, Magnamalo is the best Monstie to use for this encounter since it can unleash powerful dragon attacks to capitalize on both Elder Dragons’ weaknesses. It resists thunder damage—which helps with Narwa—but a slight weakness to dragon will make it take more damage from Ibushi. Luckily, Magnamalo has higher defense than other Monsties as well.
This is a battle of attrition more than anything. Even with great gear and genetically-modified Monsties, Ibushi and Narwa can (and probably will) still destroy your party.
Try to ride your Monstie whenever you can. If you get knocked off after a big attack, you won’t lose any of your hearts. You can only use so many Vital Essences per battle, so keeping those hearts is crucial.
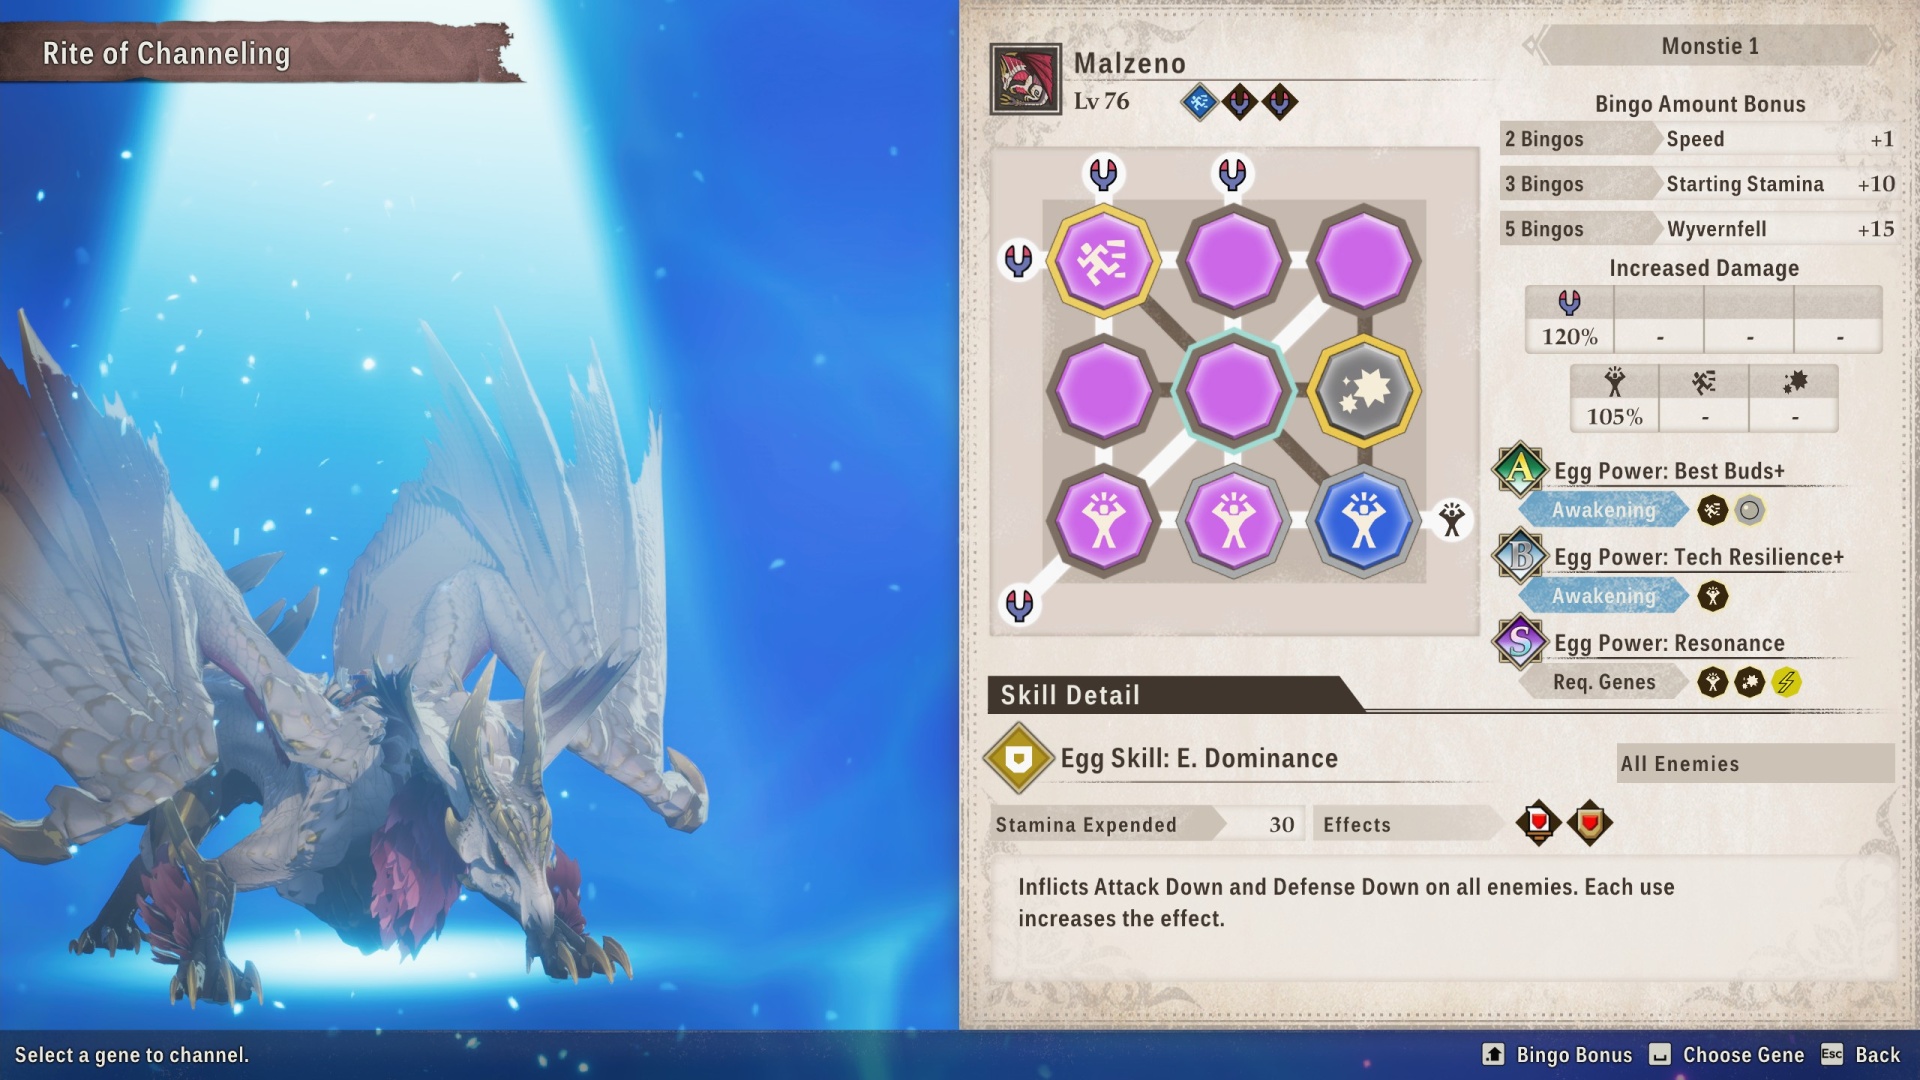
Narwa and Ibushi will constantly buff themselves and debuff your team during this battle. Make sure to remove your debuffs as soon as possible and hit the twin Elder Dragons with your own set of debuffs to reduce their strength. Malzeno’s E. Dominance Egg Skill is your best bet here, so put that on your favorite Monstie via the Rite of Channeling.
During this fight, the two Elder Dragons will take turns on offense. One of them will have the Mind Connection status and focus on support while the other will be in the Thunder/Wind Mantle state and deal heavy damage. Focus on attacking the one with Thunder or Wind Mantle. They’ll have more parts to break and give you more opportunities to deal Wyvernsoul damage.
Since these two Elder Dragons are so connected, dealing Wyvernsoul damage to one will also affect the other. Don’t try to hit both of them with AOEs. Focus your attacks on a single target!
When Ibushi has Wind Mantle activated, it’ll use red Power attacks. When Narwa has Thunder Mantle active, it’ll use green Technical attacks. Both Elder Dragons use blue Speed attacks when using Mind Connection. They’ll use a lot of AOEs, but make sure you’re using the right color of attacks to win those Head-to-Heads.
Even with the perfect strategy, you can still end up wiping just because of an unlucky run. To maximize your chances of survival, bring armor and decorations with Divine Blessing, Anti 1-Hit KO, Tenacity, and other defensive buffs. Dodging attacks will make this fight much easier too, so Evasion Ability is a must-have for your Monsties.
Velkhana
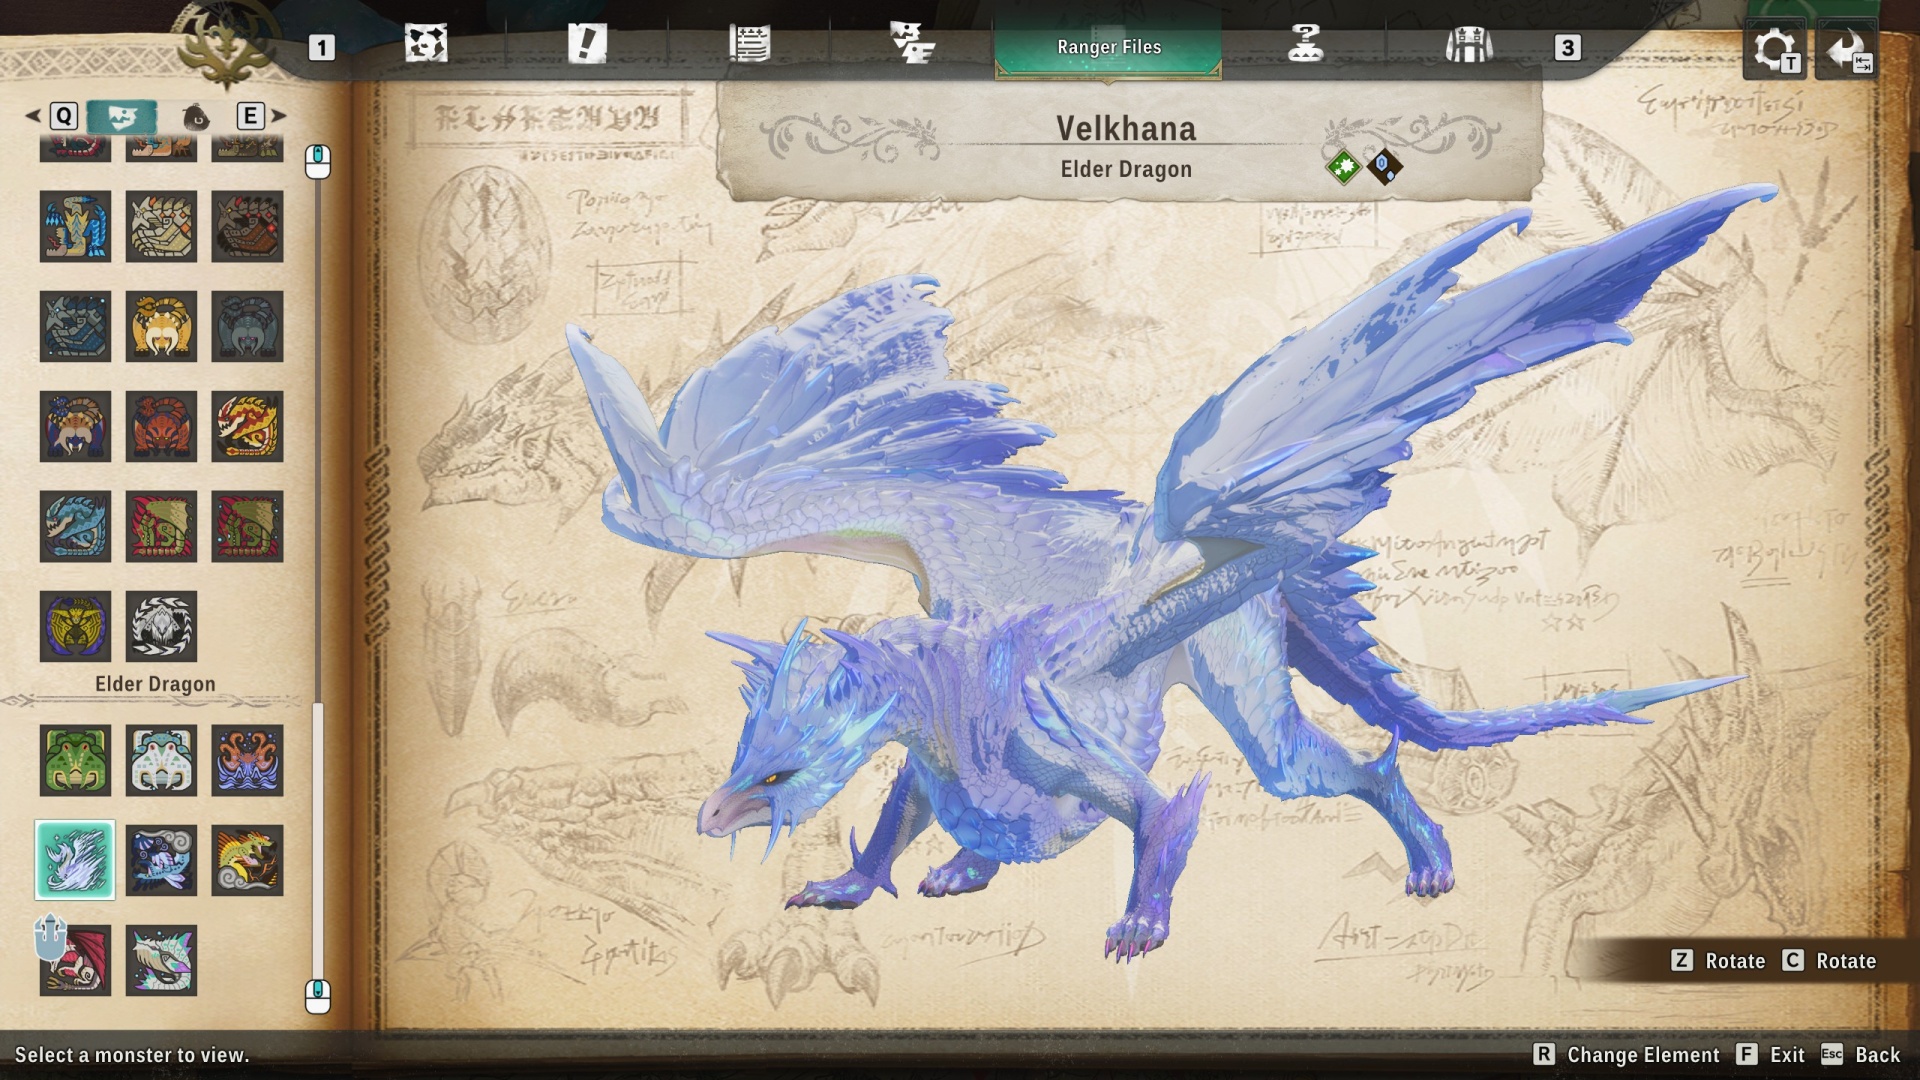
- Recommended Level: 75
- Elemental Weakness: Fire, Dragon
- Elemental Resistance: Ice, Water
- Ailment Weakness: Burn, Poison, Blastblight
- Ailment Resistance: Paralysis, Sleep, Bleed
Monster Hunter World: Iceborne’s flagship monster Velkhana is the fourth and final Calamitous Elder Dragon you can encounter in Monster Hunter Stories 3.
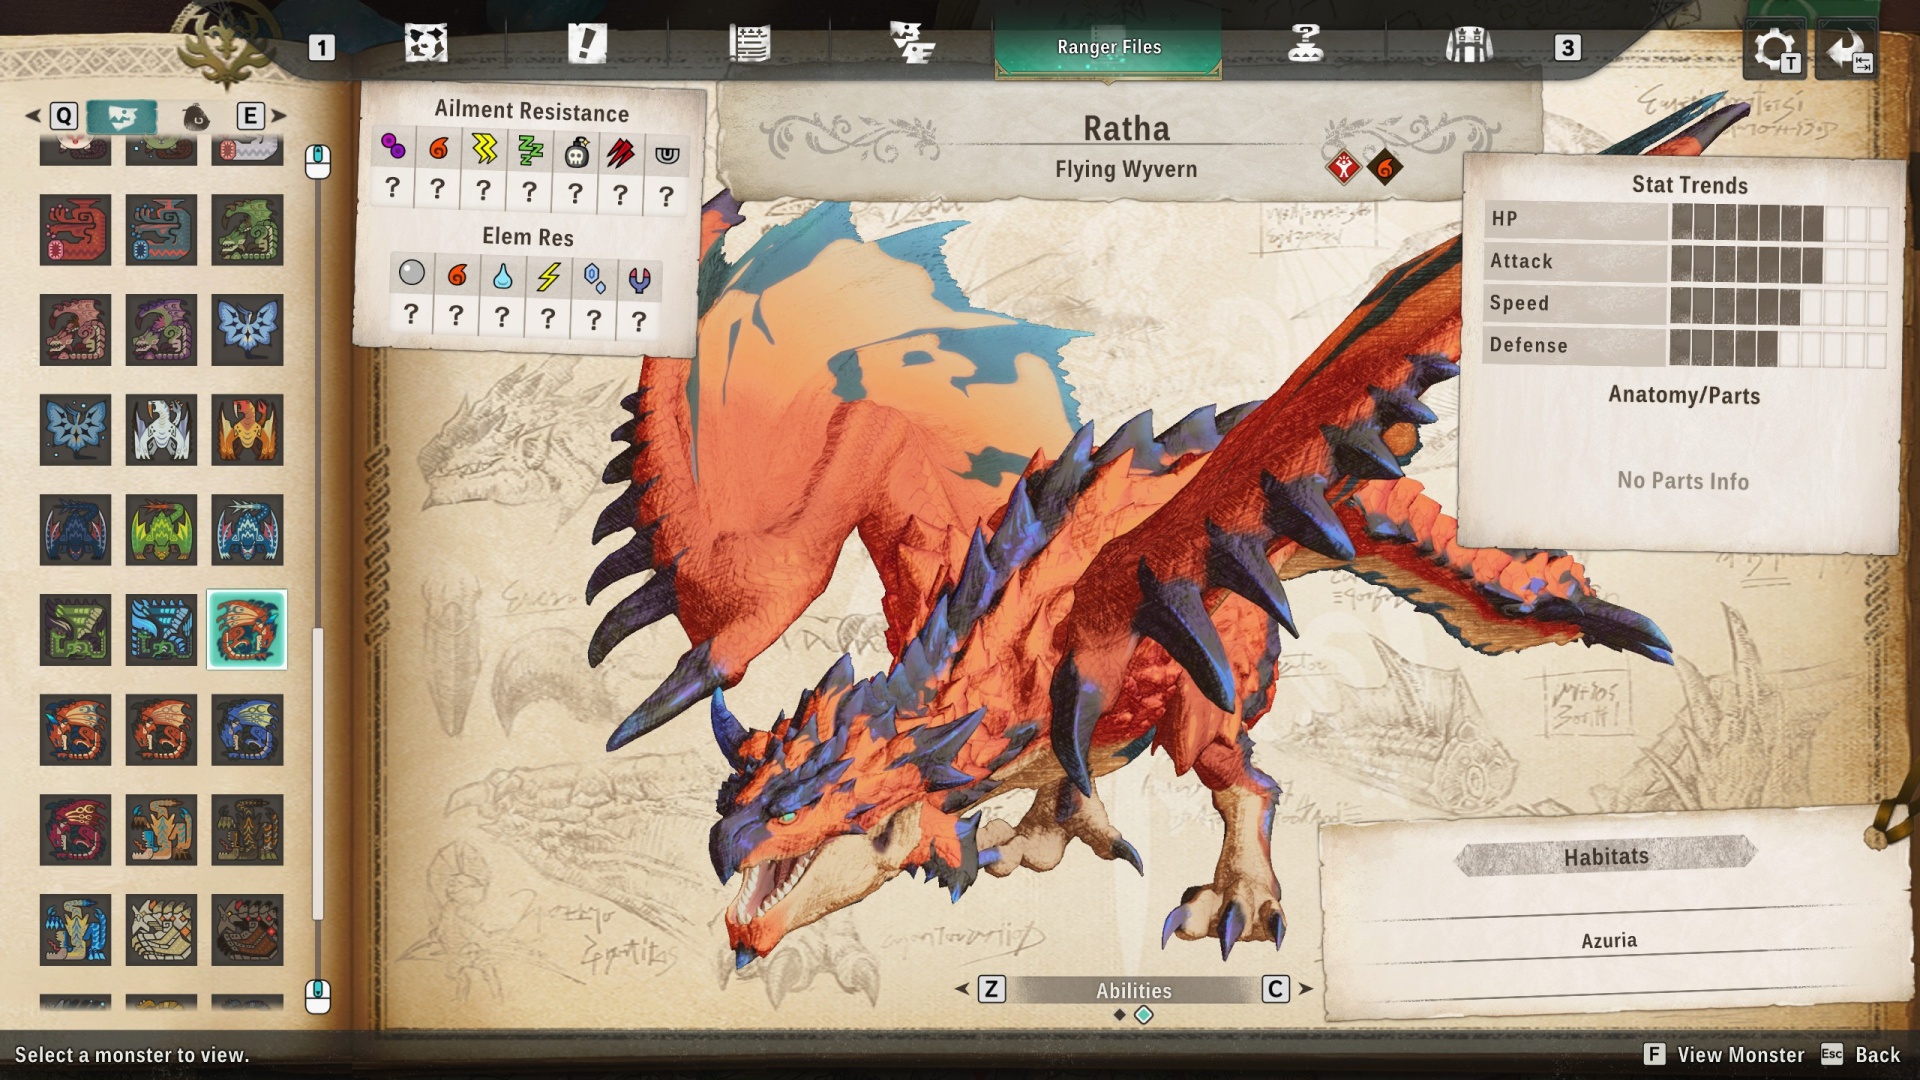
Ratha is actually the best all-around Monstie for this battle because of its ice resistance and solid fire attacks, but you can bring any fire Monstie as long as it’s not super weak to ice. Make sure your chosen Monstie has an Ice Def Boost gene along with some genes that increase Kinship gains.
Velkhana begins the fight in a normal state and uses green Technical attacks. It’ll protect itself with an Ice Mantle shortly after and start to use blue Speed attacks. Once the Ice Mantle is finished, Velkhana will cover itself with a Freezing Fog Mantle and use red Power attacks. Win those Head-to-Heads to reduce its Wyvernsoul gauge!
Velkhana can inflict you with a special status called Frostblight, which can be cured by winning Head-to-Heads or launching Double Attacks with your Monstie. If you ignore Frostblight, you’ll get toppled and lose a turn.
Because Frostblight is a key mechanic for this fight and it can only be removed with Head-to-Heads or Double Attacks, Velkhana will spend a large portion of the battle using single-target attacks that you can counter for massive Wyvernsoul damage.
That’s the key to victory here. Bring a hammer with skills that deal extra damage to monster parts and send your Monsties on Excursions to unlock Egg Powers like Battle Thirst that increase Head-to-Head effectiveness. You’re basically trying to bully Velkhana into submission.
Velkhana also has quite a few AOE attacks in its arsenal, and its icy blasts can easily wipe your team if you’re not careful. If you see Velkhana preparing for one of these AOE attacks, use a Kinship Skill to interrupt it. If your Kinship Gauge isn’t full, boost your defense and hope for the best.
As long as you use the right attacks to win Head-to-Heads and bring gear that resists ice damage, you’ll take Velkhana down in a few tries.
Monster Hunter Wilds guide: The big field guide
Monster Hunter Wilds weapon tier list: Definitively ranked
Monster Hunter Wilds best armor: What to wear
Monster Hunter Wilds monsters: The full roster
Monster Hunter Wilds event quest: Limited rewards


