
Exploration lies at the heart of Valheim, the survival RPG that tasks you with cleaning up Viking purgatory for the glory of Odin.
The world of Valheim is a sprawling archipelago composed of many varied ecosystems. The map is revealed as you explore, so it’s a good idea to know what you’re getting into and how to make the most of it.
On this page:
- Valheim biomes: what to expect in different areas of the map
- Biome 1: Meadows
- Biome 2: Black Forest
- Biome 3: Swamp
- Biome 4: Mountains
- Biome 5: Plains
- Biome 0: Ocean
- Other biomes
- Valheim map markers: how to view and annotate your in-game map
- How to reveal and share the full map in Valheim
Valheim biomes: what to expect in different areas of the map
Valheim’s map is made up of nine distinct areas, called biomes. Six are more or less fully implemented already, with three more planned to be fleshed out later in development. Each biome is distinctive, spawning different resources, creatures, weather, and even bosses.
Since maps in Valheim are procedurally generated, the exact placement and size of each biome can vary enormously. Biomes are also not necessarily continuous, and instead smaller pockets of each area type can usually be found all over the map.
You won’t necessarily encounter the biomes in the order they’re presented here. However, what follows is broadly the path you might want to take through the biomes if you’re trying to follow the story, as determined by the order in which you need to fight the game’s bosses.
Biomes which are home to later-game bosses also tend to contain tougher enemies in general, so it’s worth trying to tackle them roughly in order if you want to get hold of the best weapons to deal with the bigger baddies ahead of time.
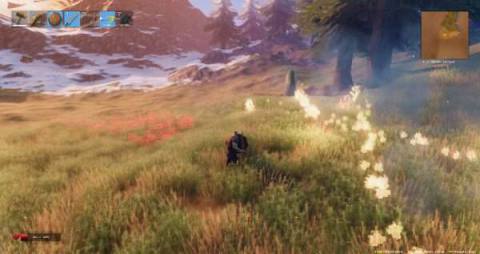
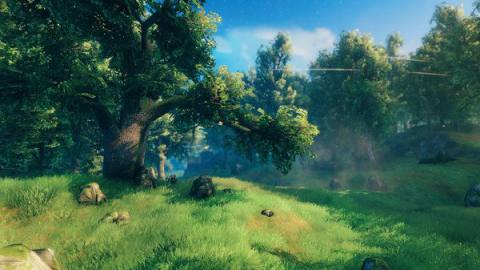
Biome 1: Meadows
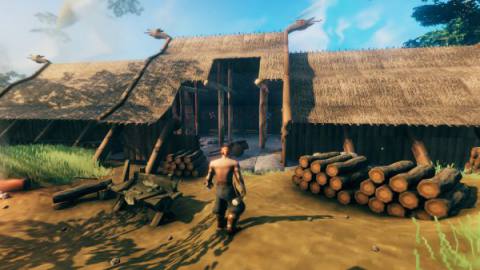
The Meadows biome is the starting point for the game. It’s a place of relative safety, with only a few small hostile creatures able to spawn until after you’ve tackled the first boss. That boss is Eikthyr the Stag, whose summoning altar can also be found in the region.
Greylings will appear in the Meadows, but only after you’ve defeated Eikthyr. Special Greyling classes (such as the Brute and the Shaman) also have a chance of spawning when you revisit the area after the second boss fight.
Resources found in the Meadows tend to be particularly useful for basic and early game crafting. They include trees that give wood and fine wood, and sources of stone and flint. From these you can begin to craft basic tools and construct your first shelter. However, you’ll need to travel further afield to find more complex and versatile resources.
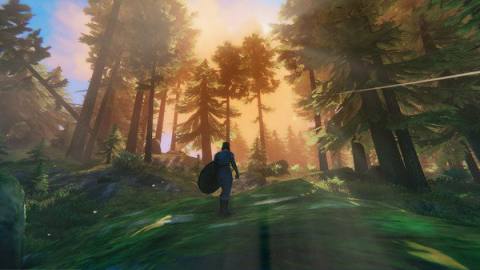
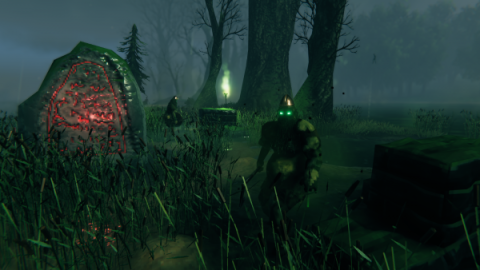
Biome 2: Black Forest
The Black Forest tends to be the biggest area on Valheim’s map. Taking up even more total real estate than the starting Meadows biome, the Black Forest is your first opportunity to gather stronger crafting resources like core wood.
It’s also the first place you can mine and is the sole spawning location for tin and copper, both of which are essential for unlocking better crafting technologies which allow you to progress further in the game.
Of course, it’s all fun and games until someone encounters a Troll, the most intimidating new enemy found in the area. The Greylings you met in the Meadows biome are also here to cause you more trouble.
The Elder is the boss encountered in this biome. You can’t progress fully through the next biome until you defeat The Elder, so it’s a good idea to focus on getting this fight done. Luckily, this encounter comes before the difficulty spike in the Swamp.
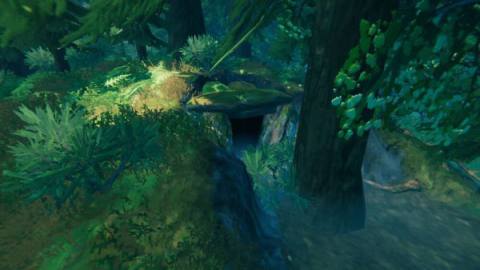
After defeating The Elder you’ll gain access to the Burial Chambers. These dungeons are great for resource-gathering, but can be haunted by both ghosts and skeletons who attempt to block your way.
Biome 3: Swamp
The Meadows and the Black Forest are both relatively peaceful, as Valheim goes. The Swamp is where things get decidedly tougher.
There are a lot more hostile creatures to be encountered here, and just to really rub it in, most of them are terrifying and/or disgusting. But it’s the biome’s boss — Bonemass — who is generally regarded as the main culprit of the difficulty spike.
However, the Swamp is also home to the Sunken Crypts. After you’ve defeated The Elder boss from the previous section, you can explore these dungeons for some of the best mid-game resources.
The Swamp is also the only source of ancient bark and scrap iron, two crafting items that are incredibly useful for upgrading your equipment at this point in the game.
Biome 4: Mountains
The Mountains contain fewer hostile creatures than any other region encountered so far. However, there’s a unique complication: this is the only biome with actively harmful weather.
Entering a Mountains area will give player characters the “freezing” effect. You need to take precautions against the cold at all times while exploring the Mountains, such as wearing wolf armour, sheltering from rain, and drinking plenty of frost resistance meads.
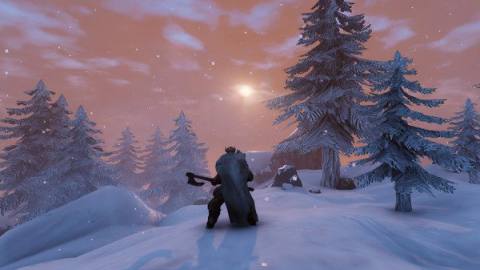
The boss of this biome is Moder. Like the new Drake enemies encountered in the area, she can attack from the air as well as the ground, creating a new potential hazard for the unwary.
The Mountains are the only biome where you can mine obsidian and silver ore. These are incredibly important ingredients if you aim to craft the game’s best armour and weapon sets, so the temptation to explore the region as soon as you find it can be strong. However, the importance of entering the biome prepared for its harsh climate can’t be overstated.
Biome 5: Plains
One of the most dangerous areas in the game, the Plains are deceptively pleasant in appearance. It’s always sunny, and the native crafting resources are borderline whimsical, consisting of cloudberries, flax, and barley.
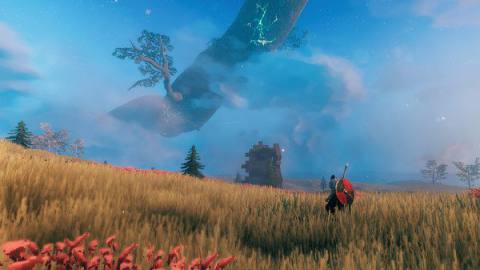
The Plains are the only area of the map where you’ll encounter deathsquitos, which are as bad as they sound. These giant insects are incredibly mean, and will potentially be able to one-hit kill you if you venture into their biome too early in the game. You’ll also find all classes of Fuling (ordinary, Berserker, and Shaman), spawning in the Plains.
You fight the game’s fifth and (currently) final boss, Yagluth, in summoned in the Plains.
The Plains are the only biome in the game where it never rains. Despite their dangerous inhabitants, this actually makes them a good choice for building your permanent base, since wooden structures don’t decay there.
Biome 0: Ocean
The Ocean‘s status as a biome often gets overlooked, possibly because it doesn’t contain a boss fight. It’s also a little different in general: it requires a boat to traverse, making it often feel more like an obstacle to exploration than an area in its own right. However, there are a few things in the Ocean worth keeping an eye out for.
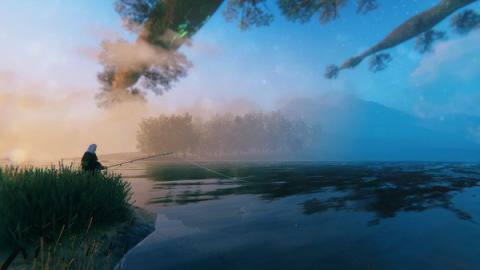
The Ocean contains only one enemy type: the serpent. This hostile sea creature will attack players and their boats. It’s best to be vigilant, and keep a ranged weapon to hand.
There are two types of passive creatures in the Ocean: fish and leviathan. Fish can be caught with a fishing rod and used for food, while leviathan can be mined for a unique crafting resource.
Other biomes
As of the time of writing, there are three empty biomes in Valheim. As an Early Access game, not all content in Valheim has been implemented yet.
It is possible to travel to these areas of the map, but nothing will spawn in them. You may, however, occasionally encounter creatures who have crossed over from adjacent biomes, or harvest generic resources like wood and stone.
The three in-development biomes are:
- Mistlands: More recognisably purgatorial than other areas in Valheim, the Mistlands resemble a dead forest. The biome is characterised by a permanently night-dark sky and the presence of giant cobwebs among the trees, although there are no spiders in the game (yet).
- Deep North: Found in the extreme northern regions of the map, the Deep North is fairly similar to the Mountains biome. A player wishing to explore this area will need some form of frost resistance (armour or meads). The biome also features frozen rivers, and players who get wet will take frost damage even if they are wearing wolf armour.
- Ashlands: Ashlands are found on the extreme southern edge of the map. At this point in development, the Ashlands are more or less a barren wasteland. However, there is actually a unique resource to be found there: Glowing Metal, which can be mined and refined into Flametal Ore. However, there is currently no use for them in the game.
Valheim map markers: how to view and annotate your in-game map
Valheim’s map is revealed through exploration of the different biomes. Being able to view the map is very useful for planning your strategy as you advance through the game.
You bring up the map by pressing M on your keyboard.
A few points-of-interest — such as the location of bosses and the elusive trader NPC — will auto-fill icons on your map when you get close to them. However, for the most part the map is pretty sparse.
Fortunately, you have the power to annotate it with map markers. These allow you to place down icons indicating locations you find particularly significant. This is a useful ability to have, as it allows you to mark out locations (such as abandoned buildings or resource spawns) which you’re keen to revisit later.
To place a map marker, select from the five icons in the bottom right-hand corner of the map screen. You can choose from a campfire, a building, a circle, a T-shape, or a rune. You can place these anywhere, so it’s up to you to decide what they mean (though the first two are probably self-explanatory). Then simply double-click the desired area of the map to place the marker. You can also enter a label for each marker at the bottom of the screen.
Once a marker is placed, you can put a red X through it by clicking on it once. This is useful for marking something as ‘done’ without removing the marker altogether. However, you can do just that if you’d prefer, by right-clicking on it.
How to reveal and share the full map in Valheim
You uncover Valheim’s map gradually as you explore the world. Areas are revealed only as you travel through them, so the only way to really know the entire map is to have been to every last forgotten corner of it.
But if you simply can’t wait — if you really want to see straight away if your new game has a decent seed, for example — you can cheat to reveal the full map.
Entering exploremap into the debug cheat console uncovers the whole thing instantly. And if you only wanted a quick peek, you can hide the whole thing again (including any locations you’d already discovered by legitimate means) using the resetmap cheat.
If you’re playing Valheim with a co-op team, you might wish to share your maps with each other in order to see points of interest you’ve discovered while exploring individually.
Unfortunately, at this time there’s no official way of sharing maps in-game with other players. The best you can really do is ping a location on the map with the middle mouse button, which will draw other players’ attention to it.
However, if you’re not averse to modding your game a little, there are already several mods out there to add in this popular player-requested feature.
The post Valheim maps | How to visit all biomes, reveal and annotate the full map appeared first on VG247.


