

As if Resident Evil Village needed any more intrigue, now there’s treasure afoot.
The attic treasure map is your first taste of the optional side quests you find throughout the village, most of which are worthy additions to your adventure not just for the puzzles, but for the extra cash you can spend on upgrading your arsenal.
From the attic, you can either take on the rooftop first, or let yourself be distracted by the prospect of shiny things lying in wait.
In this part we’ll do the treasure map first, then the rooftop and beyond.
Resident Evil Village Treasure Map
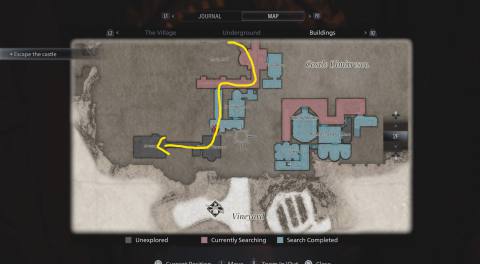
Luckily for you, your trials and tribulations in Castle Dimitrescu so far have already taken you past the treasure’s location.
You can find it at the back of the dungeon, which is downstairs through the main hall, through the dining room and kitchen.
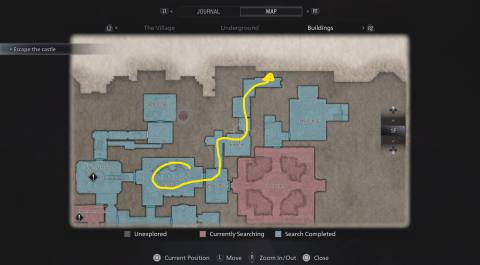
You then go down the staircase at the back of the kitchen, through the dungeon, and into the Iron Insignia door in the back corner.
To get there from the attic, climb down the ladder, walk through the atelier, then unlock the door out onto the balcony above the main hall.
Go down the stairs, take a left and into the dining room, then take the left door through to the kitchen on the right.
Sprint straight through the kitchen and through the door at the back of the room, through the room where you fought the first daughter, then down the stairs through the hole in the wall.
This area is a lot busier than it used to be, so be ready to fight some ghouls.

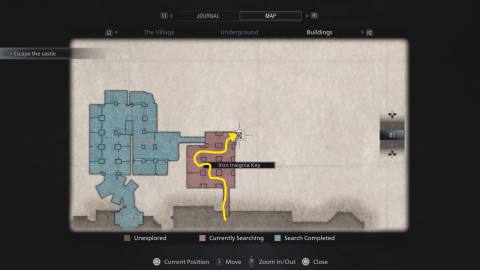
Bruise your way through the three or four guys that attack you and make your way to the iron insignia door in the bottom right and open it.
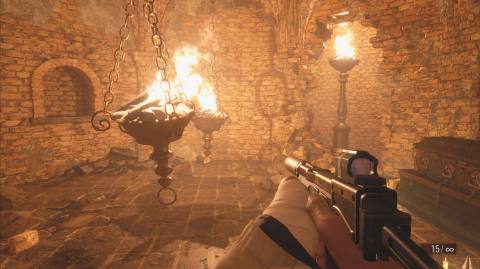
Here, you need to light the braziers to access the coffin.
To do this, pick up the pipe bomb from the corner of the room and throw it at the lit brazier you can see behind the crumbling wall.
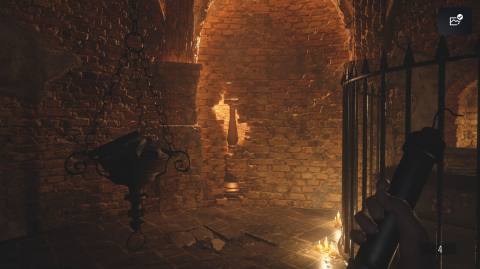
Inside the hole you make is a crystal fragment and some ammo.
Now swing the hanging brazier to the lit one, like you did in the Hall of War puzzle earlier, but this time, you need to shoot it – probably twice – to give it enough force.
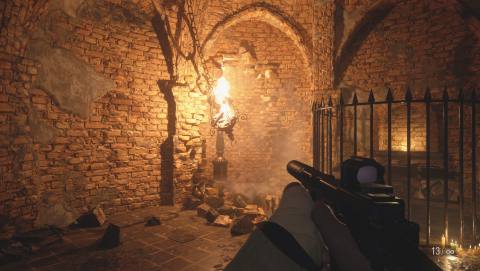
Then use the first to light the second – shooting each one so they swing together – and you’re done.
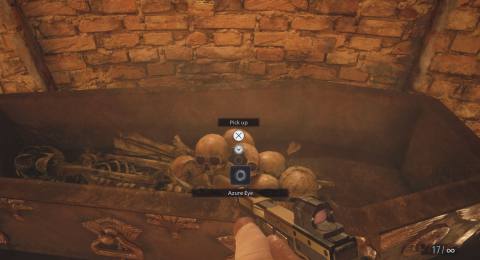
In the now accessible coffin, you’ll find the Azure Eye gem, which you can combine with something else you find later for big bucks.
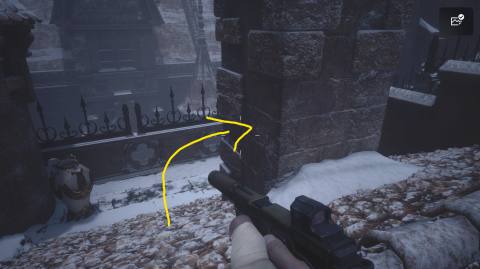
Now retrace your steps to the main hall, then take a detour to The Duke’s room.
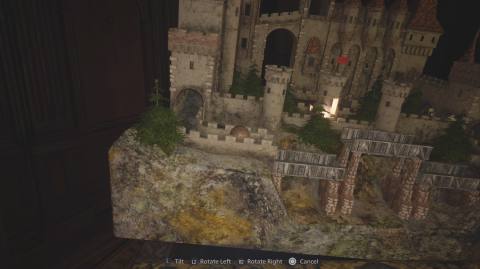
By this point you should have the Flower Swords Ball from the Opera Hall, which you can place in the Labyrinth puzzle ball game, tilting it until it reaches the goal, to get a valuable crimson skull and spend all the Lei you’ve found.
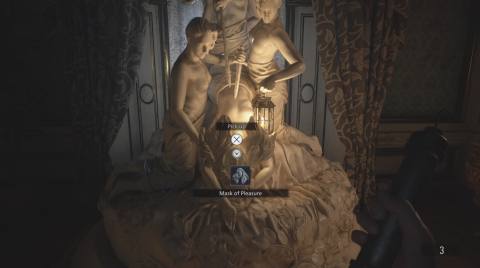
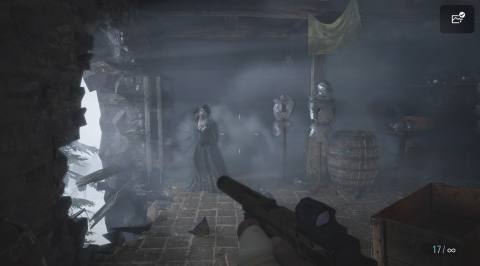
When you’re finished, head back to the main hall, then upstairs, then over towards the Prioress Door again, and through towards the Dressing Room and Hall of Pleasure.
Past the Dimitrescu door in the Hall of Pleasure, take the Mask of Pleasure, and you’ll find yourself locked in.
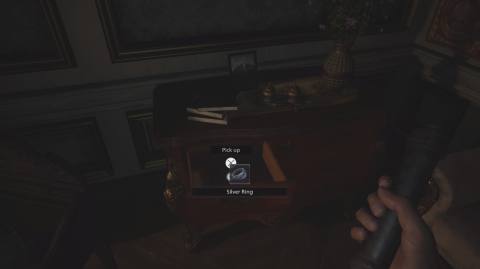
In the nearby drawer, you’ll find a Silver Ring, which you can combine with the Azure Eye Treasure to make a more valuable item to sell to The Duke.
Smash the urn in the corner for some ammo, then look up at the ceiling for a crystal fragment you can shoot down.
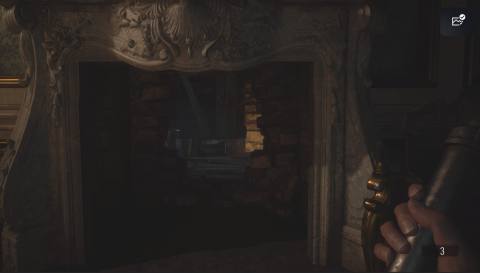
With all that collected, crouch and crawl through the fireplace on the right of the statue and you’ll be in a new hallway. Look to your left for some scrap, then ascend the stairs in front of you.
Daniela Dimitrescu Third Daughter Boss Fight
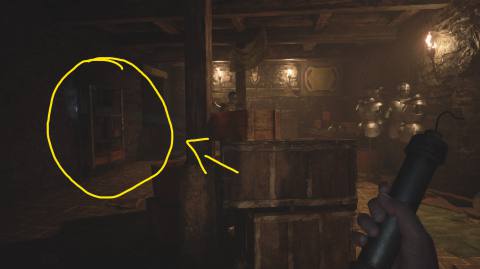
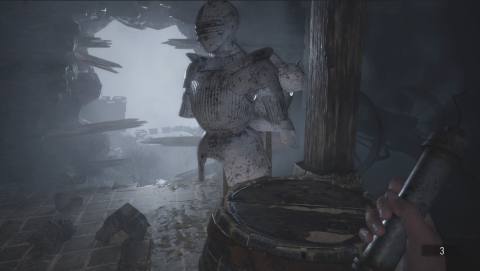
When you reach the top of the stairs you’re in the armoury, where you’ll meet the last Dimitrescu daughter, Daniela.
There aren’t any obvious windows to let the cold in, so you’ll quickly be overwhelmed if you don’t act fast.
To beat her, you need to move the shelf on the left hand wall out of the way, which will reveal a crumbling wall.
Next, throw a pipe bomb at the crumbling wall and it will blow a hole in the side of the castle, weakening the daughter.
If you don’t have a pipe bomb, there’s two on the table on the right-hand side of the room.
In her vulnerable state, she’ll rush you and it’s really hard to avoid her in the cluttered room, but empty as many bullets as possible and she’ll go down, giving you the last crystal torso.
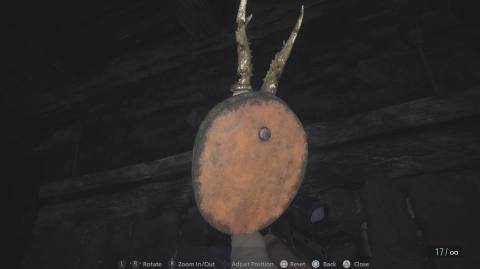
Grab everything from around the corners of the room, then take the mounted animal skull from atop the unlit fireplace. This disengages the locks on the room and lets you back into the Hall of Pleasure.
How to escape the Hall of Pleasure
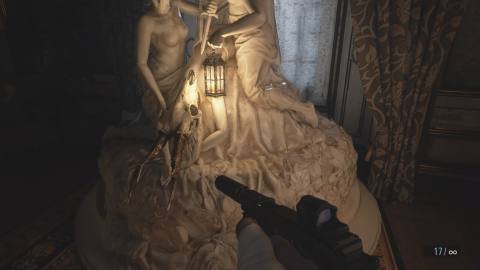
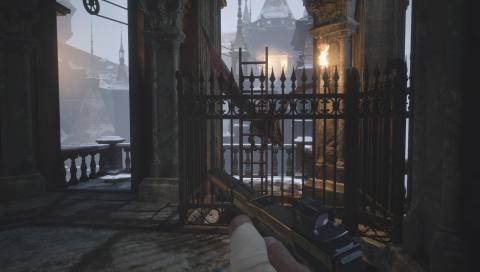
Return to the Hall of Pleasure statue, then examine the mounted animal skull you grabbed in the armoury in your key items inventory.
Turn it around, examine the back, and you’ll get the animal skull.
Now use the skull on the statue and it will disengage the lock on the dock.
Now, either return to The Duke and save if you wish, or go back to the rooftop, through the Hall of Joy on the other side of the main hall and through the Atelier.
At this point, Lady Dimitrescu will be loose around the house and prowling, so watch out and keep out of her line of sight.
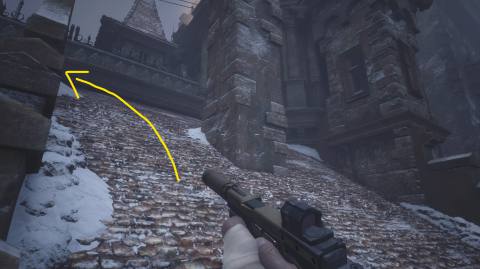
Scaling the rooftop
Back in the attic, when you reach the window out onto the roof, look out and survey the scene. Yes, those are flying monsters, and yes, that’s the way you have to go.
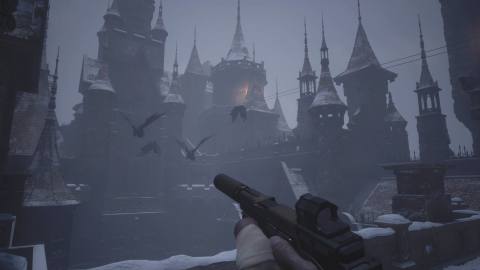
Look at your map, and you’ll see that the rooftop is a large and winding area, and as always, you have two options: speed or steady.
Either study the map and run like heck to the other side, or try and take out the gargoyles as they attack with the sniper rifle and other weapons.
While they can be difficult to hit, the gargoyles don’t actually take that many shots to defeat, so if you’re flush with ammo, then all guns blazing isn’t a bad call.
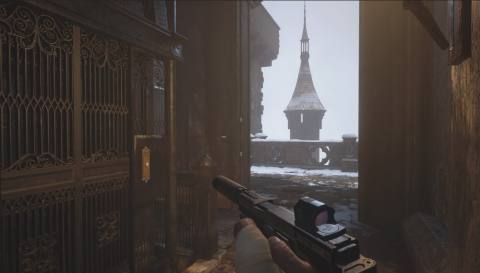
Either way, sneak over to the right and you’ll come around a corner to an elevator, a ladder and two urns. If you go over to the urn on the exposed balcony, a gargoyle will attack, giving you a good chance to practise on a single one.
The urns contain Lei and Shotgun ammo.
The elevator leads to the one you found when you first entered the house, next to the entrance hall.
The ladder isn’t currently accessible, so continue around to the right.
Turn left around the corner and you’ll be attacked again, but they’ll go down in a few pistol shots, especially if they’re over the edge.

Go left again around the corner, and now’s the time to sprint if you’re going to.
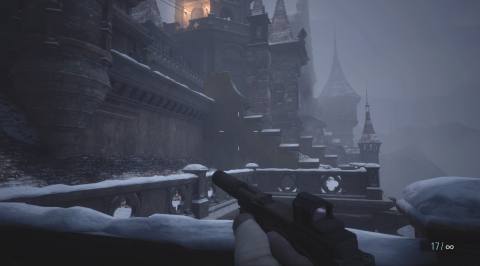
First run forward, then right onto the roof.
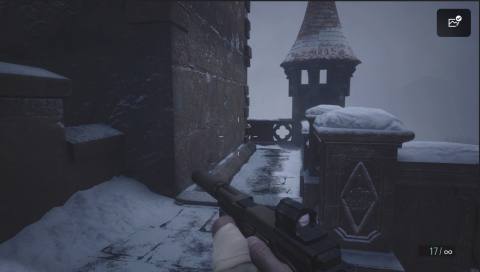
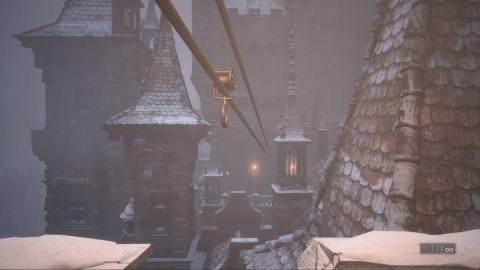
Run straight over the top of the roof, then turn right up the stairs.
There’s an urn you run past here, but it just has one shotgun shell in.
At the top of the stairs, you’ll reach a couple of urns with more ammo and Lei inside, but the main point of interest is the zipwire – interact with it and you’ll fly over to the Hall of Rage.
If you get cornered by gargoyles at any point you can just use your pistol to clip them once, which will make them fall to the ground so you can run past.
On the other side, grab the Mask of Rage, and turn around to climb down the ladder.
The gargoyles might have bunched up behind you at this point, but they’re fish in a barrel squashed up here, so quickly dispatch them and lower the ladder. You’ll get a decent chunk of Lei for downing them too.
At the bottom of the ladder, go back around the other side of the elevator and there’s a hole in the wall where you can get on the roof to find a final urn, this time full of scrap.
Next, go down the elevator and you’ll be close to the Hall of the Four. Return to The Duke first to sell, upgrade, and save, then go into the Hall of the Four.
With all four masks in hand, you’re ready to escape the castle.
The mask order is: Sorrow, bottom left, Pleasure, top left, Rage, bottom right, Joy, top right
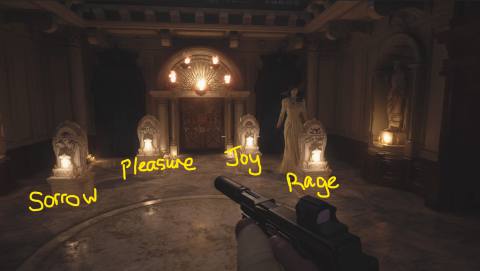
While you’re trying to do this, Lady Dimitrescu might pay you a visit.
If this happens, run laps around the main hall, through the adjoining hallway, then back into the Hall of the Four past the merchant’s room.
When all four masks are slotted, you can go through the door that opens.
Break the two urns to grab the scrap and herb, then press on through the next double doors.
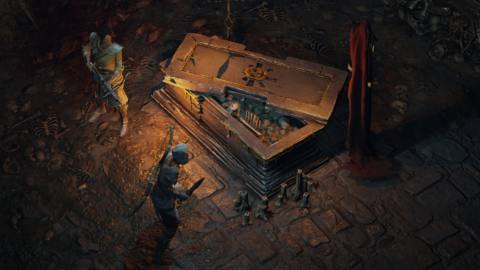
Run up the stairs into the church in front of you and open the coffin at the front. Pick up the knife from inside and continue to the next part!
- Resident Evil Village Walkthrough Part 1 – Into the village, Luiza’s House, and the castle
- Resident Evil Village Prioress Door
- Resident Evil Village Part 3 – Hall of War, Dungeon, Bela Dimitrescu First Daughter Boss
- Resident Evil Village Hall of Ablution statues
- Resident Evil Village Part 5 – Wine Cellar, Terrace, and Courtyard
- Resident Evil Village Piano puzzle
- Resident Evil Village Part 7 – Library Second Daughter Boss Fight
- Resident Evil Village Bells in the Atelier
- Resident Evil Village Part 9 – Treasure map, Rooftops, and Third Daughter Fight
- Resident Evil Village Lady Dimitrescu Boss Fight
- Resident Evil Village Part 11 – House With the Red Chimney
- Resident Evil Village Beneviento Dollhouse | Beneviento’s Treasure, Door Code, Music Box Puzzle Solutions
- Resident Evil Village Part 13 – Power the windmill, Sluice Gate puzzle and Moreau Boss
- Resident Evil Village Part 14 – Otto’s Old Mill and Stronghold
- Resident Evil Village Part 15 – Heisenberg’s Factory and Boss Fight
- Resident Evil Village Part 16 – Finding Chris Redfield
- Resident Evil Village Part 17 – Mother Miranda Final Boss
The post Resident Evil Village Part 9 | Treasure map, Rooftops, and Third Daughter Fight appeared first on VG247.


