

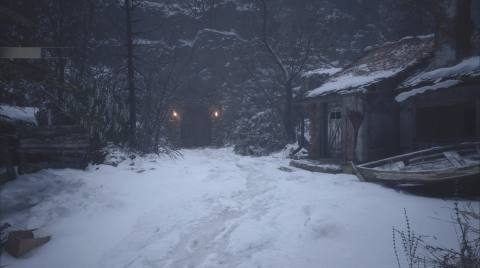
With the grim familiarity of the castle behind him, the next part of Resident Evil Village once again sees Ethan strike out into the unknown, digging deeper into the dark secrets of this forsaken land.
Leaving the opulent halls of the Dimitrescu estate, you’re now in much more humble surroundings, with deep snow settling on the roof of the shack to your right.
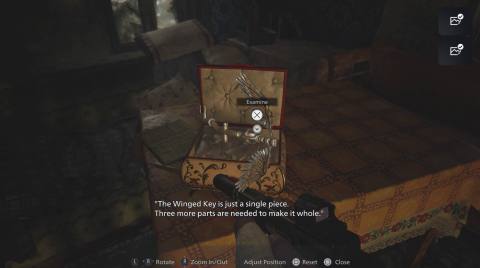
The Winged Key
To get out of the cold air, walk forward and into the shack in front of you.
Inside you’ll find a typewriter to save your game and some scrap in a cupboard.
Hop through the open window, then grab some gunpowder from the outhouse.
There’s nothing else to do here at the moment, so go back through the house, then take a right.
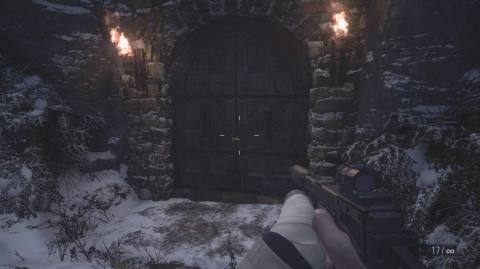
Shoot or knife the lock on the double doors, then head inside.
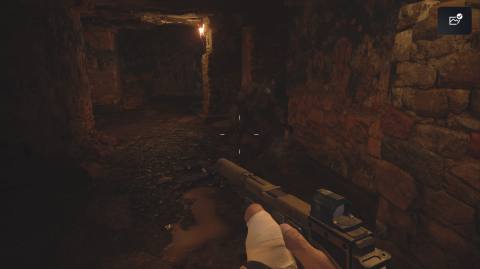
Walk down the dark cavern and drop down the ledge.
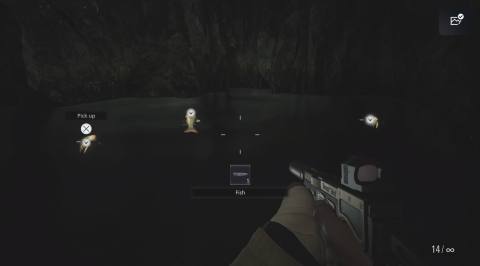
In the water, you can knife or shoot the fish to collect fish meat, which you can use later.
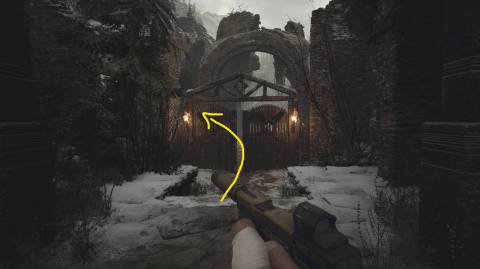
Then on the other side, climb the ledge and go up the stairs towards the archway.
Continue through the passage towards the wooden door and go inside.
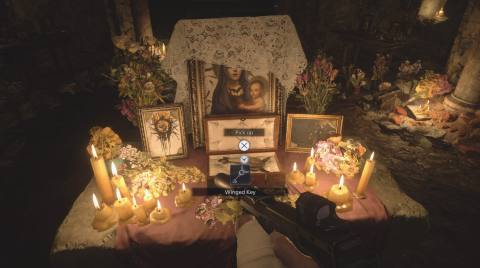
After the scene with the crone, ogle the Dimitrescu, Heisenberg, Moreau, and Beneviento mural, then open the box in the shrine and take the winged key. Now continue through the winged door at the back of the room.
Trudge up the dimly lit stairs, then pull the lever at the end.
You’ll find yourself at the ceremony site, where you can interact with the stone dias, but to advance, bear left towards the arches.
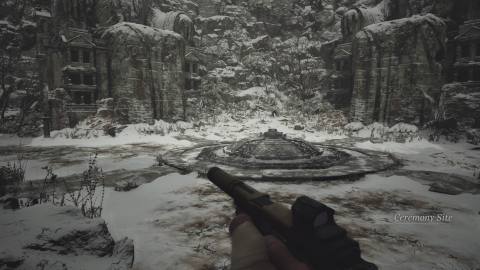
After the arch, take the right fork for a crate with some sniper ammo inside, then go back to the main path and go down the stairs.
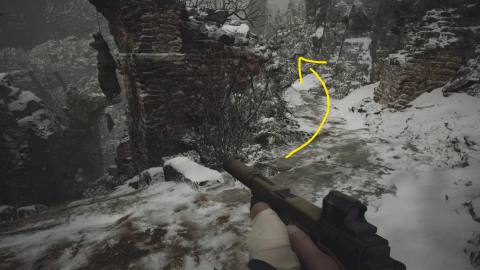
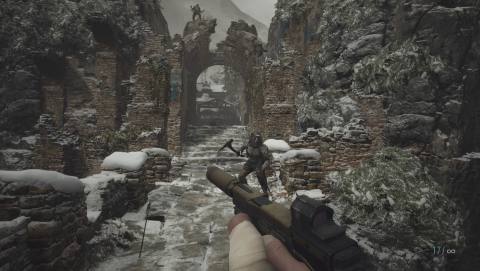
In the distance you’ll see the familiar friendly faces of wandering lycans.
As you approach the bridge, two more Lycans will jump down and attack. Deal with them, then look for the staircase on the left to deal with the third you could see from the distance.
At the bottom of these stairs, in the room under the bridge there’s a goat of warding to knife, then go to the drawbridge and try to lower it. You can’t without another item, but remember it for later. Return to the bridge, go left and you’ll arrive back near the original village.
This area is called the Lone Road and there are three buildings you can enter. The one on the left has a lycan and a box of rare metal scrap inside. The bottom right has some scrap, then the top right has a lockbox you can’t open yet.
Back outside, go right, push through the door and enter the next area, the Altar, where you’ll meet The Duke again.

The House with the Red Chimney
As well as giving you the chance to sell your hard-earned plunder in exchange for weapon upgrades, The Duke will give you a new lead: a house in the village which supposedly holds some answers to your questions.
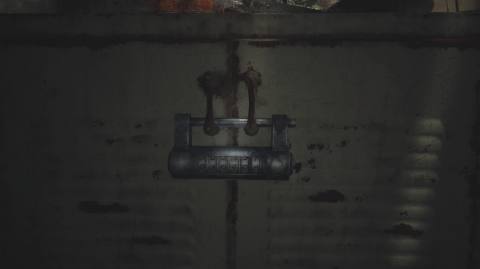
Buy whatever you need from Duke, then go right through the door next to him with the winged key, then knife the padlock on the door to get into the village proper.
You can now go back and loot anything that you couldn’t the first time – for example, the lockpick drawer in the house to the west of the maiden statue – which is a full clip of shotgun shells.
There’s also 500 lei next to the bed in this room.
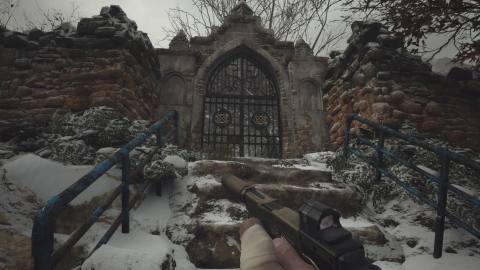
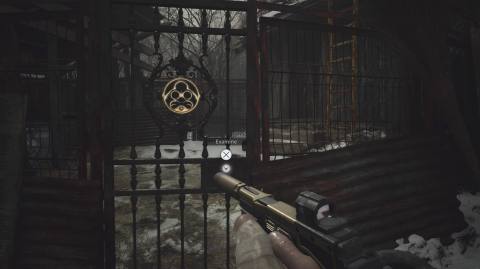
Then you can move on to opening the Iron Insignia Key Doors that you couldn’t open before, going through the one in the graveyard.
There’s also a Goat of Warding on top of the church now, which you can shoot. If you go inside the church, you’ll see some signs of life, but the iron gate is where you need to go.
Inside here there’s chickens you can knife for poultry, which again, you can use later.
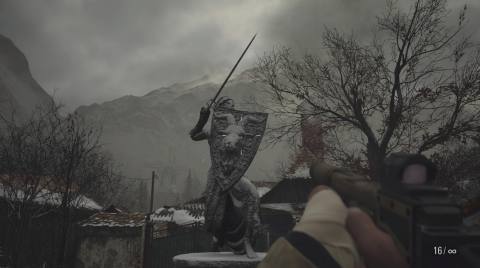
Return to the maiden of war statue, shooting the crystal fragment out of the goat’s eye on the maiden of war’s shield while you’re there.
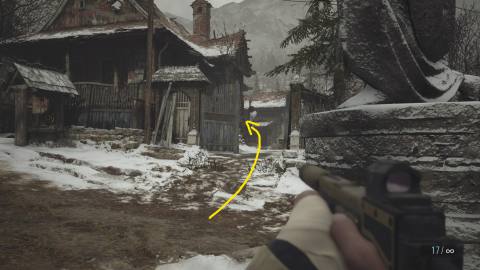
Look past the statue on the eastern side and you’ll see a blue gate. Go through the blue gate, then up the stairs into the house with blue fencing on the left.
The note inside will point you towards a hole in their stable wall to get to the red chimney house.
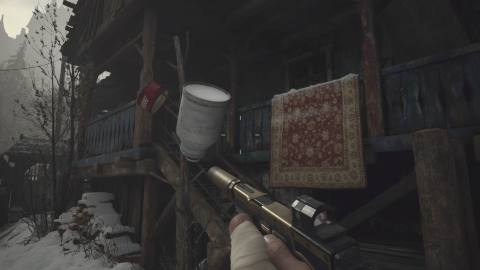
Take some ammo from the wardrobe behind you, then some shotgun shells from the lockpick drawer if you have any, then head out the back door of the house.
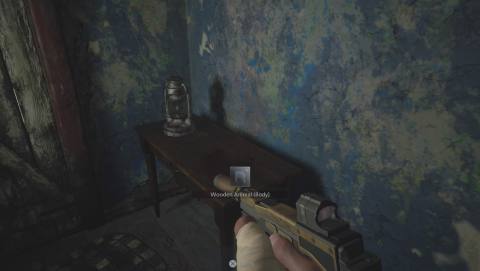
Take the body of the wooden animal, then unlock the door.
Go out into the yard, and there’s some scrap in the outhouse to the left.But the door to the stable is on the right.
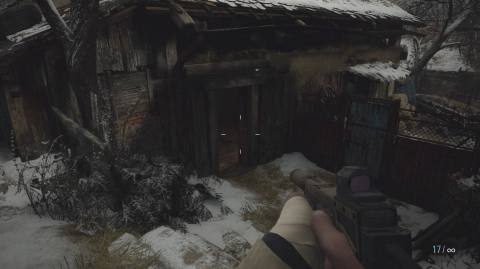
Go inside, and hold the prompt to move the shelf. Immediately on your right outside is a Lycan, fight them, then walk forward.

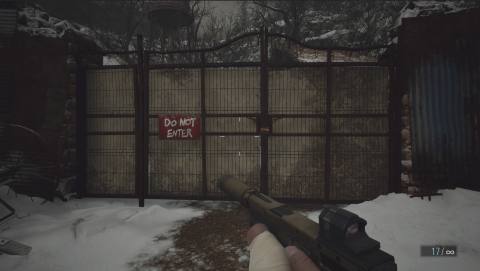
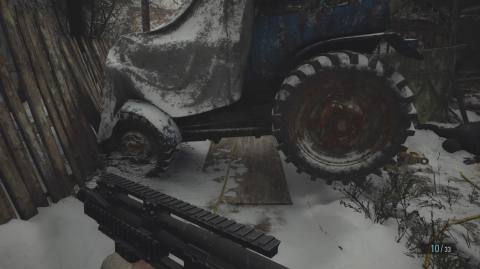
In front of you is a moveable tractor you don’t have the item for yet either. But at the end go left towards the “do not enter” gate.
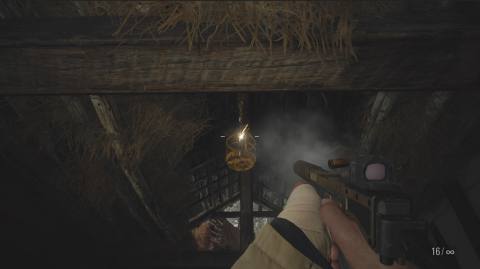
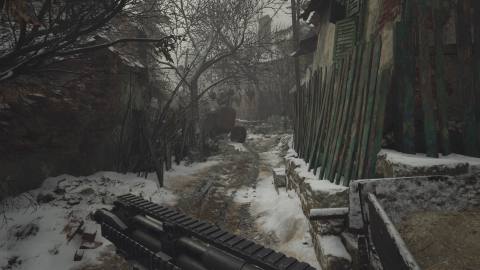
For a slight detour, take a right towards the well just before the gate and inside the open building next to it, look up and you will see a cage you can shoot down. Take the shotgun shells inside, then knife the padlock from the do not enter gate.
In the workshop yard through the do not enter gate, take the scrap and sniper ammo from the right, then go inside the open building on your left.
Look at the picture on the side and flip it over. It says: “look out the window”. This means the one behind you on the right – go over and look.
You’ll see that the code to open the cabinet in the corner is: 070408.
Inside is a swish new pistol, and a jack handle you can use to move the tractor.
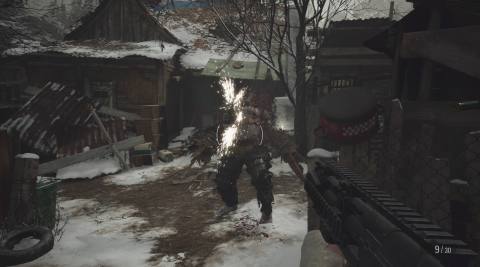
Go back out of the workshop gate and you’ll see a few more friendly fellas hunkered down for a cozy afternoon.
They are 100% in your way, and will attack you as you try to advance, so take the initiative, make like Han Solo and shoot first. There’s 4 in total to deal with.
When they’re down, make your way towards the tractor and move it with the jack handle.
Crawl underneath the tractor, then at the end of the track look right. There’s another Lycan on the tractor in front of you, so fill him with lead as you pass.
When you attack, another one rushes you, so be ready to switch to a secondary weapon to take them out quickly.
Follow the path around past the tractor, under the goat heads, then look left.
On top of the house is another Lycan to deal with. When you shoot him, another two appear.
When they’re done, walk down that track to the end. On your right is an iron insignia key door, which you can now open.
Before you can do that though, a difficult mini-boss will appear. You need to consistently shotgun his body until his helmet comes off, then you can sniper his head.
He’ll drop a perfect crystal skull, which you can sell for a good chunk of change.
When he’s down, go to the end of the track and look left, where you’ll see a blue padlocked gate.
Knife the padlock off, then grab the item from the outhouse on the right, and smash the box at the top, shooting the goat of warding next to it too.

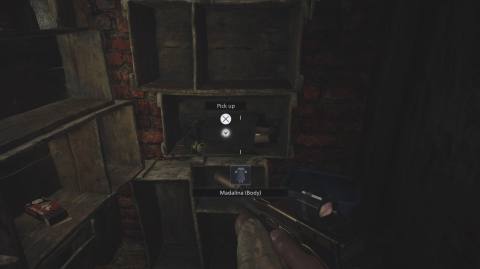
Then in the building on the right, kill the lycan inside, then take the ammo and Madalina doll body from where it was guarding.
The building on the left is the luthier’s house, the key to which is being held by a man named Josef Simon, the Beneviento’s gardener.
Leave this area and open the iron insignia door behind you.
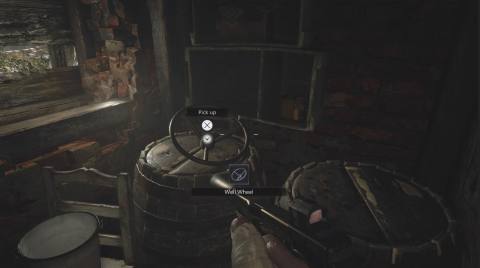
Take the ammo and well wheel from the building underneath the ladder, then climb the ladder.
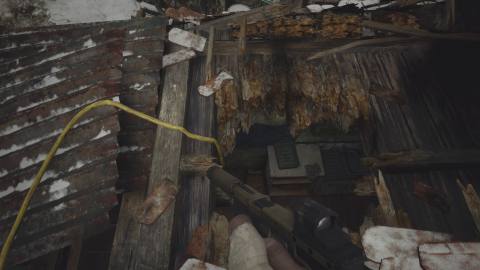
This leads to a rooftop with some metal scrap, where you can drop into a chicken yard which leads back to the maiden of war statue.
In the chicken yard, there’s a large crystal in the outhouse around the back, and a pipe bomb in the outbuilding on the right.
But if you go up the ladder on the back of the house, there’s a hole in the roof you can use to get inside.
Around the corner, you can see the resident has turned a little bit evil. Deal with him, then search the place.
In the dresser is some ammo, but on the table is an explanation of what happened to Rose, as well as some more wings for your key, opening up new areas around the village.
Your objective changes back to The Duke, so unlock the door and return to the Maiden statue, then to The Duke’s carriage.
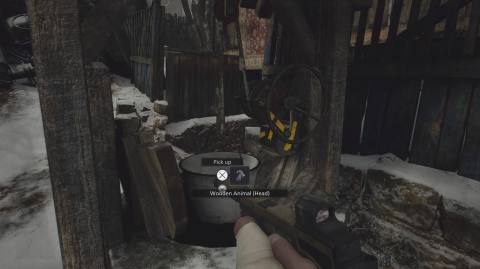
But you now also have the well wheel so you can quickly return to the wells around the village and grab their items.
The one next to the maiden statue has the head for the wooden toy, which you can then sell.
The one in the east of the village has a lockpick in.
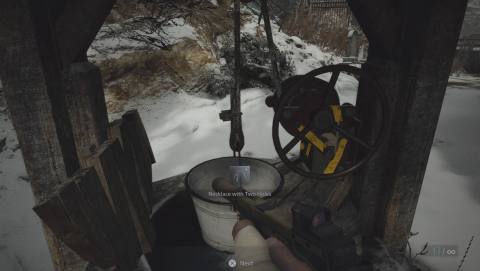
The one in the churchyard has an incomplete necklace (which will eventually be very valuable).
You’ll be attacked by gargoyles on the way to the one at the top of the fallow plot, but it contains 3 pipe bombs and there’s also a pig you can get quality meat from. This is a unique material you’ll need for a health upgrade soon.
Back at The Duke, he’ll tell you where to get the other three flasks from the other lords of the land.
This is where the game really opens up: all of the chests now on your map are side quests, and you have more choice over where to direct your adventure.
And there’s one that you should tackle straight away: Luiza’s Heirloom.
To bolster your abilities before taking on the task at hand, you can now also make use of The Duke’s Kitchen. Cooking meat you’ve collected from around the village gives you permanent buffs to health, blocking ability, and movement speed.
Deposit any meat you’ve collected, then track back through the fallow plot to the Luiza’s Heirloom marker. Here you’ll find a box with the key item Luiza’s Necklace inside along with a load of ammo supplies dotted around.
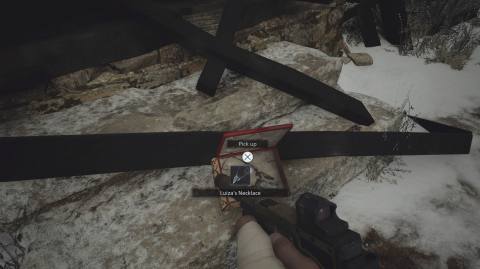
Examine the necklace and you’ll get a gem and a key.
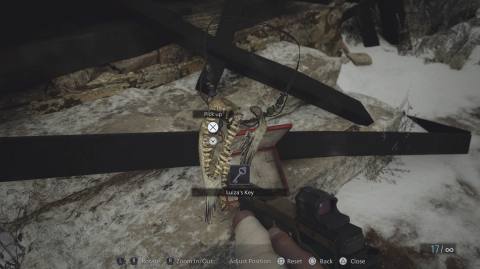
Return to the Lone Road area next to The Duke’s altar.
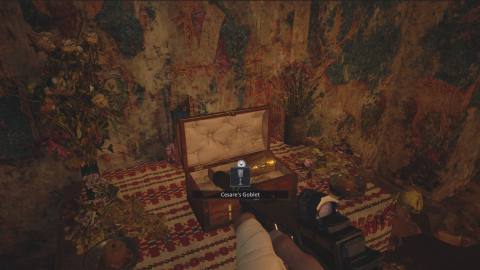
Go into the first door on your left and you’ll find that the key opens the box you couldn’t earlier, which gives you a very valuable goblet.
In the next part, we’ll take the fight to the first of the three remaining noble houses in the village.
- Resident Evil Village Walkthrough Part 1 – Into the village, Luiza’s House, and the castle
- Resident Evil Village Prioress Door
- Resident Evil Village Part 3 – Hall of War, Dungeon, Bela Dimitrescu First Daughter Boss
- Resident Evil Village Hall of Ablution statues
- Resident Evil Village Part 5 – Wine Cellar, Terrace, and Courtyard
- Resident Evil Village Piano puzzle
- Resident Evil Village Part 7 – Library Second Daughter Boss Fight
- Resident Evil Village Bells in the Atelier
- Resident Evil Village Part 9 – Treasure map, Rooftops, and Third Daughter Fight
- Resident Evil Village Lady Dimitrescu Boss Fight
- Resident Evil Village Part 11 – House With the Red Chimney
- Resident Evil Village Part 12 – House Beneviento dolls
- Resident Evil Village Part 13 – Power the windmill, Sluice Gate puzzle and Moreau Boss
- Resident Evil Village Part 14 – Otto’s Old Mill and Stronghold
- Resident Evil Village Part 15 – Heisenberg’s Factory and Boss Fight
- Resident Evil Village Part 16 – Finding Chris Redfield
- Resident Evil Village Part 17 – Mother Miranda Final Boss
The post Resident Evil Village Part 11 | Finding the House with the Red Chimney appeared first on VG247.


